Project Log: Sunday, December 5, 2010
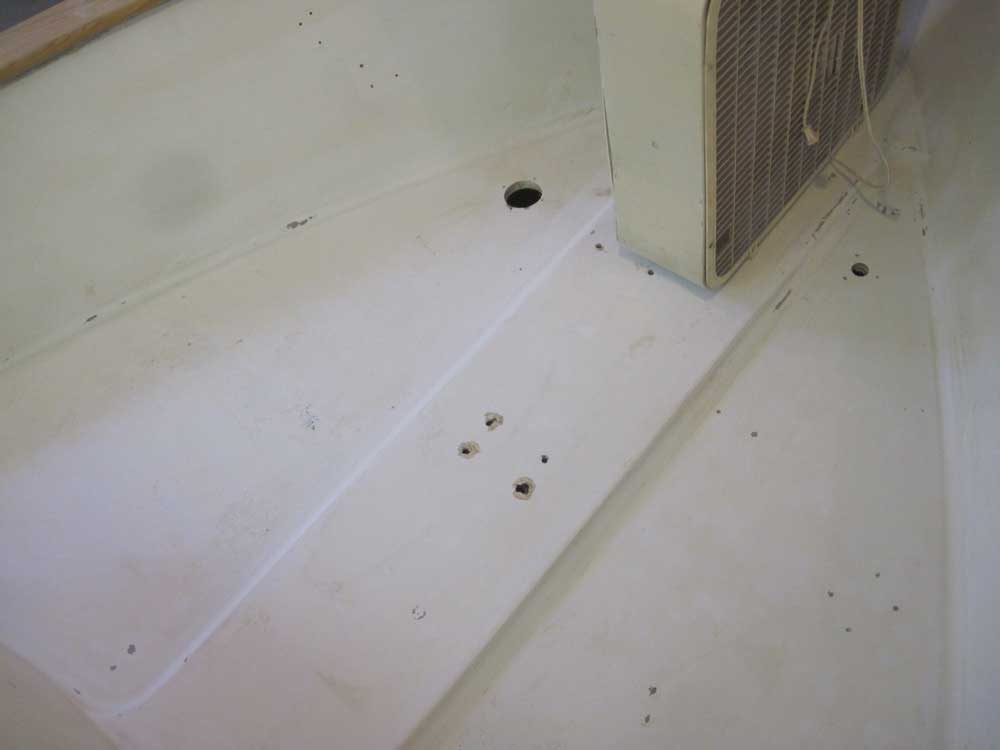
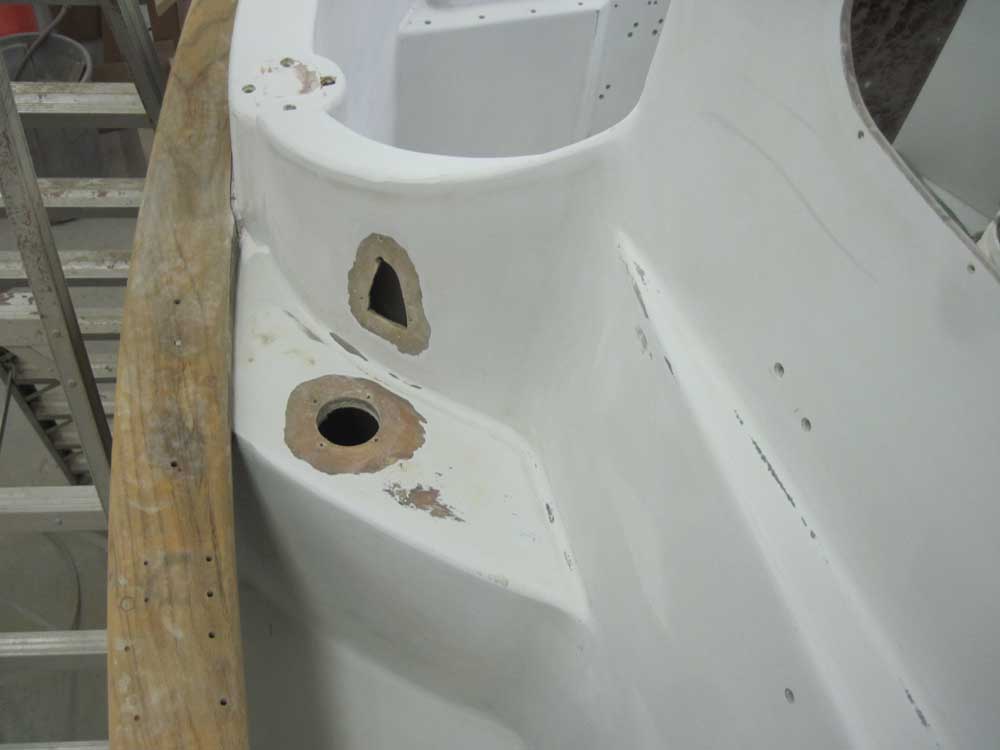
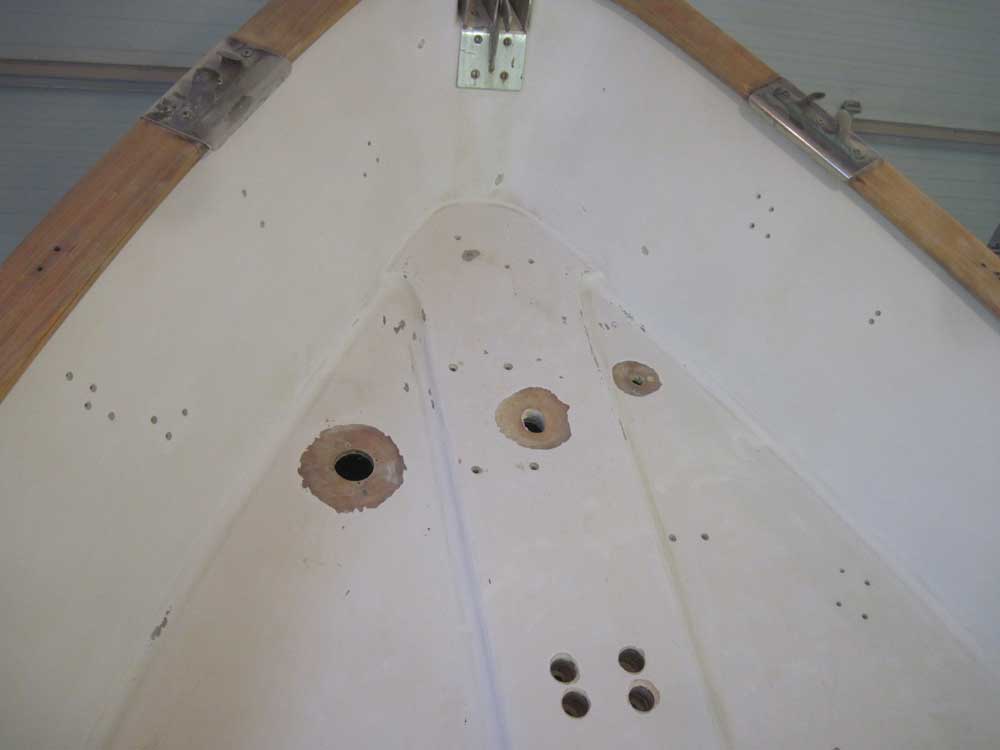
One of the casualties of the boat's sinking and recovery
was the forward mooring bitt. According to the previous
owner, this bit was ripped out of the deck during the
recovery, perhaps when an air bladder was secured to it
and the force overcame the bearing strength of the
supporting washers, or something like that. I didn't
really know, and fortunately the bitt came with the boat (having been recovered
at the end of the bladder's attachment line), but the
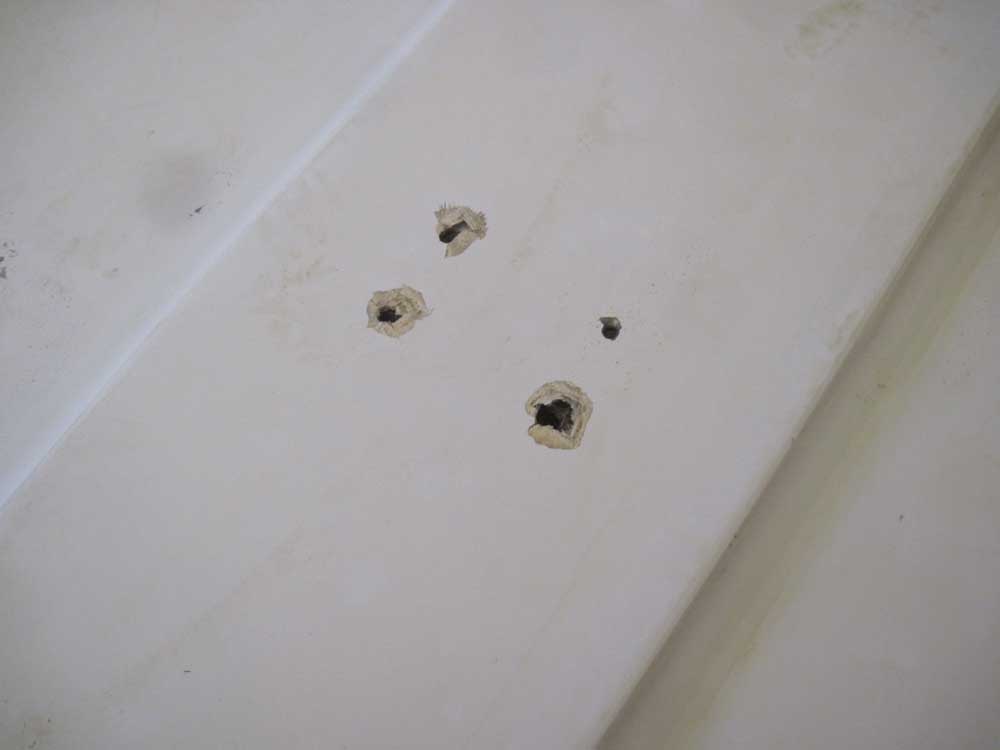
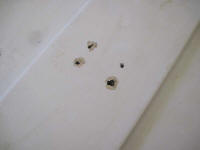
foredeck was left with four ragged holes where the
fasteners had pulled straight through; apparently
there'd been no backing plate. |

 |
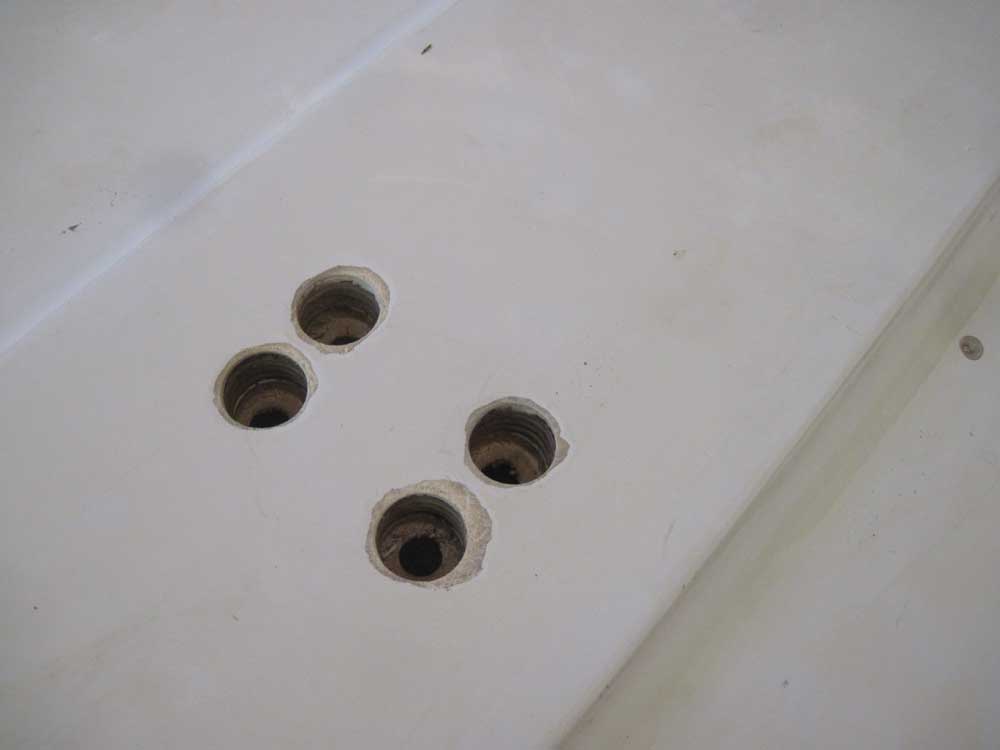
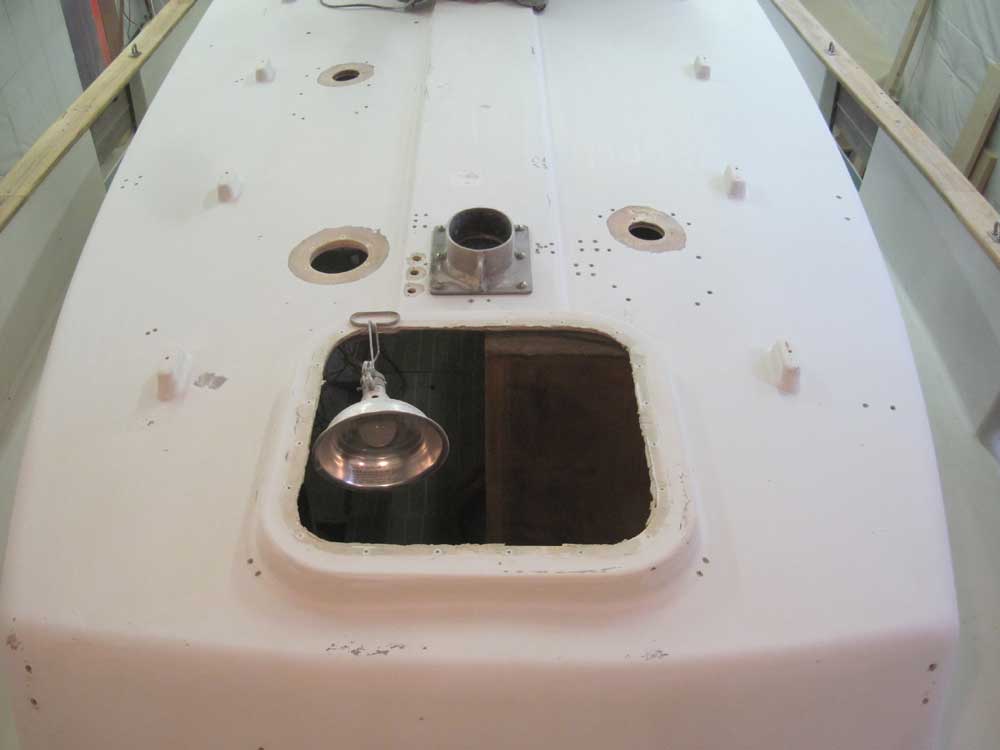
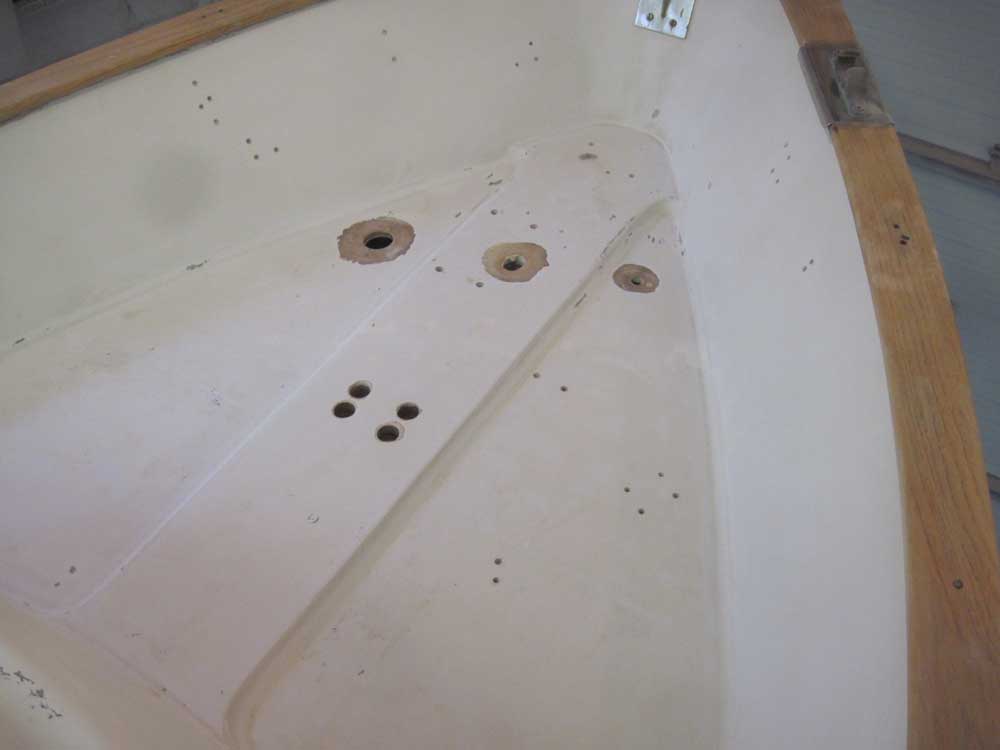
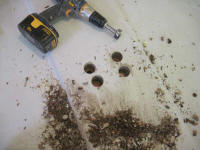
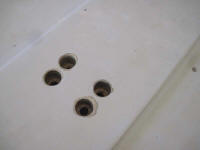
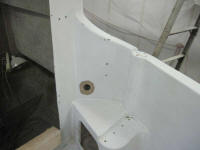
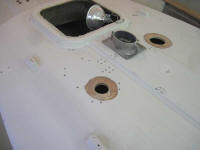
To remove the bad material, and otherwise prepare the
holes for repair and eventual reattachment of the bitt
sometime later in the project, I overbored the existing
holes with a 1-1/2" bit, drilling through the raised
plywood reinforcement and the main cored deck structure
beneath, till all that remained was the inner skin.
Then, I used a small abrasive disc to ease the edges at
the tops of the holes. |
 |
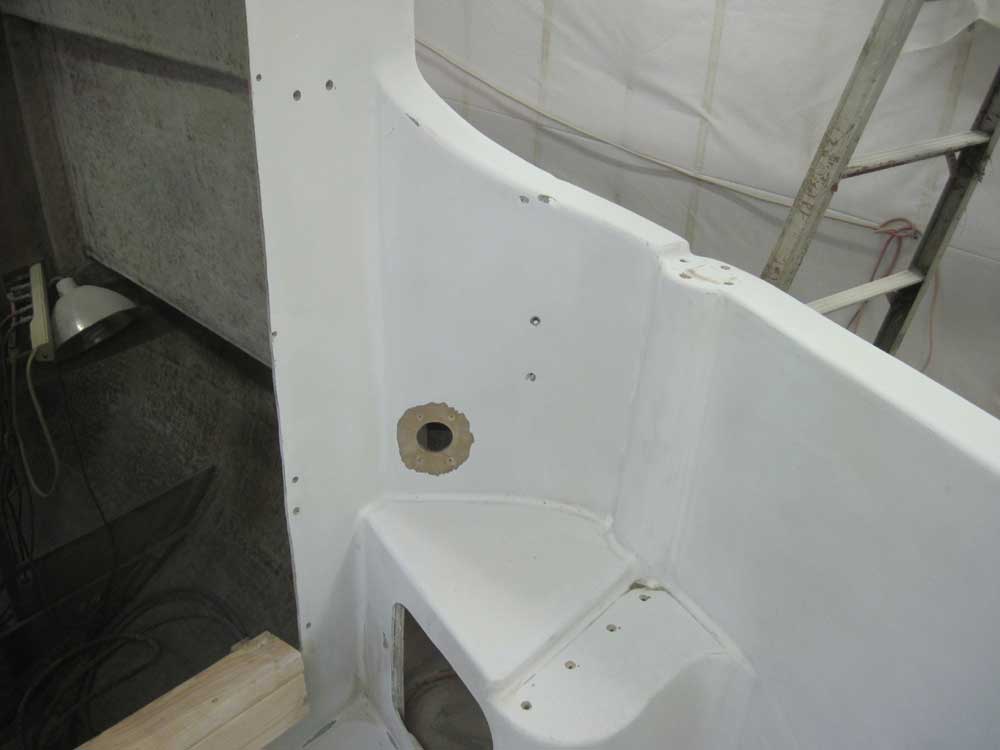
I like to fill all existing fastener holes during the
surface and paint preparation process--even if it's
likely that the same piece of hardware will end up going
back in the same place after painting--as it provides me
with a clean slate for hardware reattachment options
when the time comes, and it's easier to redrill holes
than it is to deal with an unwanted hole after the fact.
Starting completely fresh just makes the most sense,
particularly when, over many years of previous
ownership, the deck had become peppered with undesirable
hardware and equipment holes, often for mountings that
I'd no intention of reinstalling.
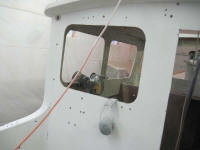
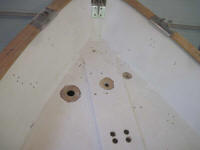
For most of the fastener holes, I used a large
countersink to create a wider, angled and tapered
opening at each location to better accept epoxy filler
later. I didn't bother counting the old fastener
holes--a tiresome and pointless exercise--but there were
many, many holes to bore out in this way.
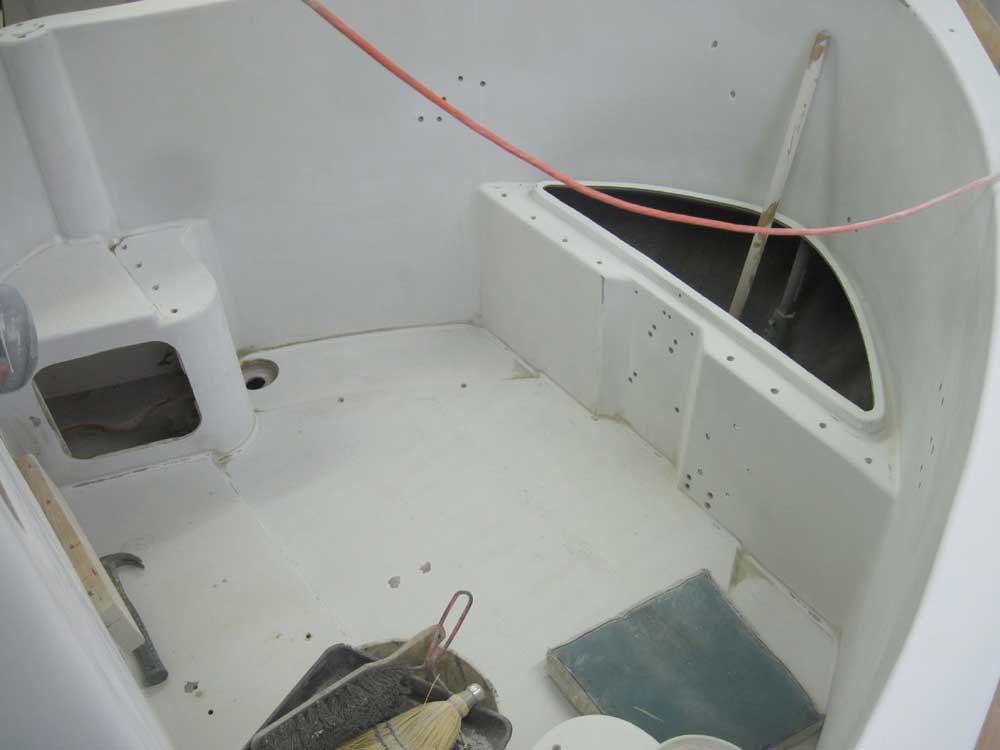
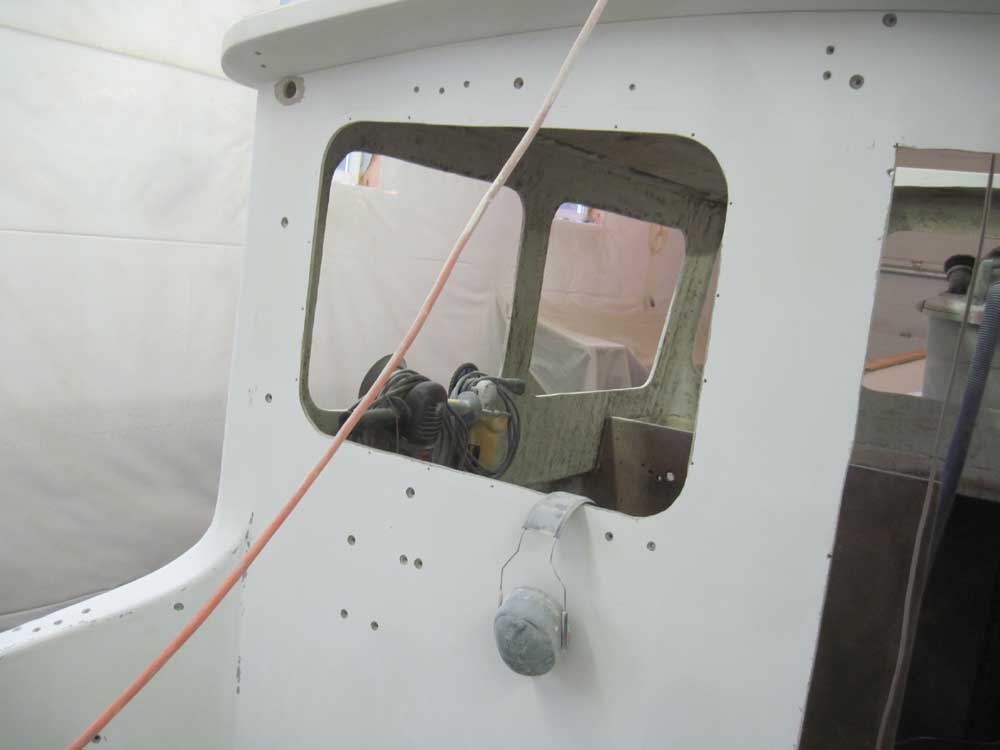
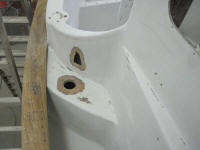
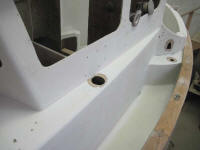
With the myriad fastener holes thusly addressed, I next
used a small abrasive disc to grind out small tapered
bonding areas around some of the larger (but still
generally small) holes, and also to grind out any
surface flaws in the gelcoat, such as chips, dings, and
cracks.
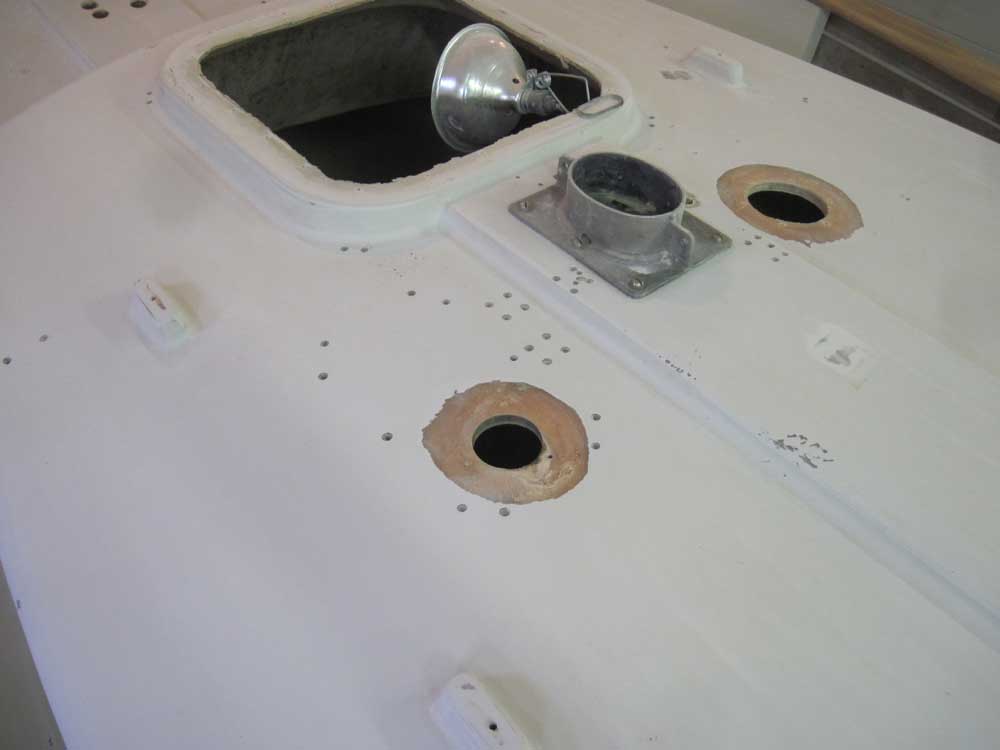
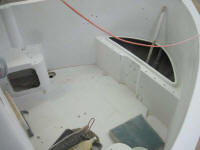
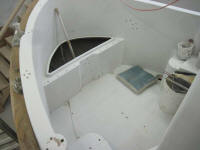
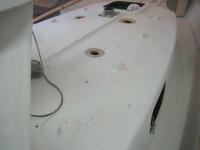
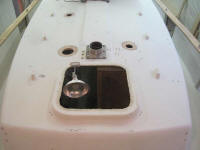
Finally, I used a larger grinder equipped with an
abrasive angle flap disc to grind appropriate tapered
bonding areas around the larger holes in the deck that I
planned to fill, including old deck fill locations and
ventilator locations. |
 |
Inevitably, as I vacuumed up afterwards, I found a few
holes and other places I'd missed, which I'd take care
of in the near future. I still needed to remove
the mast step too, a job that I kept putting off for
whatever reason.
|
Total Time Today: 2 hours
|
<
Previous |
Next > |
|
|