Project Log: Wednesday, October 27, 2010
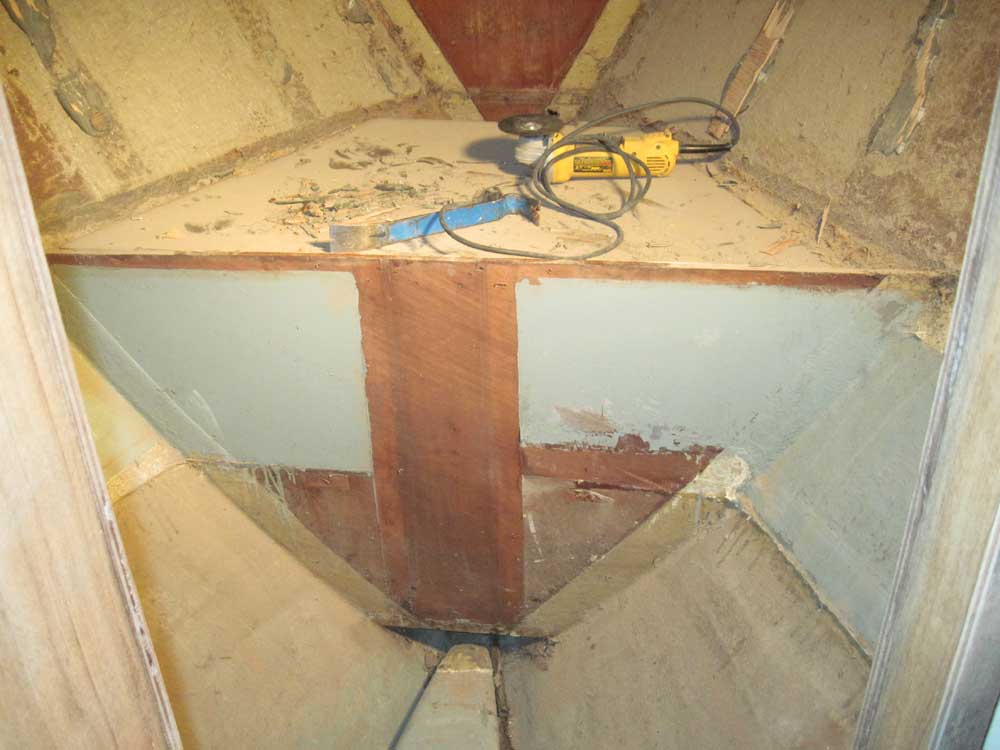
For some time, I'd been inwardly debating the fate of
the forward water tank, located just aft of the
chainlocker bulkhead. Clearly I couldn't just
leave it be, with the condition of the tank
unknown as it was; there was not an inspection port
fitted, and one of my thoughts was to cut an opening and
install such a port.
I suspected there was a bit of water in the old tank,
but thought it had to be minimal; after all, I'd cut the
supply hose long ago, and other than a persistent
dribble that trickled through the bilge over time, there
was no other evidence of water.
One of my concerns was that I was unable to reach the
connection of this supply hose to the tank; it was
hidden behind a bulkhead at the aft end of the tank.
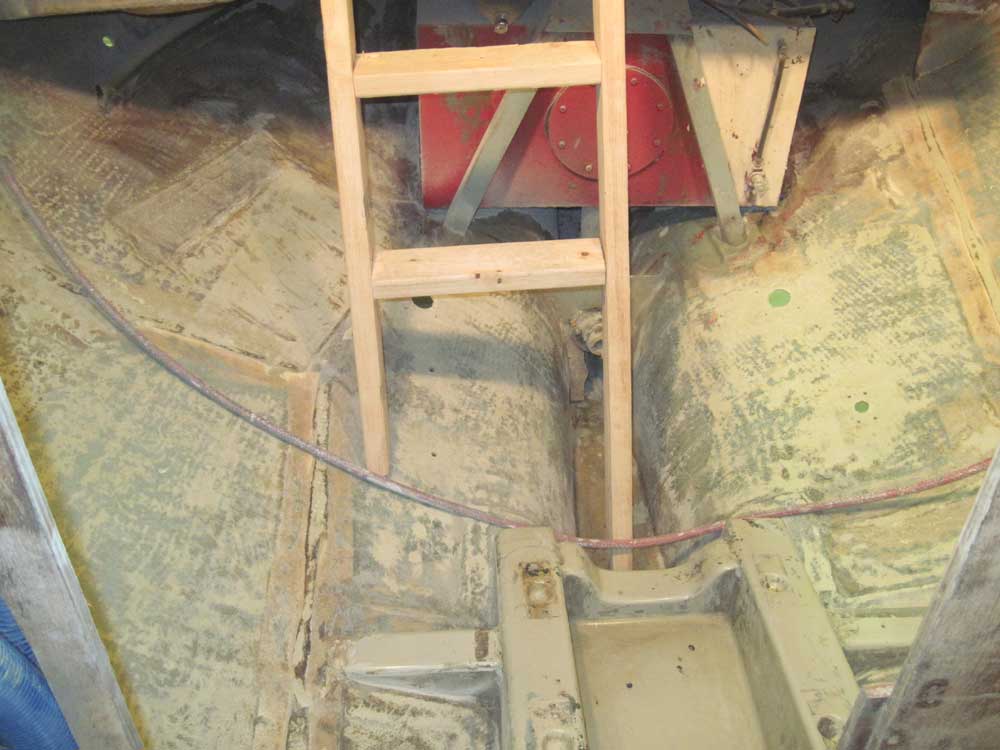
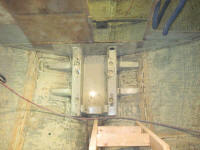
So I started off my work session by removing some old
support cleats still on the bulkhead, and then removing
a support block at the bottom edge, which block had been
part of the cabin sole support in the original forward
cabin. I hoped that this might provide sufficient
access to the hose connection, but unfortunately I still
couldn't do so. In fact, I found that I couldn't
even find evidence of the connection when I reached
blindly up through the opening at the base of the
bulkhead. |
 |
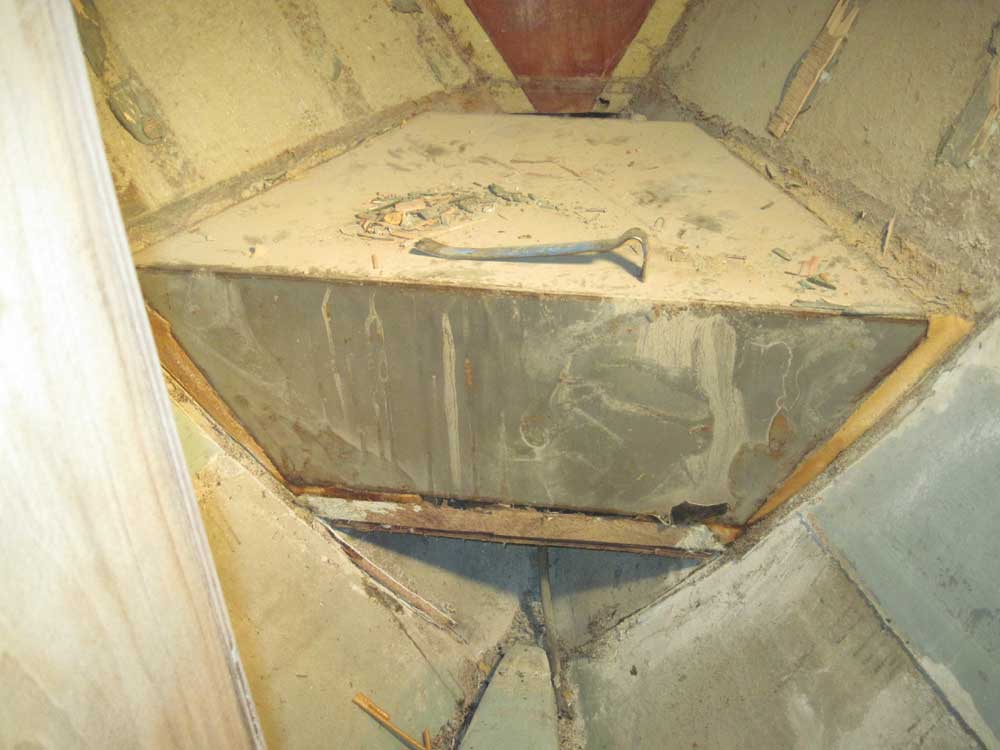
At a minimum, I needed access to this connection.
So I decided to cut out the bulkhead, which I hoped
would give me the access I needed. With a
cutoff wheel in my angle grinder, and then a
reciprocating saw, I cut the tabbing and removed the
bulkhead easily. |
 |
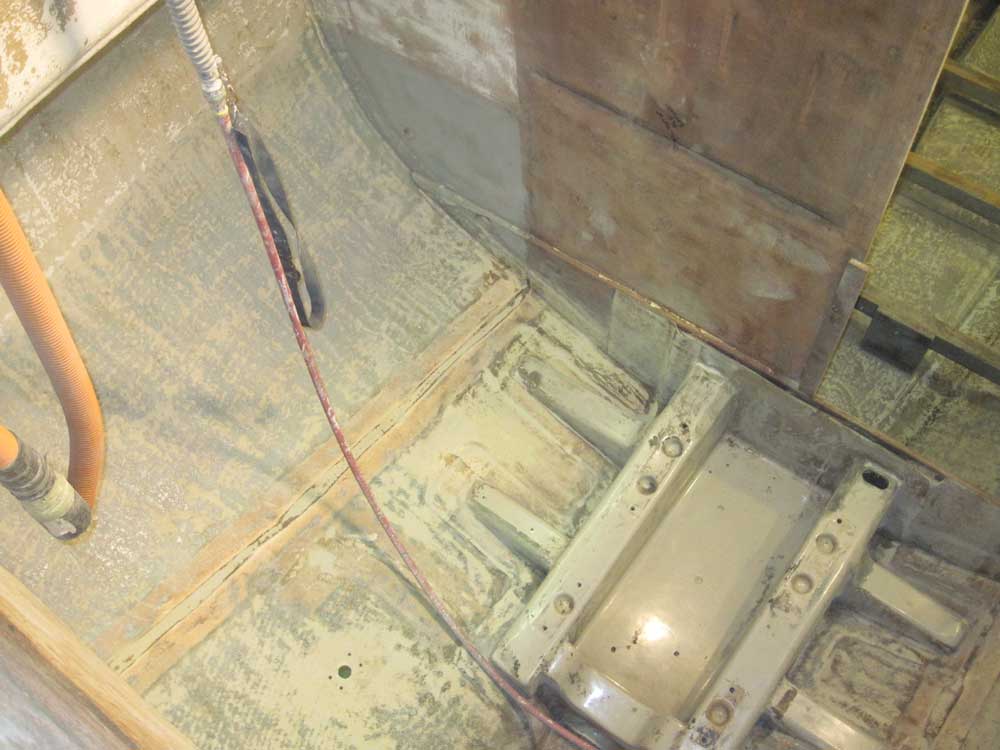
I was surprised to find that the tank wasn't shaped as
I'd thought; I'd expected it to fill more of the space
down to the hull. However, its size and shape did
mean that it appeared the tank would indeed fit through
the various openings in the bulkheads, which would allow
the tank's removal; earlier, I'd feared that the tank
may have been installed at an early stage of the boat's
original construction, and that I'd not be able to
remove it in one piece (which, in turn, had led to my
thoughts about keeping it in place).
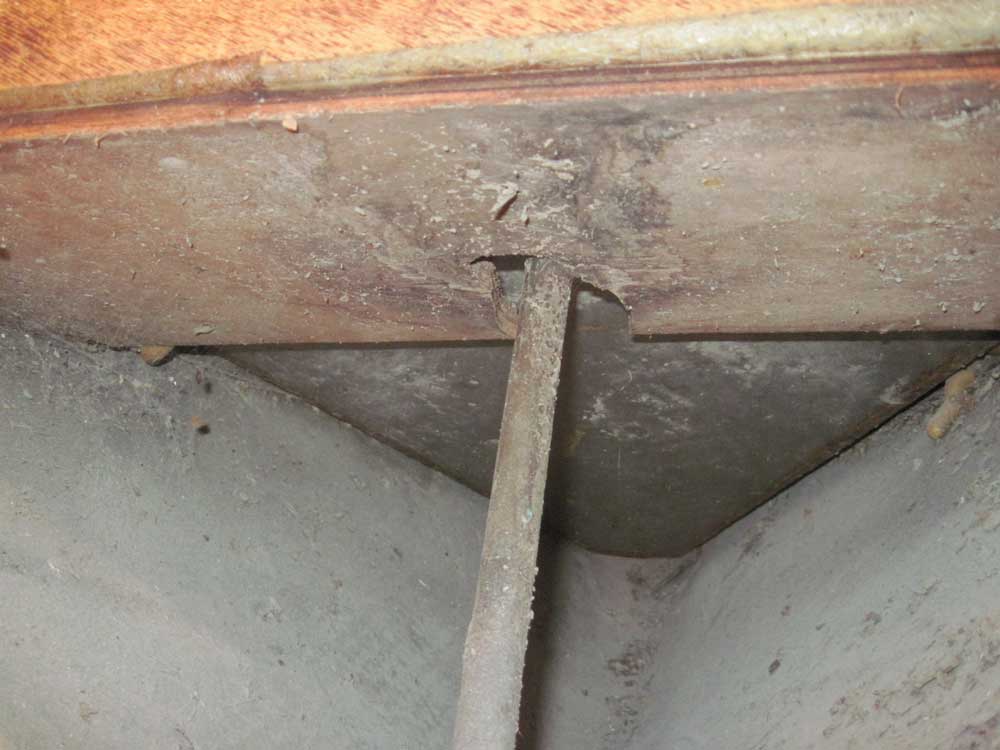
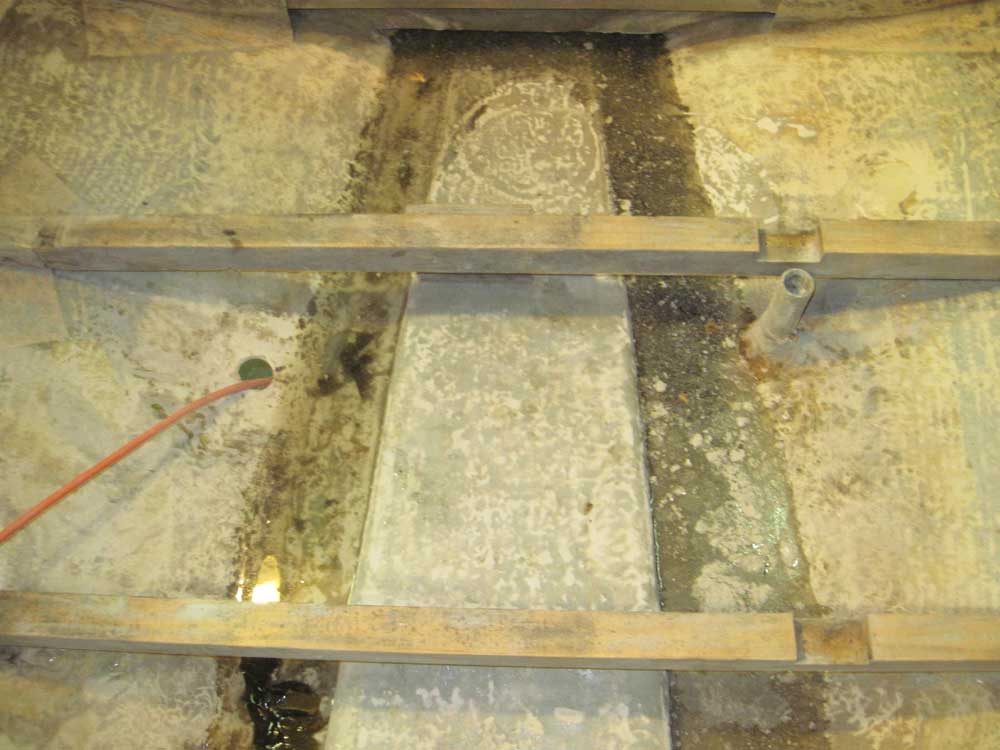
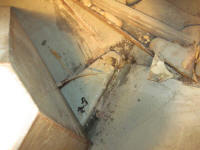
I was further surprised--and unhappy, in a "why would
they do that" sort of way--to discover that the water
supply fitting on the tank was still hidden
beneath a plywood platform on which the tank partially
rested. What a dumb way to plumb a tank; all hoses
eventually require replacement, so why would any builder
ever install a hose connection in such a
completely inaccessible location? |
 |
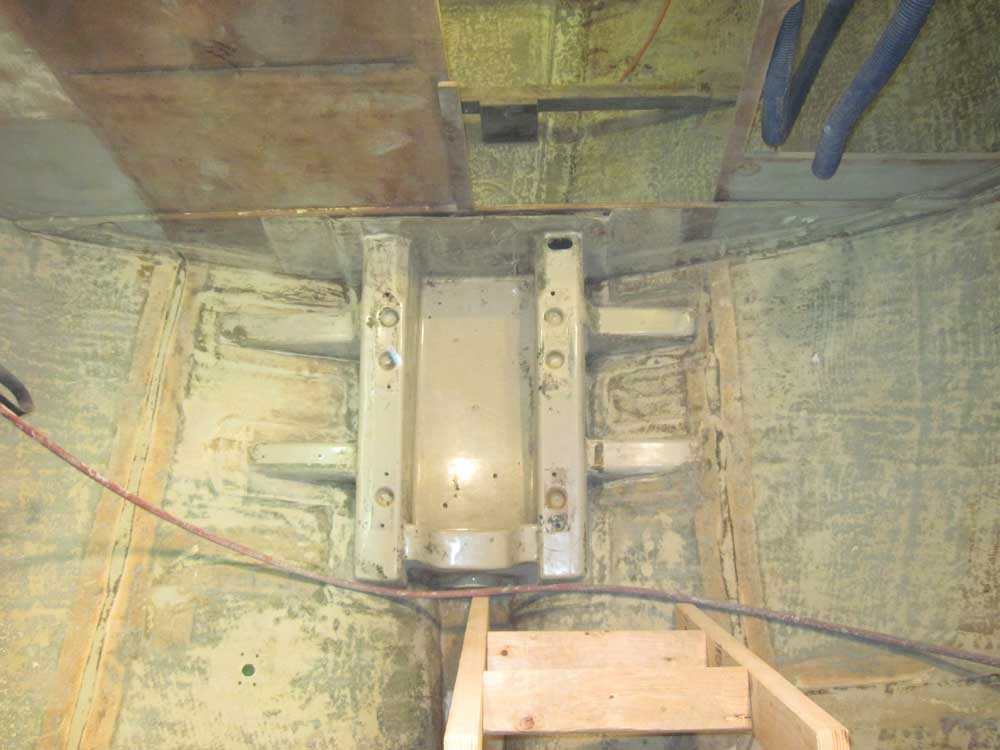
This made my decision easy: that tank had to go.
Fortunately, it was easy to pry the tank loose from the
expanding foam that surrounded it.
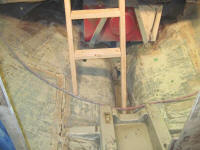
At this point, I discovered that the tank seemed to be
nearly full of water; it crashed down into the after
part of the cabin with considerable force, and I found
it was nearly immobile thanks to the weight of its
contents. Clearly, there was something clogging
the hose, as the tank should have drained long ago, what
with the hose right in the bottom of the tank.
With additional work plans inside the boat, I decided to
leave the tank alone for the moment, as I'd have to
drain its contents into the bilge, and I didn't want all
the water in there at the moment.
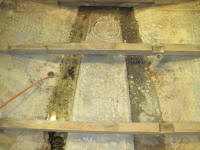
I turned my attention to the engine room.
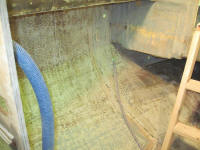
Beginning at the turn of the bilge, I worked for a few
hours to remove old tabbing left over from some of the
bulkheads I'd remove and to grind, sand, and clean up
the various surfaces to prepare them for future
steps--more of my "bulk sanding" process. I worked
my way up on each side to the underside of the
sidedecks, removing old paint and adhesive and smoothing
rough areas as needed.
I cleaned up the faces of the remaining bulkheads, and
worked my way aft as far as the leading edge of the
cockpit. The old fuel tank--contents
unknown--still resided in this space, and removing its
contents (and then the tank) was on my immediate to-do
list, but not today.
As always, I found this process somewhat therapeutic, if
dirty and nasty. Later, I'd continue my way
up the sides of the wheelhouse and remove the old
adhesive and such, but for the moment I'd done enough. |


 |
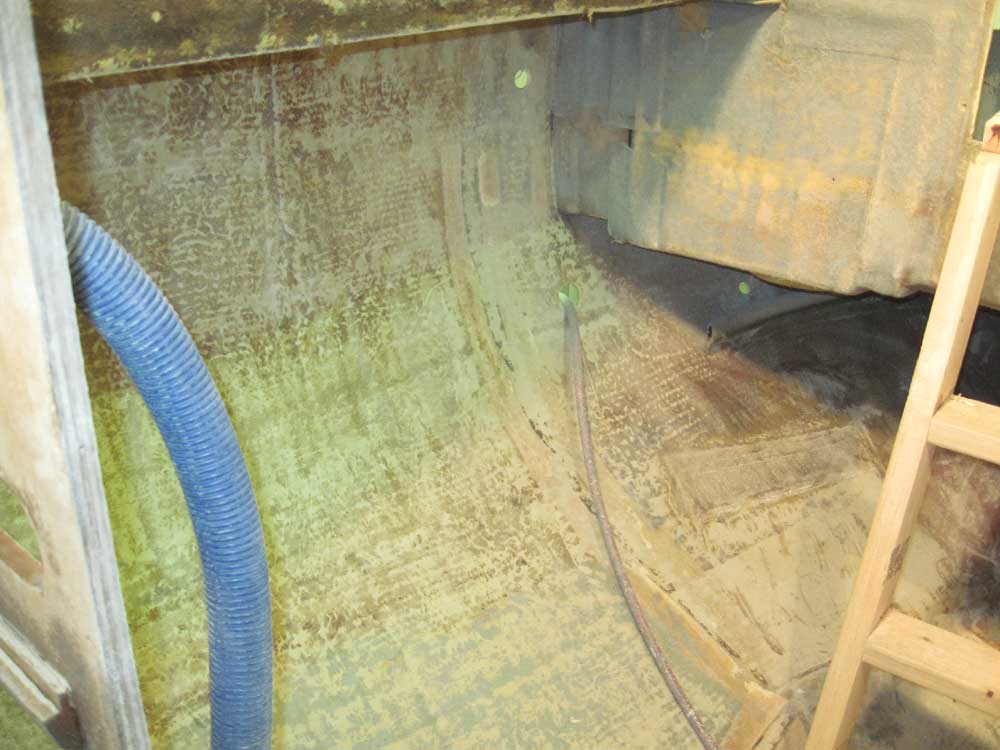
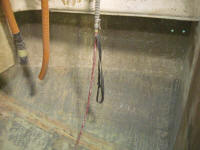
Once I'd cleaned up from the day's sanding efforts, I
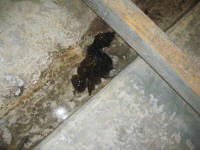
returned to the water tank. I removed the hose
from the bottom of the tank, which freed up the clog and
allowed the water to drain. |
 |
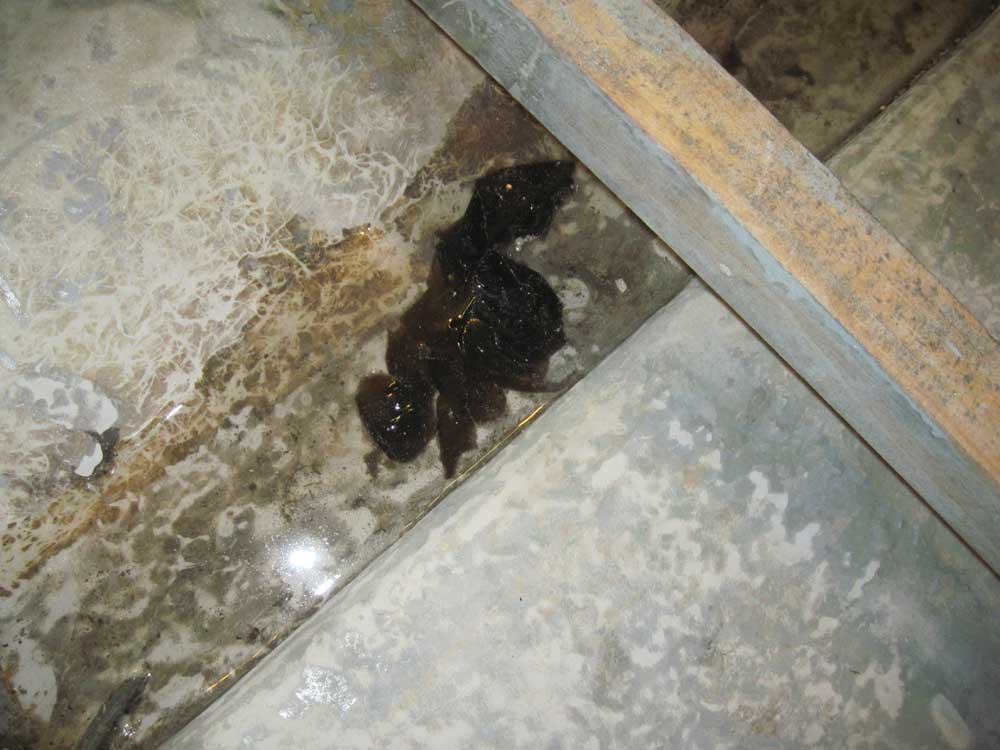
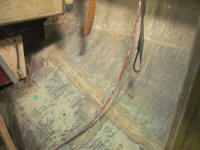
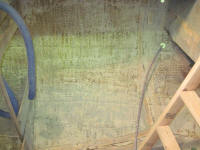
Once the bulk of the water had drained through this
small opening, I turned the tank so the larger fill pipe
faced downwards, which allowed the remaining contents to
drain quickly. Large globs of gross algae came out
along with the water, so I was glad that I'd decided to
remove the tank. I left the tank inverted to drain
overnight, and to allow the water in the bilge to drain
out through the drain holes I'd made earlier. |
 |
Total Time Today: 3.25 hours
|
<
Previous |
Next > |
|
|