Project Log: Sunday, April 10, 2011
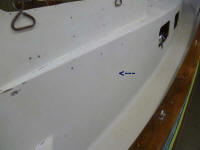
Earlier in the week, during a dull moment, I used a
chisel to pare away the excess bungs I installed last
weekend flush with the caprail. Now, I could sand
and continue to finish the caprail as the spirit moved
me.
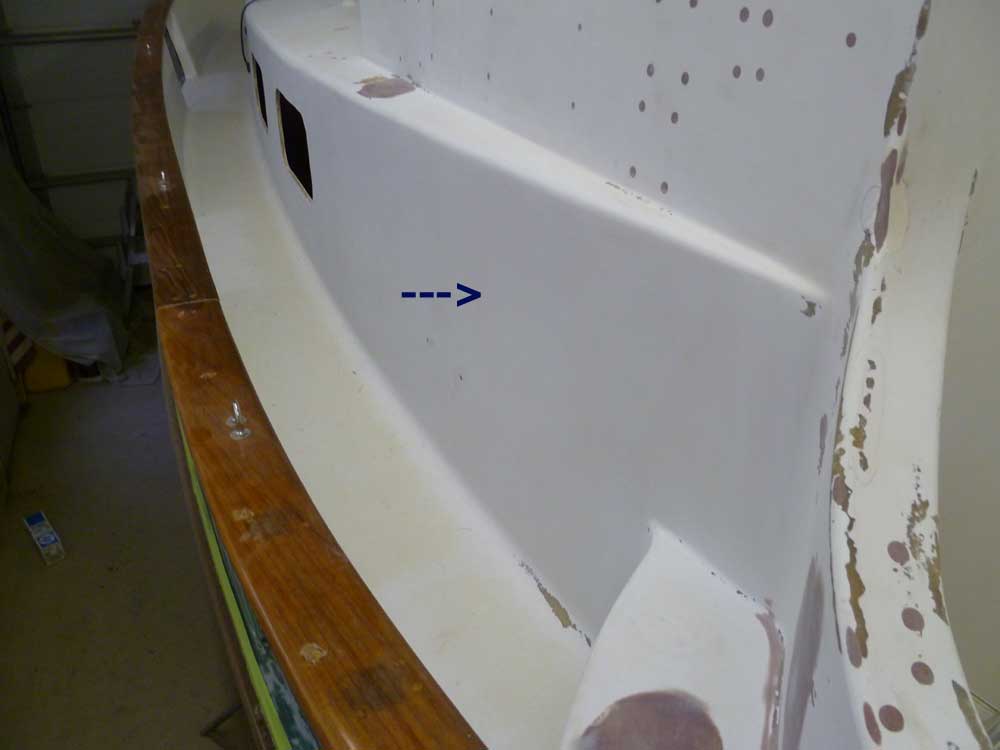
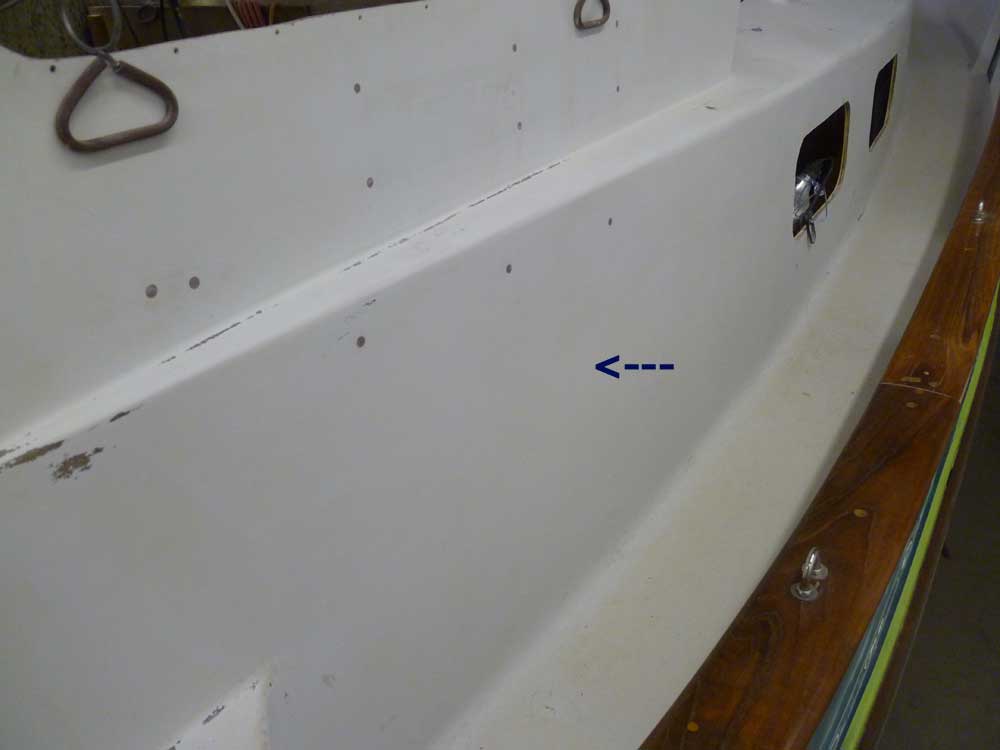
Over the past weeks, I'd been thinking about where to
mount the fill pipes for some of the new tankage,
notably the four tanks outboard of the engine room.
Eventually, my thoughts led to the idea of creating a
pair of recessed housings set into the lower wall of the
pilothouse, directly above the tanks on each side to
offer convenient access and short hose runs. |

 |
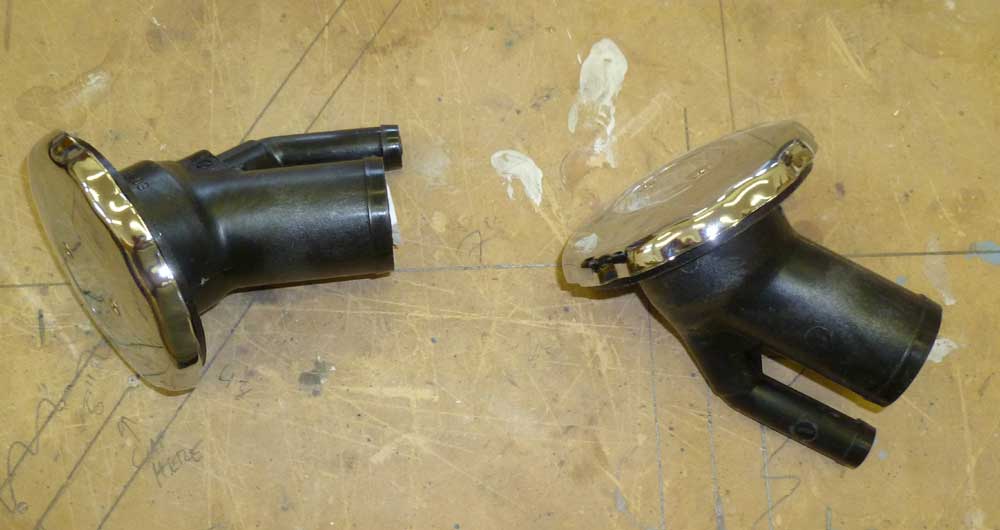
With this idea in mind, I started looking at the
details. After considering various fill pipes, I
became intrigued with a unit that featured a
self-contained vent built into the fill housing, exiting
back into the fill pipe and with a special vented cap. I
ordered a pair so I could inspect them and determine if
I liked the design, and also because I'd not been clear
how the vent worked from the descriptions only.
I ordered a version that incorporated an angled neck,
which I thought would work best in the situation I had;
the angled neck also meant that I could build an
enclosure that featured an angled bottom for drainage
away from the fill pipes. I also liked the idea
that these caps did not require a key to open, though a
large key came with the unit that would provide extra
leverage by gripping the sides of the metal caps. |
 |
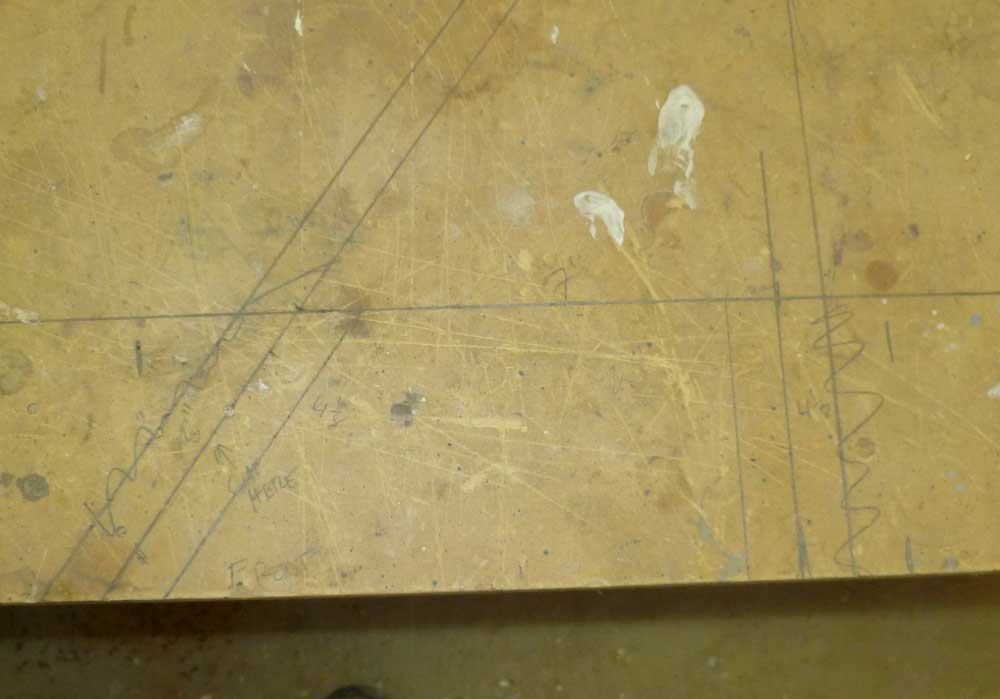
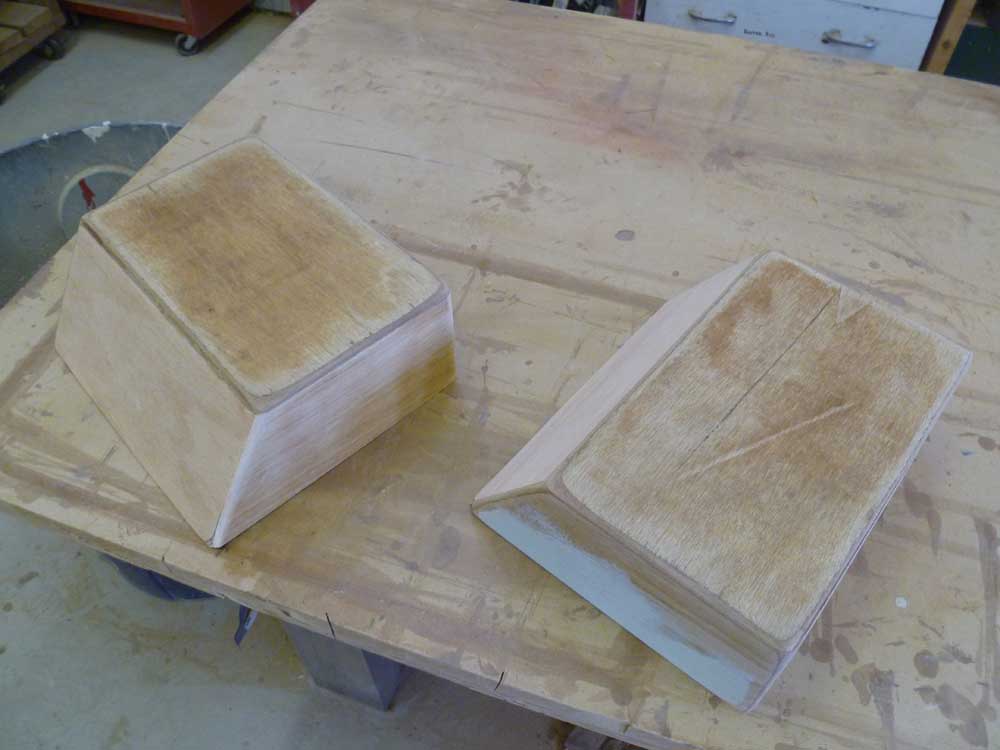
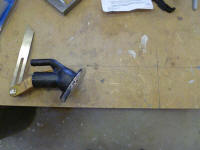
To begin laying out the size and shape of the housing
that would hold the fill pipes, I laid things out right
on the bench, determining how deep the enclosure needed
to be to allow room for the fill caps, and how
tall to allow access for fuel fill (and water) nozzles.
This also allowed me to determine the angle I needed for
the lower edge, where the fill pipes would be installed
(34°). |
 |
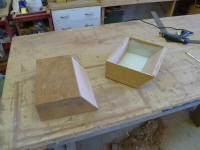
Having determined the basic measurements of the
housings, I set about cutting various pieces of plywood
to size to form the plug over which I'd laminate the
fiberglass housings. I built two, one for each
side, so that I could build both housings at once, and
because one never knows how a simple shop-made plug will
hold up during removal from the finished part.
Cutting the pieces took longer than it should of since I
made an error and forgot to account for the thickness of
the plywood on the back (top of the plug) of the
housings, so I cut new pieces from thinner stock.
Remember that the outside dimensions of these plugs
equate to the finished side of the final part; this was
something I'd accounted for on the top and bottom, but
not on the back.
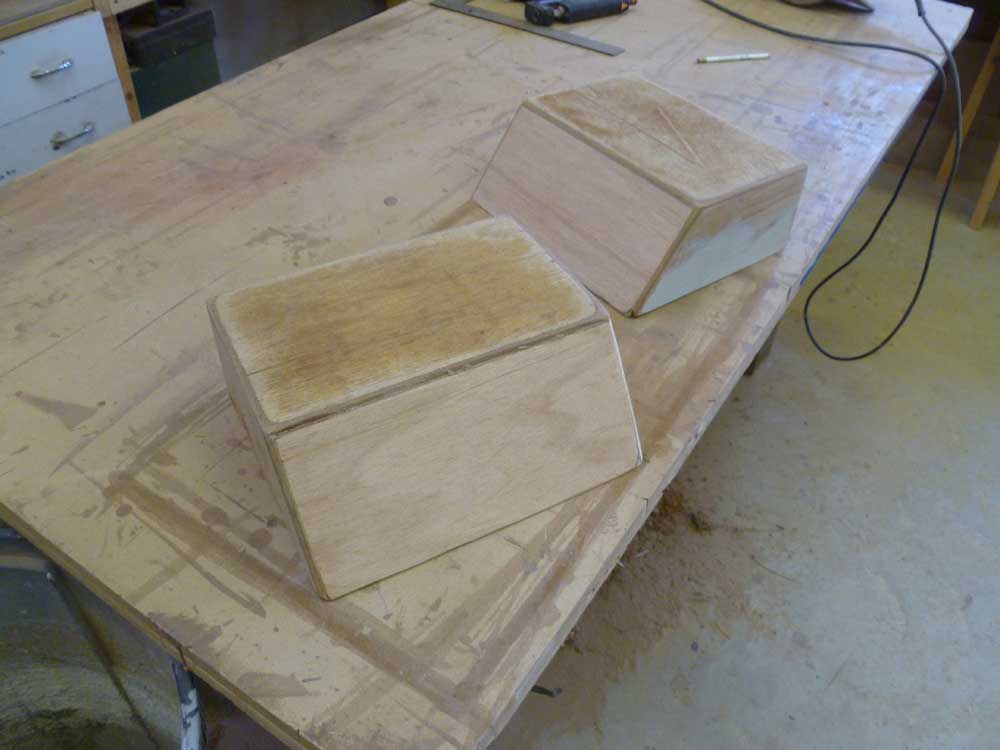
I glued the pieces together with hot glue to form the
rough box shapes required, then rounded the edges into
pleasing contours, both for visual sake and to allow
fiberglass to lay over the corners effectively. |


 |
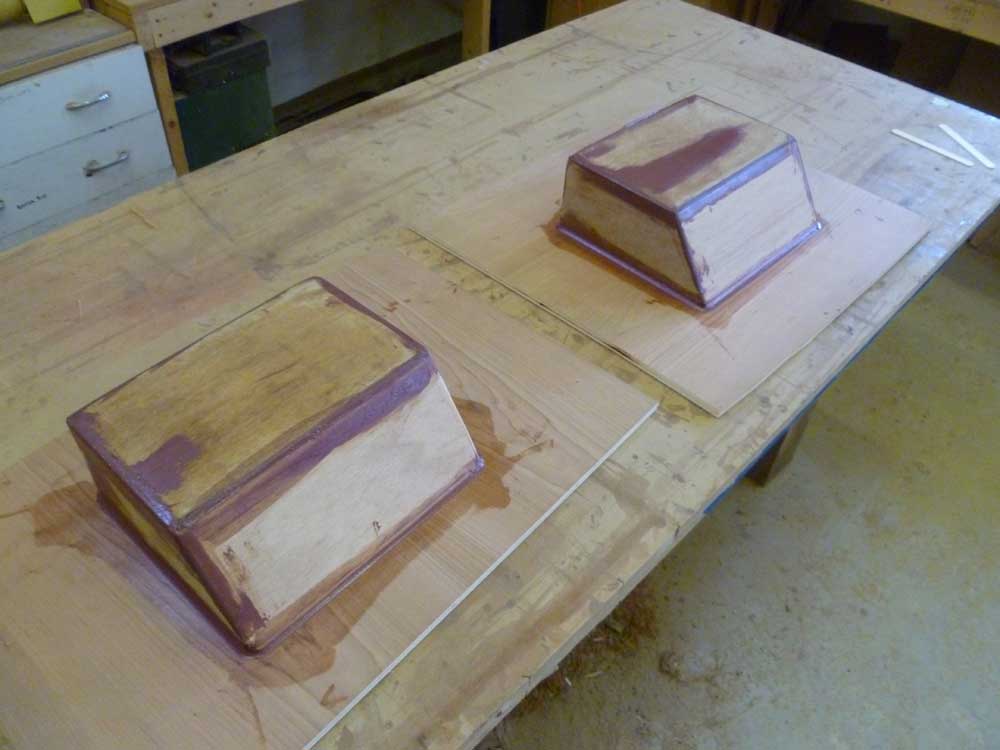
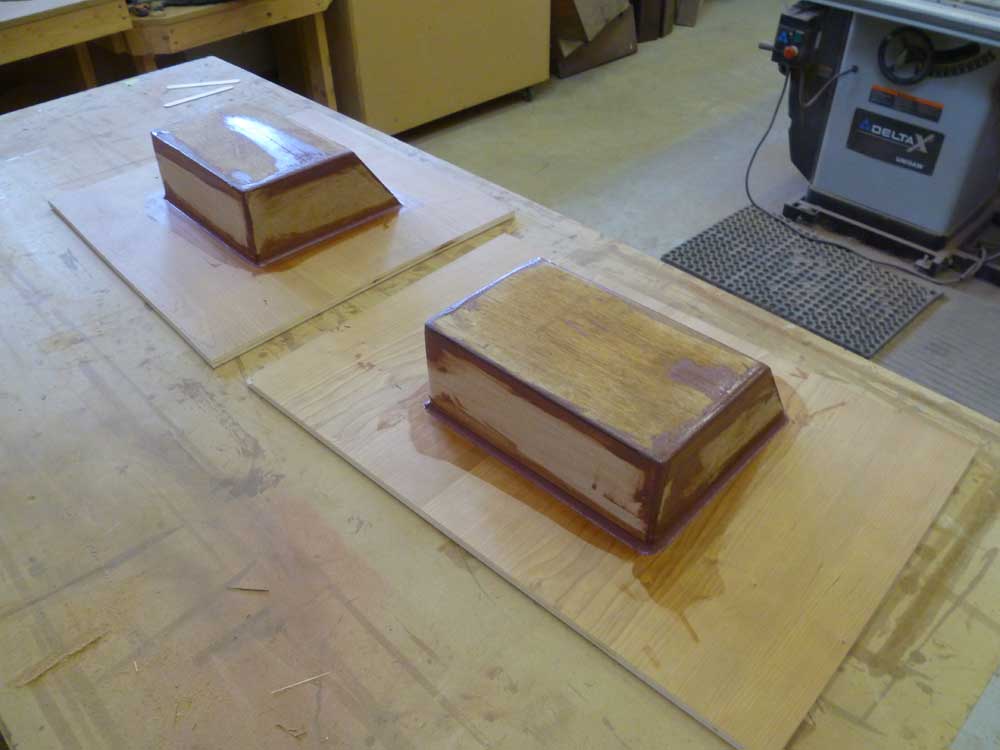
Finally, I glued each assembly to a piece of scrap
plywood with more hot glue, then used thickened epoxy to
form consistent fillets at the junction of plug and
plywood, where the laminate would extend outward to form
a mounting flange in the finished piece. I left
this stage to cure before continuing with the smoothing
and shaping necessary to complete the plugs. |

 |
| |
Total Time Today: 3 hours
|
<
Previous | Next > |
|
|