Project Log: Saturday, December 10, 2011
In the main cabin, there was still work to be done.
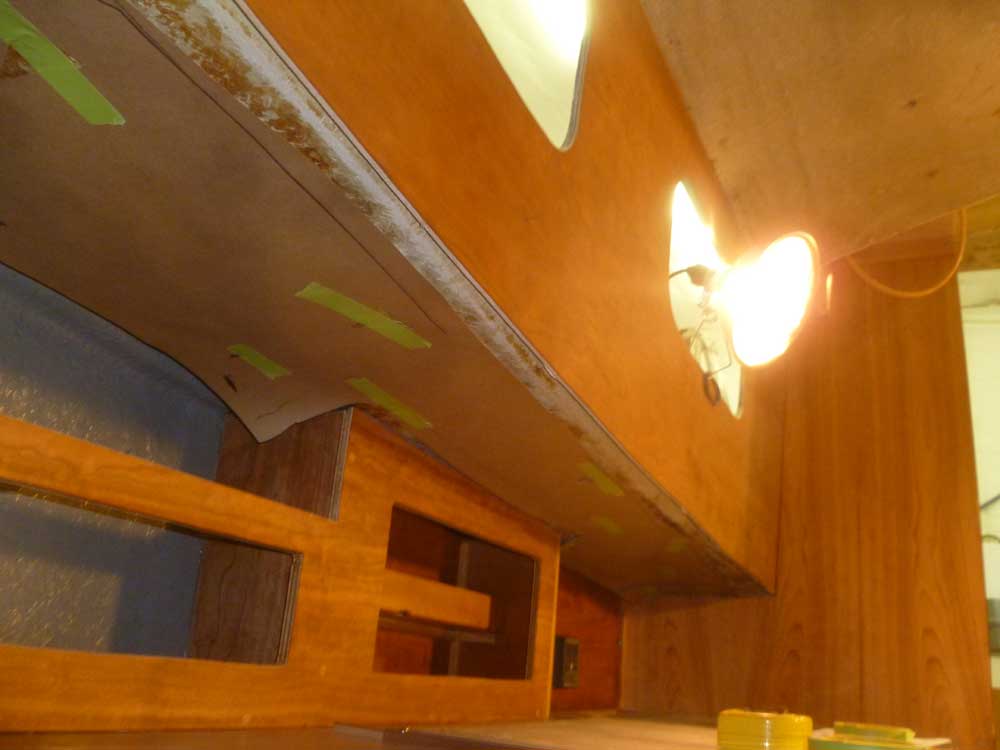
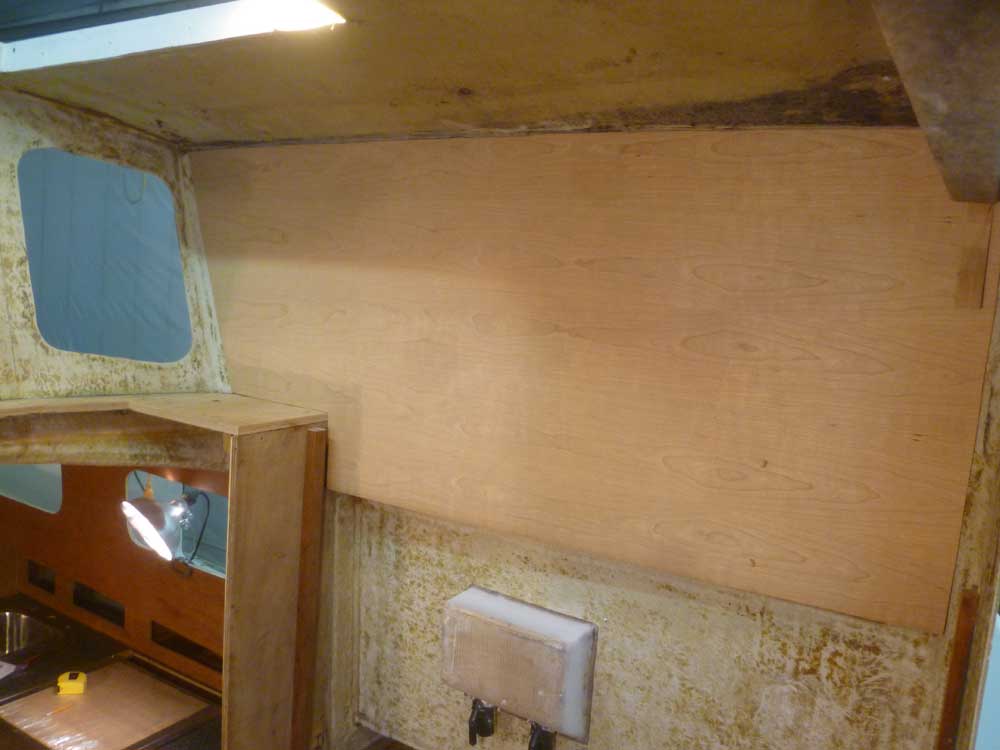
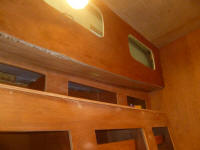
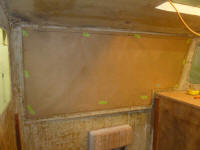
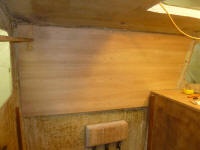
On either side, above the dinette and galley
respectively, the overhanging sidedecks needed to be
covered to hide the raw fiberglass. For these
areas, I planned to use cherry plywood, which I'd finish
in accordance with the surrounding cabinetry.
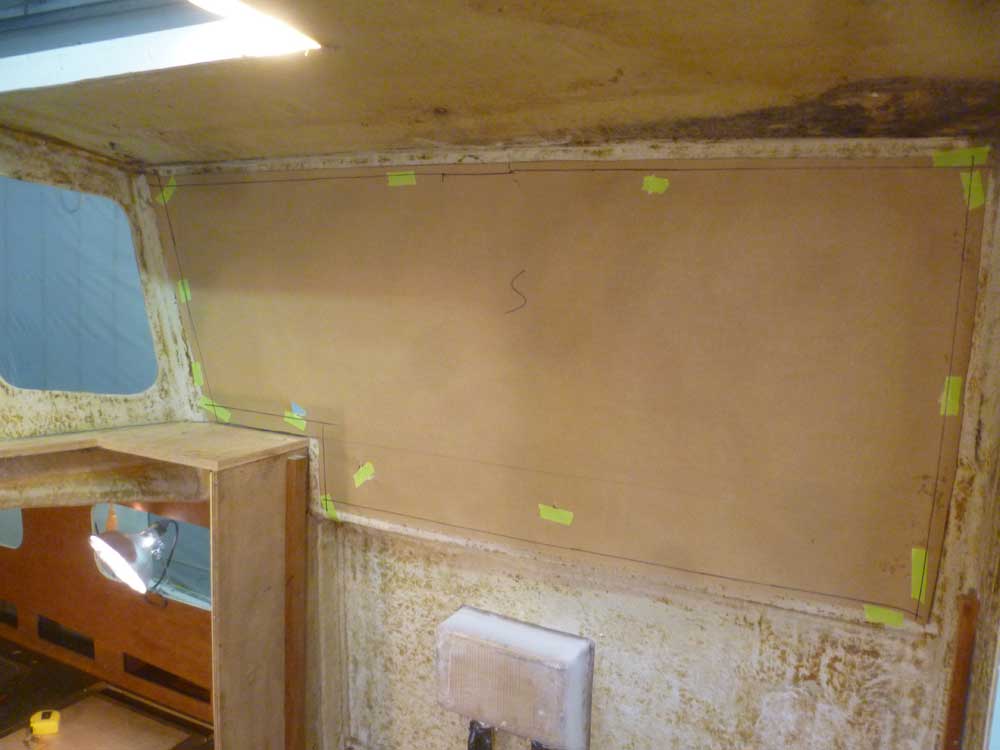
To begin, I made basic paper patterns in my habitual
way, cutting the patterns slightly undersized and taping
then in place on each side. Then, with steel rule
and a compass as needed, I traced the necessary shapes
on the patterns. |
 |
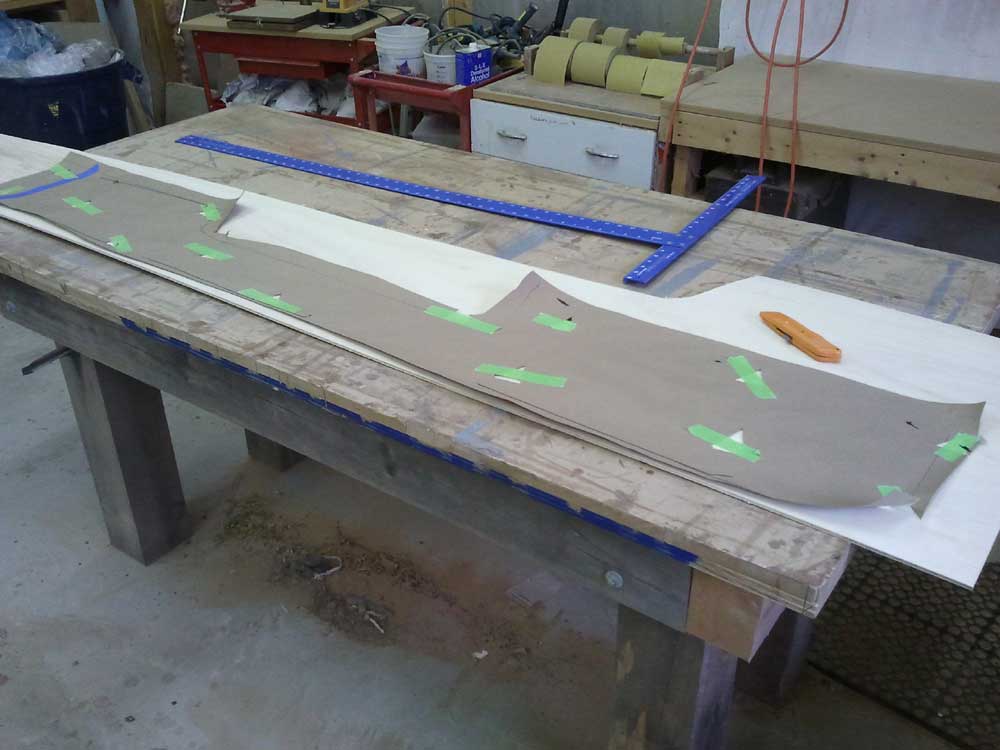
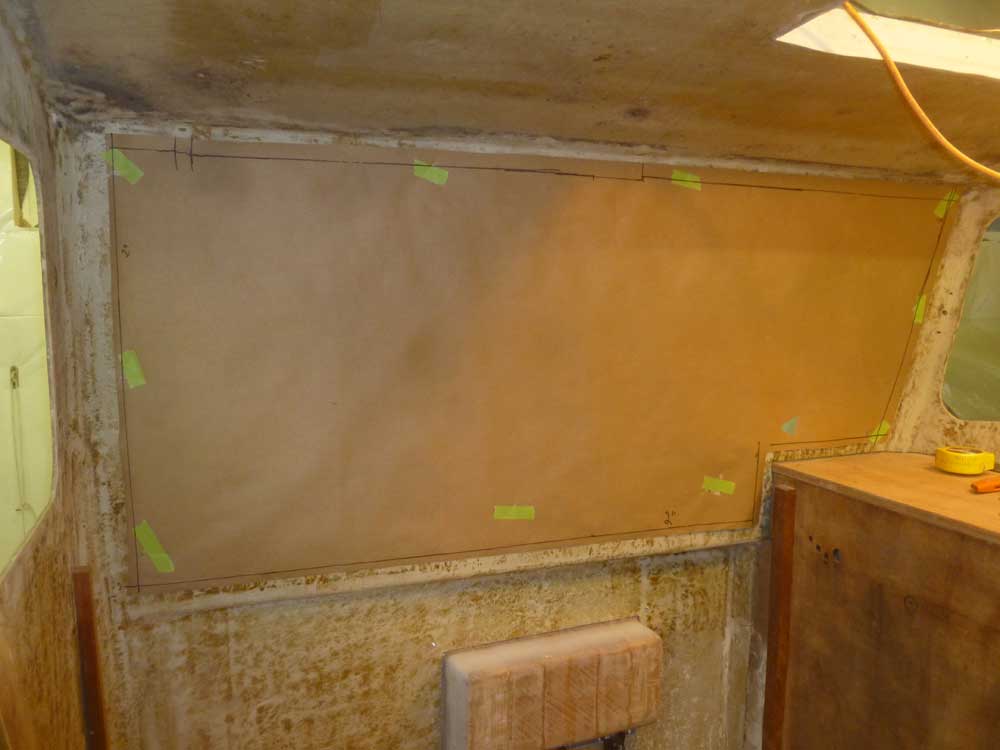
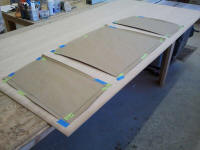
The section above the galley comprised several different
areas and shapes, so to be sure the pattern was accurate
I decided to first cut a plywood template from leftover
templating plywood I had on hand, using the Kraft paper
pattern to lay out the appropriate shape. The
dinette section was more straightforward, but I also cut
a plywood template for this section.
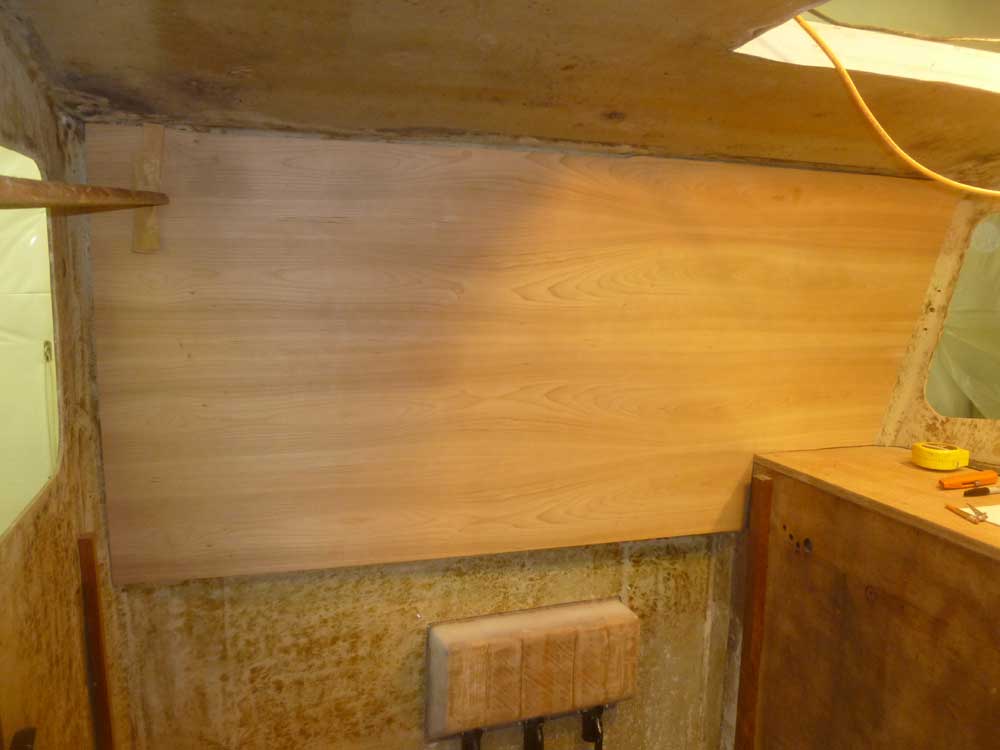
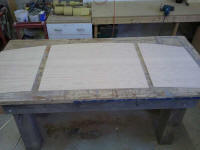
With the templates cut according to the paper templates,
I test-fit them in place on each side, propping them
tightly against the overhead. I had to make a
minor modification or two to the galley panel, but
otherwise the templates fit well.
On the dinette side, I let the panel extend past the
edge a bit past the inboard cut needed to be (where the
cabin trunk extended upwards), as this edge would best
be marked in place. I thought I had left a similar
overage on the galley panel, but for some reason this
panel ended up a couple inches short on the inboard
(cabin trunk) side. This was of no particular
issue now; I simply noted that I needed to add several
inches when I cut the actual cherry panel. |

 |
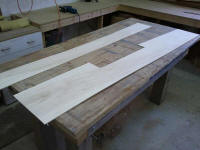
Satisfied with the templates, my next step would be to
transfer their shapes to 1/4" cherry veneer plywood.
I had several sheets on hand, but I'd actually purchased
these sheets to cover the interior of the pilothouse, so
with that in mind I thought I'd better pattern the
pilothouse sections first to ensure that I had enough
plywood for everything. In the grand scheme, the
pilothouse paneling was more important, and I wanted to
choose the best pieces for this and use the offcuts for
the not-highly-visible sidedeck coverings.
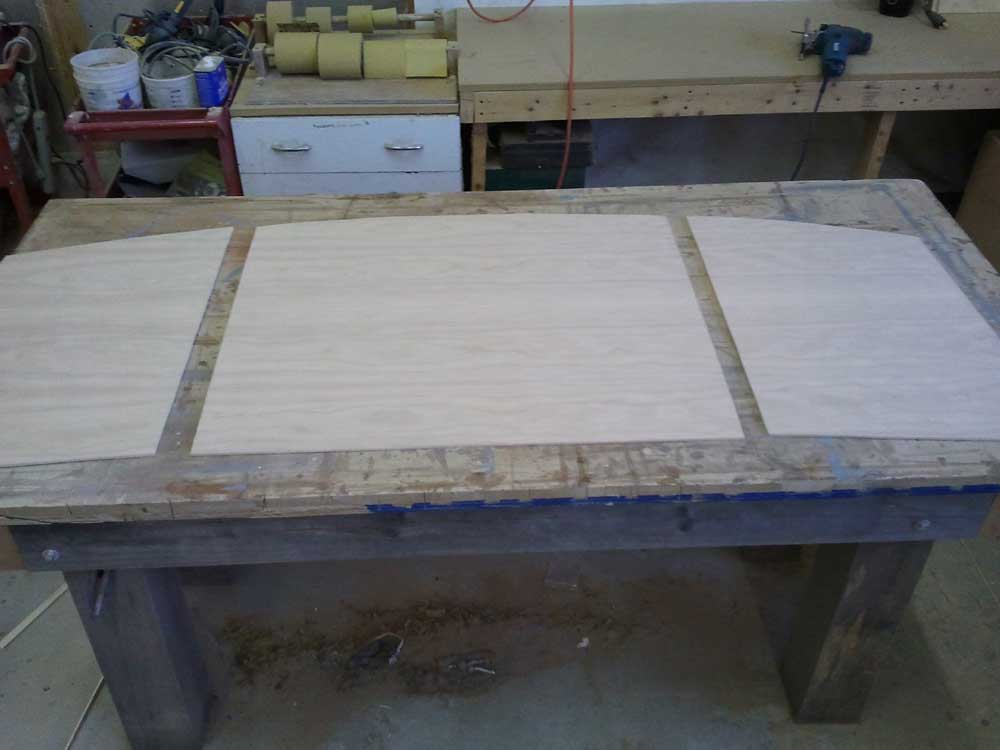
To this end, I created paper patterns of the forward end
and two sides of the pilothouse (I'd do the aft bulkhead
later, once the remainder of the main cabinetry was in
place). There were three small sections required
for the forward bulkhead, and larger pieces for each
side panel. For the sides, I made only a single
paper template, since I could reverse it and use it for
each side. |

 |
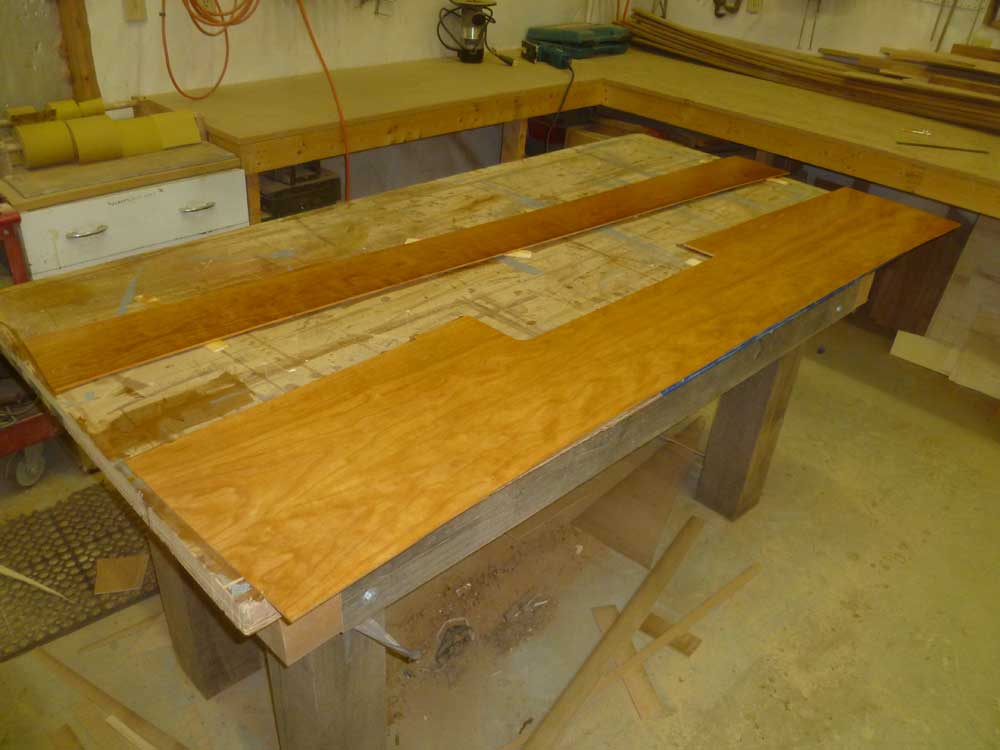
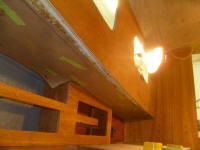
With the patterns made, I transferred the shapes to the
cherry plywood; I saw no need for cheap plywood
templates here as the shapes were uncomplicated and I
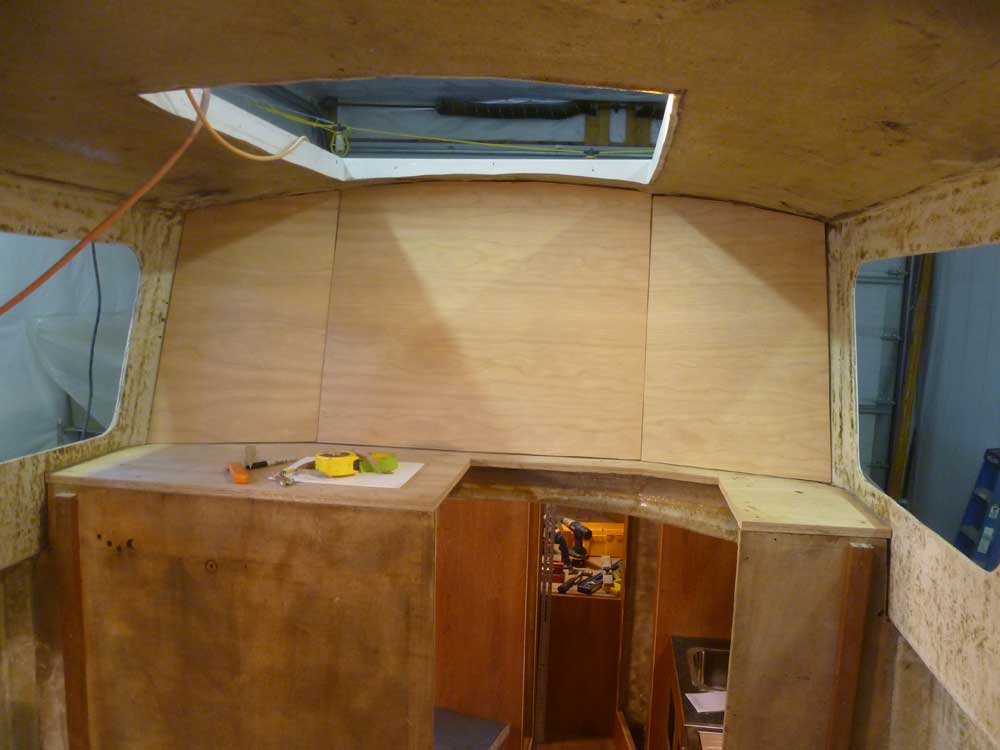
trusted the patterns. Beginning with the three
windshield sections, cut out the shapes, but when I
test-fit these three pieces they were all significantly
oversized. It took me a few minutes to realize the
error: I'd used the wrong ruler to transfer the
lines from the patterns to the plywood. Normally I
used a 2" wide steel rule--the standard width of the
long leg of a framing square or drywall T-square--but in
this case, with limited room in the pilothouse I used a
narrower (1-1/2") and highly flexible steel rule to make
the patterns, but had forgotten this when I transferred
the lines, so each piece was an inch too large on both
axes.
This was an easy fix, since the panels needed to be
smaller than they were, so I remarked them using the
proper rule and made the additional cuts. This
time, the panels fit nicely. (The panels are only
loosely propped in place in the photos below.)
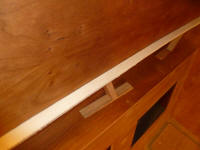
Holding the panels in place from inside, I traced the
outline of the windows from the outside so I could make
the cutouts. |
 |
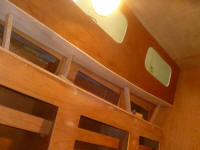
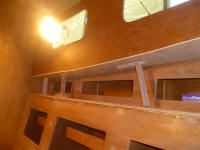
| I continued the process with the two larger side
panels, bringing the bottom edge down as far as the
molded step in the side of the pilothouse, at least for
now; later steps might dictate shortening this somewhat.
The space below the new cherry panel would eventually be
hidden behind the pilothouse cabinetry. |

 |
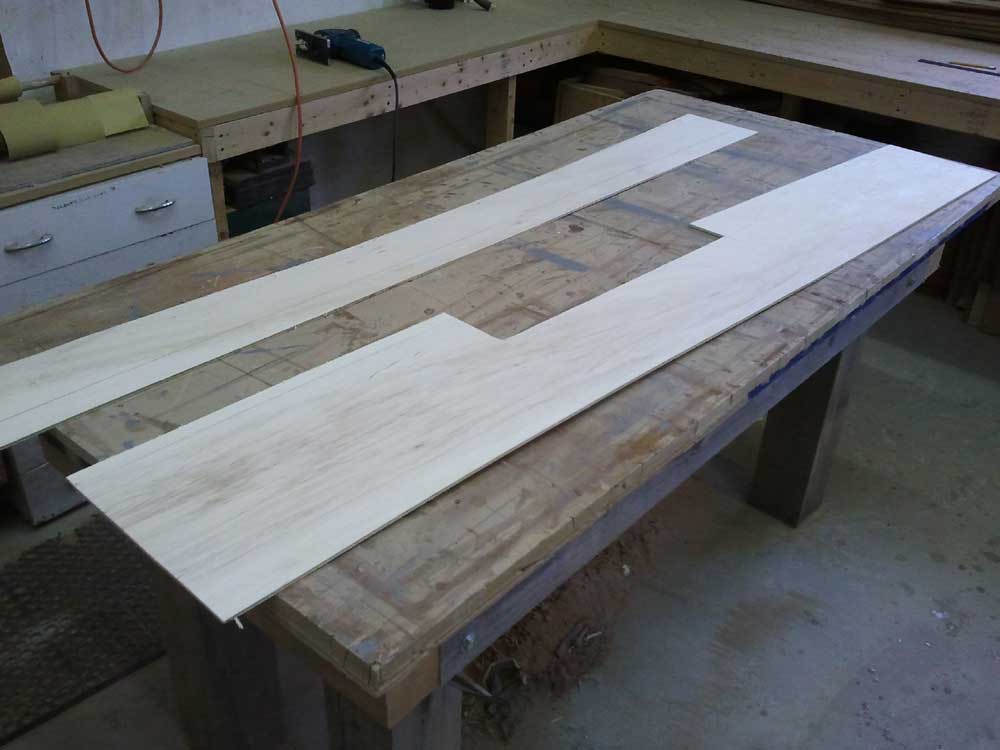
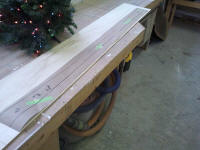
With the larger pilothouse panels now cut, I had plenty
of offcut plywood to lay out and cut the final pieces
for the underside of the sidedecks in the main cabin.
As with the templates, I left the inboard edges overlong
and marked the exact location of the necessary cuts once
I had the panels wedged in place. Then, back on the
bench, I made the final cuts. |

 |
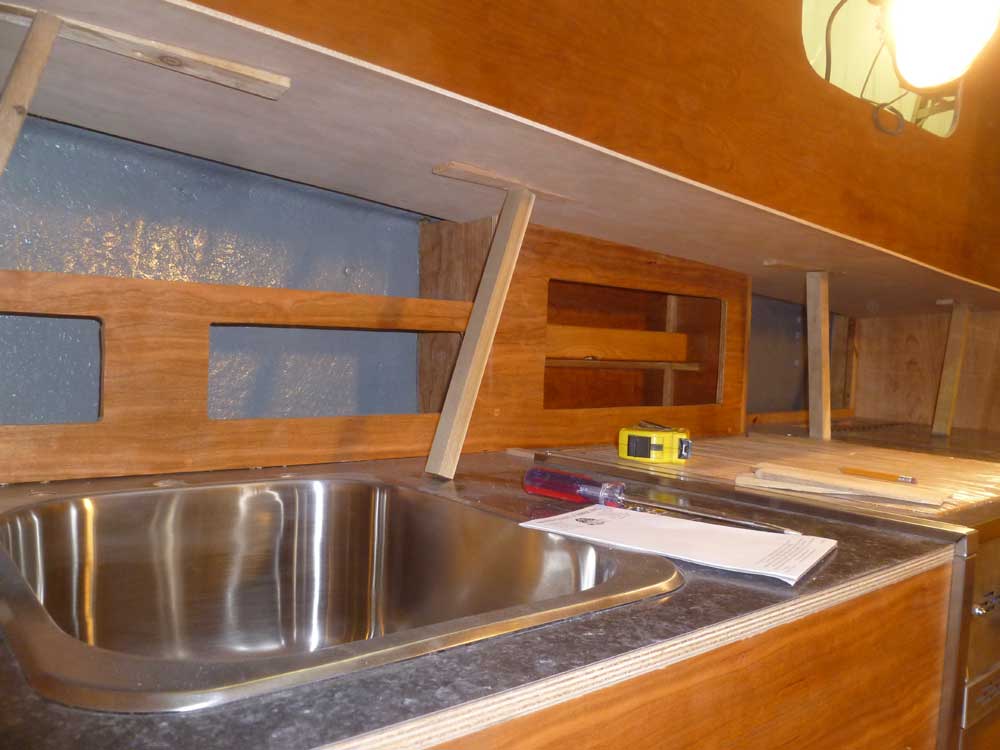
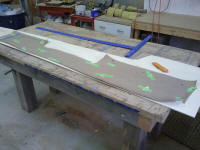
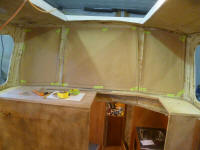
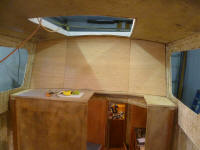
I wasn't quite ready to install the pilothouse panels,
so I left them be for the moment, but I was ready to
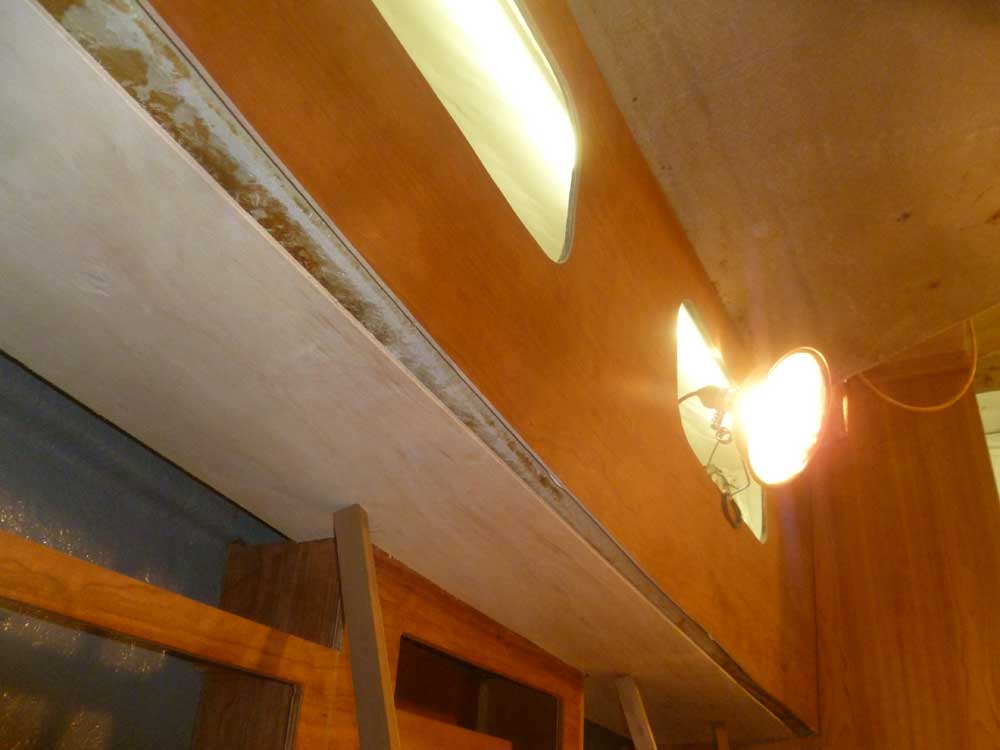
install the dinette and galley panels, so I lightly
sanded the pieces and applied a coat of epoxy to the
side that would face the underside of the deck.
Then, later, I flipped them over and applied a sealer
coat of varnish to the exposed surface. |
 |
Total Time Today: 6.25 hours
|
<
Previous |
Next > |
|
|