Project Log: Saturday, June 11, 2011
I was ready to continue with the work on the
newly-molded fuel fill recesses--that is, with the
jumboization of the port unit to accommodate three
fills, rather than the two for which I'd mistakenly
built it. (The starboard unit required only two
fills.)
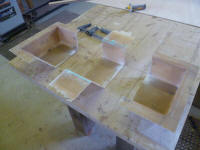
After making various measurements, I determined that I
required an additional five inches, so I laid out a five
inch strip on the newly-built center section that I'd
laid up a couple weeks earlier. I also laid out a
cutline down the center of the port unit. Then, I
made the cuts, trimming the center section to a five
inch width and splitting the other piece down the
center. |

 |
|
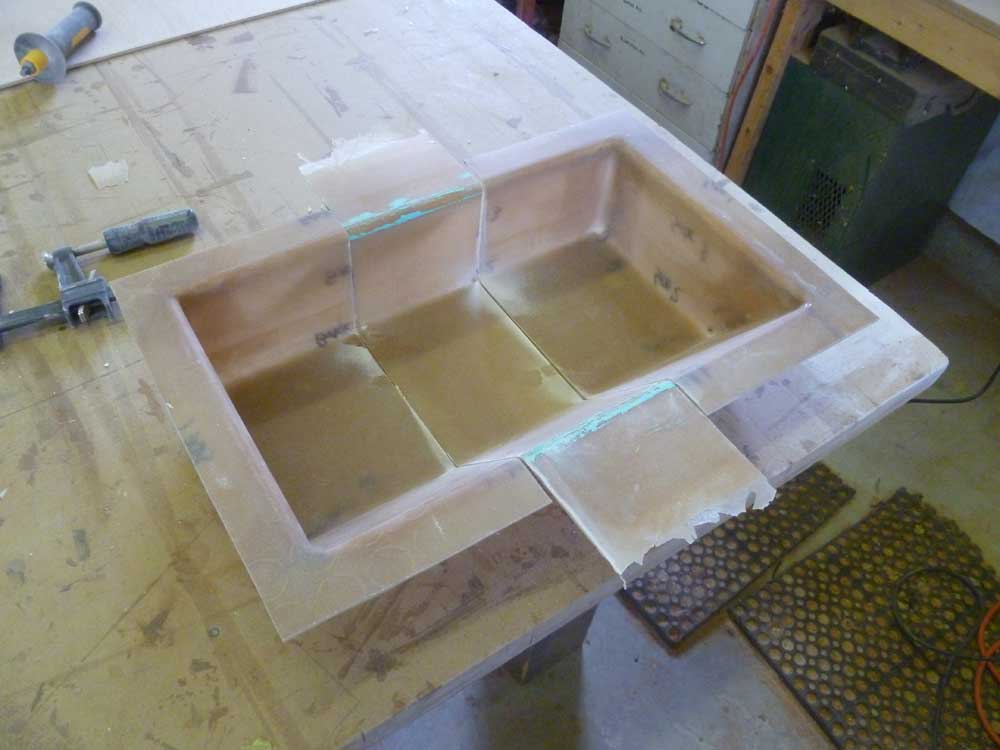
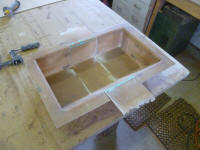
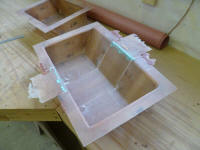
I installed the three pieces back over one of the
original molds to hold things in the proper position and
orientation; I used some small dabs of hot glue to hold
the pieces tightly to the mold. |
 |
The cutlines were imperfect, so in the small gaps
between the cuts I installed some thickened epoxy to
fill the gaps, which would create a more-or-less smooth
surface on the exposed side of the part; the molded
surface of these parts would require a certain amount of
fairing and preparation before painting anyway.
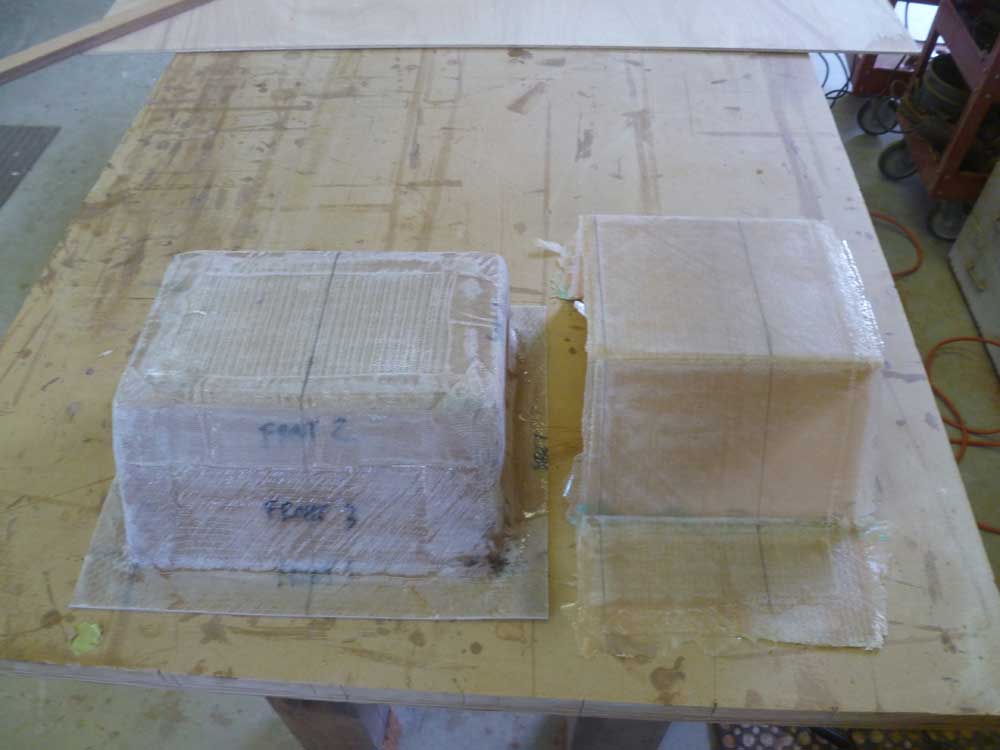
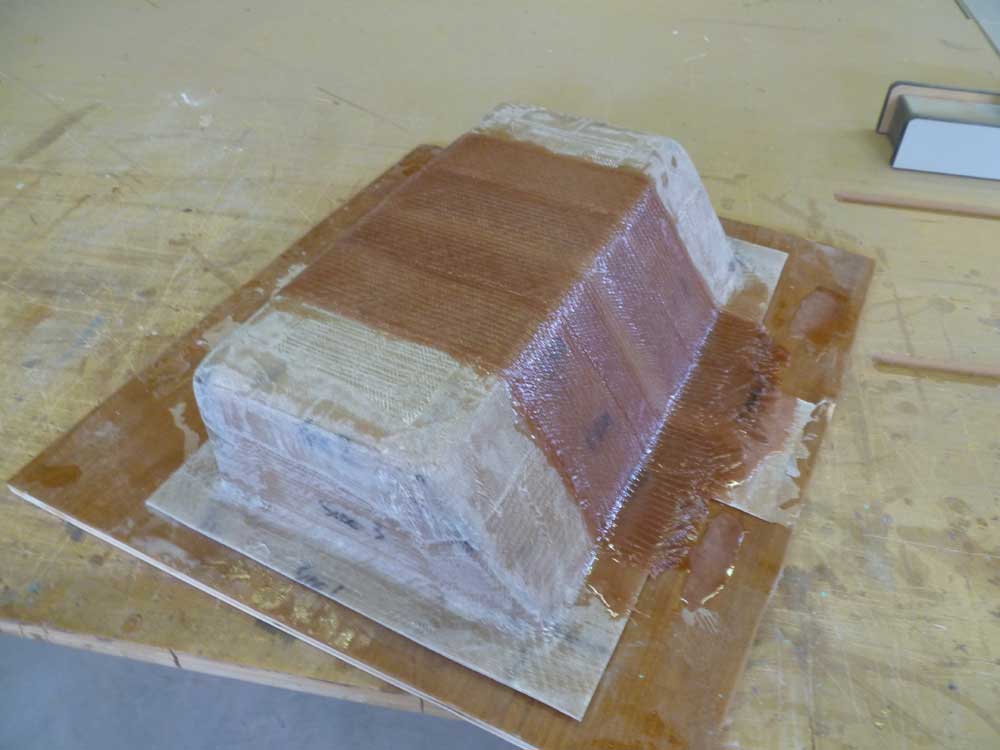
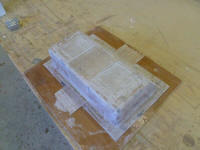
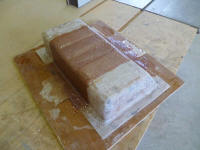
This complete, I tabbed the pieces together with two
layers of stitched biaxial tabbing, plus an additional
piece down the center for good measure. I set the
mold aside to cure. The final picture in this
series shows the difference in size between the enlarged
port piece and the original-sized starboard one. |

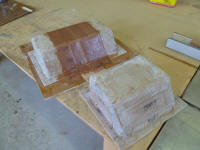 |
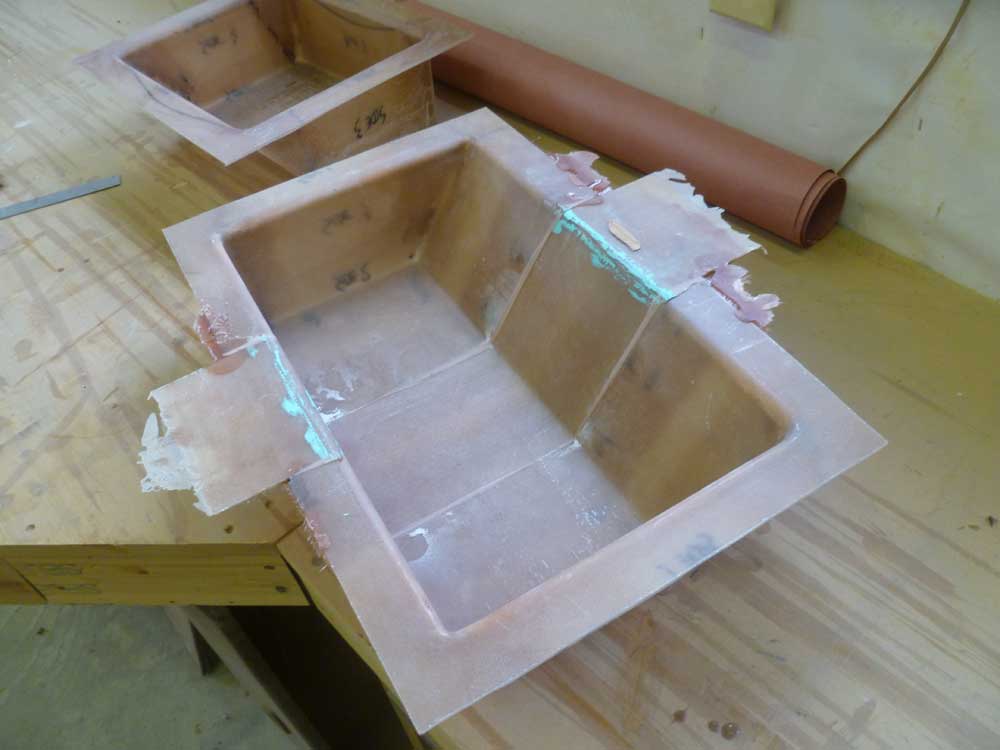
Sometime later in the day, I determined the new tabbing
had cured sufficiently for me to unmold the
newly-enlarged part. I chose to unmold it early
since I'd not re-waxed the mold before proceeding, and I
didn't want there to be any chance of the part sticking
to the mold when it had fully cured. Once I'd
removed the part from the mold, I set it aside to
continue to cure. |
 |
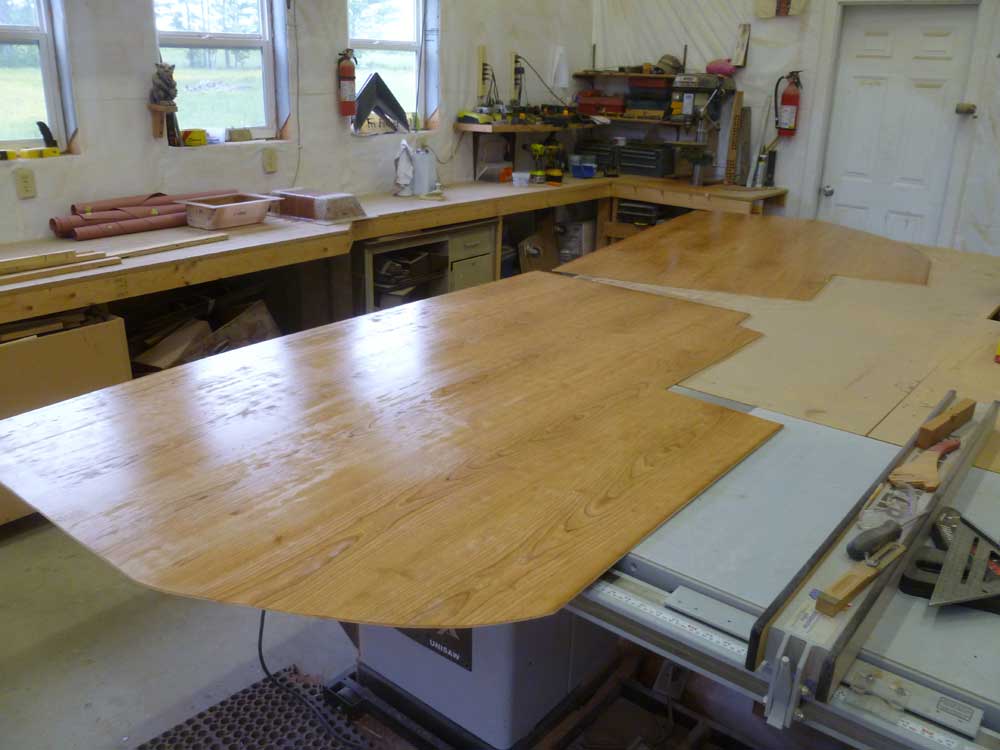
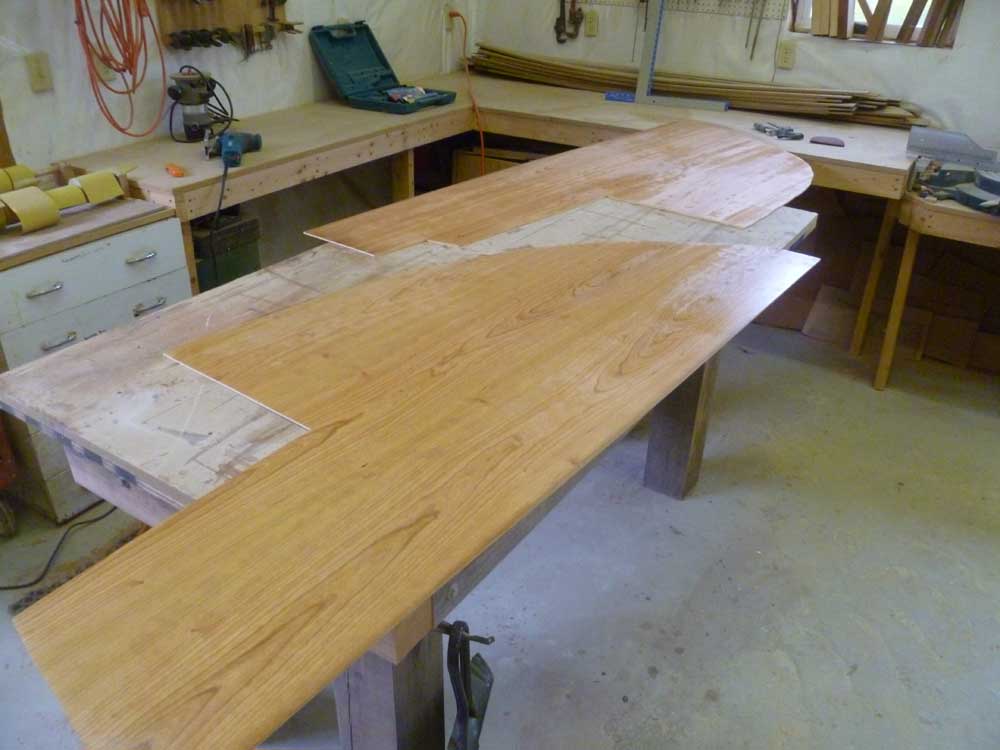
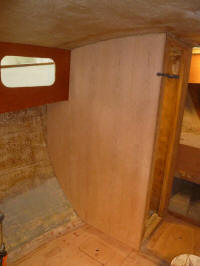
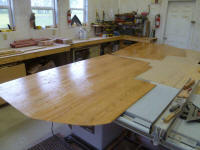
Meanwhile, I turned to the bulkheads in the main cabin,
which I was ready to cover with their new cherry veneer.
Armed with six sheets of 1/4" cherry plywood, I decided
to spread the sheets around the shop so I could choose
(from a distance) which ones featured the grain patterns
I wanted to be in the most exposed section of the
interior, as well as to match various sheets as closely
to one another as possible for a consistent appearance.
There were two sheets with a very similar grain pattern
that didn't look too "manufactured", and I selected
these sheets for the forward bulkheads. One sheet
was clearly different from the other five in color
tones, so I immediately rejected that one for some other
place in the boat; the remaining two sheets also
featured grain patterns nearly identical to one another,
though with a grain I didn't like as well as the first
two, so I selected those two sheets for the aft
bulkheads. I'd determined, unfortunately, that the
two smaller bulkheads on the starboard side could not be
made out of the same sheet of plywood--it was close, but
close didn't help. |
 |
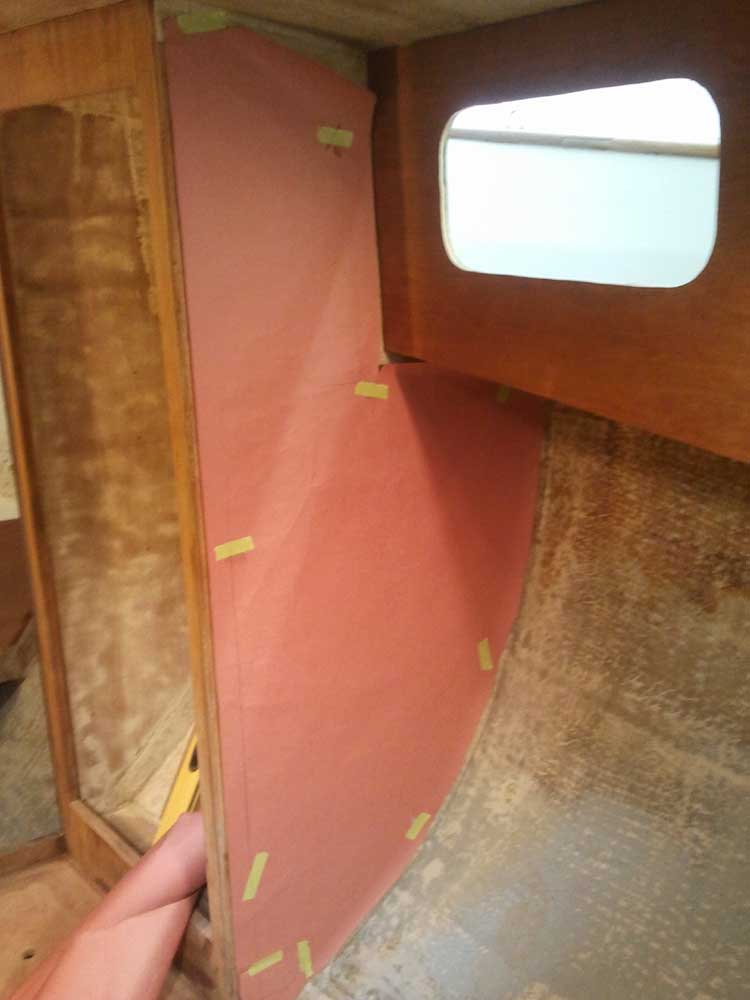
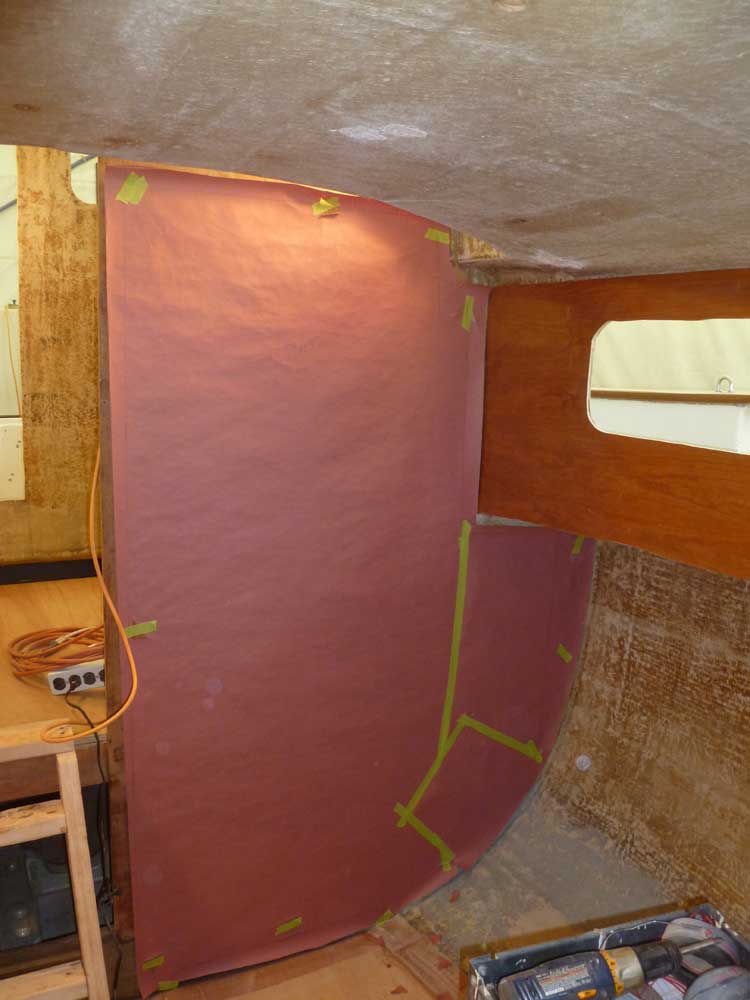
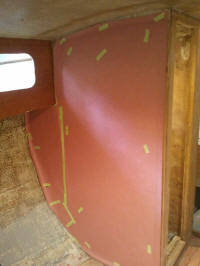
I made paper patterns of each bulkhead section, cutting
the paper a bit smaller than the bulkhead and using a 2"
wide steel rule and compass set at 2" to mark the shape
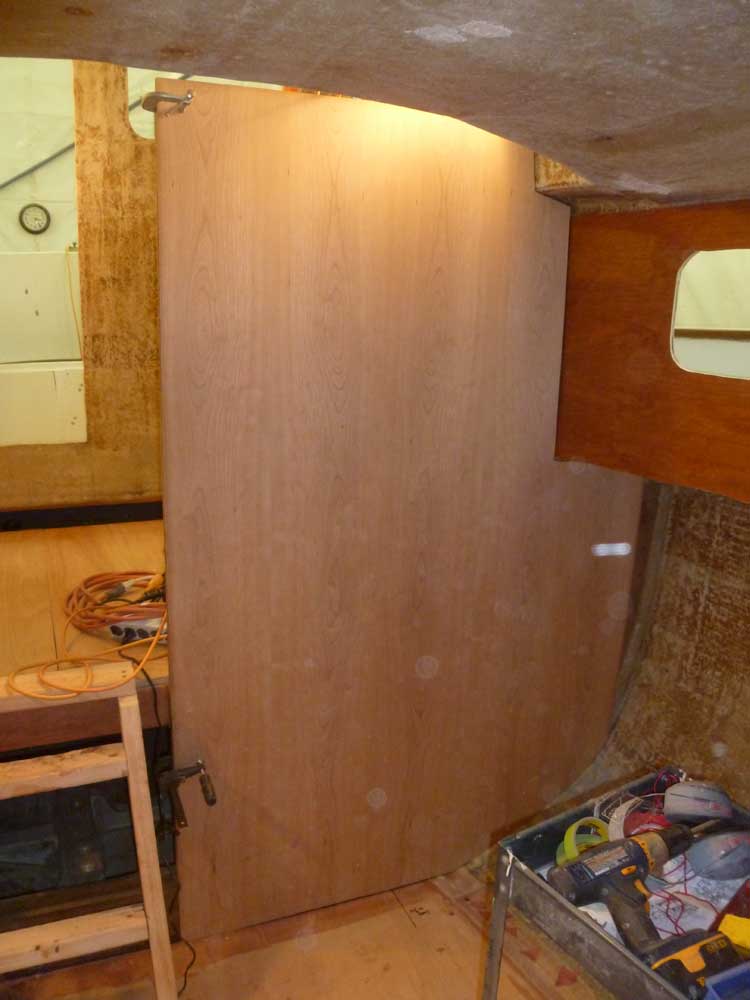
on the paper. Then, I transferred each shape to a
sheet of plywood and cut it out. |
Port Forward
 |
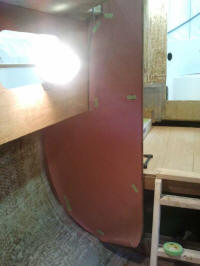
Starboard Forward

 |
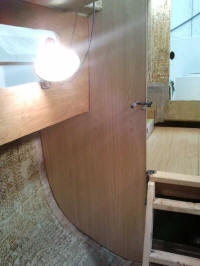
Starboard Aft
 |
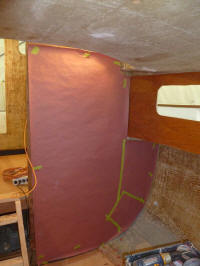
Port Aft
 |
With all four pieces cut and test-fit, I spent the last
part of the day preparing for and applying a sealer coat
of varnish to the exposed surfaces. If I'd had
time, I probably would have chosen to install the
plywood immediately and varnish afterwards, but it had
grown late and I knew I'd have to do the installation
another day, and it was easier to do the varnish on the
bench anyway. |
 |
| |
Total Time Today: 5.5 hours
|
<
Previous |
Next > |
|
|