Project Log: Saturday, June 25, 2011
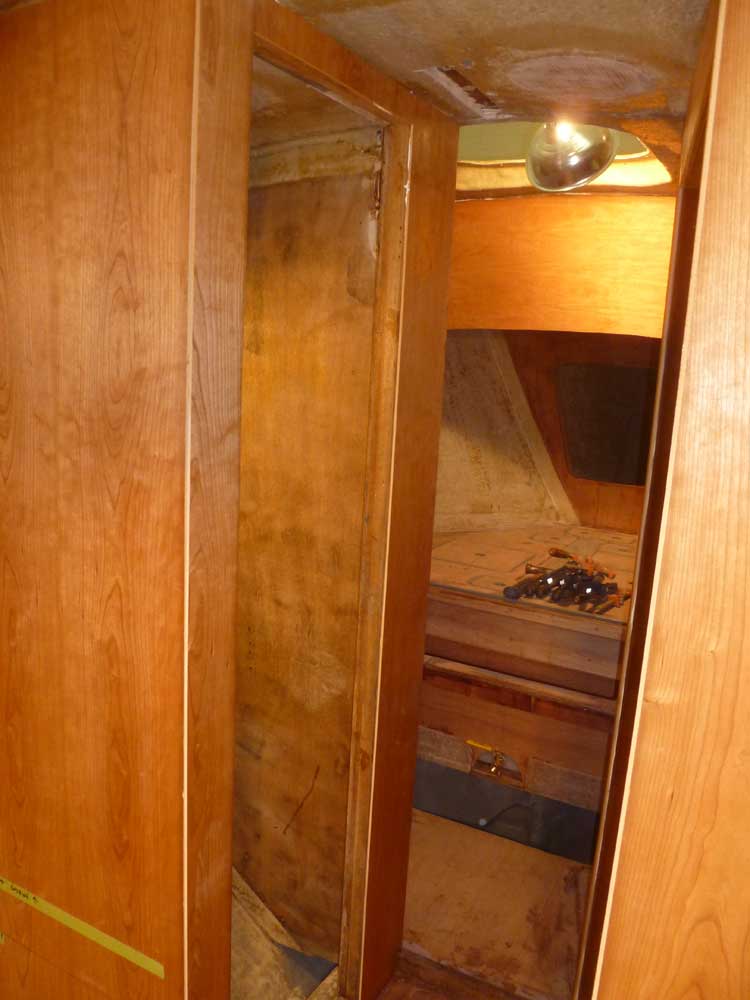
First thing, I removed the clamps and braces in the
passageway, as the adhesive had cured overnight. |
 |
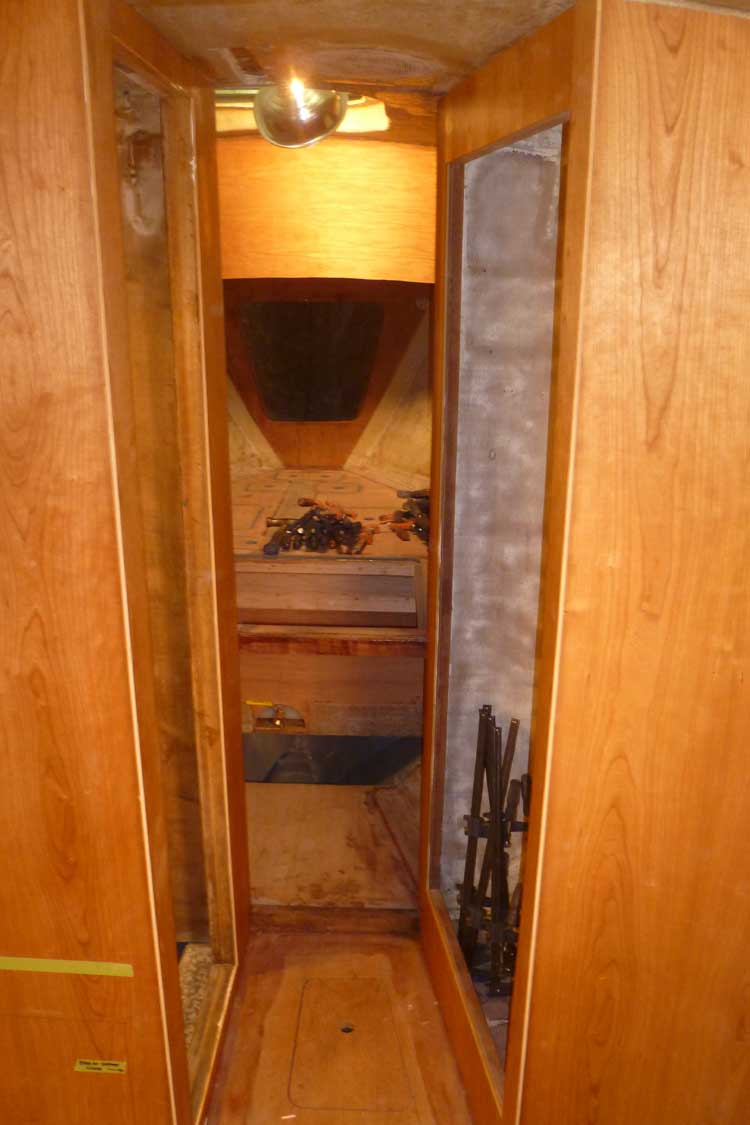
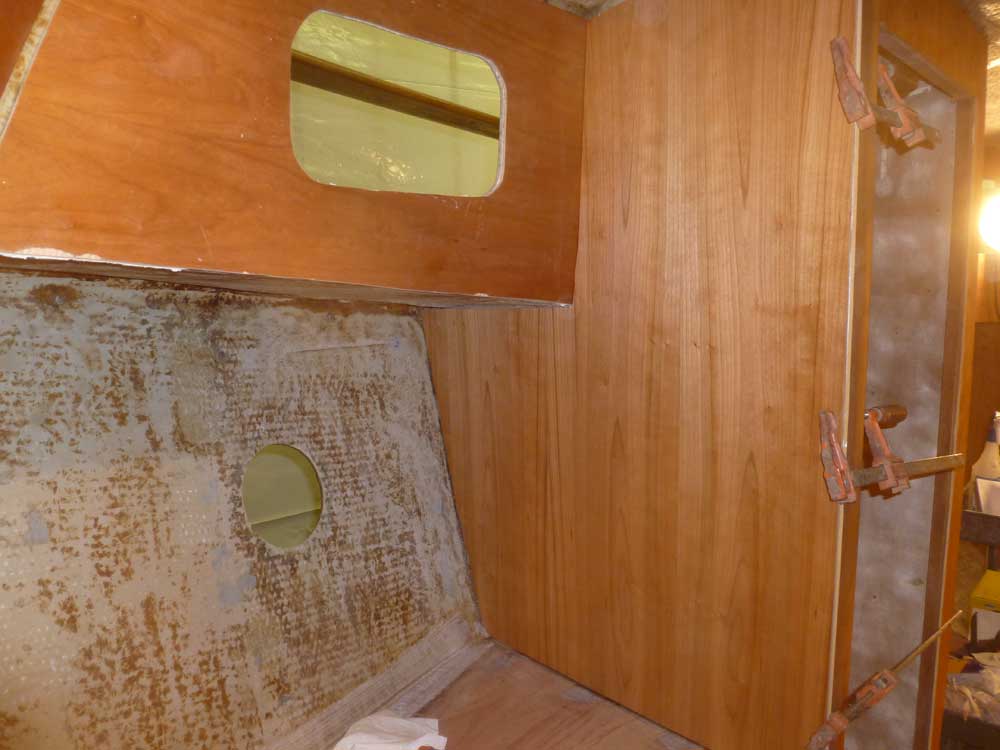
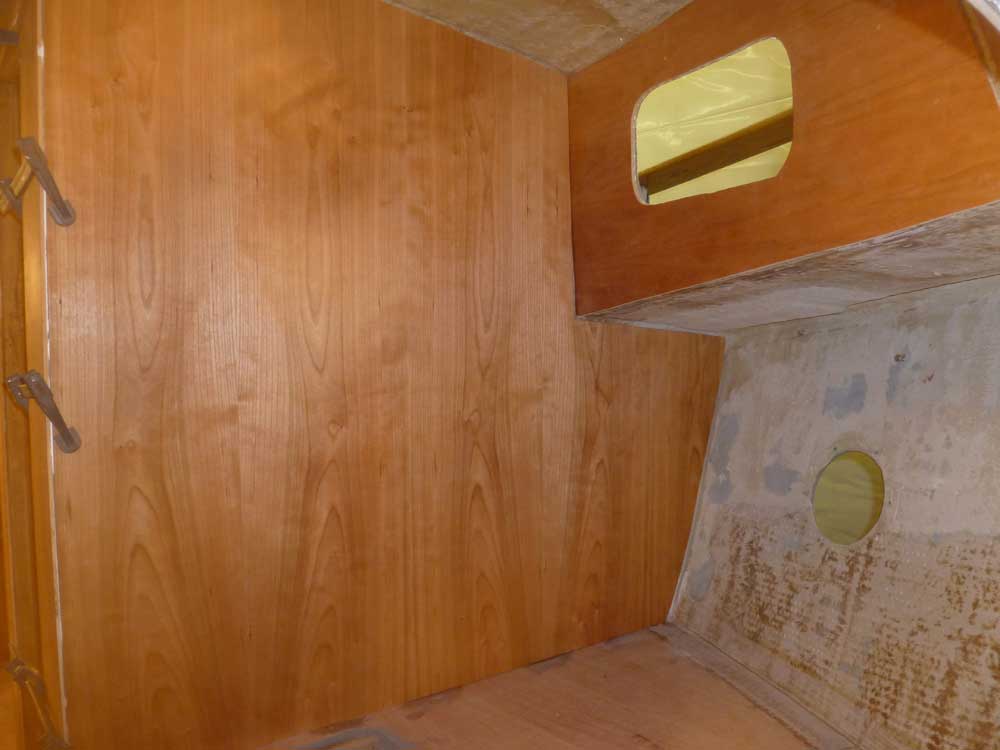
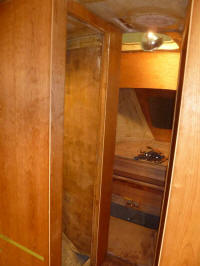
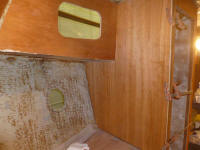
In the forward cabin, I repeated the panel installation
process I'd used elsewhere on the boat: apply
adhesive, clamp panels in place, and cross-brace as
needed to hold them securely. |


 |
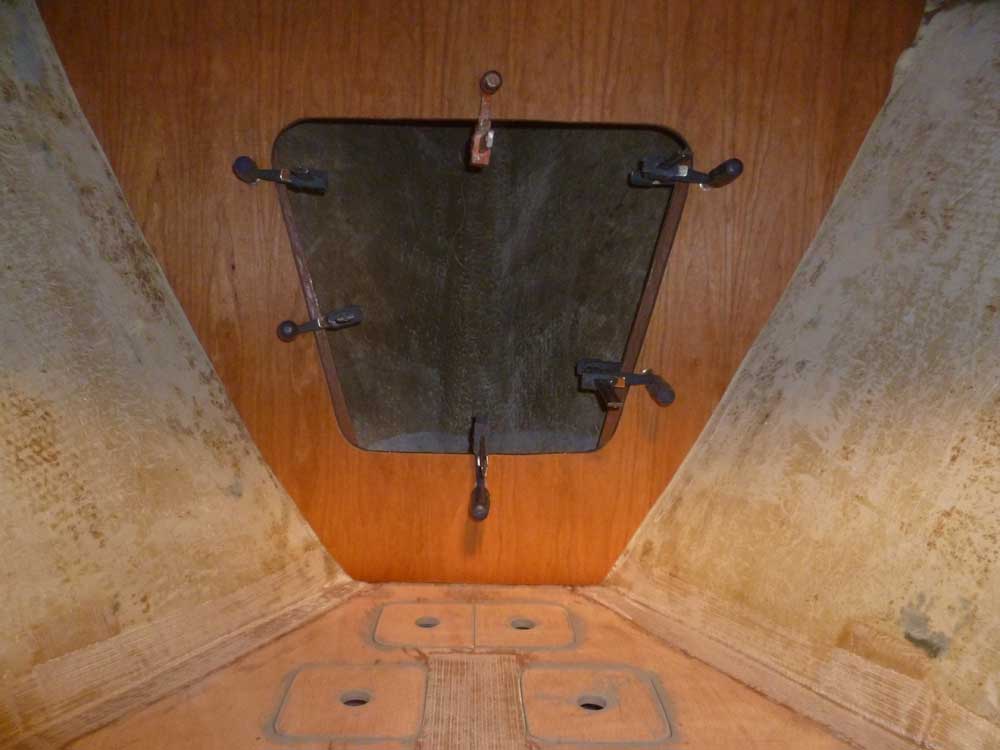
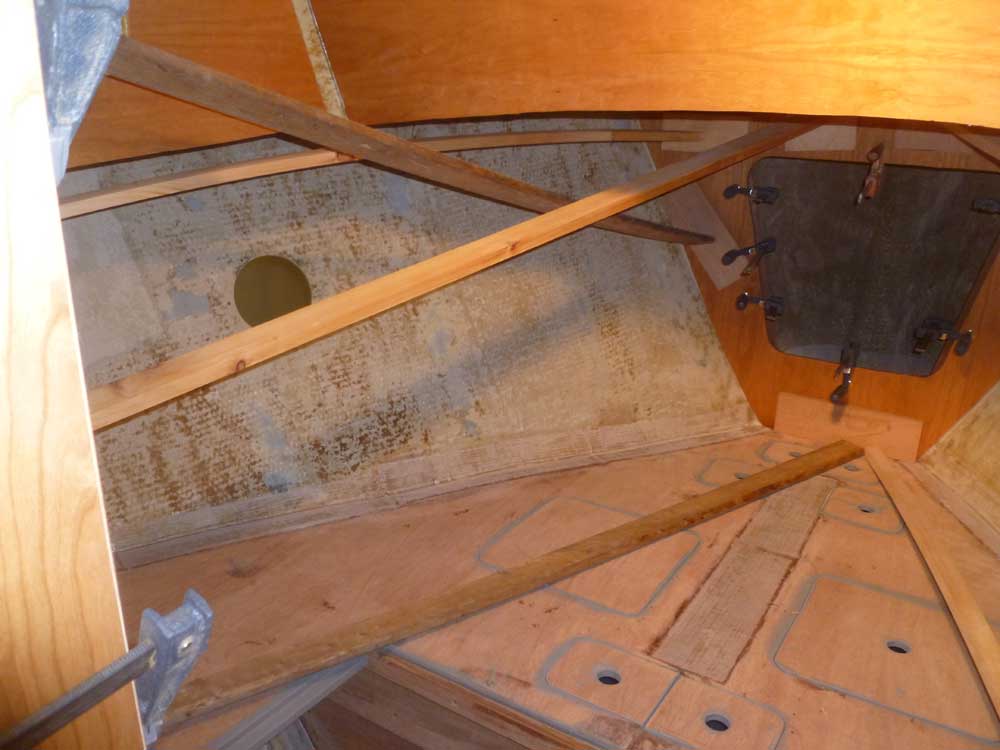
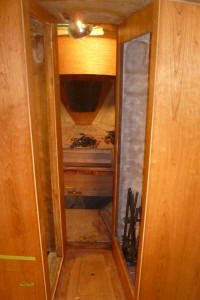
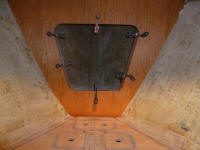
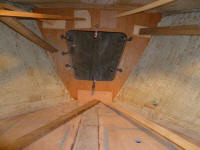
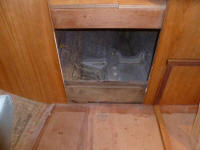
I took a semi-tangential course and prepared a panel to
close off the forward end of the engine room, beneath
the companionway ladder. This panel, which would
be removable for access to the front of the engine room,
I thought )at least at this moment) would also
eventually incorporate the ladder to the cabin. It
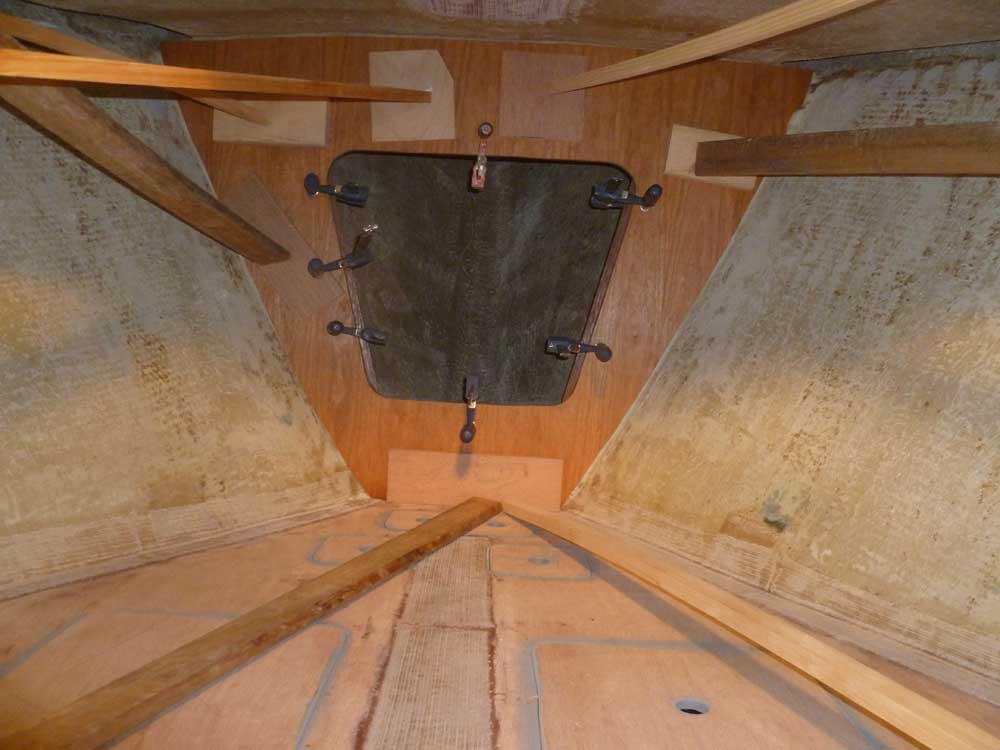
was a simple rectangular panel. I chose this
moment to build the panel since I had some adhesive left
over in a tube from the forward cabin paneling
installation, and since the adhesive goes bad once the
tubes are opened (within a relatively short while), I
thought I'd use up the remainder on the new panel.
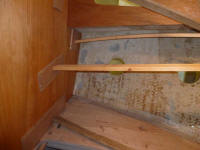
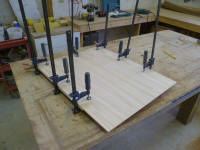
Because of the existing features of the opening, I built
the panel in two pieces: a 1/2" backer piece, and
a 1/4" veneer panel, which extended below the end of the
back panel to cover a stepped portion of the original
bulkhead. Once I'd cut the panels on the table
saw, I glued them together with the leftover 5200. |
 |
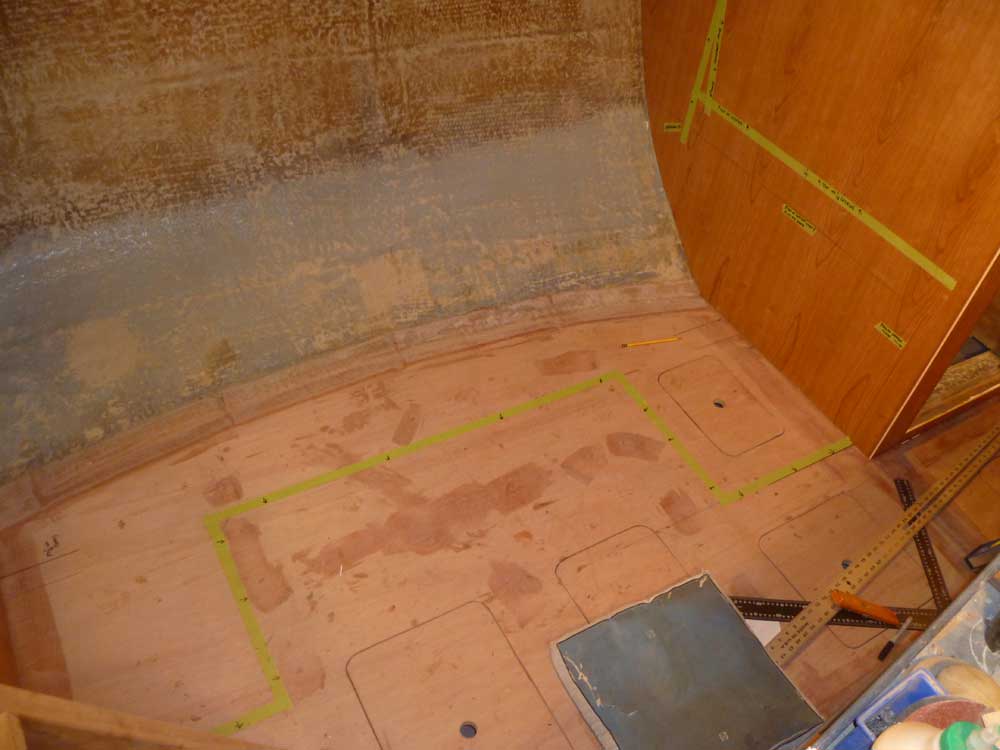
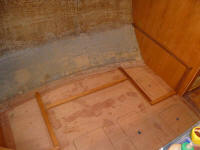
I spent the rest of the day on the layout for the
dinette. Starting where I left off, I puzzled
things out: measuring, masking tape mockups,
remeasuring, and more. Eventually I determined a
compromise that I thought would allow for comfortable
seating, angled backrests, and a usable table: 18"
cushion width, with the dinette base set back four
inches from the edge of the seat. As part of the
process, I marked the footprint of the dinette support
cleats on the cabin sole. |
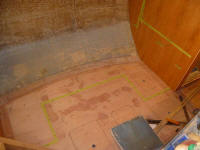 |
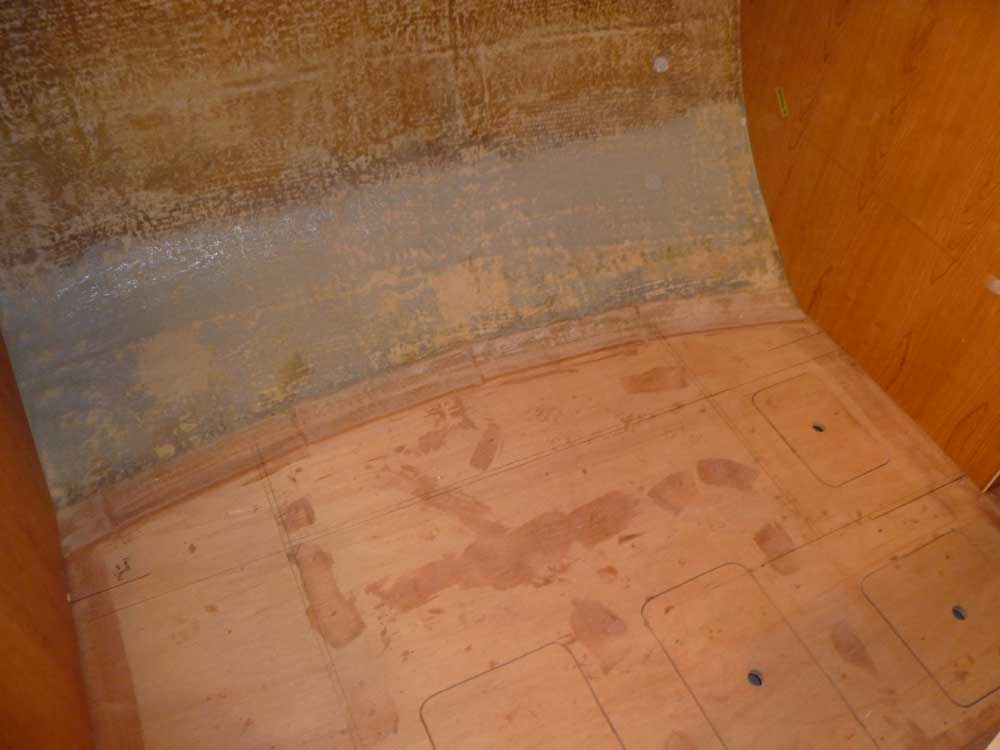
After much thought--conceptions like this require more
thought than action--I committed to the design, and,
with tape measure and framing square, drew pencil lines
on the sole to demark the edges of the support cleats. |
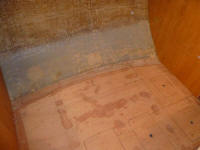 |
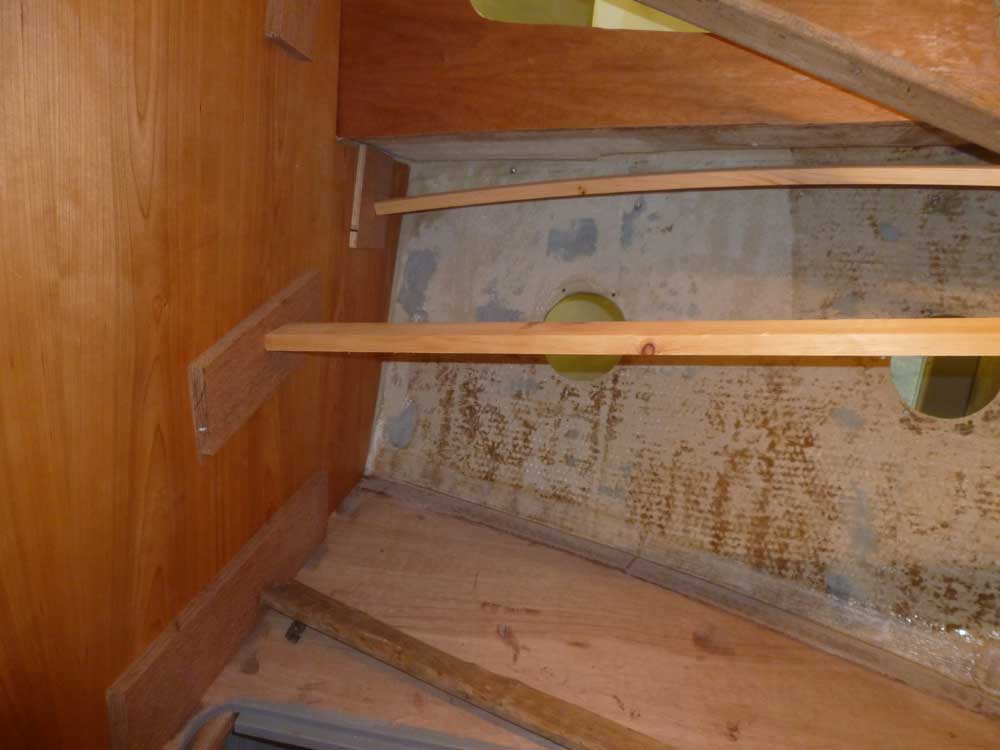
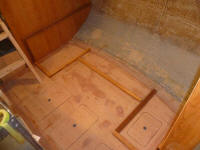
I measured for and cut hardwood support cleats for the
dinette base, as well as for the platform itself.
Then, I installed the cleats along my layout lines with
glue and screws. I ran the two transverse cleats
nearly to the hull since I planned to extend those
bulkheads to the hull for additional support to the
seat, as well as to divide the storage area beneath into
convenient spaces. |
|
Total Time Today: 5.25 hours
|
<
Previous | Next > |
|
|