Project Log: Saturday, March 12, 2011
With the forward water tank well-secured fore-and-aft
with its new bulkheads, I finalized the installation
with some pour-foam in the spaces between the tank and
hull on each side. I allowed the foam to expand
slightly beyond the top of the tank; later, I'd cut off
the excess. |
 |
Striving to complete work using, for the moment, only
materials currently on hand, I shifted focus a bit and
turned to the cabin sides in the main cabin. Since
I had a couple sheets of 1/4" cherry plywood in stock,
it seemed a good time to pattern and begin some of the
cherry trim in the cabin. It made sense to get the
cabin sides done early while the interior was still wide
open.
The cabin sides were relatively smooth and quite flat in
both directions, with only a minimal curvature fore-and
aft. This would make installation relatively easy.
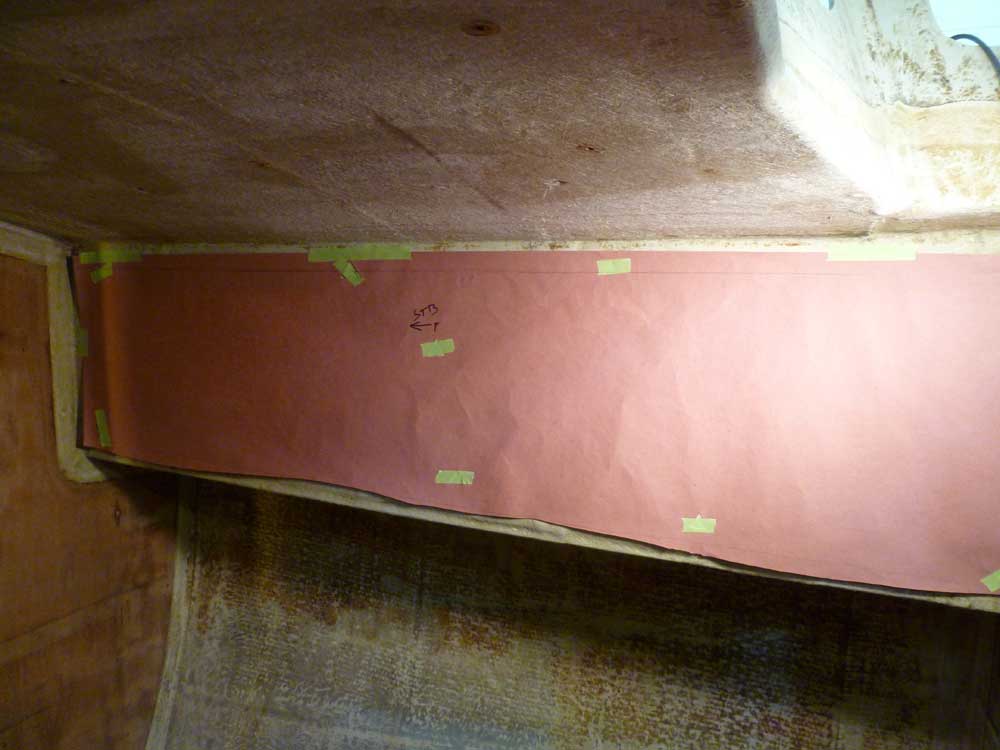
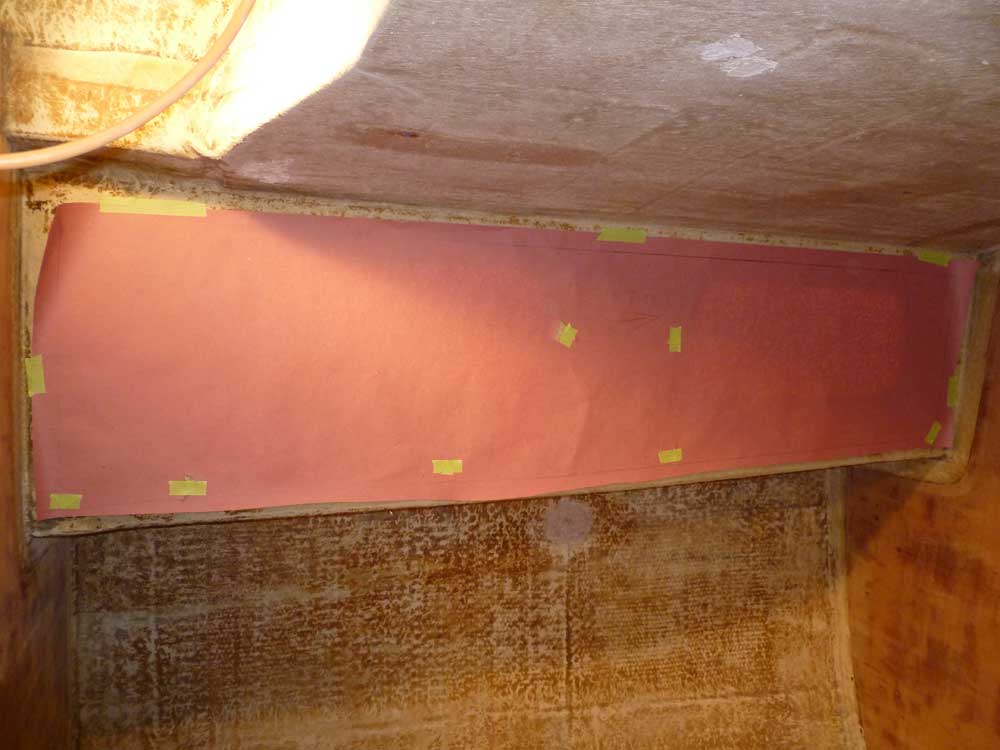
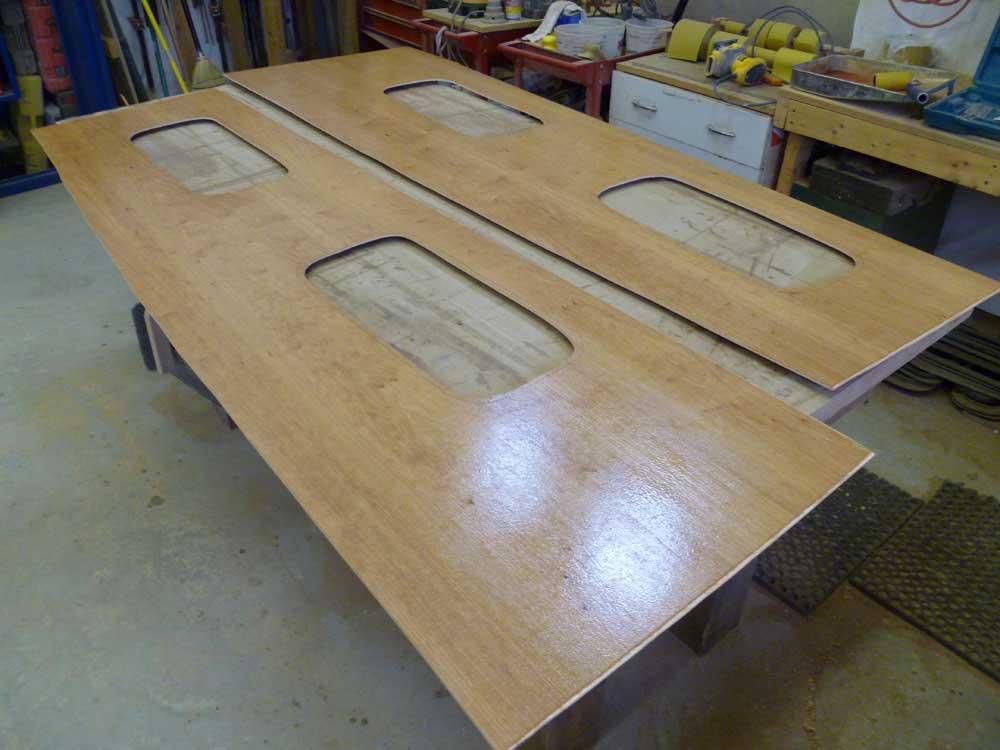
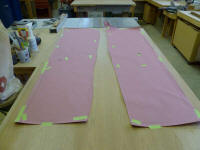
To begin, I created paper patterns of both sides, using
a 2" rule and/or scribe set to 2" to mark the shape on
the paper, which I cut slightly smaller than the actual
space. |


 |
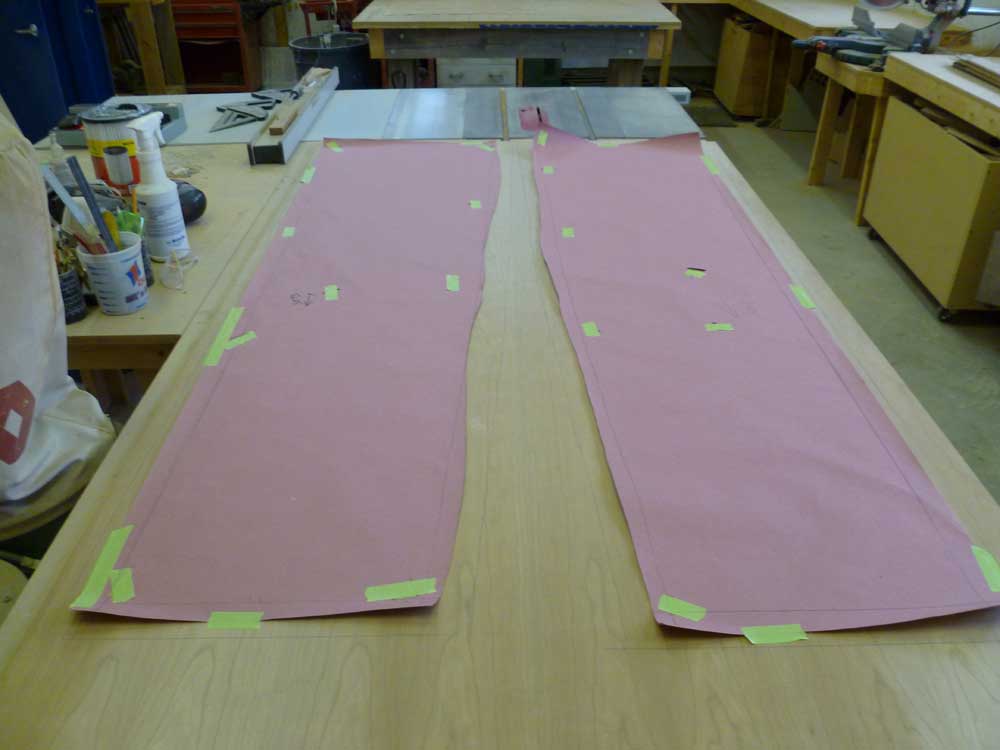
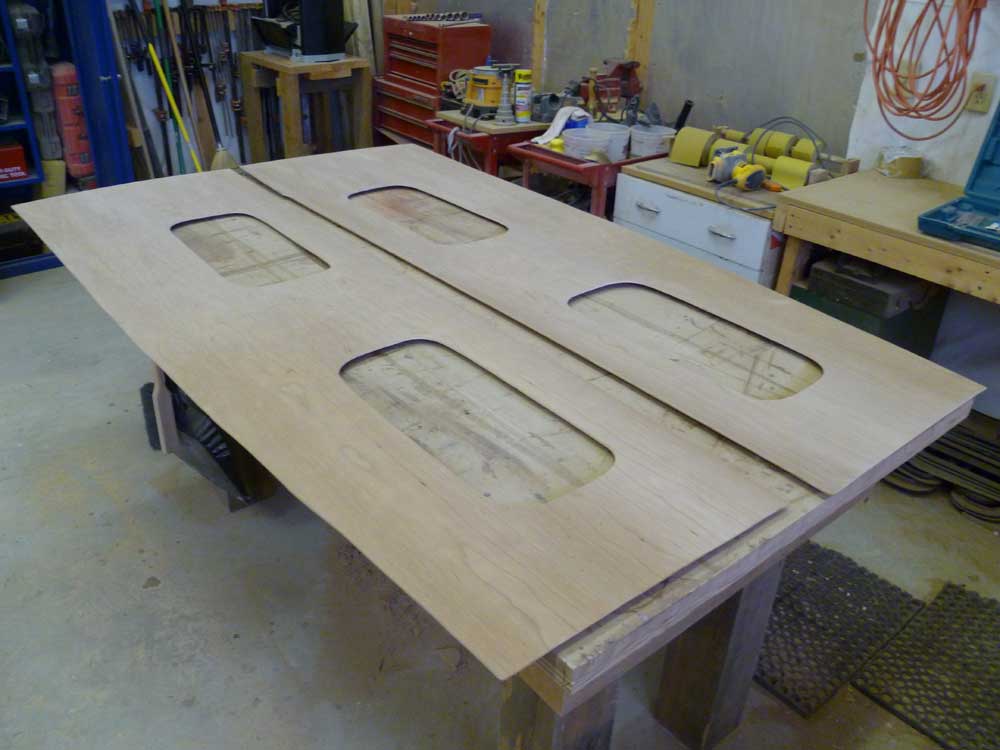
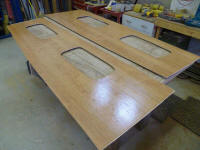
Patterns in hand, I laid out the two pieces on a sheet
of 1/4" cherry plywood and cut them out. I
left the lower edge a little long so I could trim it
flush with underside of the deck later, as needed. |
 |
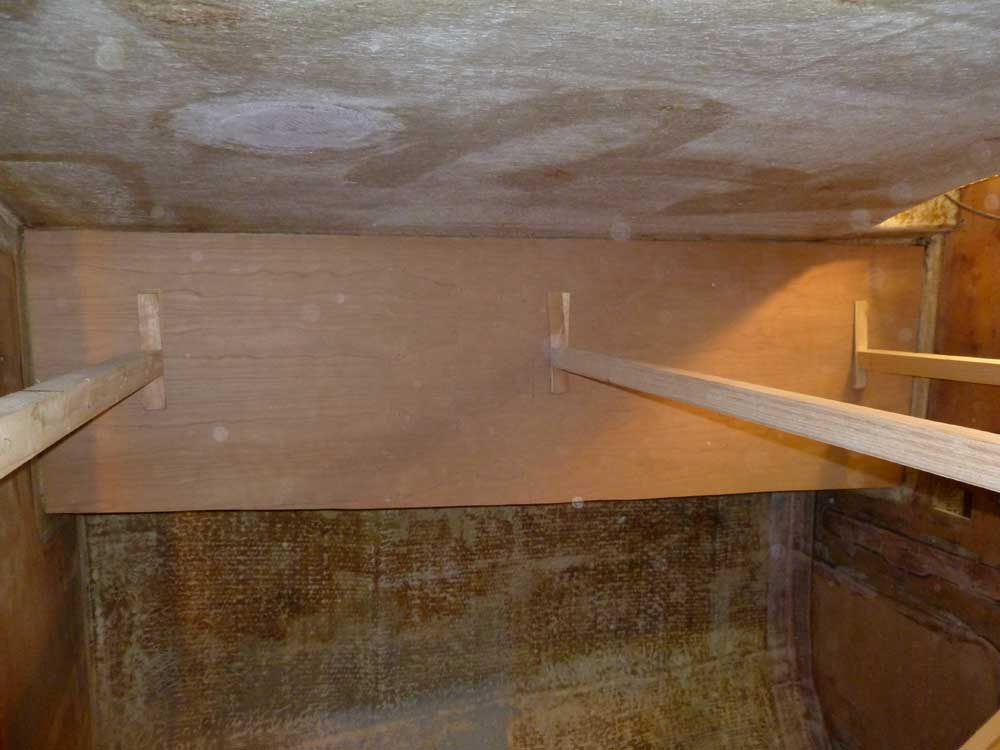
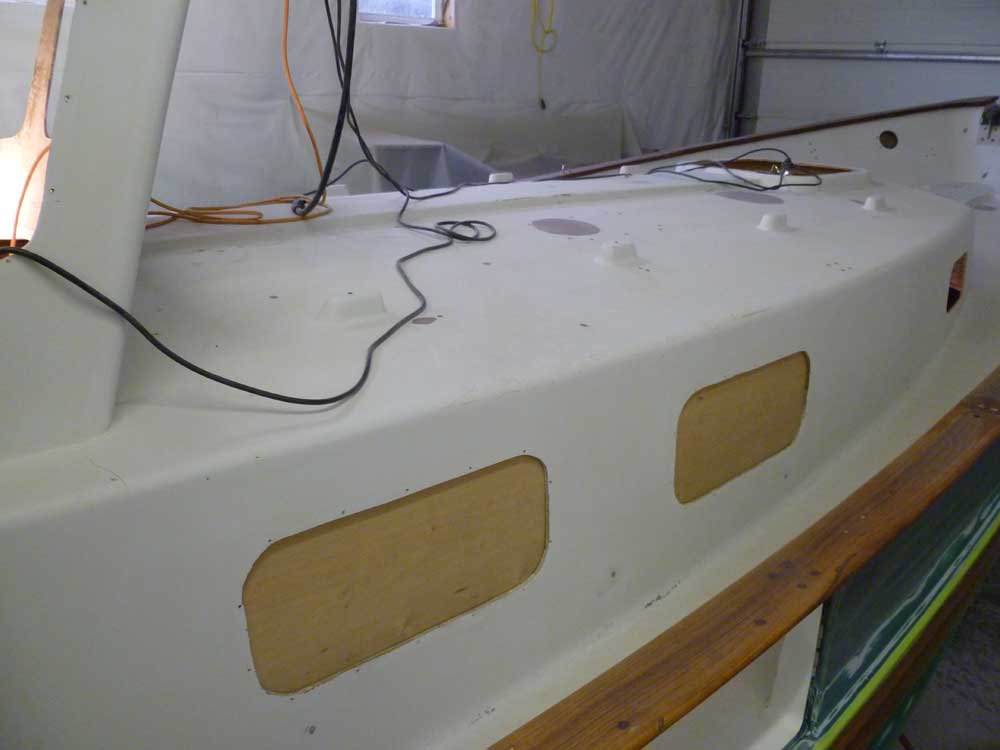
Because there was a slight radius where the various
corners of the cabin side met the adjacent surfaces, I
beveled slightly the back corners of the plywood with a
block plane to allow the plywood to fit more easily,
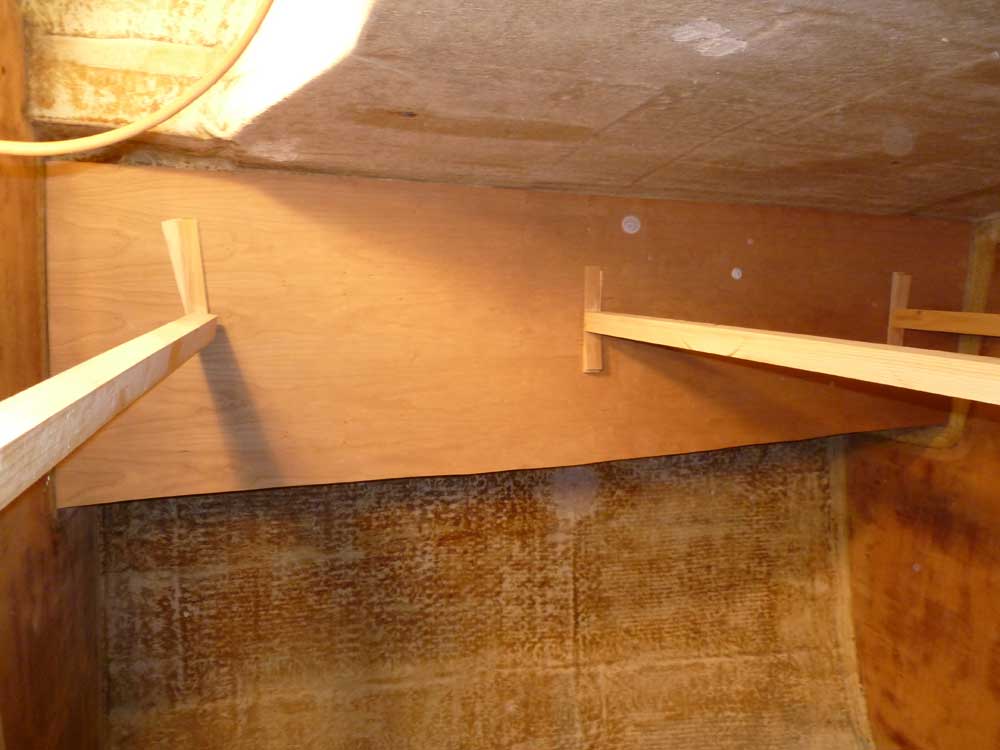
then test-fit each piece in place, holding each
temporarily with deadman braces across to the opposite
side of the cabin.
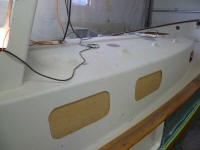
While I had the plywood pressed into position, I went
outside and marked the port cutout openings on the back
side of the plywood. |


 |
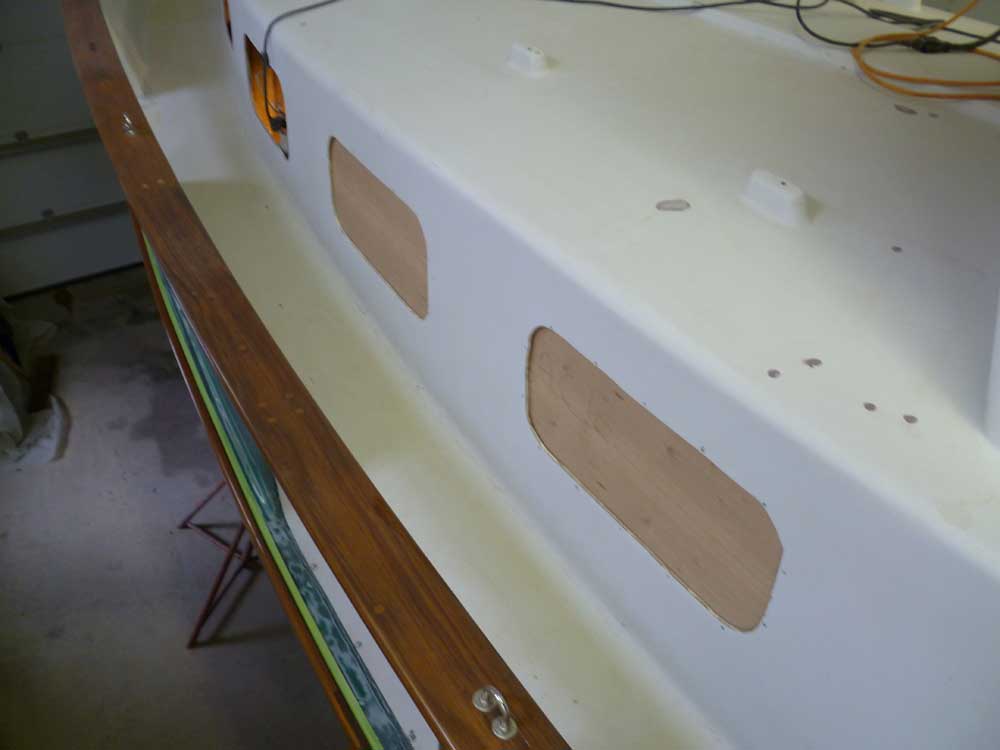
Satisfied with the fit, I removed the two sections to
the bench and cut out the port openings, leaving 1/4" -
1/2" of extra material inside the lines for later
trimming with a router after installation. |
 |
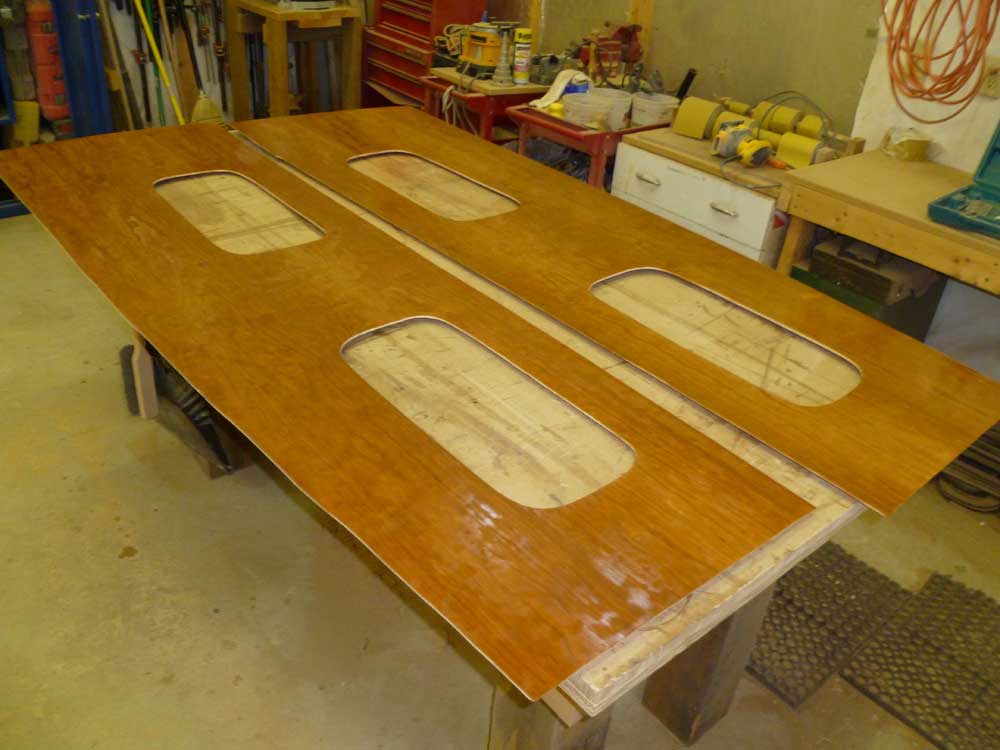
I applied a coat of epoxy to the back side and raw edges
of each piece for protection. |
 |
Flipping the panels over, and resting them on plastic
spacers so they wouldn't stick to the bench, I applied a
sealer coat of thinned varnish to the top side to
protect the bare wood during installation. I left
the epoxy and varnish to cure overnight before
continuing. |

|
Total Time Today: 4.25 hours
|
<
Previous | Next > |