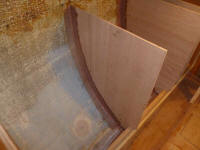
Project Log: Saturday, October 1, 2011
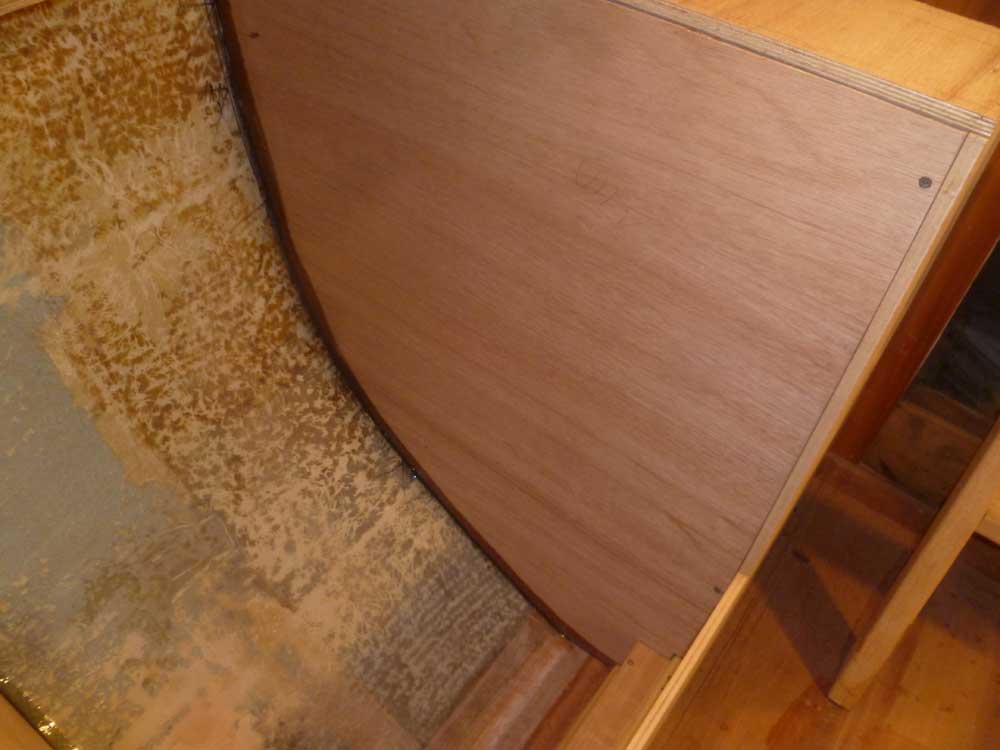
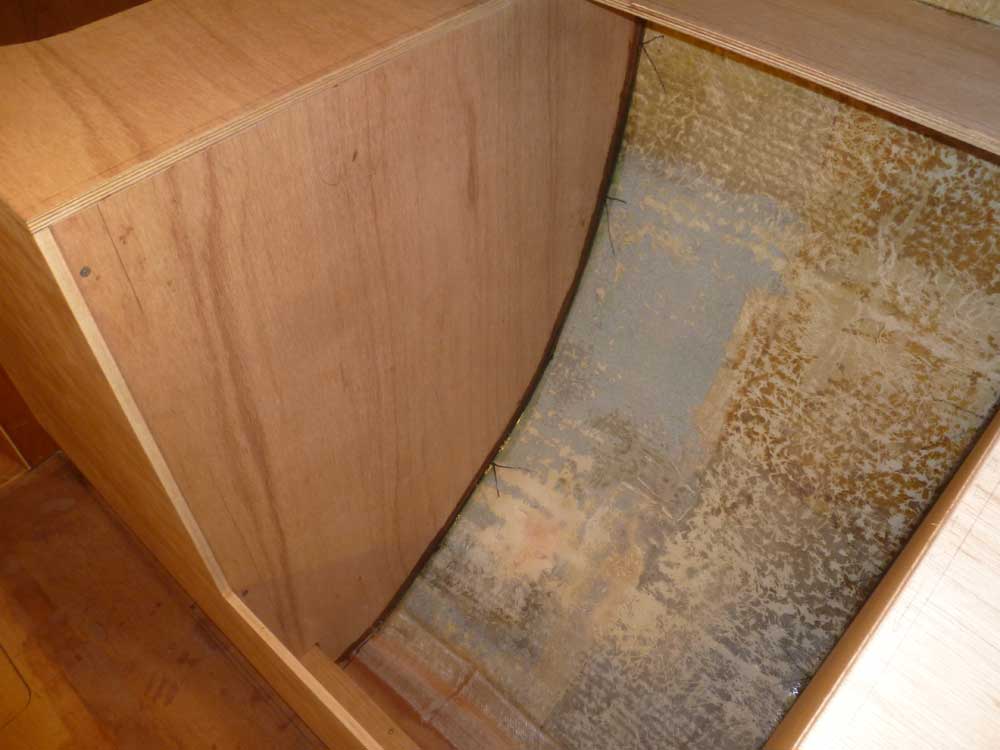
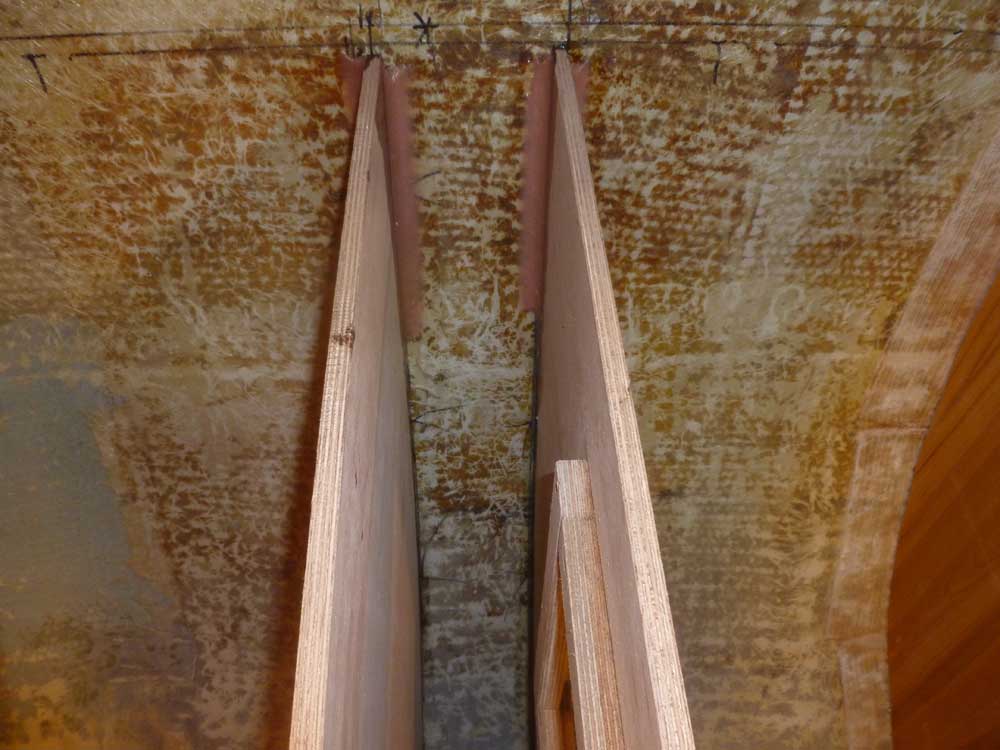
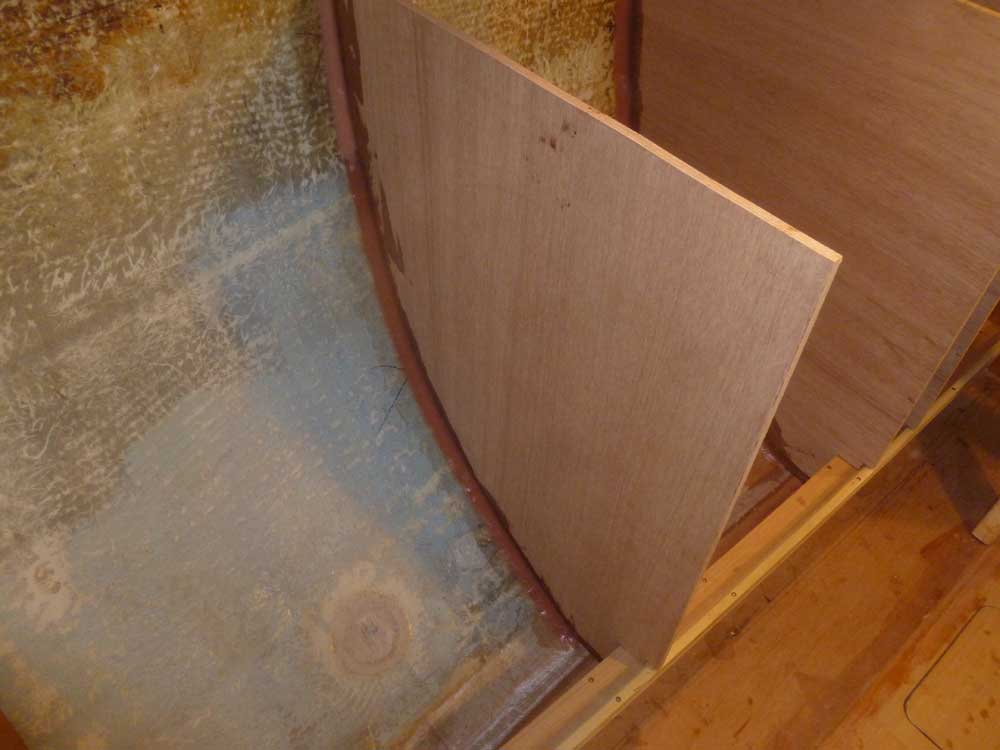
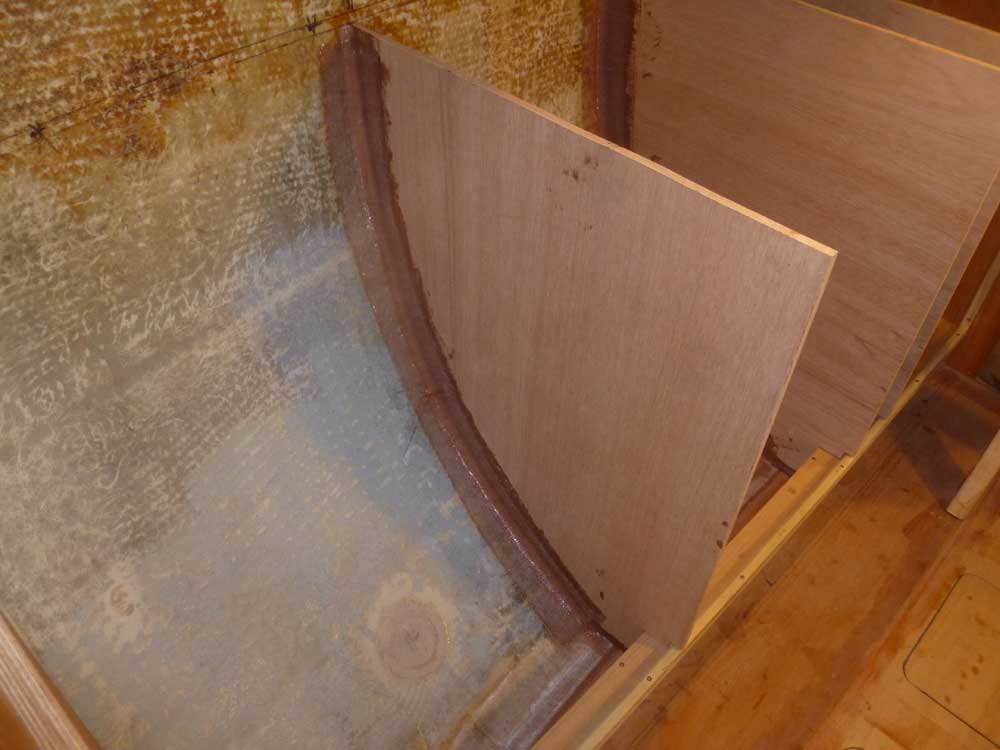
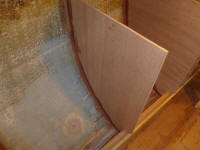
First thing, I installed the three new bulkheads for the
galley, using a bead of quick-cure epoxy adhesive to
secure them to the hull. When I'd completed this
task, I set the countertop in place to ensure that the
bulkheads' final position was as intended. |


 |
The adhesive would take a few hours to cure
sufficiently, so I left the bulkheads alone for the
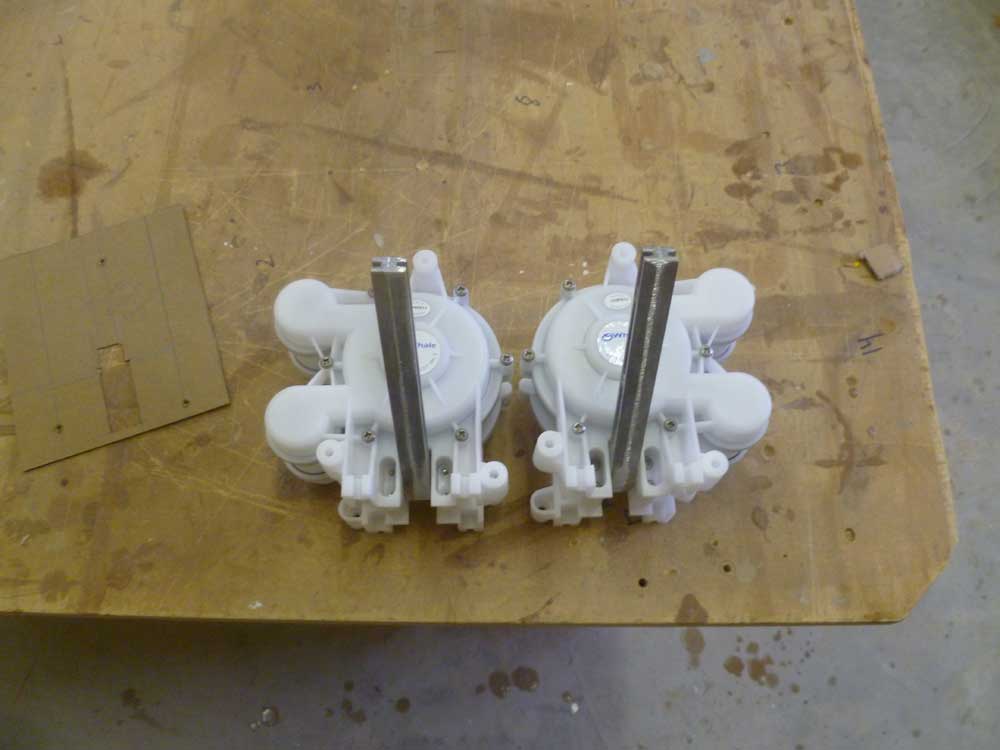
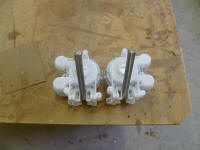
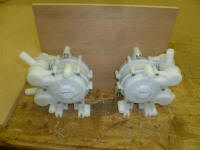
moment and turned to the galley foot pumps.
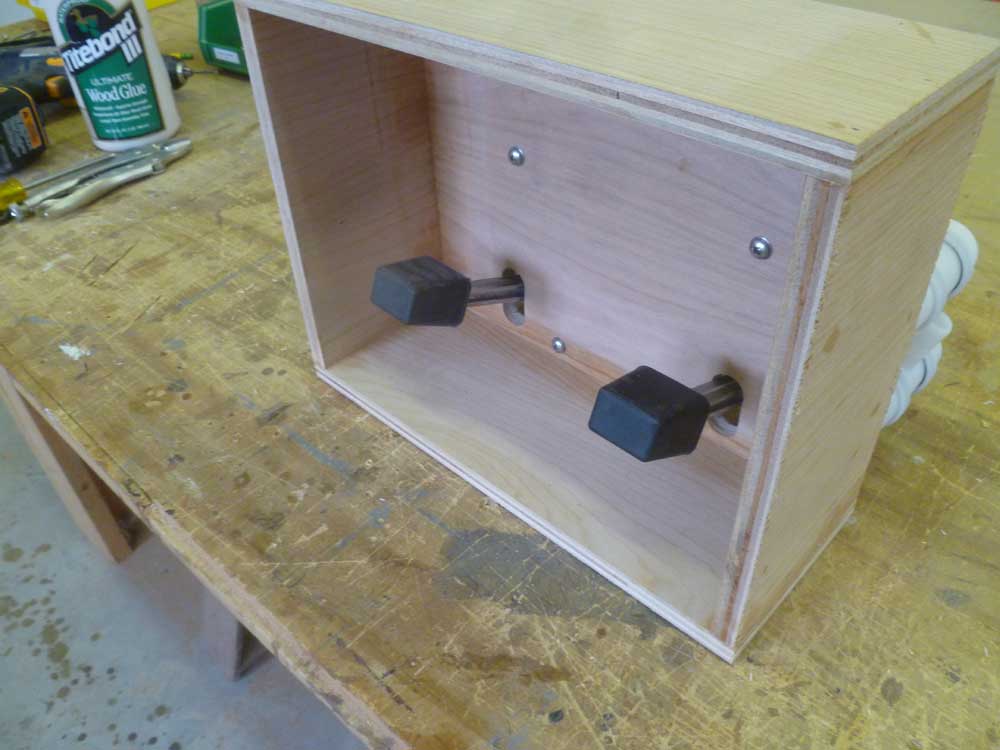
I planned two foot pumps for the sink--fresh and salt
water--but because of the layout of the galley, I didn't
want the foot pedals to protrude into the passageway.
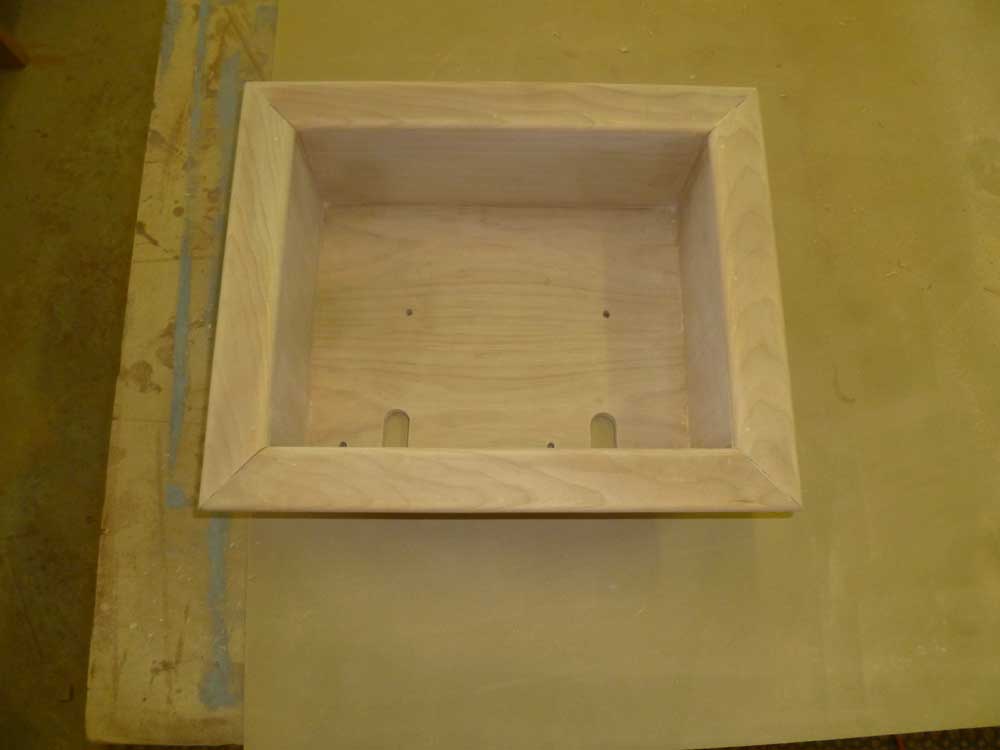
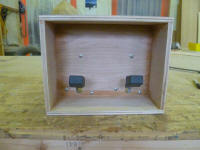
So over the course of a couple hours, I built a recessed
box for the pumps.
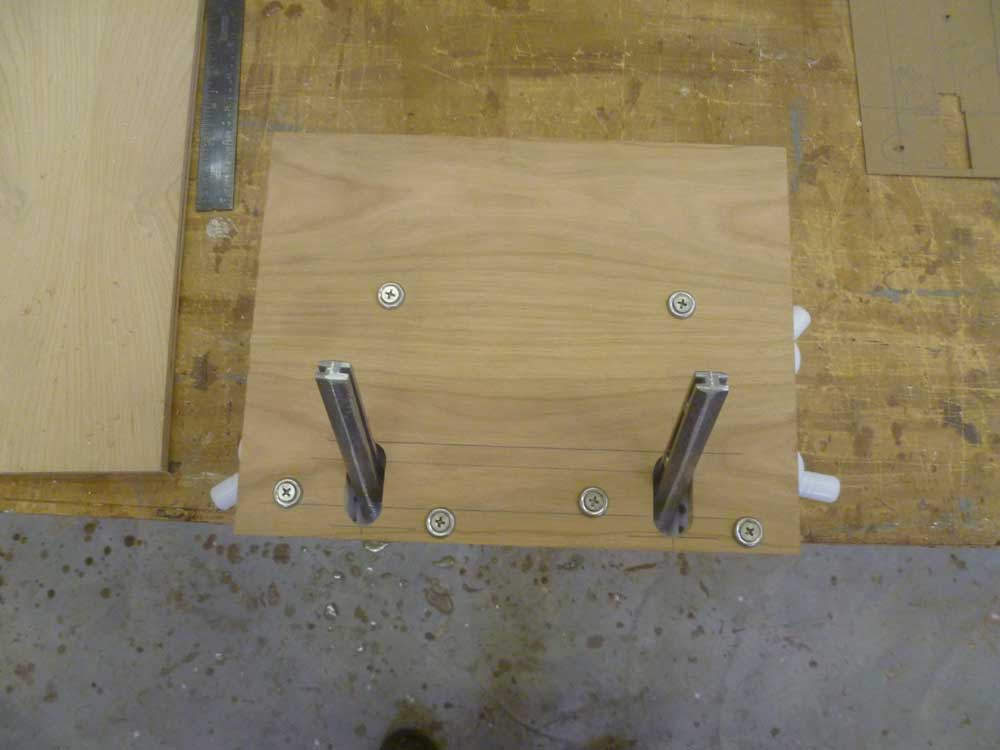
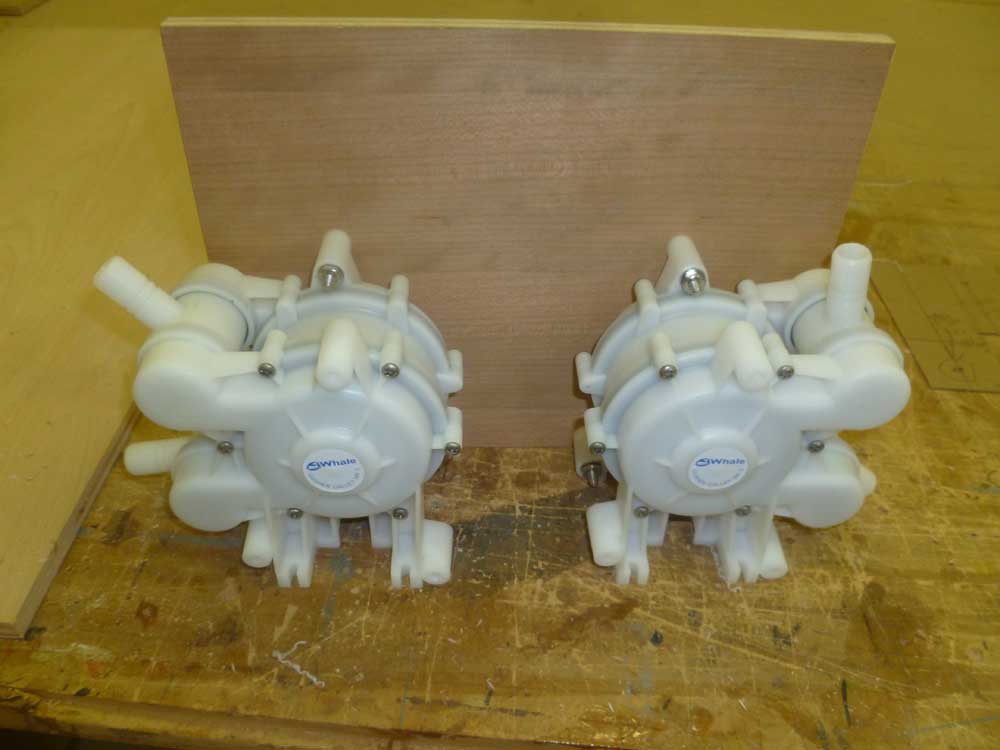
I'd ordered one pump each with its hose connections on
the opposite sides (left and right), which would make
connections as easy as possible. After determining
some basic dimensions for the recess, allowing for
enough width so the pedals wouldn't be too close, enough
height to allow operation and foot access, while keeping
the overall dimensions no larger than necessary, I cut
the main section (the back, if you will) of the recess
to size from 1/2" cherry plywood, then laid out for the
pumps' fastener holes and openings for the pump levers.
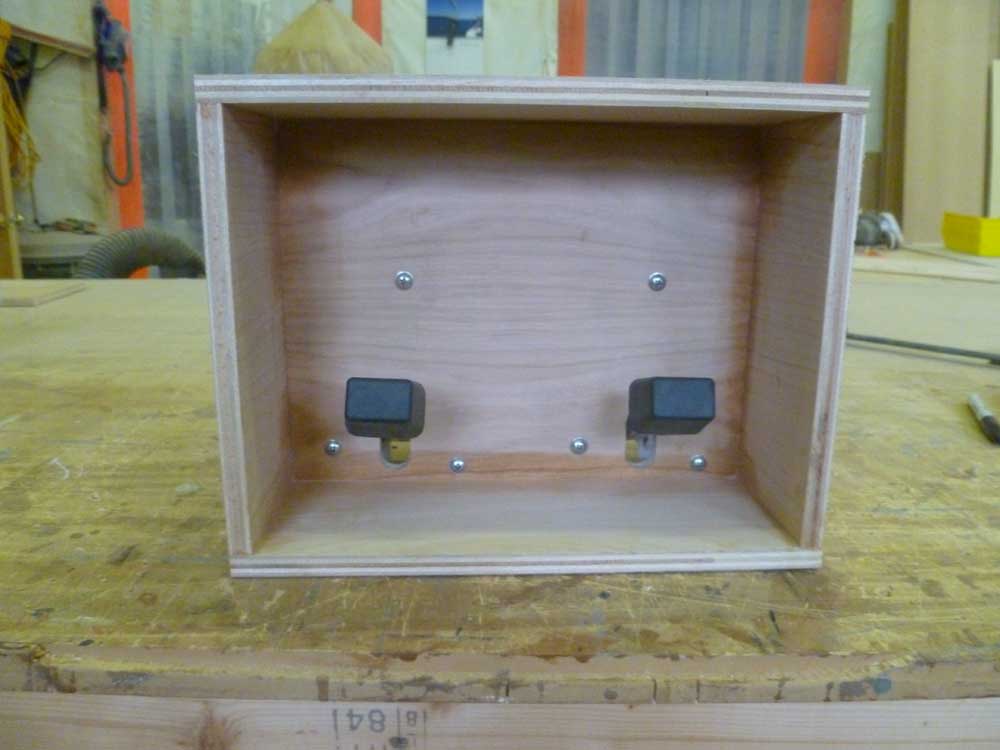
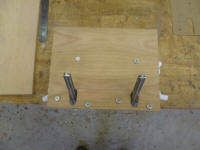
I temporarily installed the pumps to ensure proper fit,
alignment, and operation, using through bolts since past
experience showed that screws from the back side lacked
the strength to hold the pumps securely. I used
flat head screws and finish washers, as that was all I
thought I had, but later switched to pan head fasteners,
which I preferred over the finish washers, when I
discovered some in my inventory. |
 |
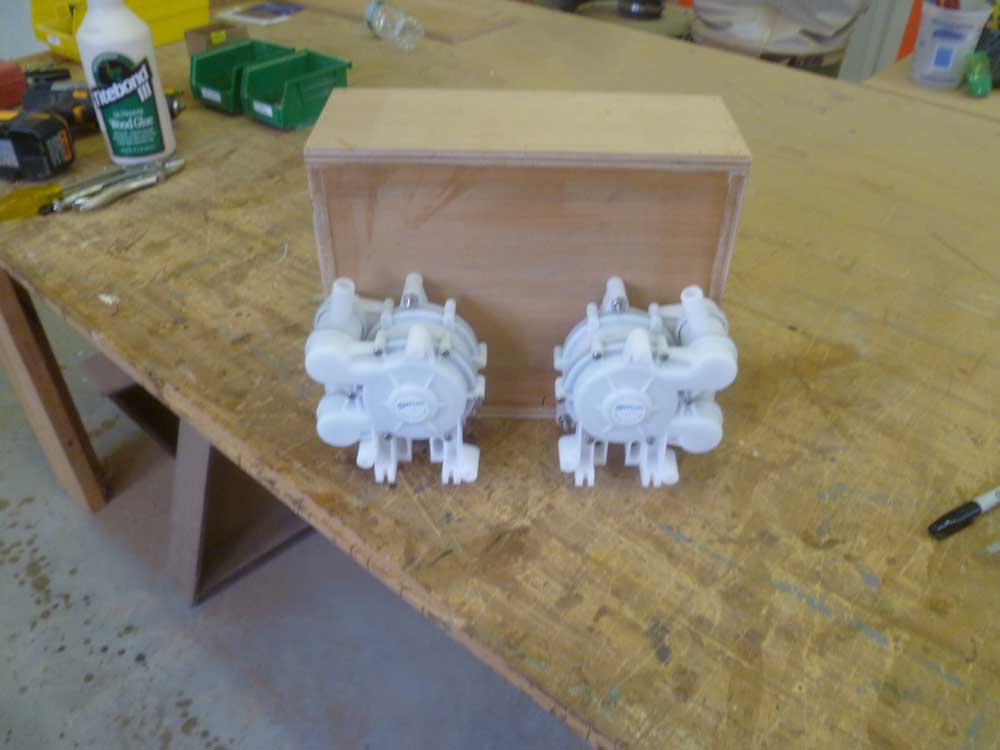
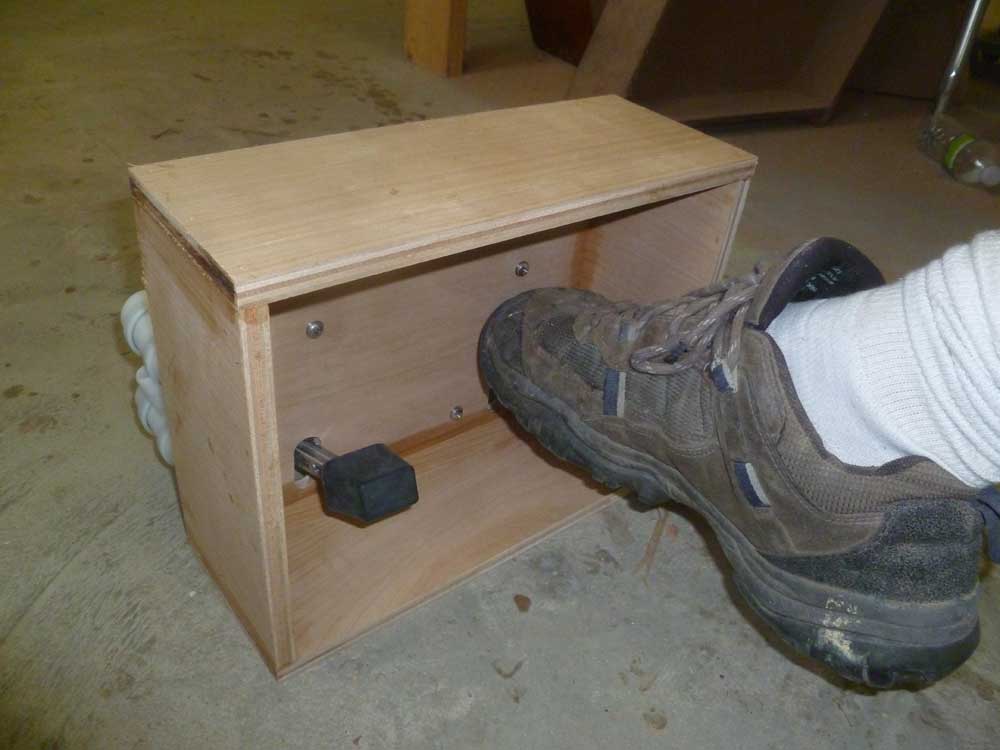
I determined the recess should be about 4" deep to allow
the pedals to be flush with the outside of the cabinet,
so I milled the remaining sides of the box and assembled
it with glue, using stainless brads to hold things while
the glue cured. |

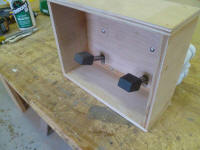 |
A quick check showed there was ample foot room to easily
operate the pumps. |
 |
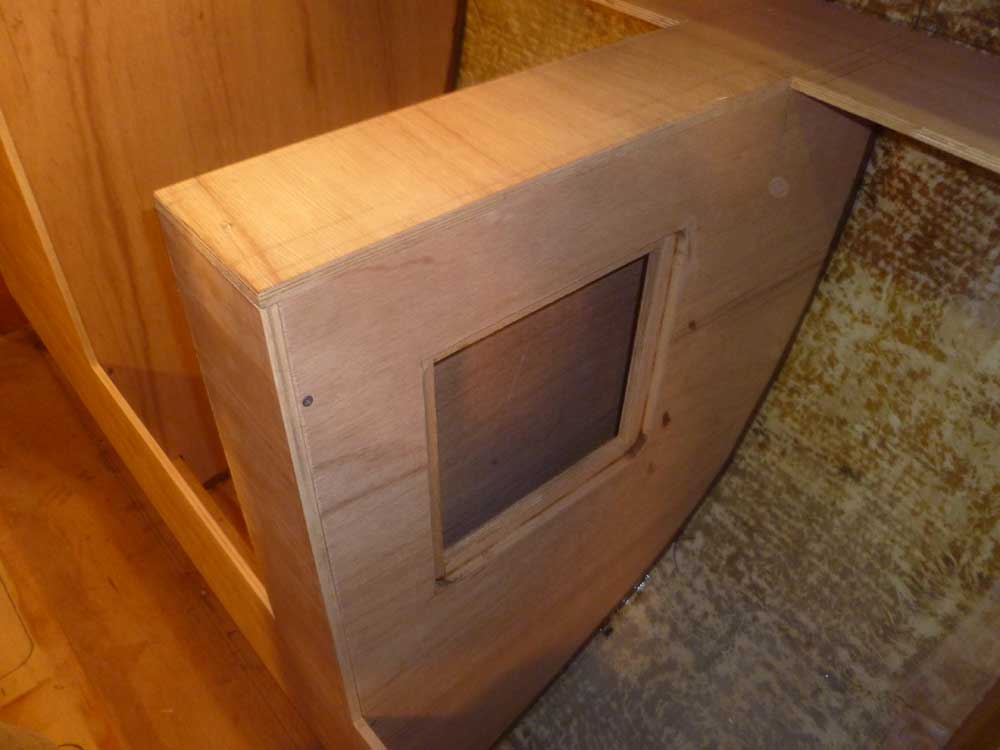
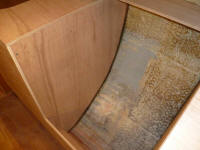
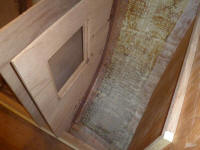
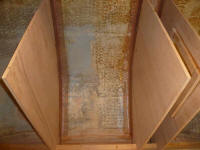
After lunch, the bulkheads in the galley were ready for
additional work. Now that they were secured to the
hull, I could remove the front panel for the galley,
giving me better access to the bulkheads for filleting
and tabbing, which were my next steps.
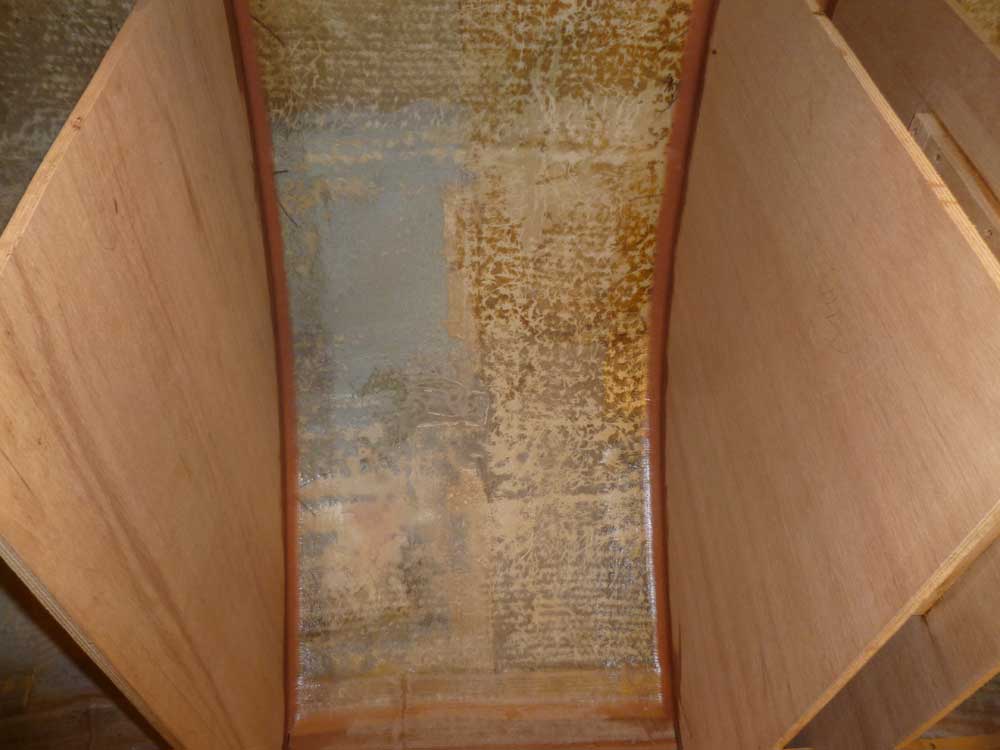
I installed epoxy fillets on each side of each bulkhead,
where accessible. In the narrow slot between the
aftermost bulkheads, I made no attempt to fillet the
entire length--just the top 12" or so. I didn't
think tabbing both sides of the bulkheads was
necessary(if it had been, I could have, though
the access was challenging), but thought I'd do the top
edge just because. |

 |
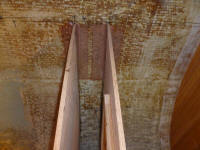
While the fillets gelled partially, I cut sections of 4"
tabbing for the bulkheads, then wet it out and installed
tabbing where the bulkheads met the hull--full length
where accessible, and 12" lengths at the top edge of the
narrow space. |
 |
That was all I could do in the boat till the fiberglass
cured, so back down in the wood shop I continued work on
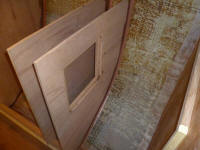
the galley's front panel, which required additional
layout and cutouts for various openings.
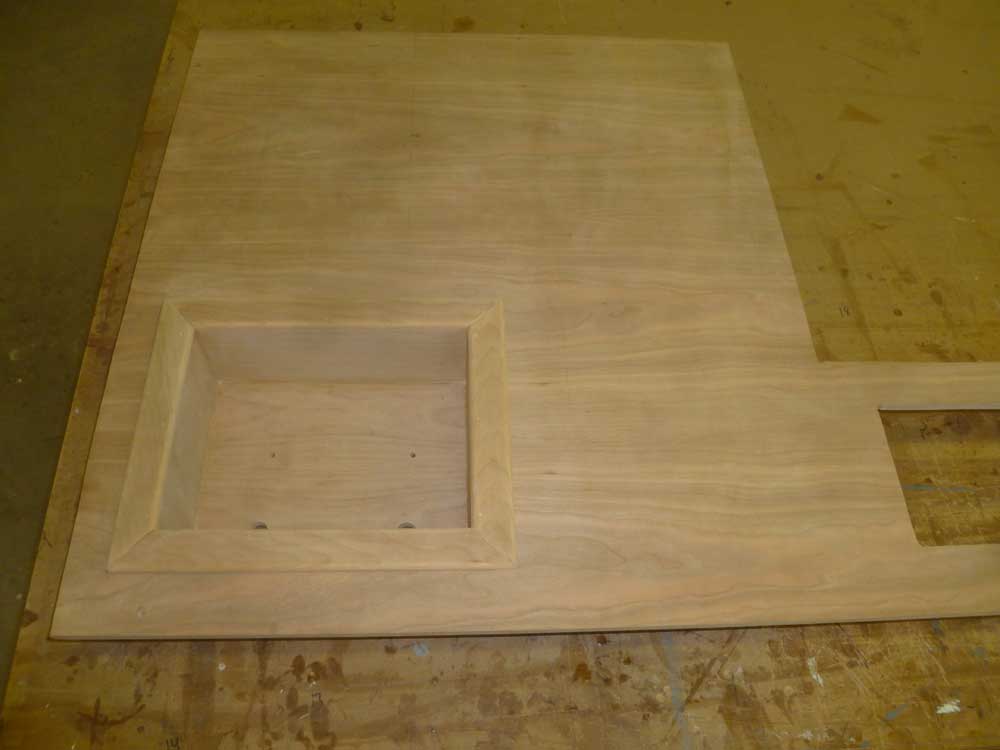
To begin, I milled some trim pieces for the edge of the
new foot pump recess, and installed them on the box; the
box would slip in from the outside and be removable, so
the overlapping trim, in addition to covering the
plywood end grain, would also provide the means of
attachment for the box. |
 |
I needed the trim now so I could determine other aspects
of the cabinet's layout. The overall size of the
trimmed-out foot pump box provided me with the
information I needed to complete the adjacent layouts in
a pleasing and useful way, and since the box was a
known--and required--size, everything else had to play
into its final position.
Eventually, I determined the location for the cutout,
and made the cut, allowing me to recess the box. |
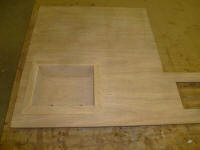 |
The pull-out trash can that I'd ordered last week hadn't
yet arrived, and I couldn't make the cut for its opening
till I had it on hand. However, with basic
dimensional information, plus the new foot pump unit, I
could lay out and cut a locker opening beneath the sink,
for general access. I'd have liked for this to be
centered on the sink itself, but this wouldn't work with
the other constraints (particularly the trash), so
instead I aligned the opening so that the finished door
would align with the trim on the foot pumps below. |
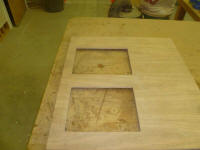 |
I laid out two additional openings, beneath the range
and refrigerator respectively, and cut those
openings--again, for general access and storage lockers.
Finally, I cut a narrow slot in the vertical space
between the range and refer, where I planned to install
a cherry wood louvered duct, part of the refrigerator
space's air flow plan. This work brought me
through the remainder of the day. |
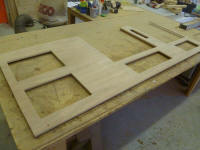 |
It seemed I kept paring away at the remains of the
galley cabinet front, and there was still one opening
left to cut, as soon as my silly trash can arrived.
This sort of stream-of-consciousness layout requires the
three dimensions of reality to perform, and only once
certain indelible installations had been placed could I
accurately determine the remaining cuts and overall
layout. |
| |
Total Time Today: 7 hours
|
<
Previous |
Next > |
|
|