Project Log: Wednesday, October 5, 2011
There remained a number of small details to take care of
in the galley, but I thought I was closing in on the end
of the main lower cabinet construction.
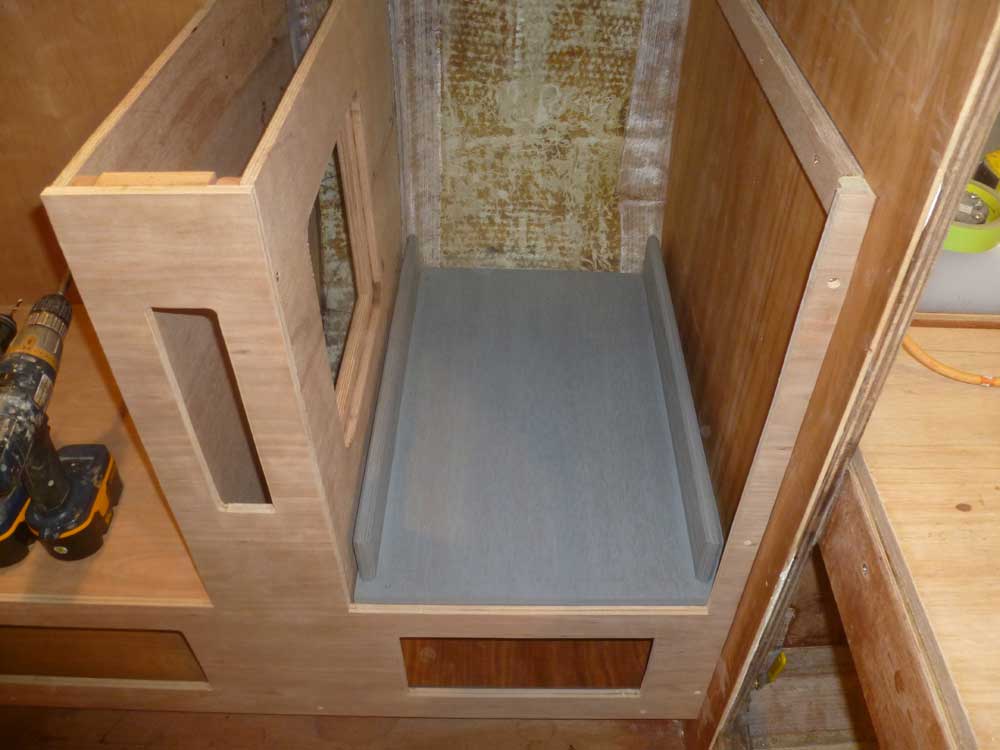
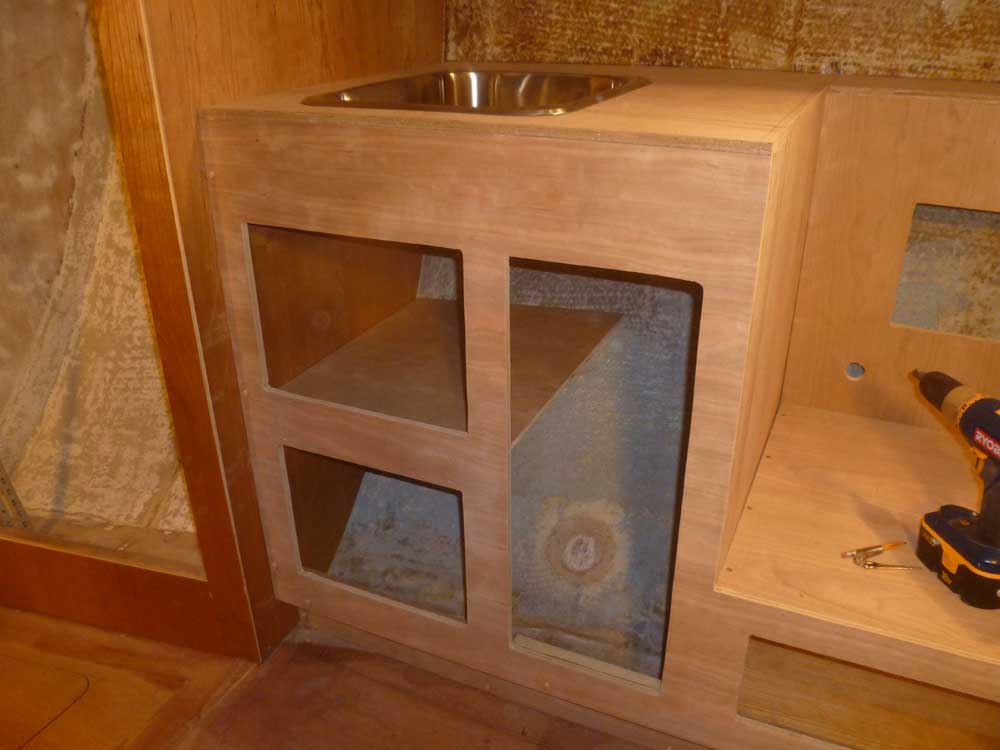
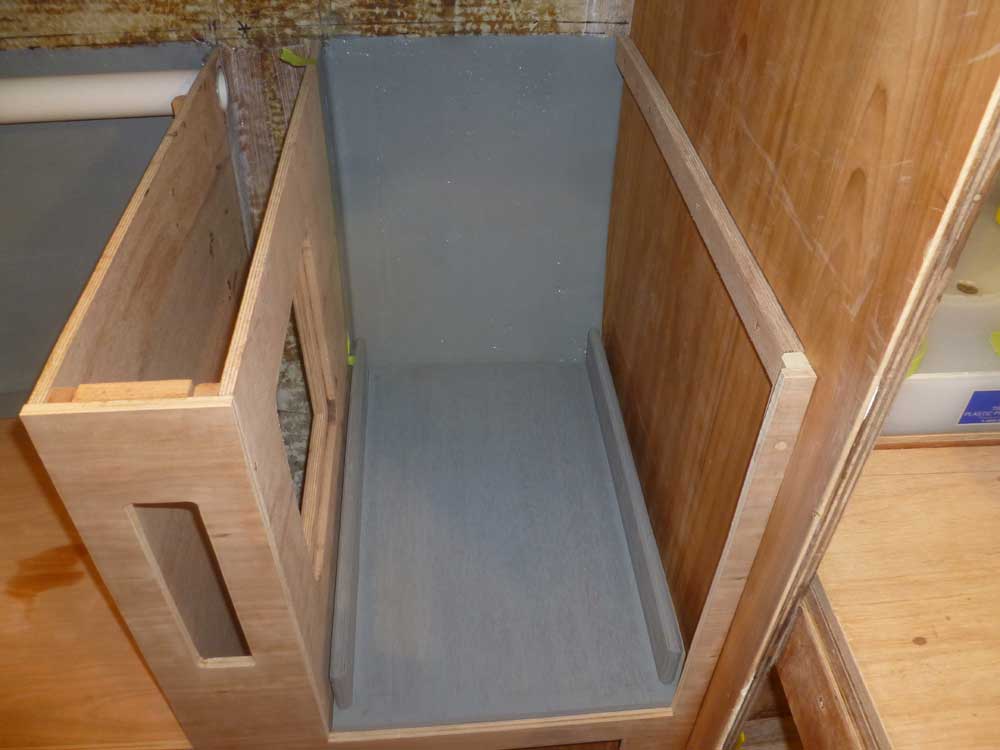
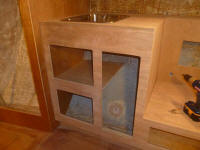
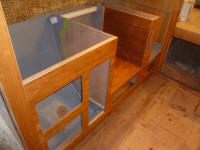
To begin, I installed the shelf that would contain the
refrigerator in its compartment. |
 |
I installed the little shelf to hold the trash bin,
though I later removed it for access beneath. This
shelf would remain removable. |
 |
I cut a number of cherry bungs and installed them in the
screw holes on the front of the cabinet and toekick. |
 |
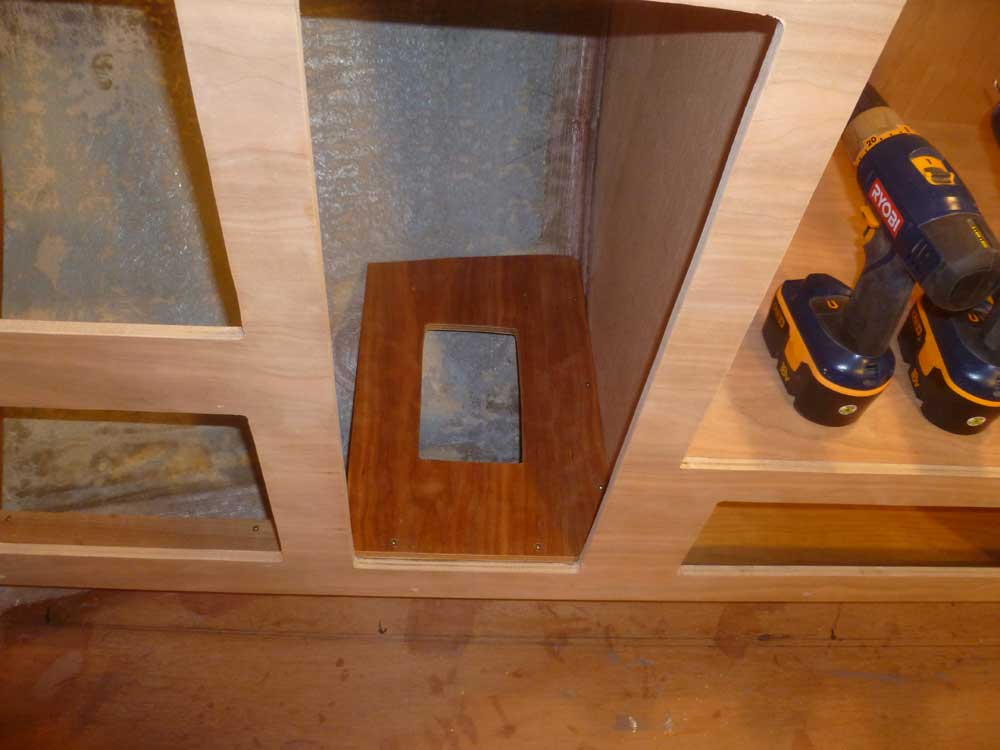
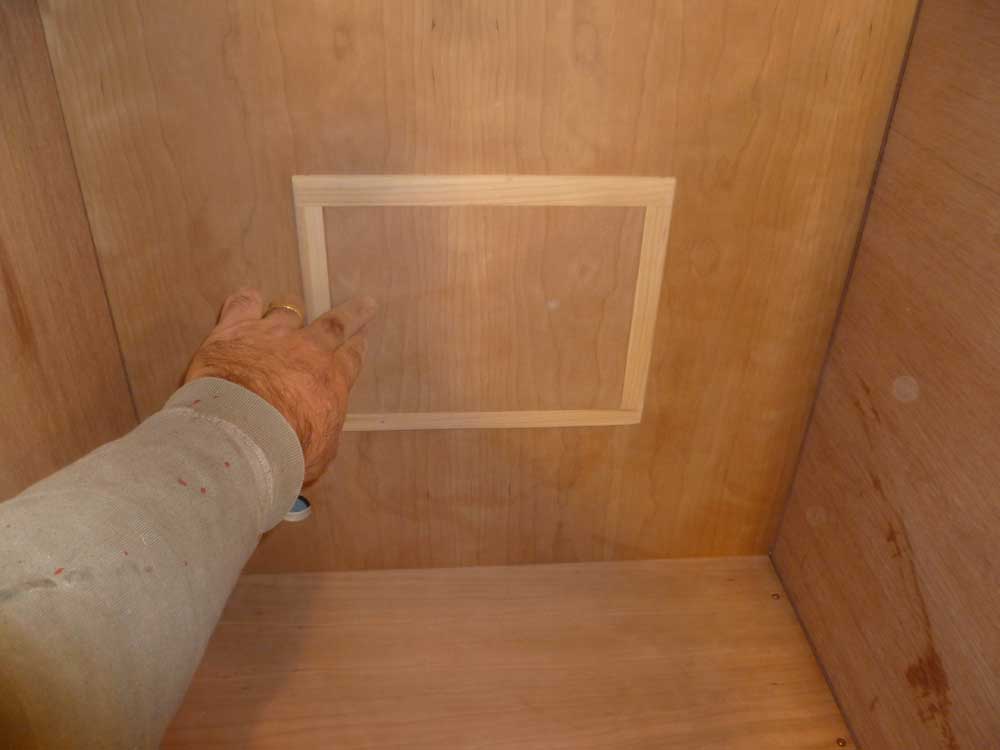
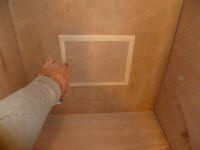
I removed the back panel from behind the range cutout,
and cut an access hatch so I could get into the space
behind in the future (for what purpose I didn't know).
I also prepared a hole for the LPG hose, which I'd run
through a special bulkhead clamp later.
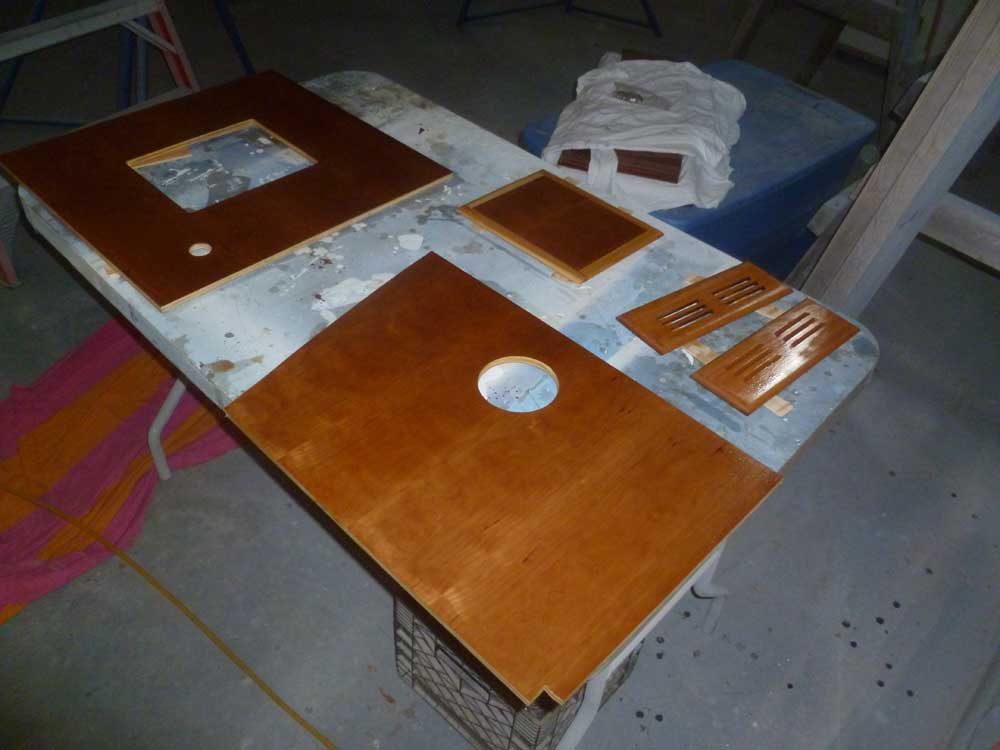
Since this hatch would be partially visible, I built a
locker door from the center of the plywood cutout,
trimming the edges on the saw and adding solid cherry
trim around the perimeter, which I milled for a slight
overlap to cover the raw opening. I'd secure this
with a couple screws when the time came. |

 |
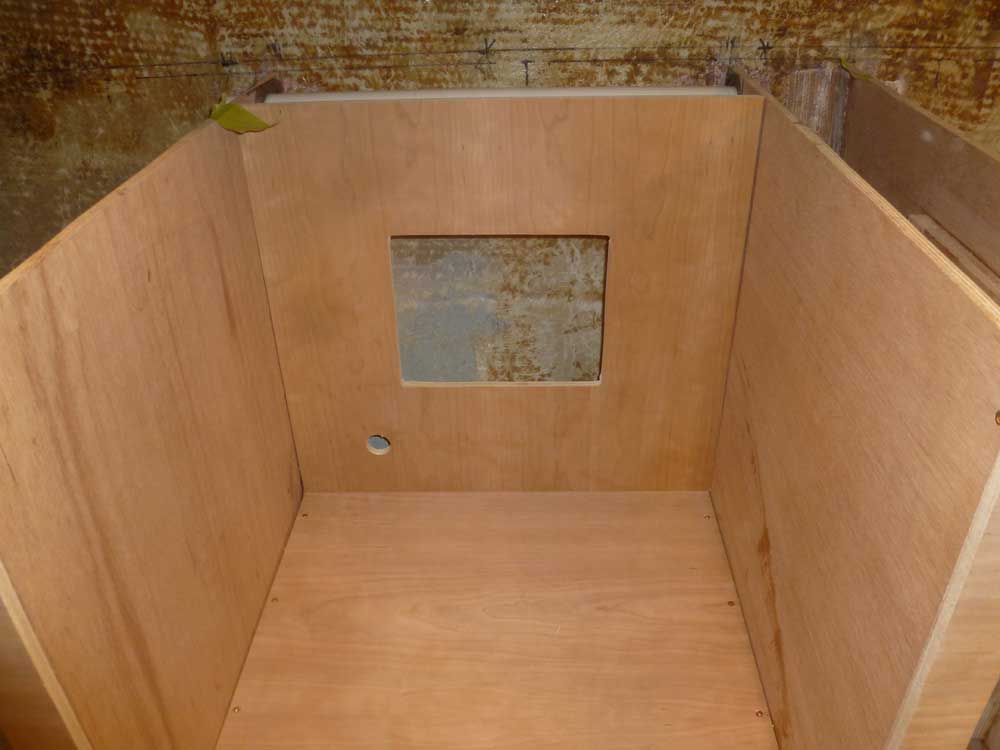
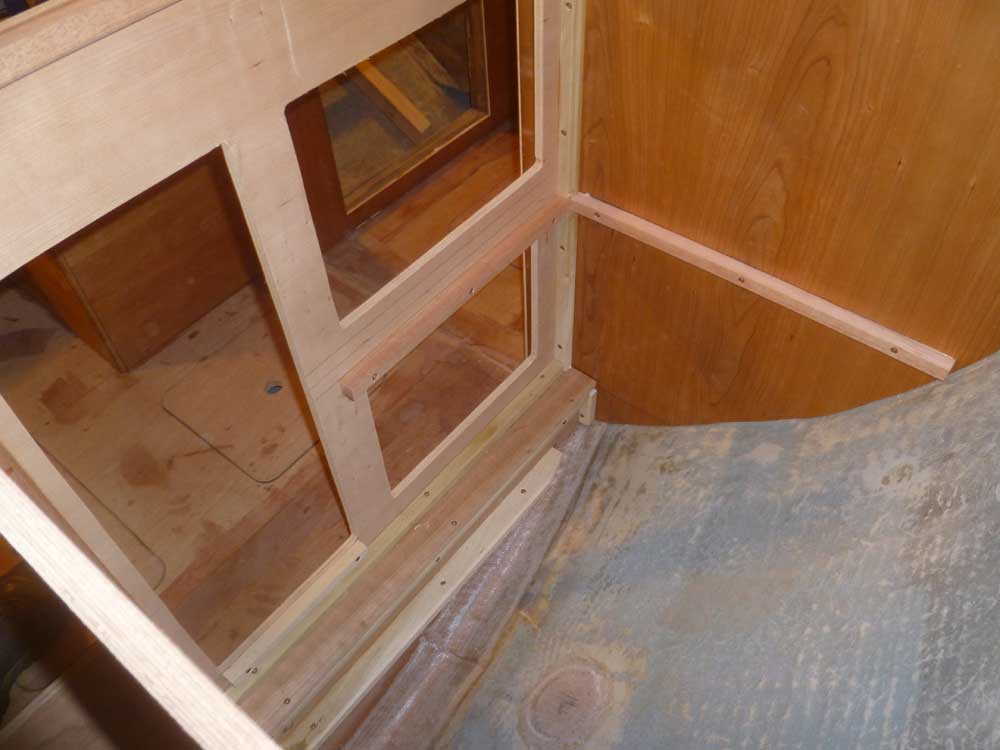
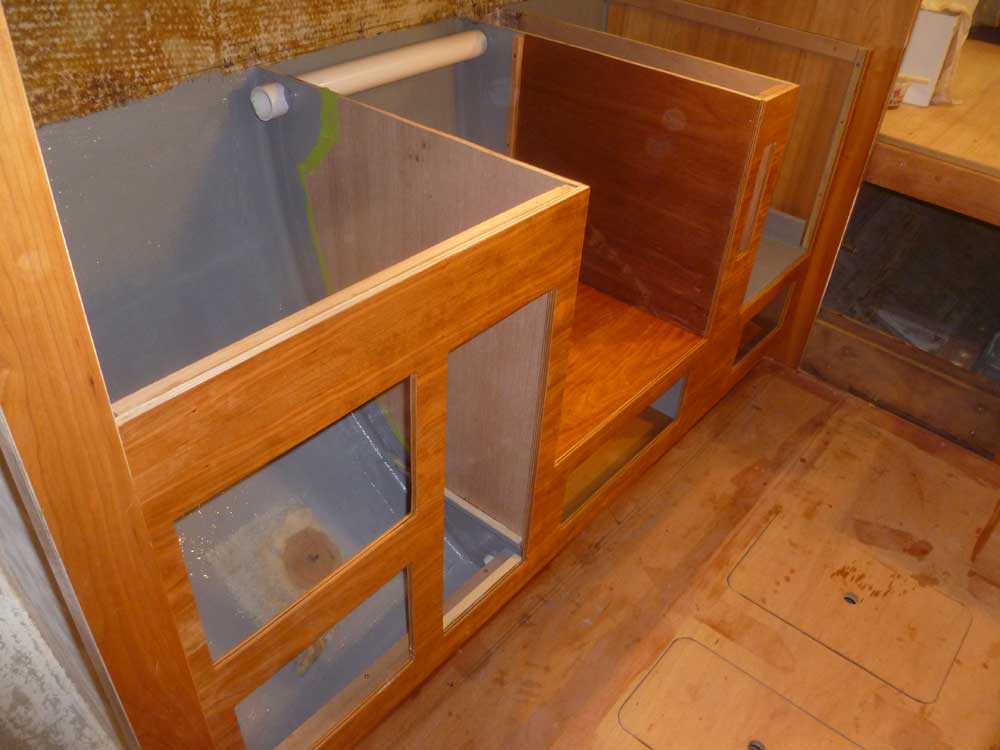
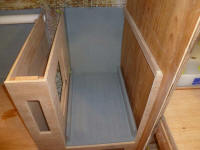
I thought the forwardmost galley cabinet would be more
useful if there was a shelf just inside the top locker
opening. To this end, I temporarily installed the
countertop and sink so I could ensure there'd be ample
clearance, then laid out for some support cleats along
the forward bulkhead and against the inside of the
cabinet front. I cut a shelf from 1/2"
cherry plywood to fit the space; the outboard end of the
shelf rested directly against the hull. |

 |
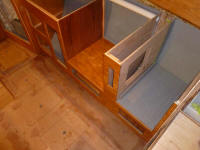
I didn't install this shelf yet, as I needed to finish
the shelf and paint the inside of the locker; I'd keep
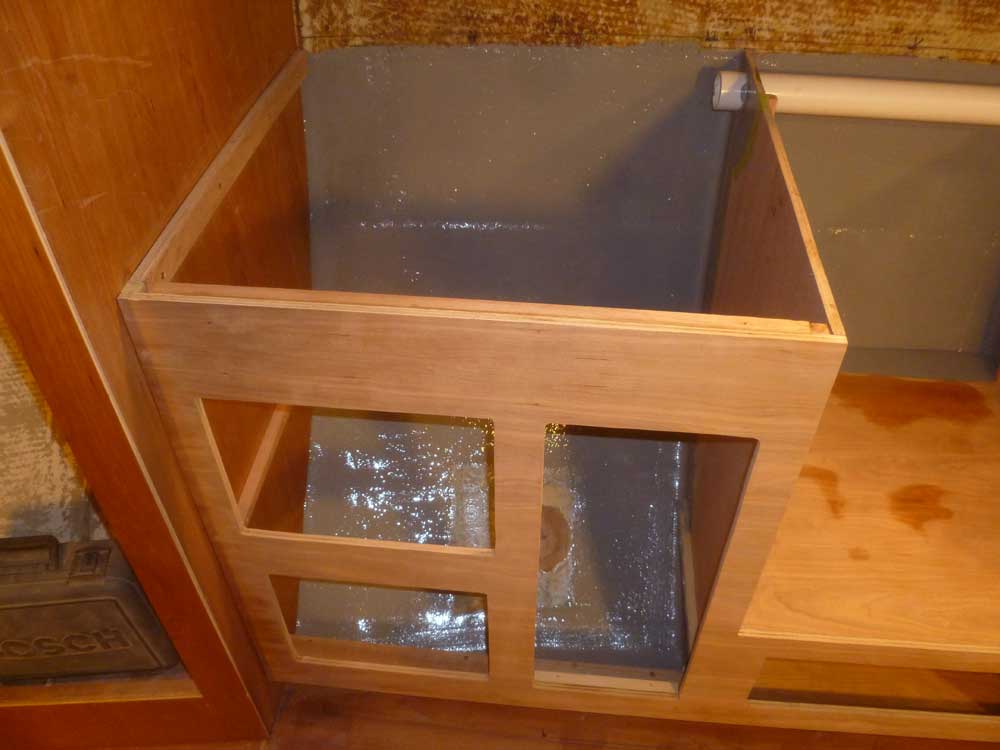
this shelf removable anyway. While I had the sink
in place, I sighted through the sink's drain opening and
made a mark on the shelf below, where I then cut a 4"
hole to provide passage for the sink drain and supply
hoses through the shelf.
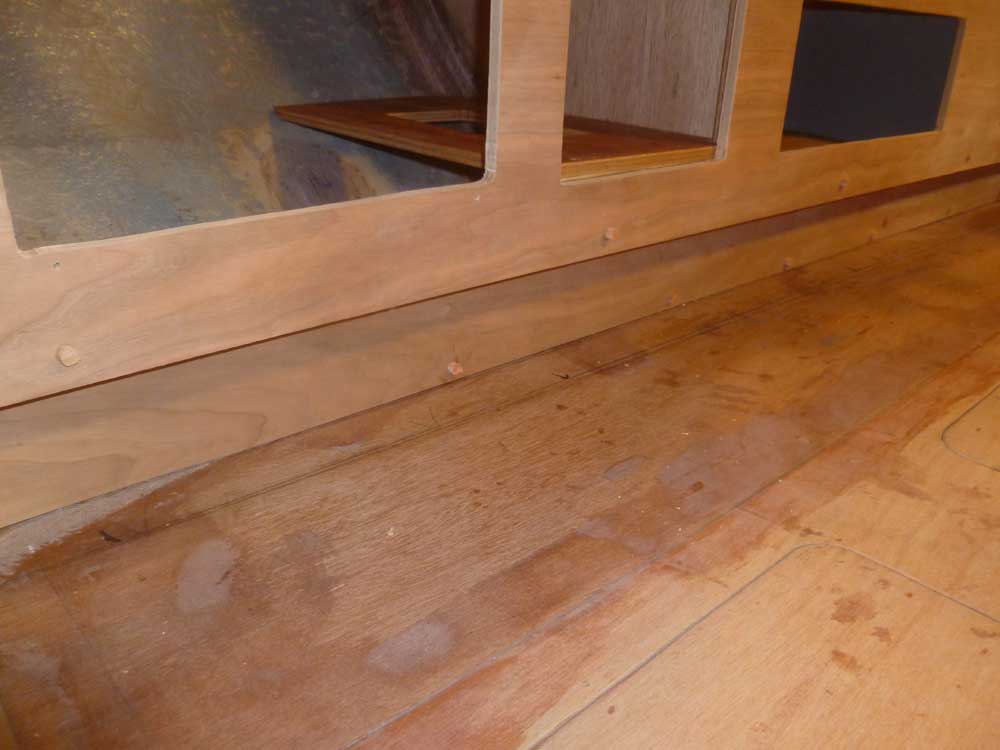
Next, I trimmed the new bungs and lightly sanded the
entire cabinet front and toekick, then cleaned up the
entire galley area with vacuum and solvent. Then,
I painted the hull and other portions of the lockers as
needed, leaving an unpainted area in the forward locker
where I planned to install a new through hull in the
immediate future. |


 |
Afterwards, I applied a sealer coat of varnish to the
new cabinetry, along with various panels and small parts
that I had down on the bench. |

|
Total Time Today: 5 hours
|
<
Previous |
Next > |