Project Log: Saturday, April 7, 2012
(and Preceding Days)
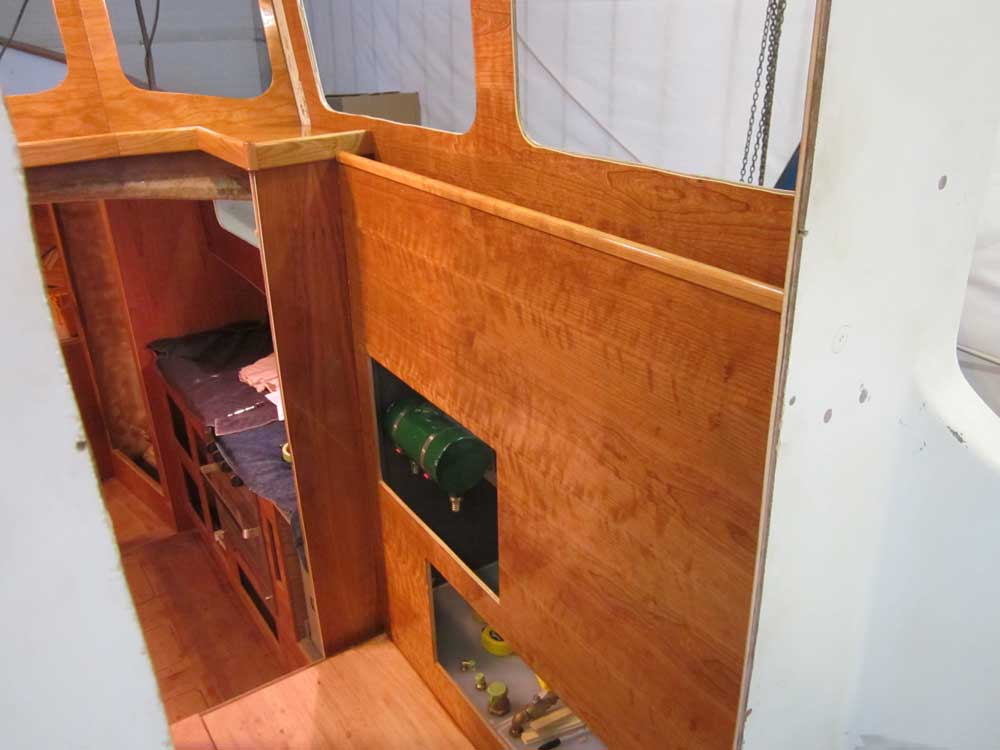
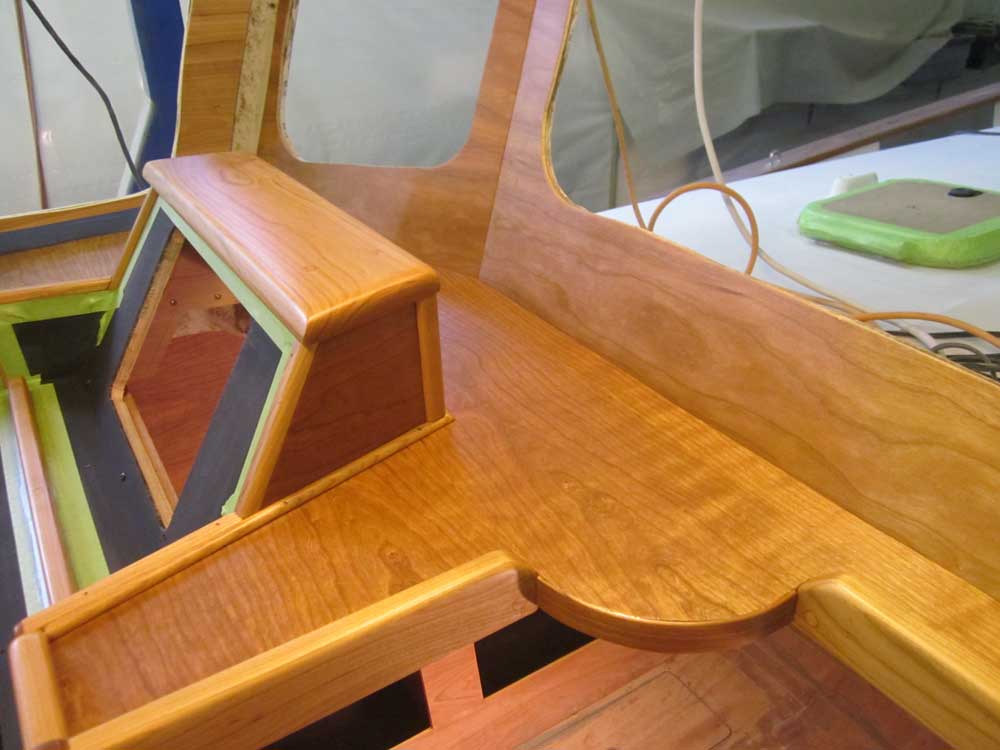
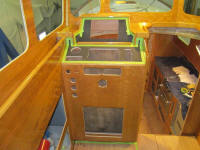
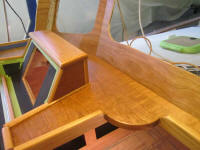
During the week, as time allowed, I applied several base
coats of gloss varnish to the pilothouse and helm
console surfaces. Each coat required about two
hours to complete, between sanding, cleaning, and
varnishing. I sanded with 320 grit between each
coat. By the beginning of the weekend, I was happy
with the amount of build and smoothness of the base, and
deemed the surfaces ready for their end coats of satin
varnish. If I'd wanted a gloss finish, or if I'd
been using a more open-grained wood like mahogany, I'd
have applied several additional gloss coats, but 4 base
coats on the smooth, tight-grained cherry was enough to
prepare the surface for the satin varnish. |


 |
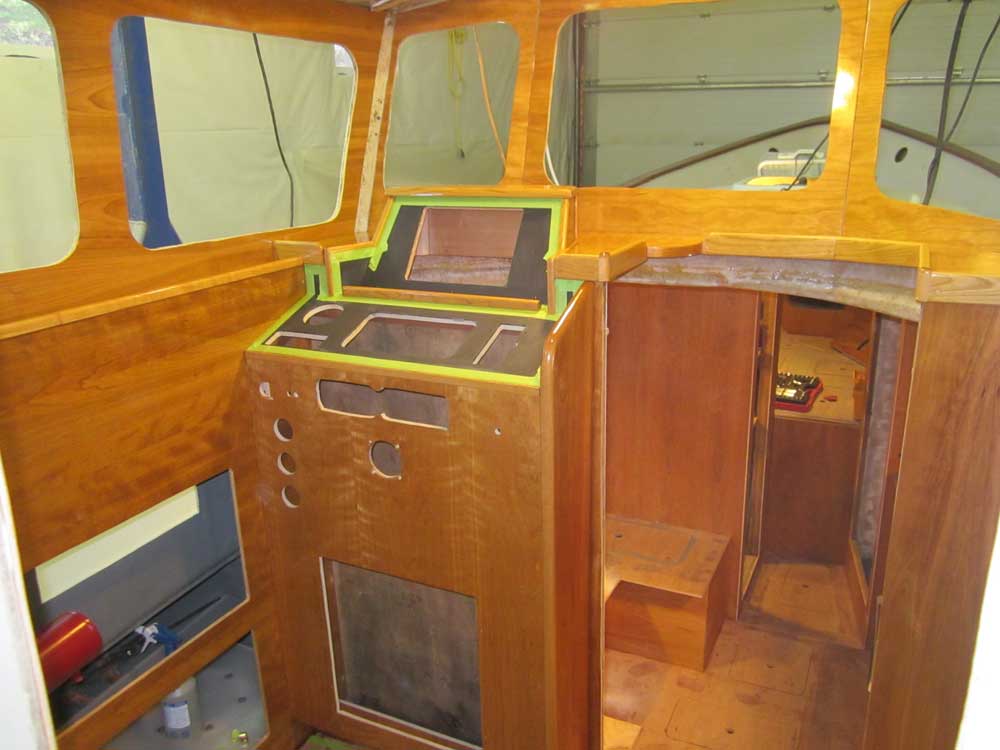
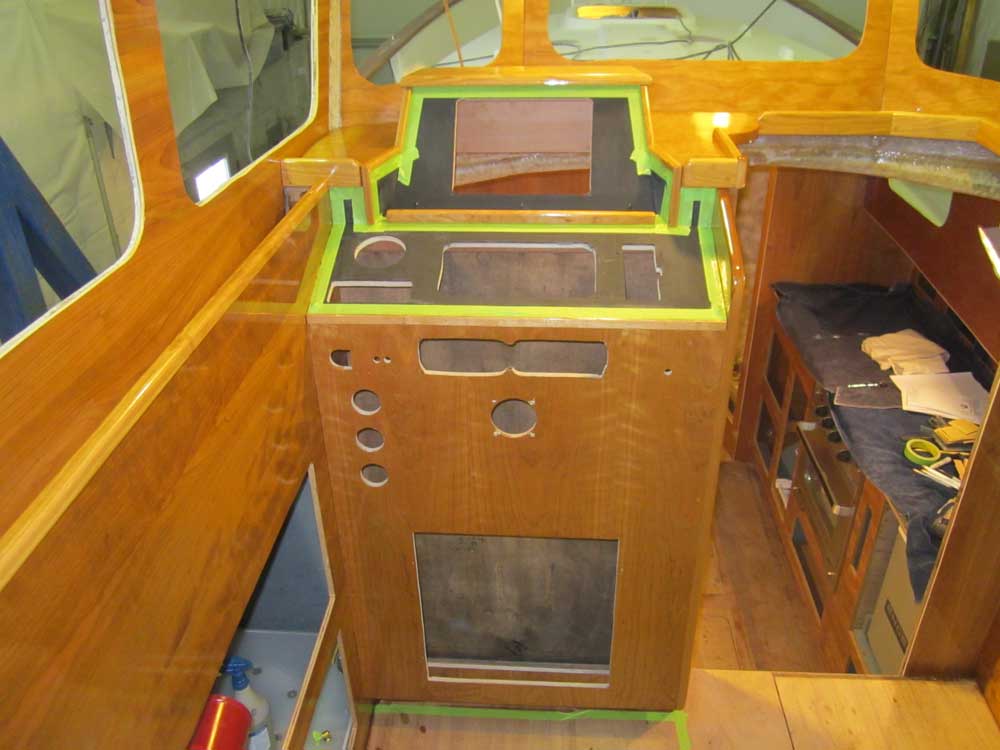
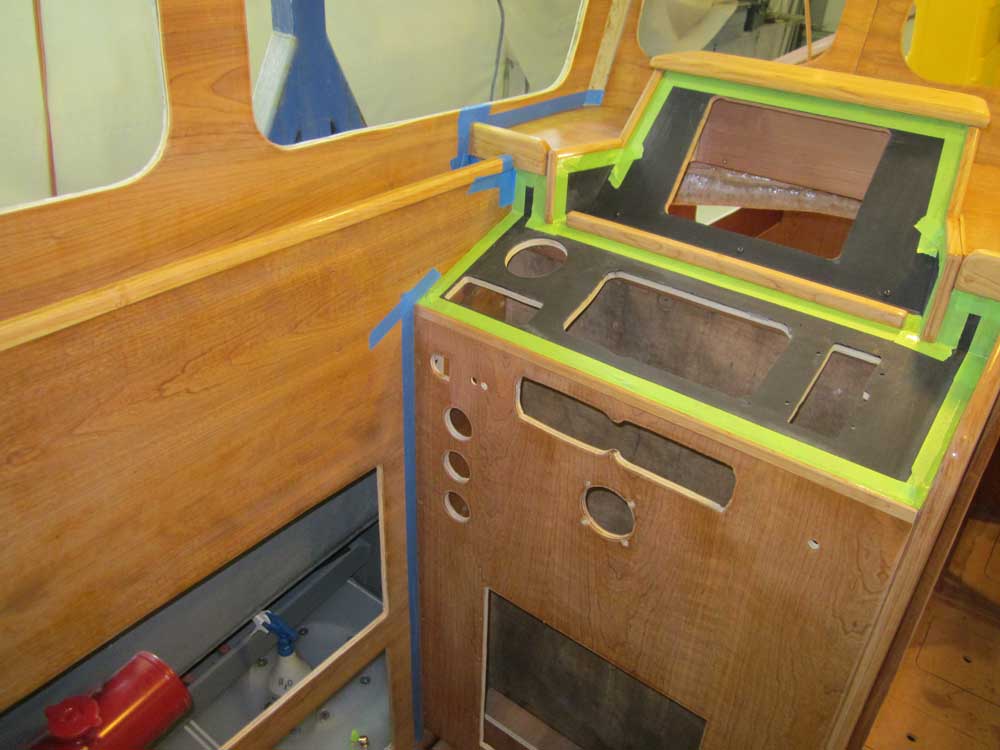
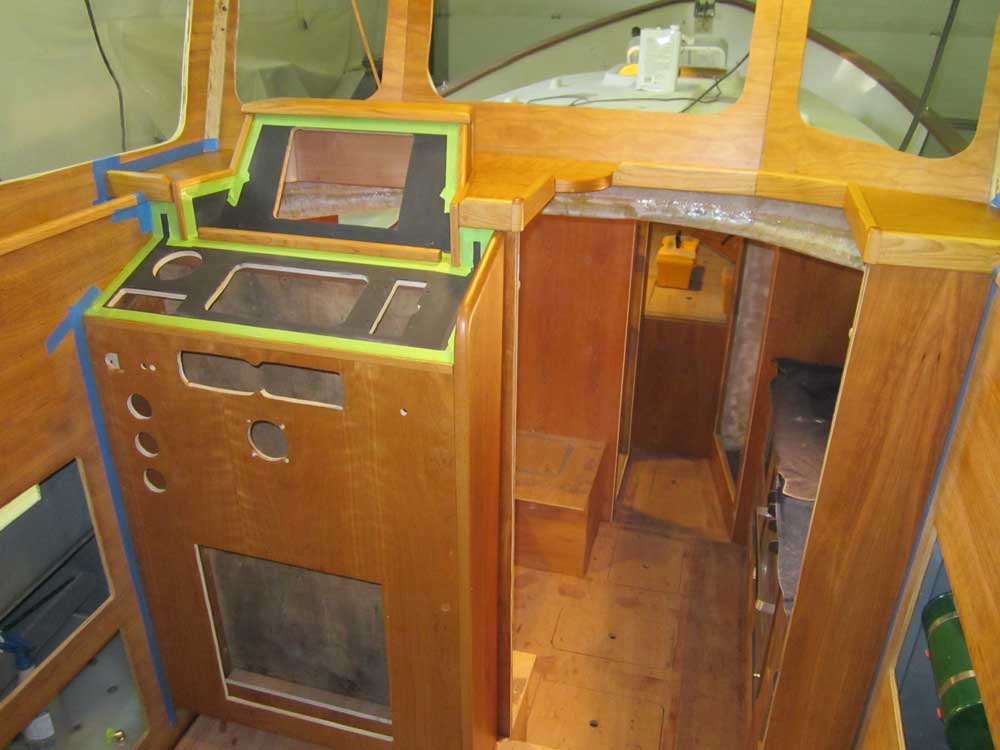
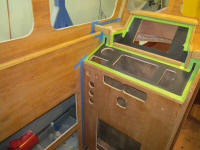
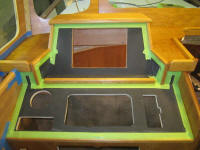
During these buildup coats, I found it a challenge to
stay ahead of the varnish and a wet edge, since in
several places two or three different surfaces
interconnected and demanded varnish at the same time.
So for the final coat or two, I elected to mask off a
couple areas to make it easier to apply the satin
varnish, which I knew from experience would actually
start to dry even more quickly than the traditional
varnish. |
 |
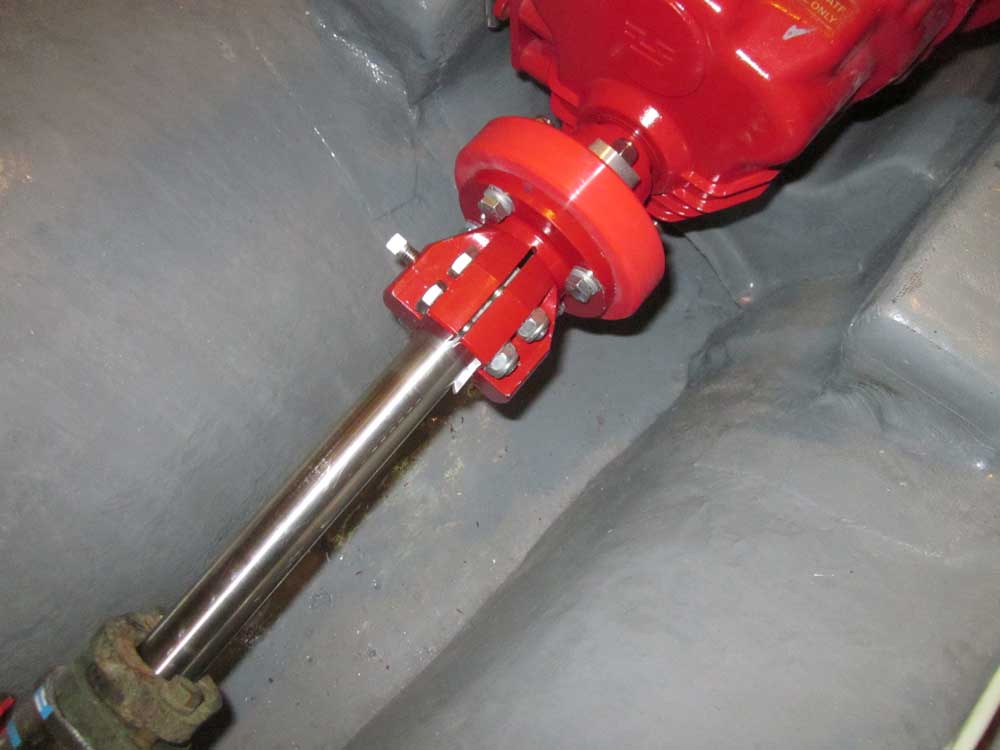
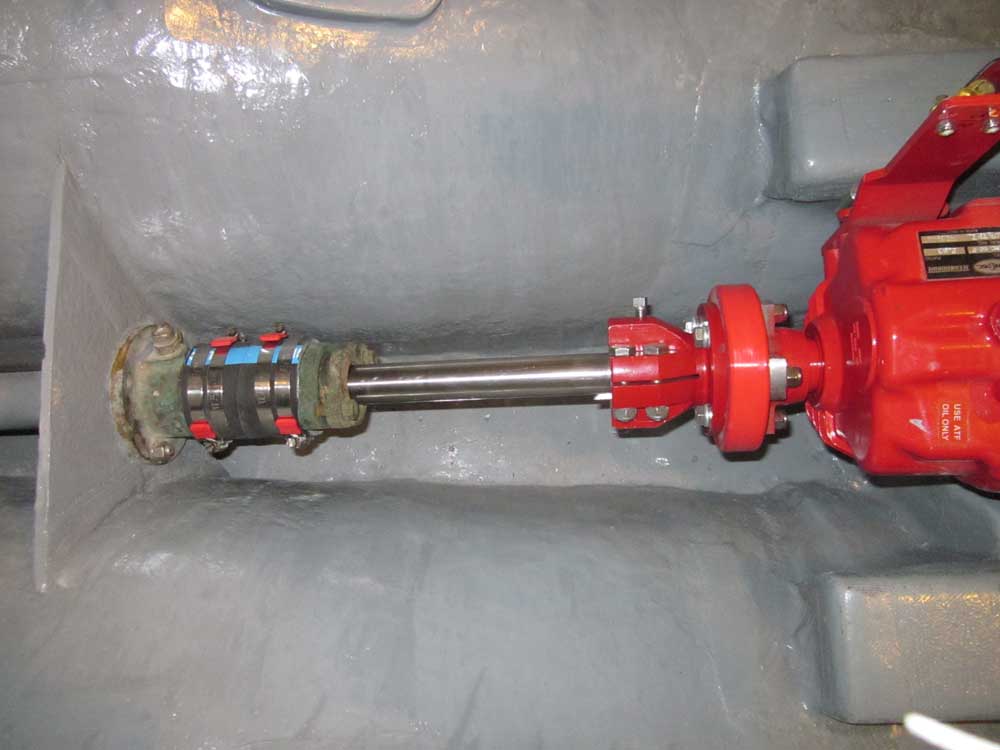
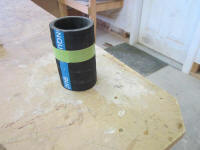
Before varnishing, however, I had several other things
to do first. To begin, I completed the stuffing
box and propeller shaft installation. With a new
hose to replace the one I ruined last time, I carefully
marked and cut the hose to length--successfully this
time thanks to the extra 12 seconds I took to mask
around the hose for a straight line.
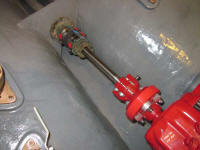
Afterwards, I installed the hose and stuffing box, then
permanently installed the split coupling and secured the
whole arrangement to the engine, completing the task. |


 |
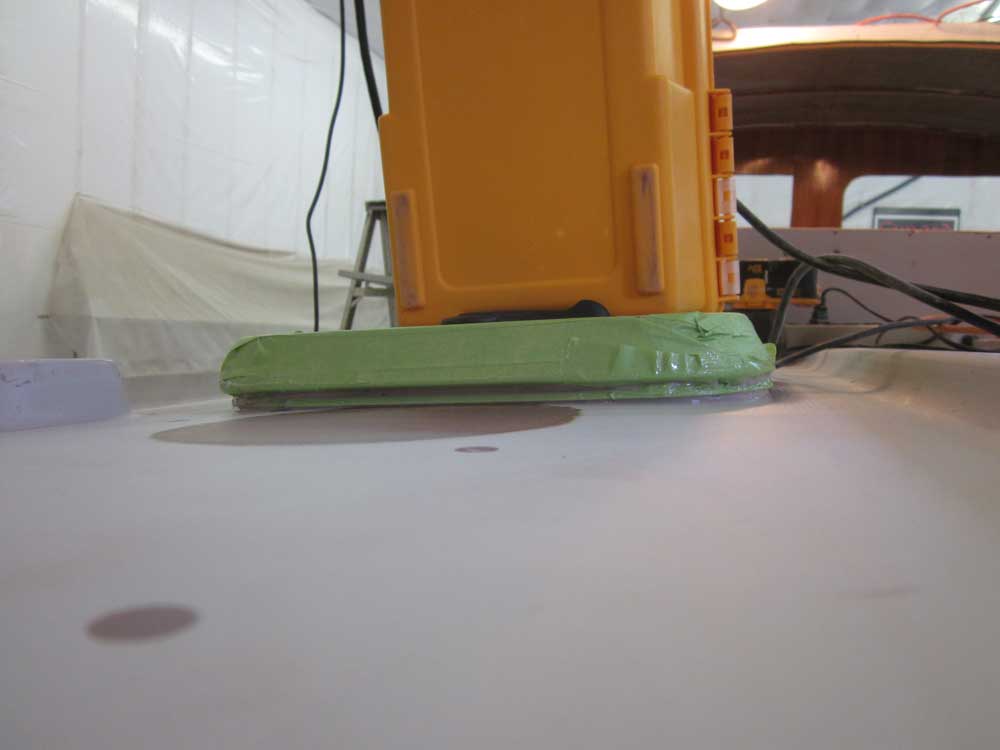
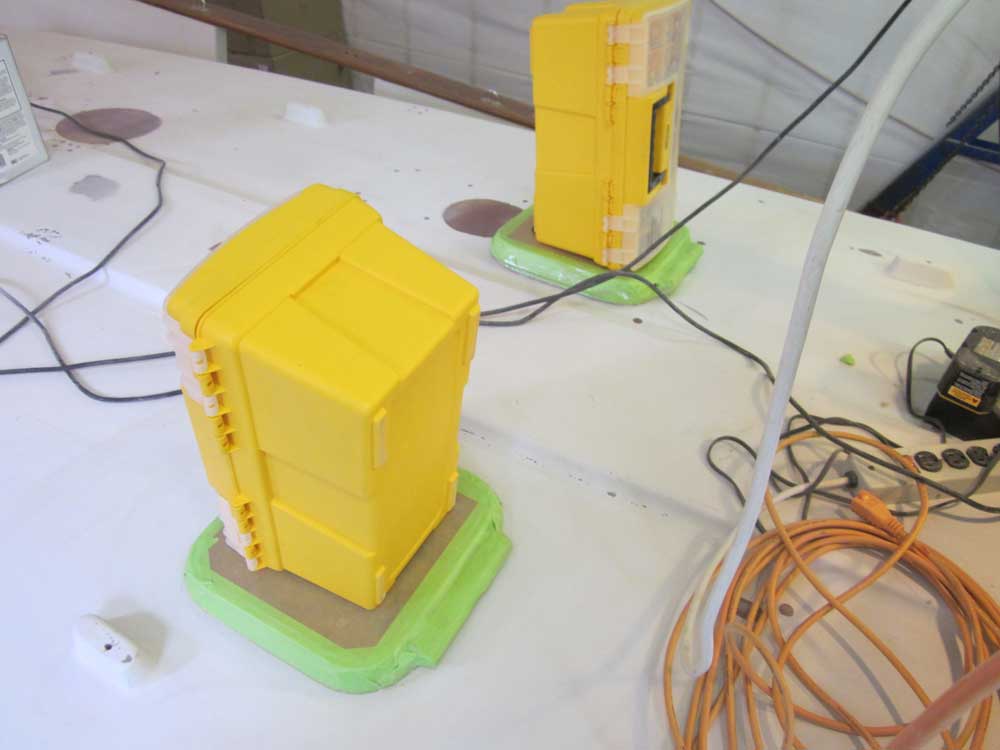
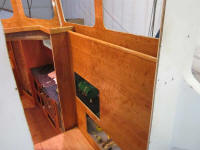
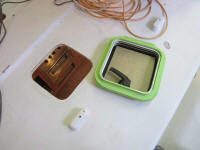
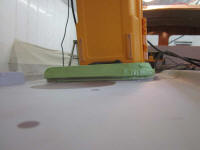
An earlier test-fit of my new opening hatches in the
main cabin and galley showed a need to build up the deck
slightly, as the modest camber left small gaps around
the hatch flange. To this end, I carefully swathed
the hatches in masking tape as a release agent, and
pressed the hatches into a bed of thickened epoxy on
deck, holding the hatches with weight to ensure a flat
bonding surface when all was said and done. I left
the epoxy to cure overnight.
|
 |
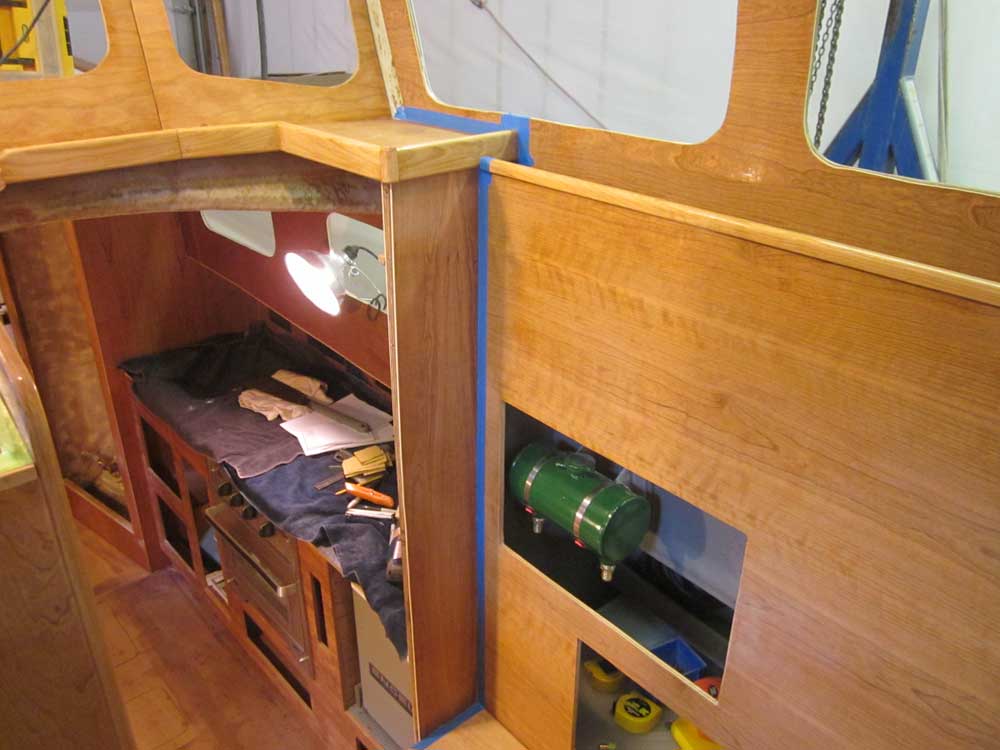
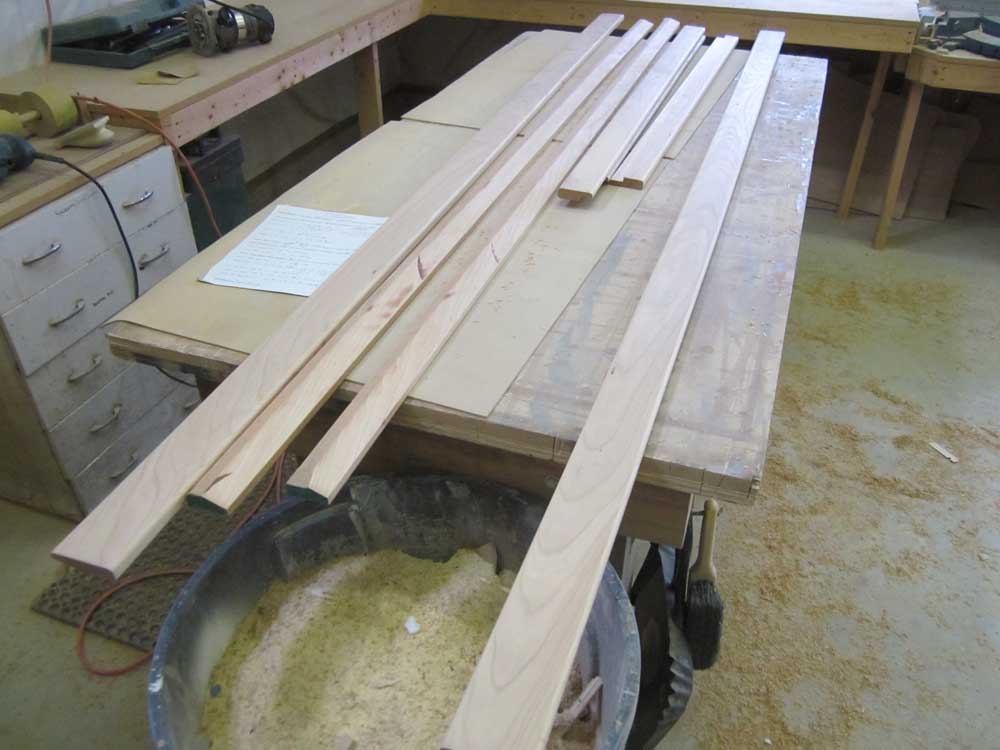
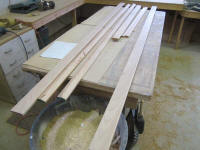
During the afternoon, I milled several sections of
various trim profiles for the galley and main cabin,
working off a list that I'd compiled some time ago.
For now, I milled profiles for the dinette seat fiddles,
dinette backrest shelf fiddle, galley counter fiddle,
and some trim for the edge of the cabin trunk where it
met the sidedecks. I completed the various
milling operations, but left final sanding of the trim
blanks till next time. |
 |
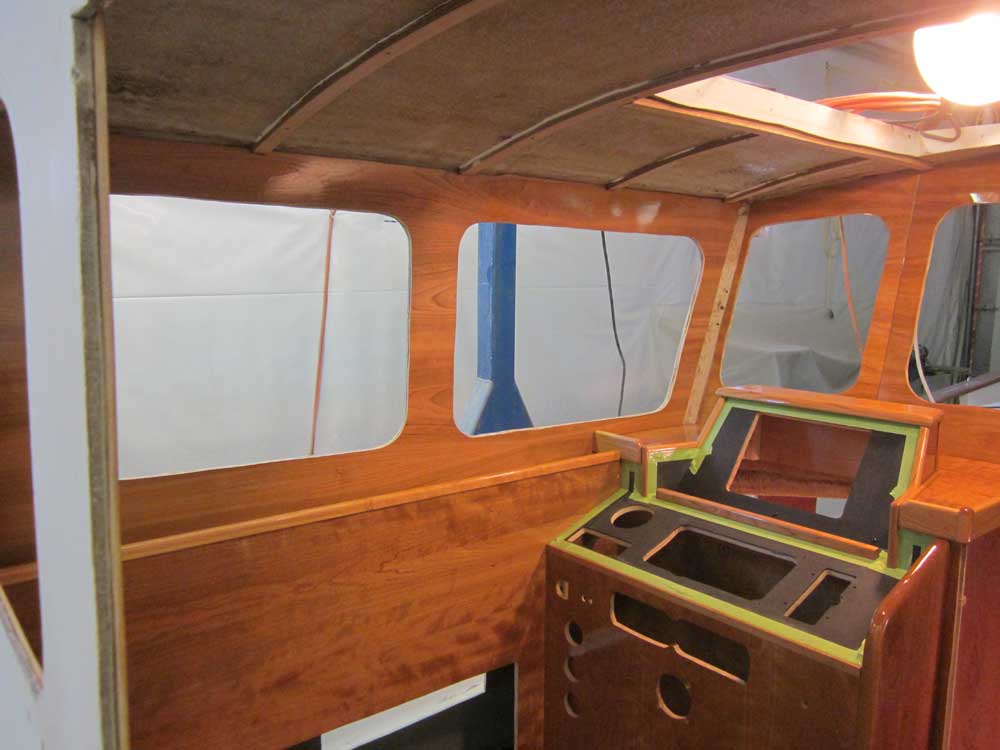
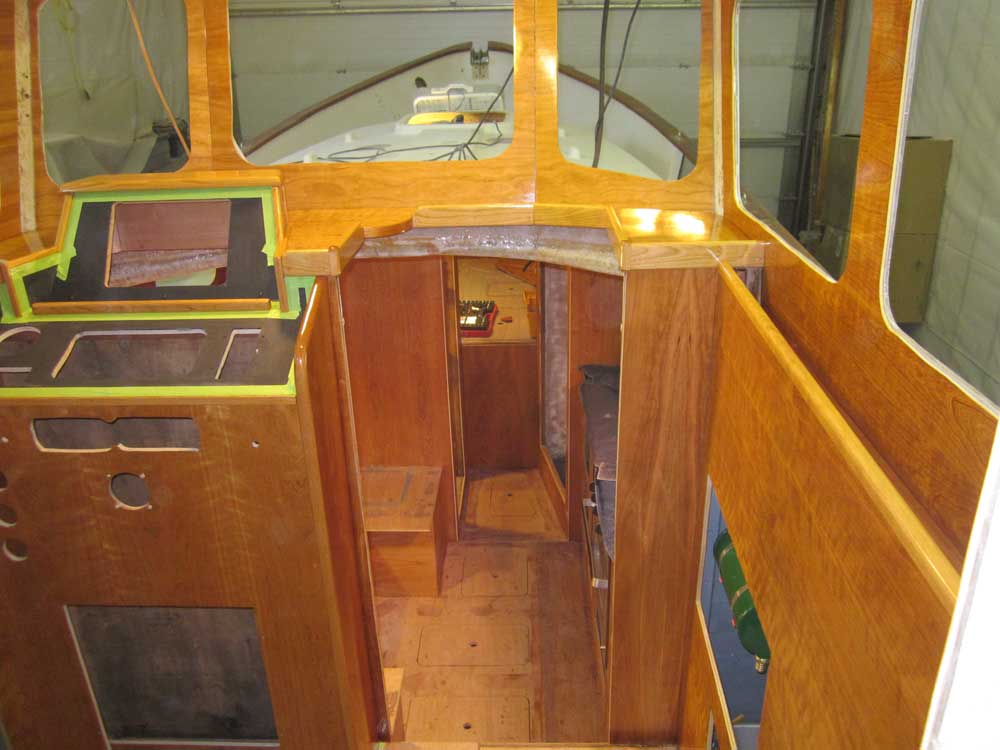
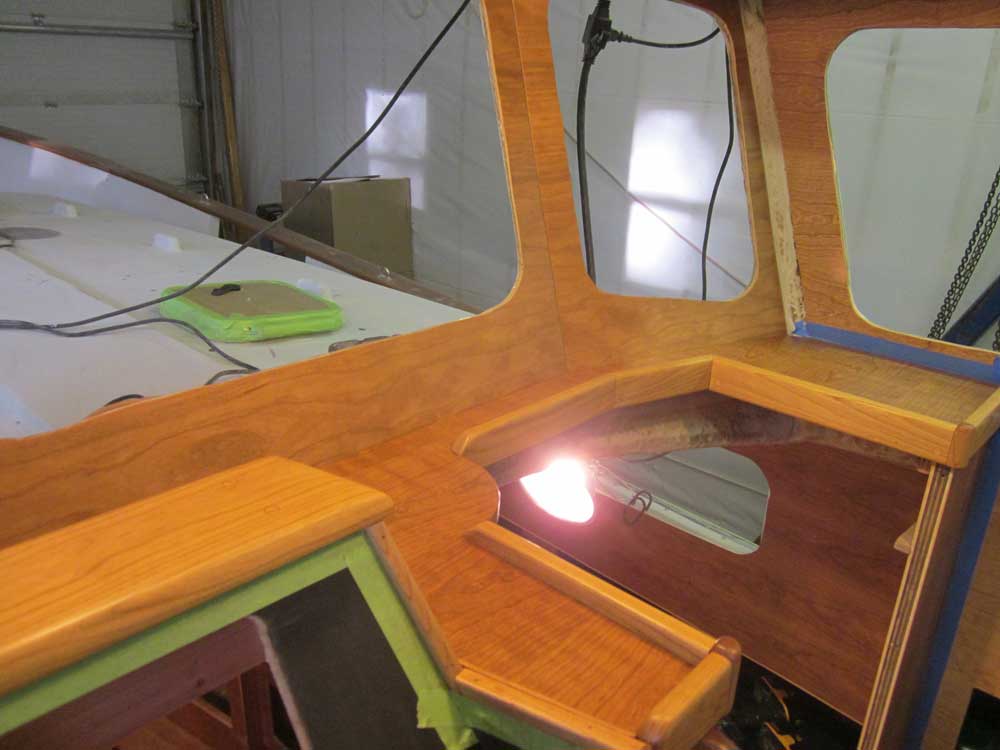
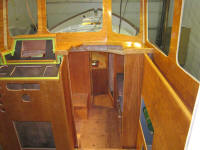
To wrap up the day, I applied a coat of satin varnish to
the windshield, dash, and helm areas, as well as the aft
bulkhead of the pilothouse. |


 |
| |
Total Time Today: 10.75 hours
(Including Time Spent on Preceding Days) |
<
Previous | Next > |
|
|