Project Log: Saturday, April 14, 2012
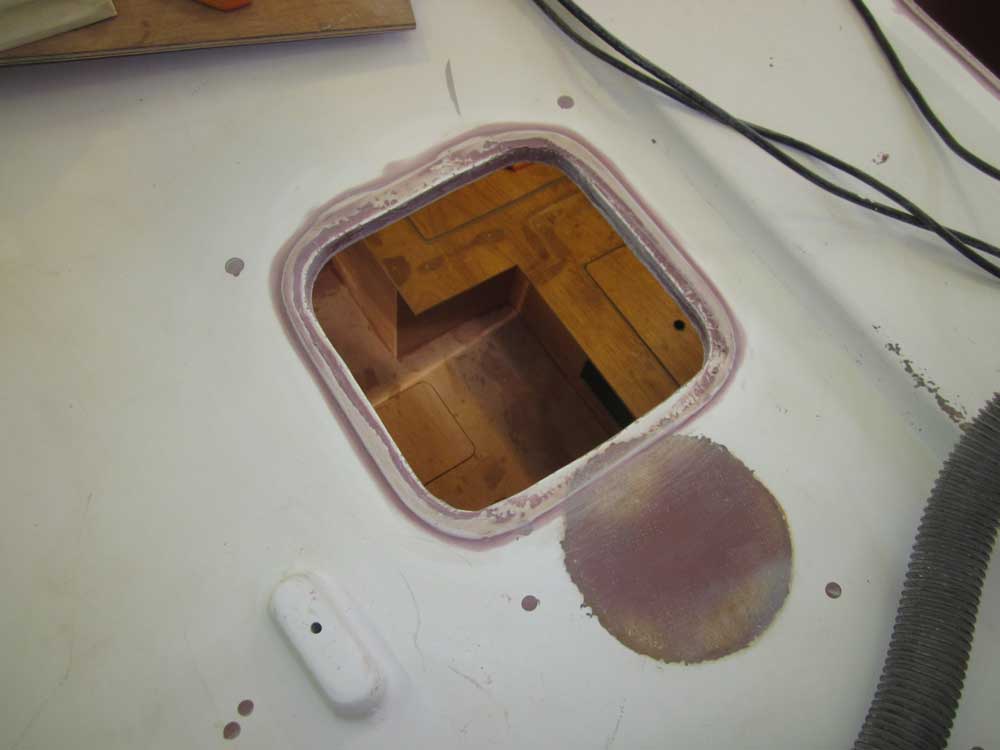
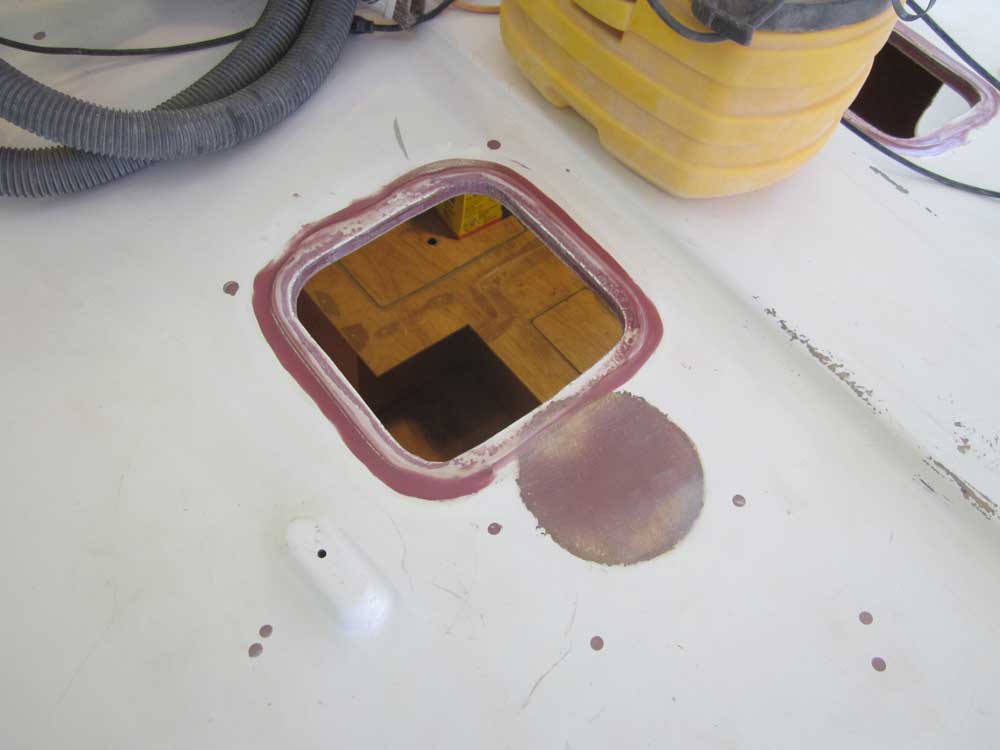
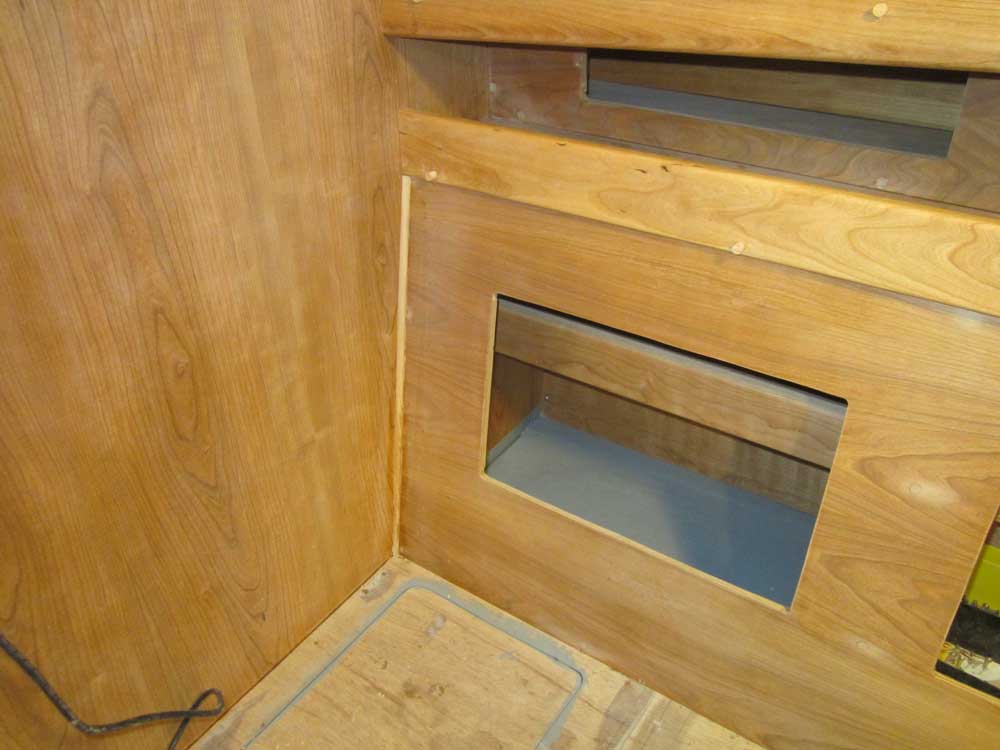
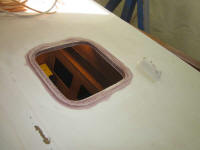
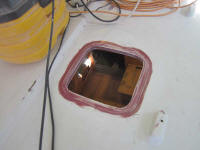
The two small hatch openings required an additional
round of filler to complete the fillet around the edges,
so I washed and lightly sanded the first application as
needed, then applied a second coat to fine-tune the
contours. |
 |
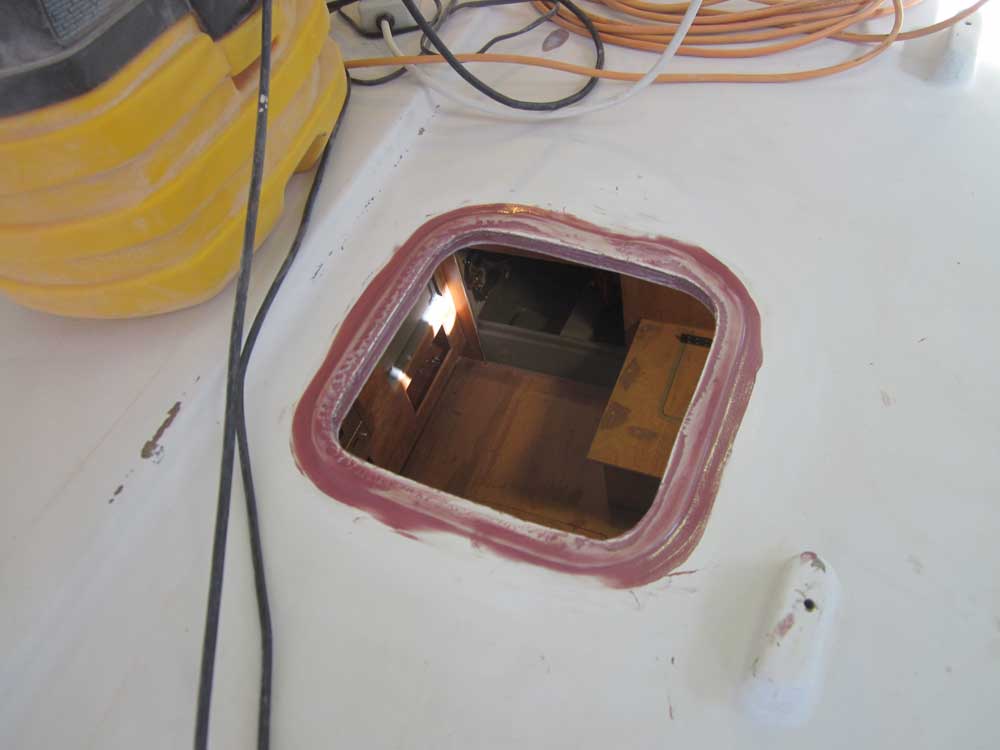
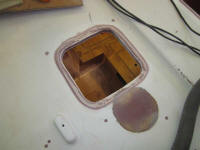
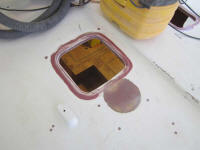
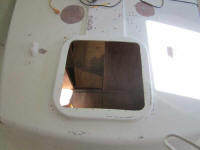
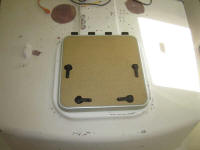
Pleased with the small Vetus hatches, I went ahead and
ordered a larger one for the forward cabin. While
the overall size was about the same as the original
hatch I removed, the opening was a slightly different
shape, mainly in the corner radii. So I traced the
opening and enlarged the cutout as needed for the hatch
to fit properly. Since there was a nice molded
flat area designed for this hatch, there was no need for
any further pre-installation work. |
 |
I lightly sanded the aft bulkhead, dash, and console in
the pilothouse to prepare these surfaces for their
second coat of satin varnish, but left application of
the finish for another time so it wouldn't prohibit
other work on board in the meantime.
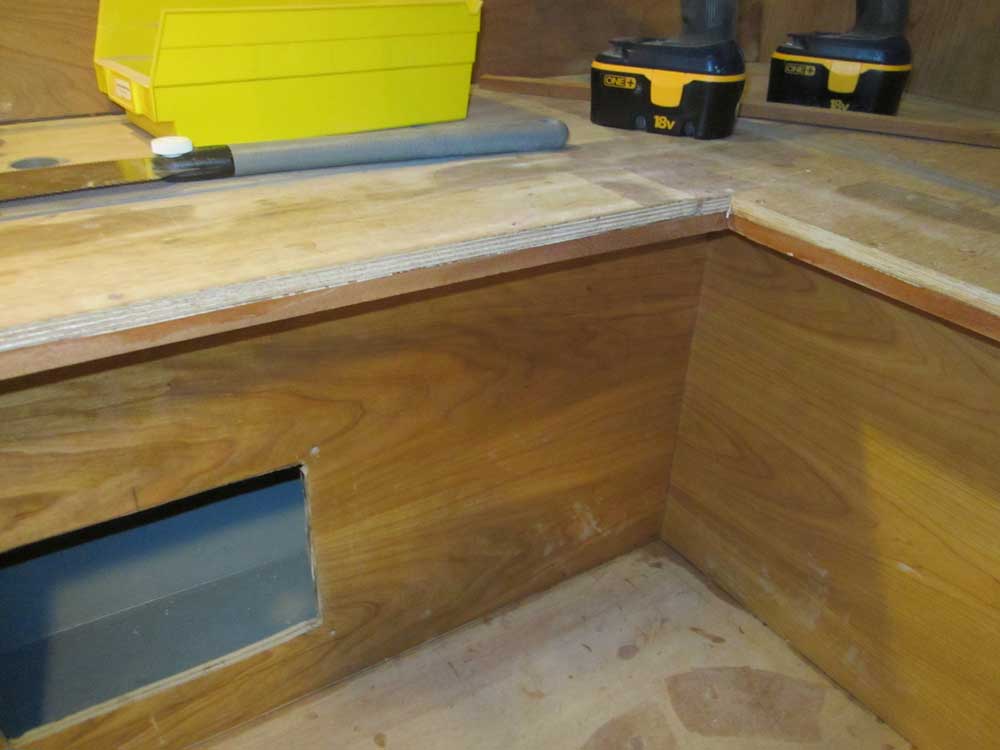
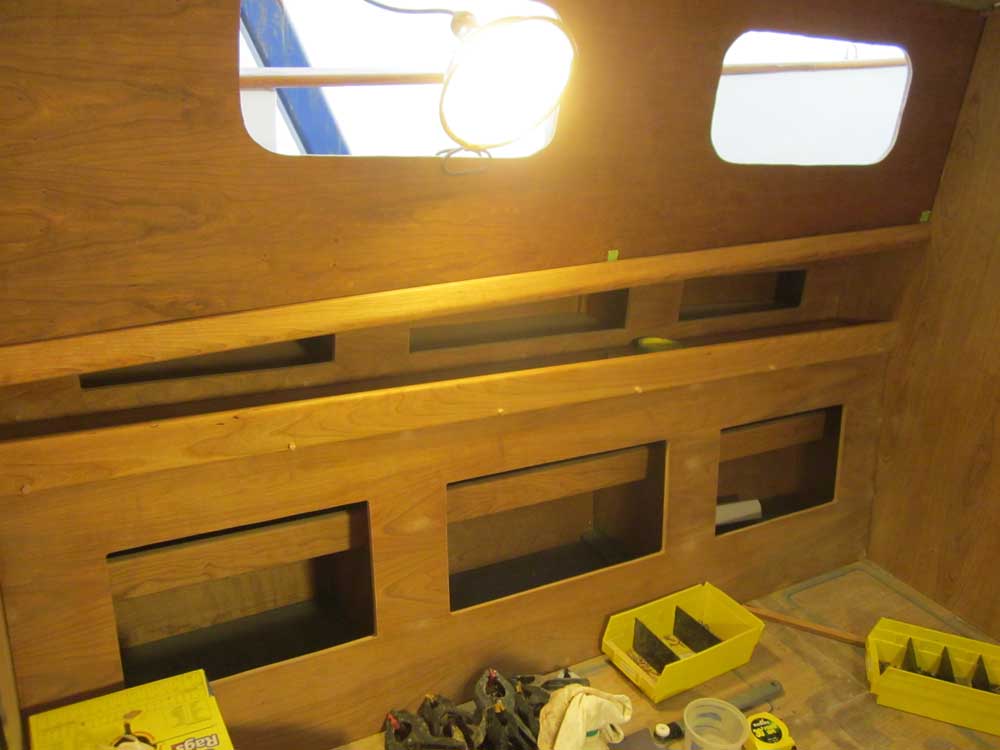
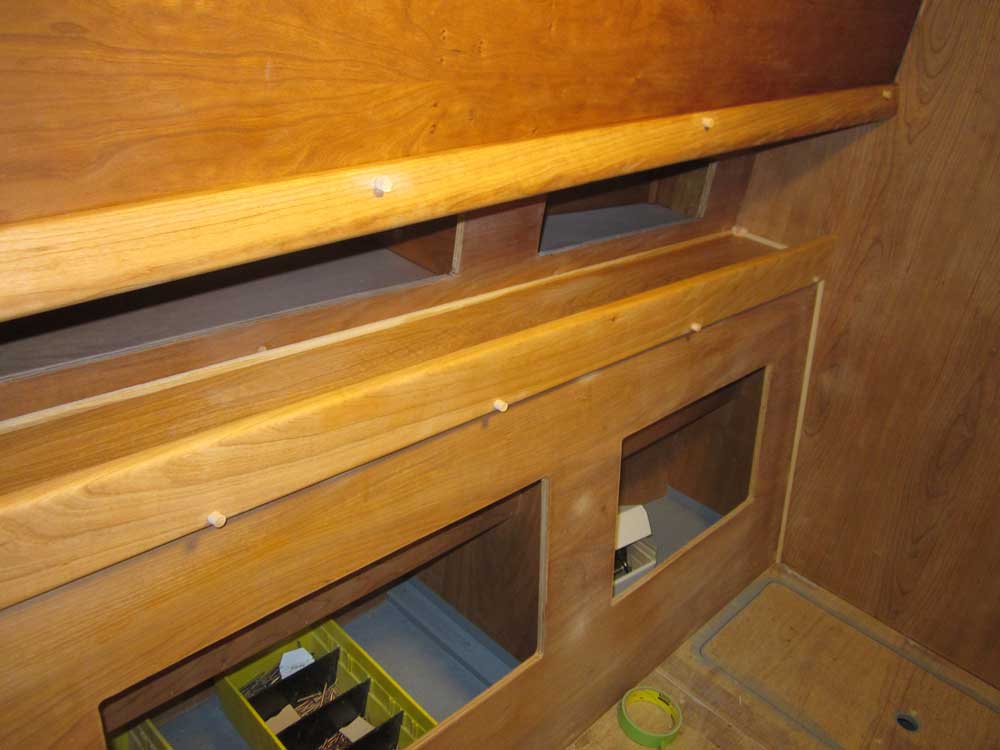
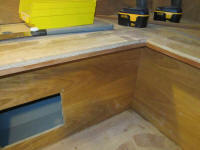
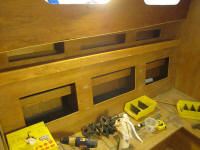
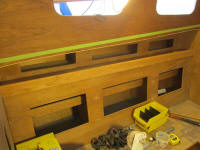
Down in the main cabin, I started work on installing the
trim I'd prepared earlier. To begin, I cut
hardwood cleats and glued and screwed them to the
underside of the dinette seat overhang, in the footwell.
Because the fiddle trim hung down below the top surface,
I needed the additional support for the overhanging
section, and also more room for glue and screws.
These cleats would never be seen, and I didn't fuss over
their installation much. |
 |
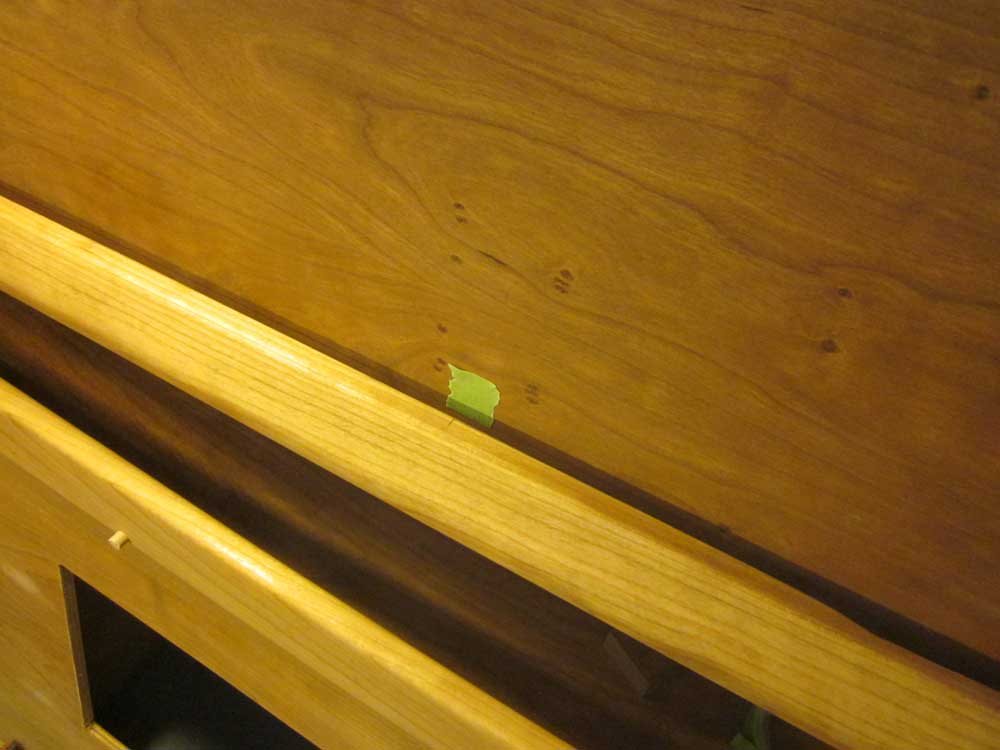
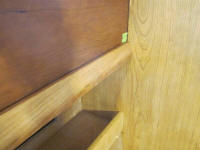
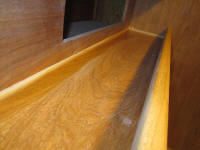
Next, I cut and fit the long length of fiddle trim at
the edge of the shelf on the dinette backrest. The
angled rabbet I'd prepared during the original milling
didn't work out as well in practice, and I ended up
recutting the rabbet straight, which allowed the trim to
sit properly over the edge of the shelf. I glued
and screwed the trim in place, and bunged the screw
holes immediately.
|
 |
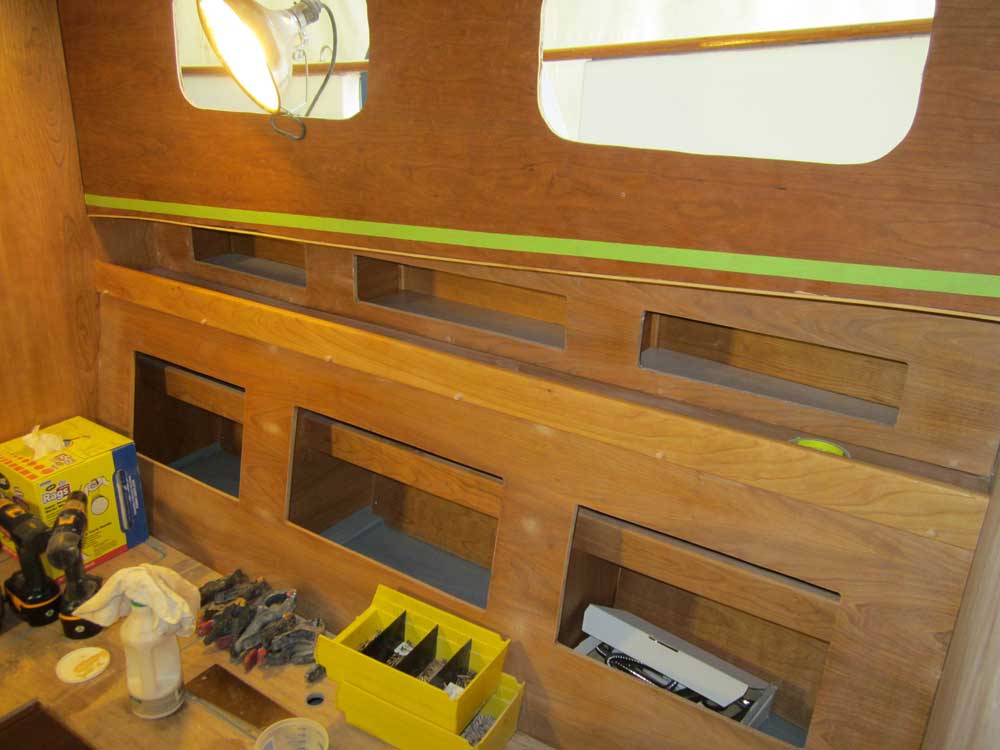
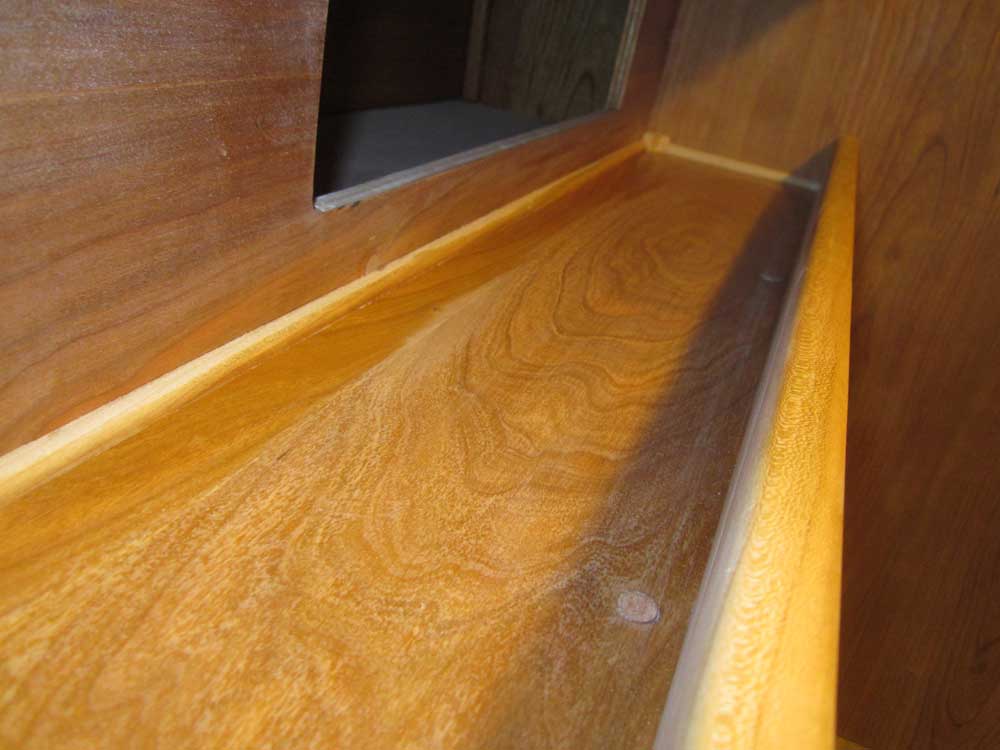
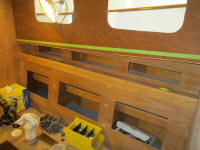
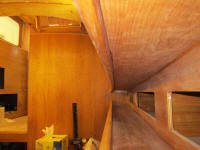
I planned hidden indirect lighting along the undersides
of the sidedeck on both sides of the cabin, and the
section of trim I'd milled was designed to hang down by
about an inch and provide the needed visual barrier, as
well as cover the edge of the cabin trunk.
Because of the shape of the deck, which followed the
jaunty sheerline, the cabin trunk--and therefore my
trim--featured a noticeable upwards angle along its
length. This required angle cuts on each end of
the trim, so I used a short 2" wide bank (same as the
actual trim) to determine and test-cut the angles
needed, and also to make measuring the overall length of
the trim easier. I successfully transferred
the angles and measurements to the actual trim and
friction-fit it in place.
Frankly, this steep angle looked sort of awkward, and
had never been my favorite feature of the interior, but
it was part of the boat and there was no way to
eliminate or reduce it. |
 |
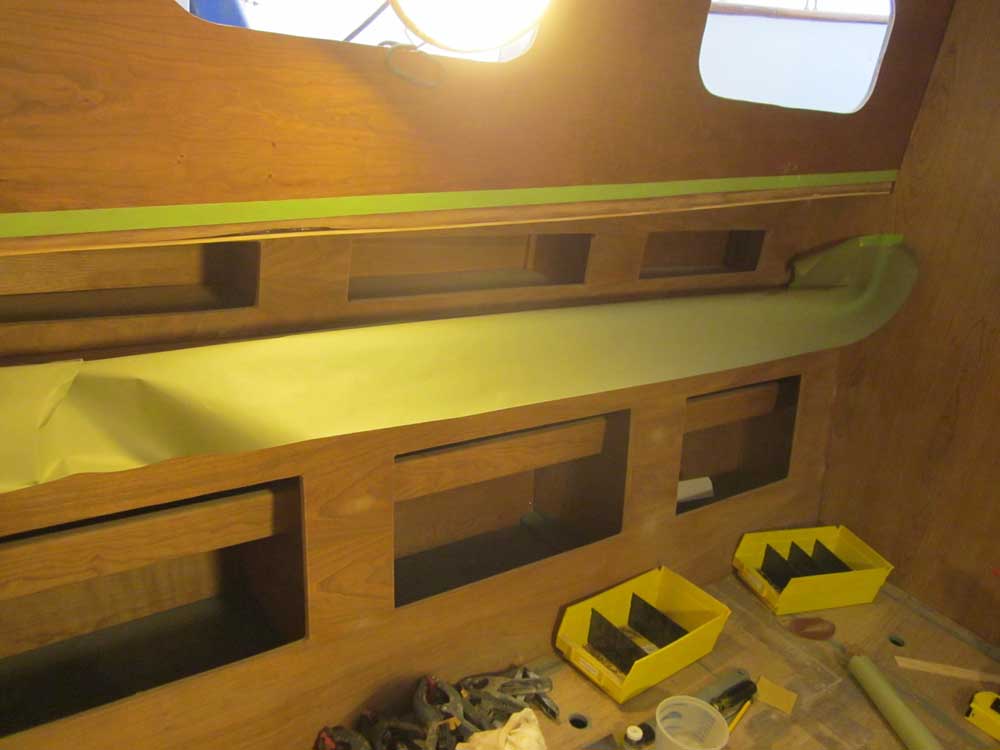
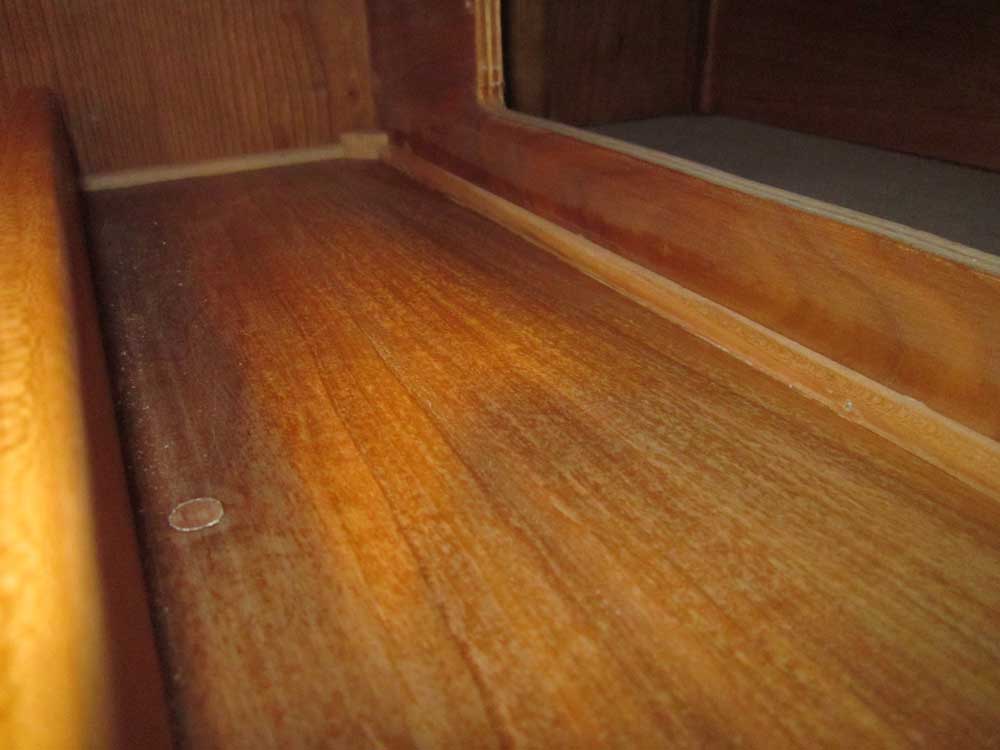
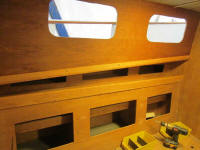
I also used the test blank to make some reference marks
with tape so I could get the height right. In
addition to the steep fore-and-aft angle, there was also
some curvature to the cabin trunk in both directions:
the lower edge wasn't planar, but featured a curve; and
the cabin trunk itself was slightly curved and not
straight. This required me to bend the trim
downwards in its center (from a straight reference
line), as well as to push it in to the slightly concave
shape of the cabin trunk. |

 |
| Eventually, using a 1" guide block to ensure the
trim hung below the cabin trunk enough in all areas, I
demarked the top edge of the trim with a length of
masking tape, both for visual reference as well as to
protect the wood, as I needed to use epoxy to secure
this trim since there wasn't much material into which to
screw (1/4" plywood and about another 1/4" of laminate
maximum). I planned to use short screws carefully
sized to ensure they didn't penetrate too far, but these
would just act as clamps while the adhesive cured. |
 |
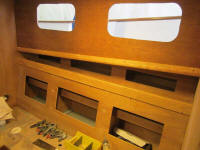
After scuffing up the one coat of varnish on the cherry
panel and trim, and marking and milling screw holes and
countersinks, I installed the trim with the
aforementioned screws and epoxy adhesive, bunging the
screw holes afterwards. |

 |
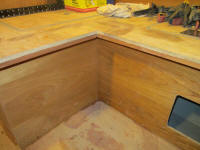
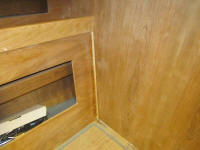
The joints between various plywood panels making up the
dinette (and other areas of the interior) generally
required small trim to cover the seams. For these
areas, I'd previously milled several sections of 1/4"
quarter round, just enough to cover the corners without
making much of a statement. Beginning with
the vertical seams between the angled dinette backrest
and the vertical bulkheads on each end, I installed some
of the trim with glue and stainless steel brads.
To avoid fasteners, I first tried using a couple dabs of
hot glue to hold the trim instead of the brads, but it
wasn't working, and ultimately I decided the brads, shot
from an air gun, were just too easy and too innocuous to
worry about. I had some cherry wood filler I
might try, but generally I thought that these fillers
looked worse than the tiny holes they were designed to
"hide". But it'd be worth trying a dab in a hidden
area, perhaps.
The corner trim was, so far, unfinished, making it stand
out more now than it would later. The goal, of
course, was to install all the trim so I could varnish
and complete the entire area. |
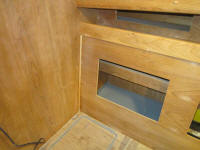 |
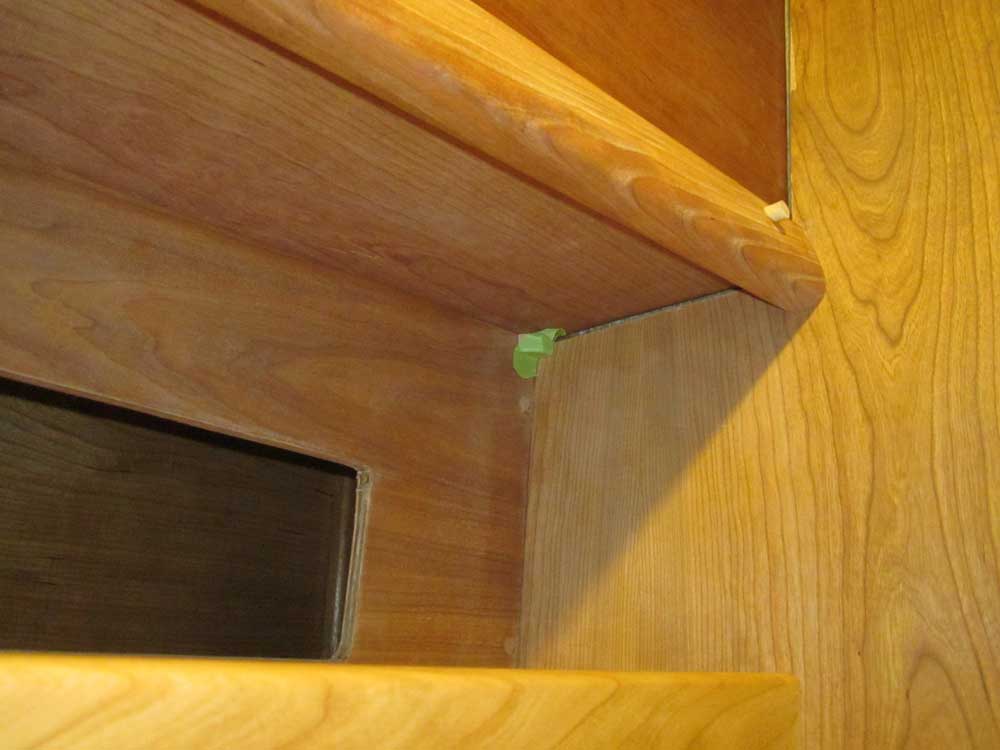
In the shelf area of the dinette, the back corners would
require three pieces of this trim to meet--two sections
on the shelf itself, meeting at 90°, and a third,
vertical section above, perpendicular to the other two.
I suppose there were any number of ways these pieces
could be conjoined, but I hate working with tiny trim
and didn't want the corners to be any more difficult
than necessary. So I made some simple corner
blocks that allowed the quarter round to butt into flats
on each side as needed. From 3/4" square cherry
stock, I milled a 45° angle on one side, leaving flats
of about 5/16" on the two sides for the shelf trim; the
vertical trim could run right into the top of the block.
I glued one of these into each back corner. |
 |
At the top corners, on the underside of the sidedeck, I
had a similar situation, but with one difference:
I needed only one leg of horizontal trim. So I
used the same basic blank, but cut one side shorter so
the angled cut essentially died off on the side where
I'd not be installing quarter round. I glued these
into the top corners, holding them with tape. |
 |
Corners complete, it was simple to cut pieces of the
quarter round to fit. No fussy angles were
required thanks to the convenient corner blocks--just
square cuts, glue, and brads. I left the upper
trim, beneath the sidedeck, for next time, once the glue
on the upper corner blocks had dried. |


 |
| |
Total Time Today: 7.25 hours
|
<
Previous | Next > |
|
|