Project Log: Saturday, December 15, 2012
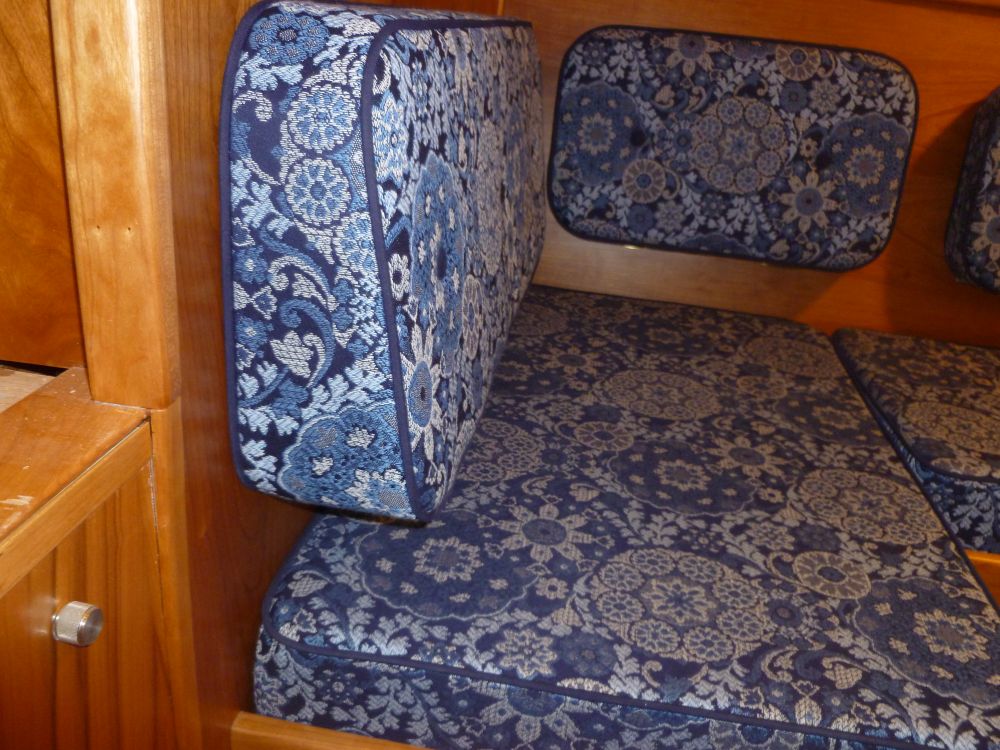
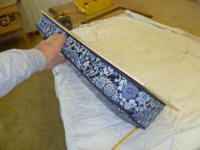
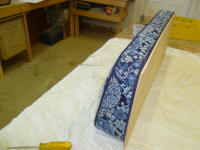
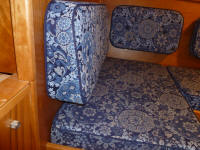
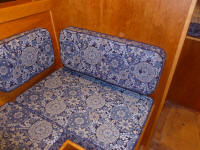
Late Friday afternoon, Jason brought over the completed
backrests for the forward and after bulkheads in the
dinette, completing the upholstery order for now.
The complicated wedge pieces looked great, as I'd come
to expect.
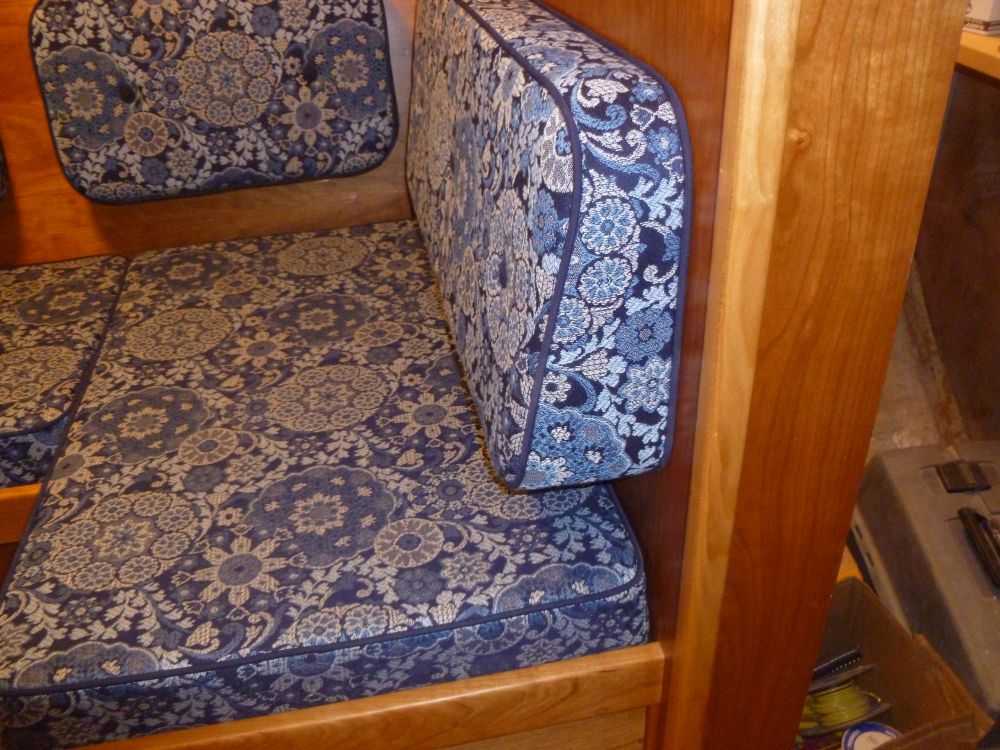
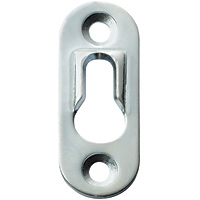
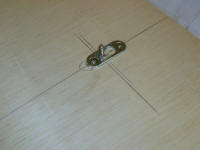
To install the backrests, I chose keyhole-shaped
brackets, which would allow the backrests to hang with
blind fasteners, while hopefully being secure yet
allowing easy removal. I couldn't find this sort
of hardware in anything other than plated steel, but
thought that for this situation that would be just fine.
Obviously I'd never use those things in an exterior
application. A protruding flathead screw
driven into the plywood back of the cushions would
engage with the keyhole slot to hold and, hopefully,
tighten the backrests. The brackets were small,
about 1-1/2" long and requiring approximately 1/8"
clearance, which worked out well with the backrests'
design and piping. |
 |
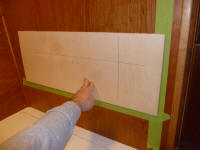
Because I was concerned about proper alignment, I
decided to do a dry run of the installation, not only to
prove the concept, but also to provide me with an easy
way to mark the installation location of the brackets in
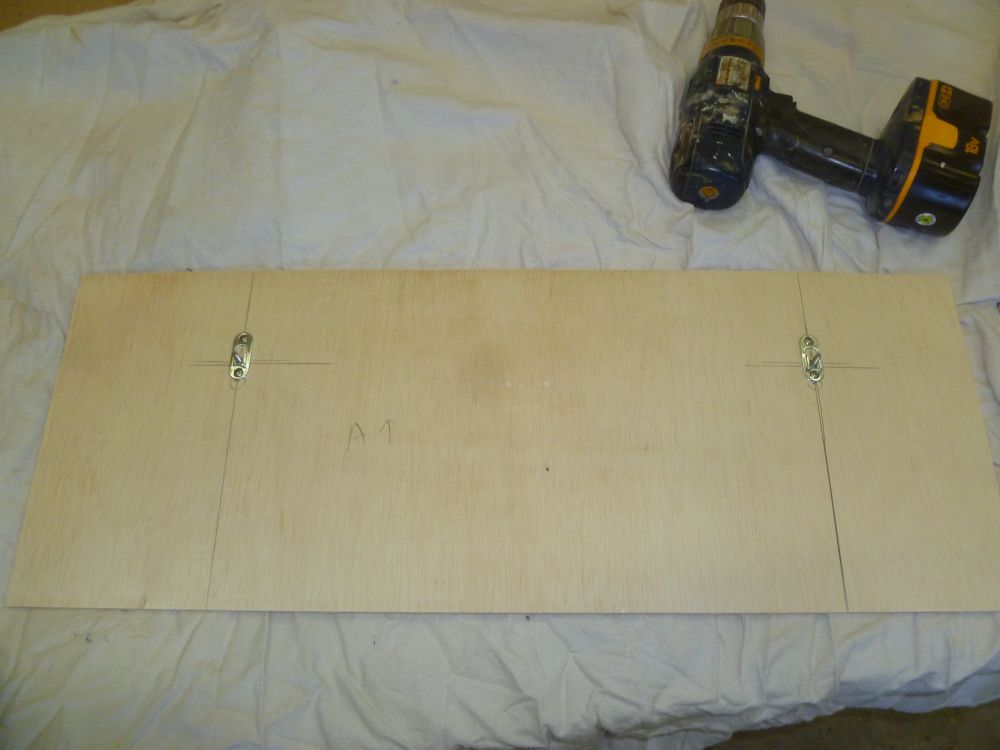
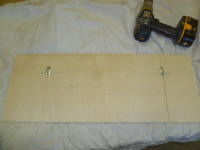
the boat. To this end, I prepared two pieces of
junk luaun plywood, ripping them to 11" wide (same as
the backrests) and cut to length at the same overall
maximum length of the backrest panels themselves.
After determining the desired position for the brackets
and making the layout marks and measurements required, I
installed the keyhole brackets on the plywood template,
and test-fit screws (the flathead screws required turned
out to be #8s; a #10 was a tighter (and possible) fit in
the bracket before it was installed against a panel, but
the tolerances were too tight to allow it to slip down
once installed, so I went with the #8s. |
 |
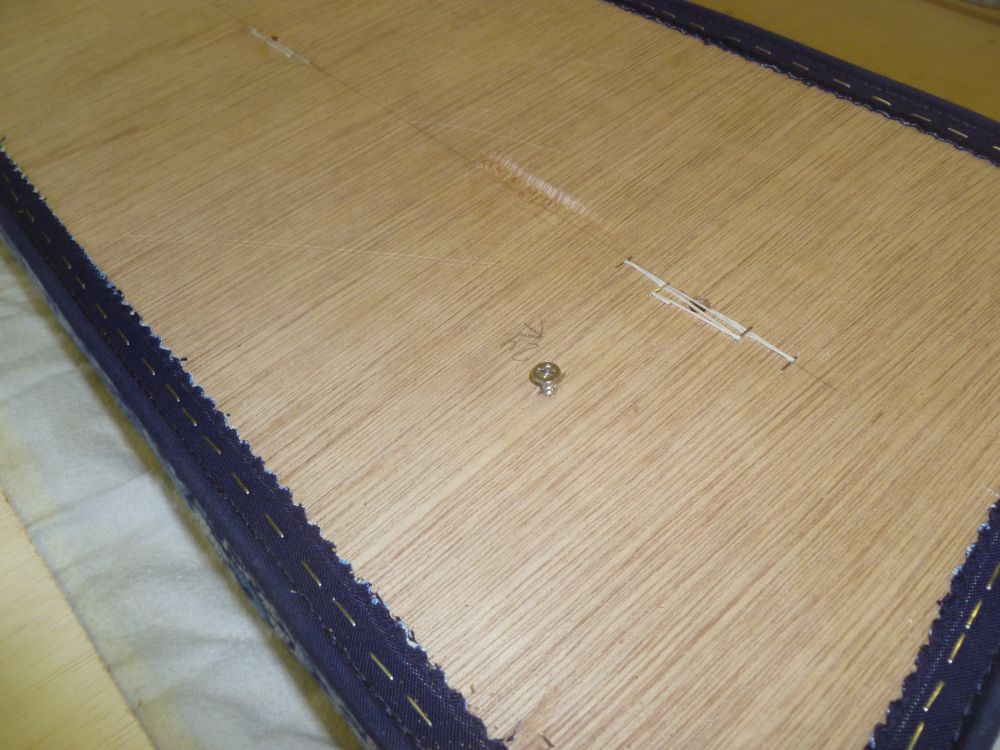
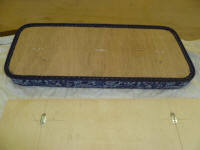
From there, I carefully determined the center point of
the screw itself, and marked it accordingly on the
plywood backing of the cushion, then predrilled and
installed the screws, leaving the protruding a certain
amount (subject to experimentation). I test-fit
the cushion, and was pleased with how the system worked,
and with the alignment of my template.
I repeated the process for the second backrest, which
was just slightly differently sized (1/4" difference in
length). |

 |
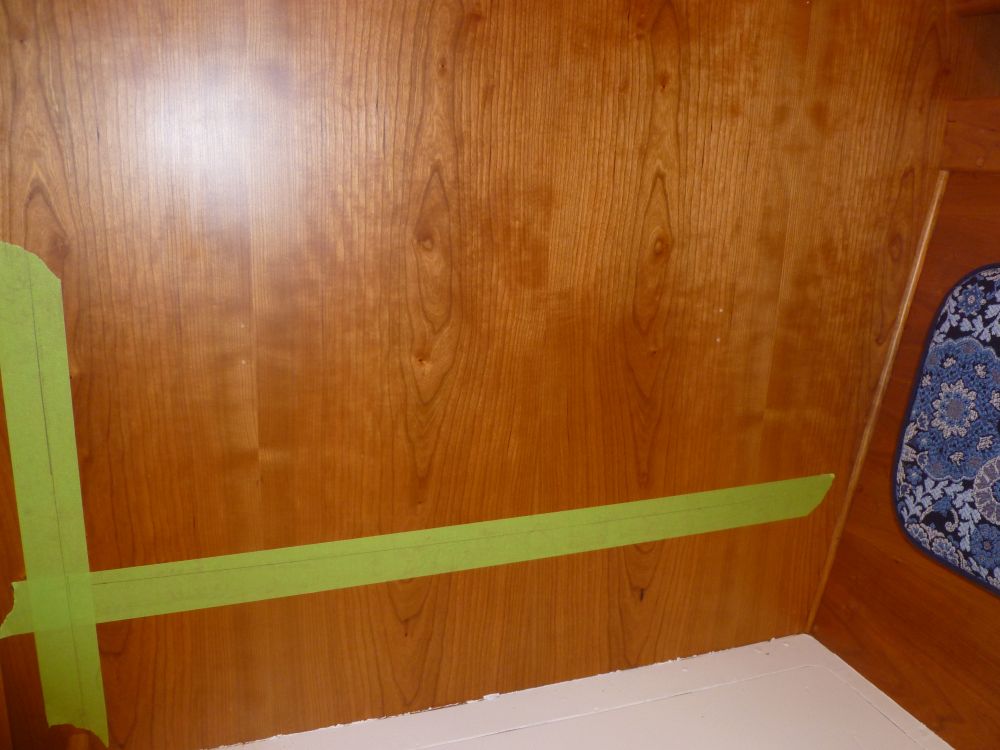
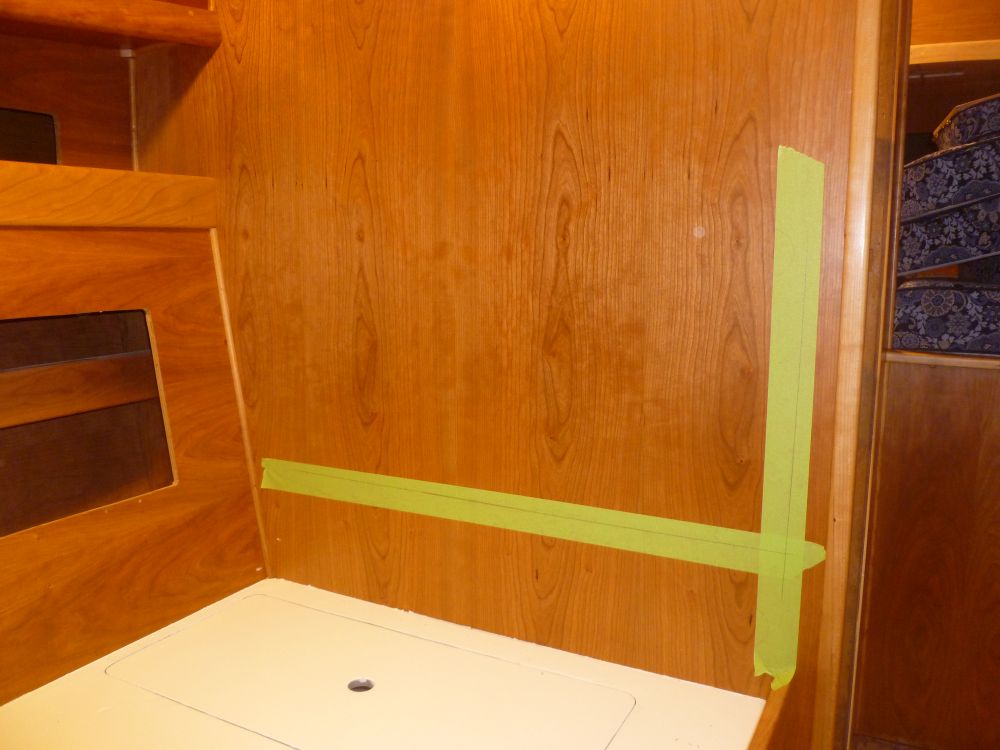
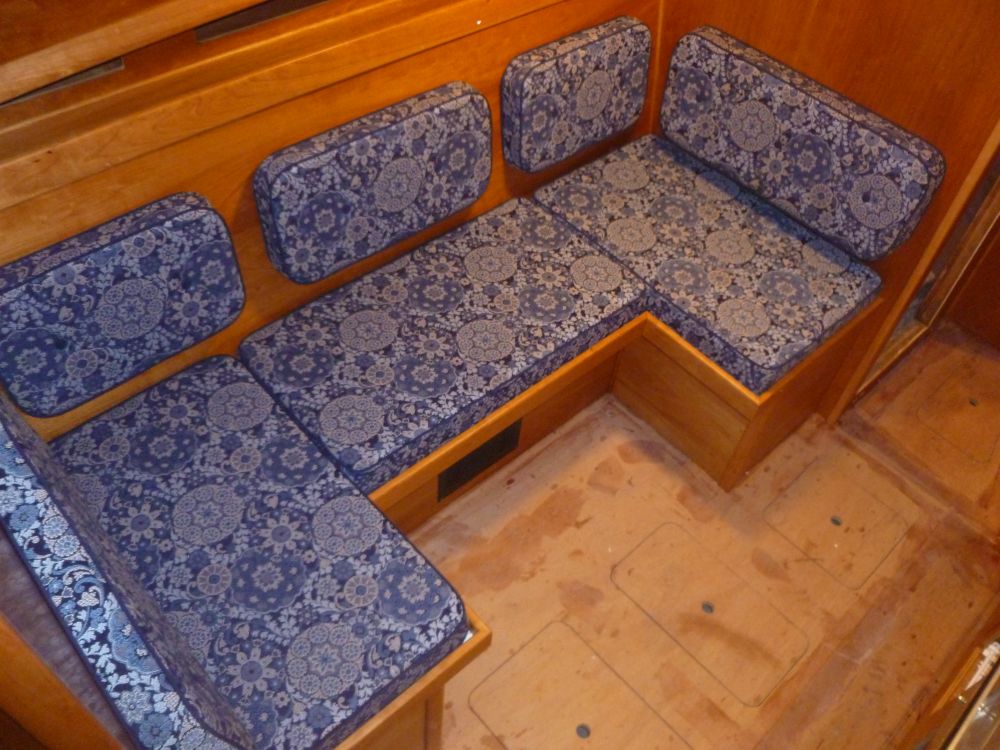
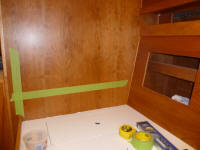
These backrests were designed to align, top and bottom,
with the backrests on the adjacent locker doors.
So once again, I laid out two critical layout lines:
one horizontal even with the bottoms of the next-door
openings; the other a vertical demarking the inboard
edge of the cushion, which was even with the end of the
berth inside the fiddle. |
 |
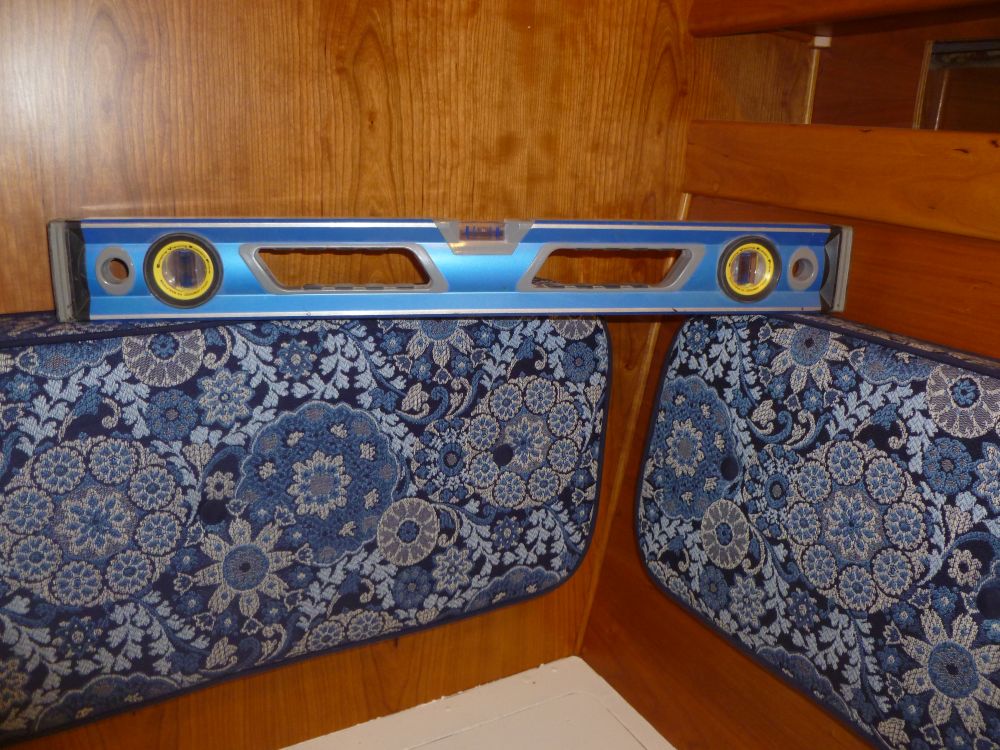
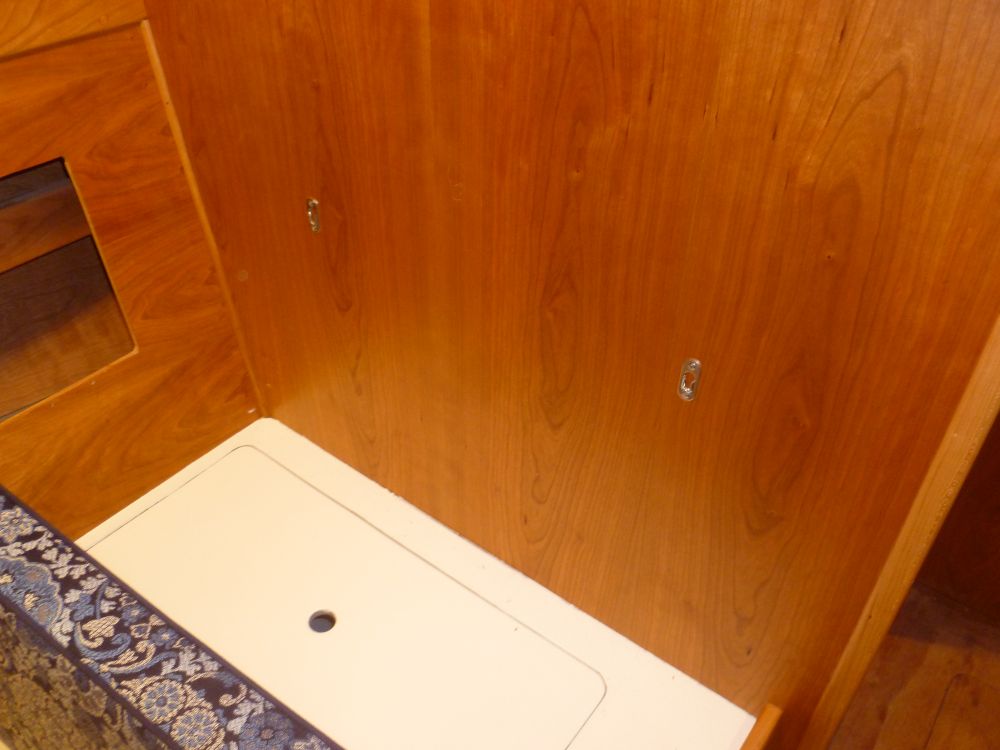
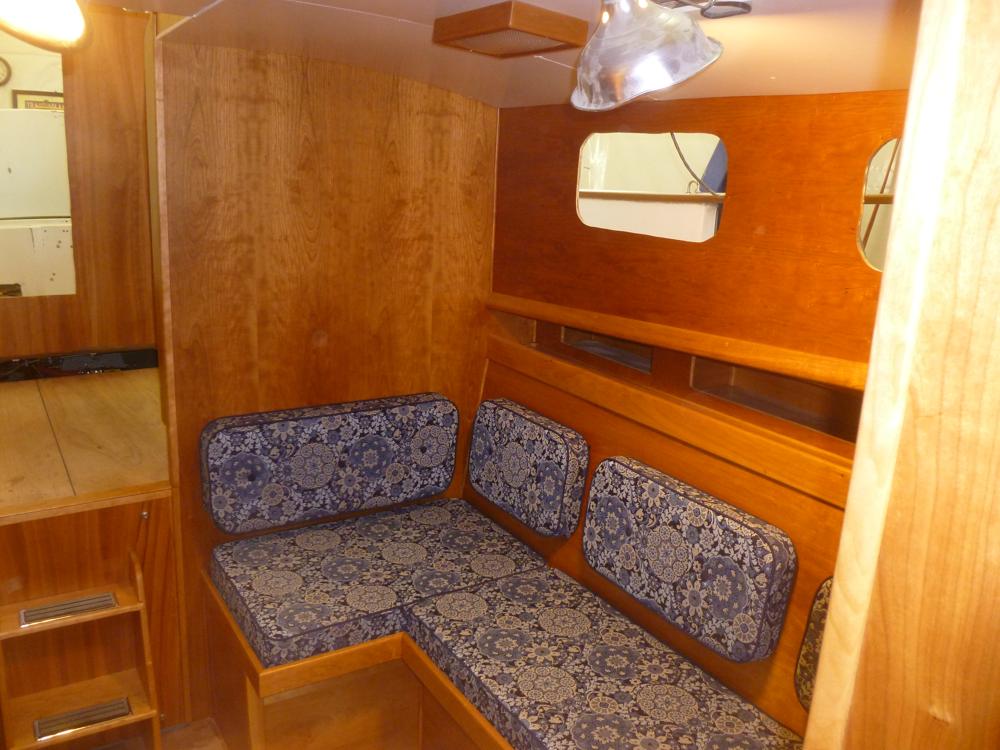
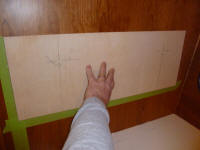
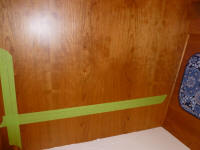
Holding the template securely against these marks, I
checked its position visually with and a level, and then
used the screw holes already in the template (from the
dry-fit) to drill pilotholes in the bulkhead for the
keyhole bracket screws, after which I installed the
brackets and then the backrest itself, repeating the
process for the second cushion as well. |


 |
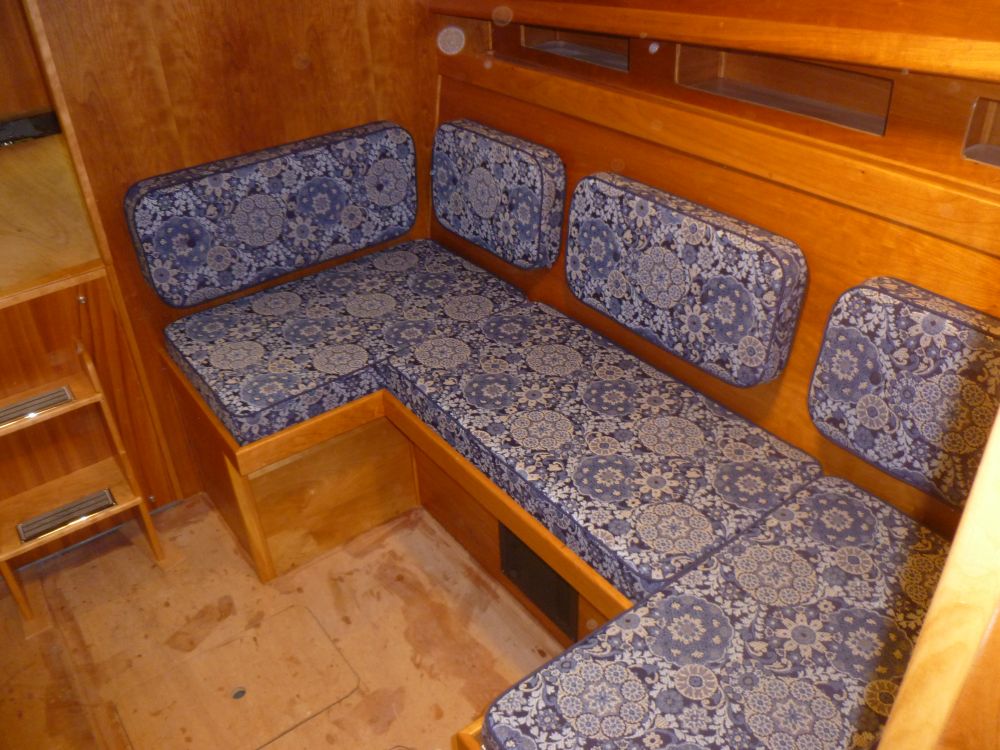
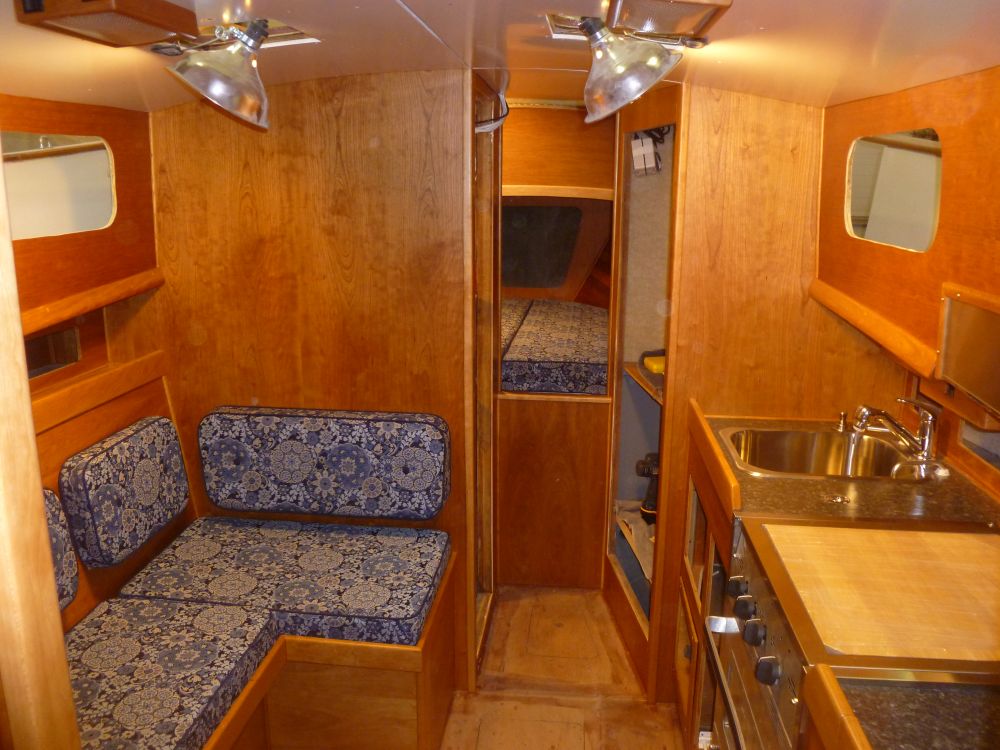
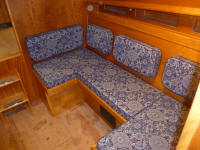
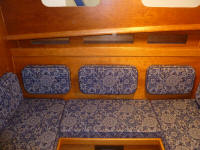
With the locker backrests temporarily installed (I'd
soon be removing all the cushions for safekeeping during
the balance of the project), the whole saloon began to
come together. All I needed now was to complete
the overhead, overhead trim, head compartment, cabin
sole, storage locker door, lighting, shelving and
trim...blah blah blah--in other words, still lots left
to do despite the new cushions. |


 |
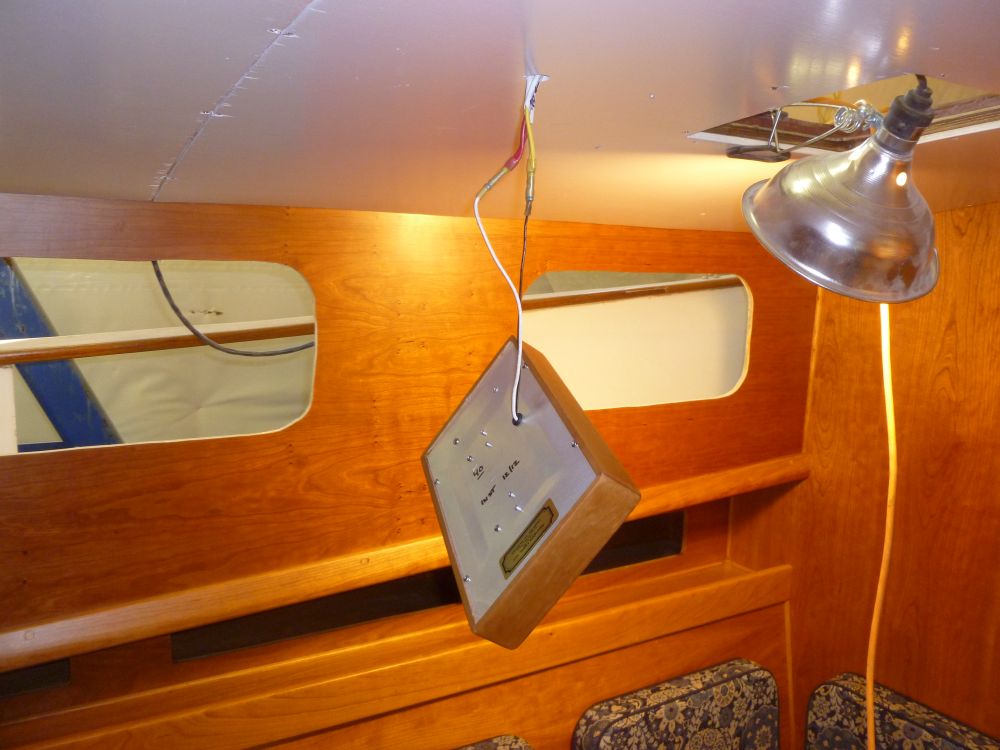
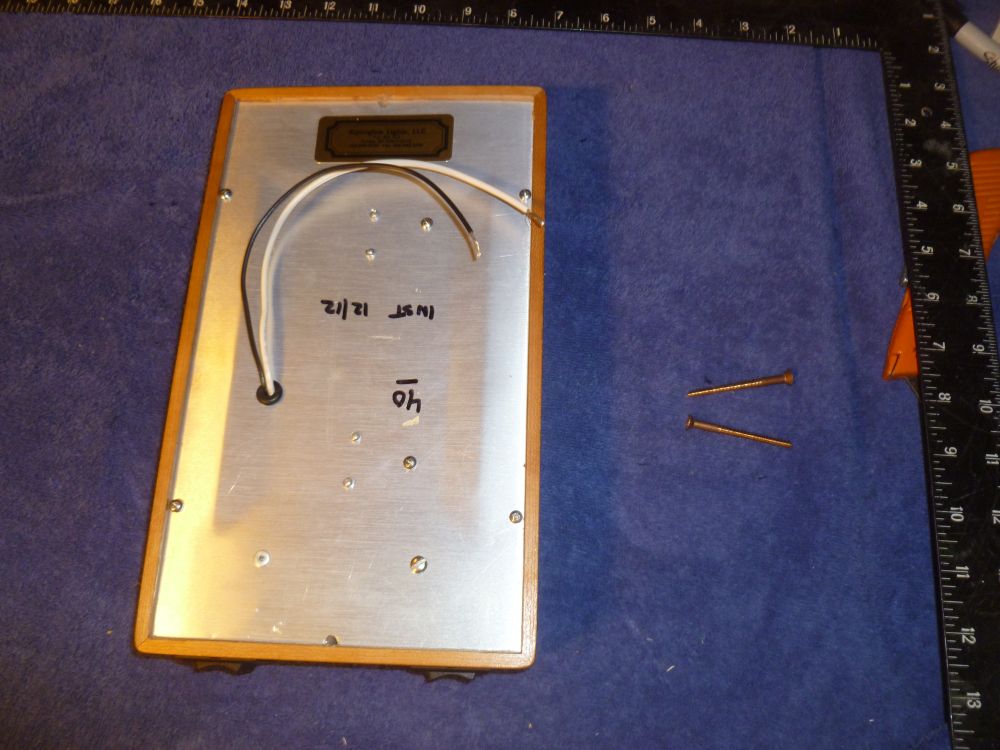
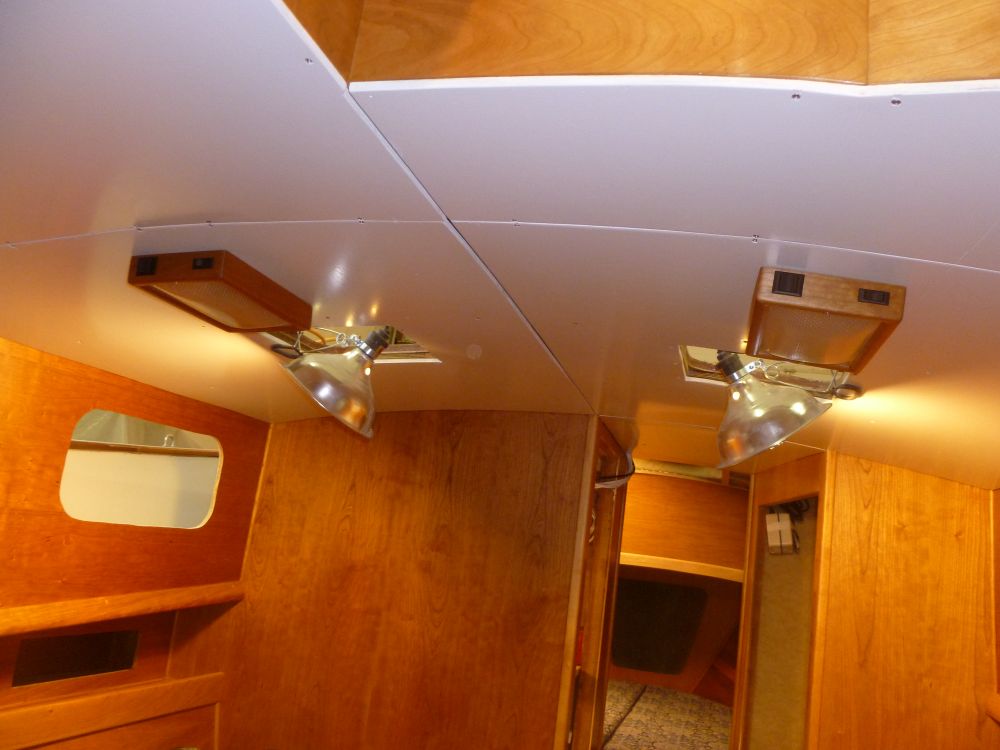
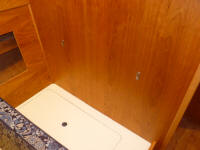
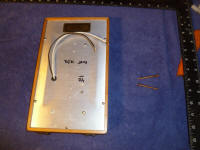
With three new overhead light fixtures on hand, I
decided to go ahead and install the two slated for the
main cabin. Fabricated by Alpenglow Lights, these
fixtures featured LED bulbs with dual power, plus night
vision, built into cherry frames that matched the
interior. Later, I planned on ordering a number of
LED reading and task fixtures, also from Alpenglow, but
didn't need them yet, and wanted to spread out the
costs.
Installation was easy. The lights incorporated a
shallow excess in the underside, which at first made me
skeptical, thinking there would not be enough space, but
it turned out to offer plenty of room for the excess
wire length after I made up the wiring connections.
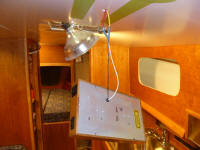
Final installation, once I'd completed the wiring, was
with two screws (supplied) through the housing.
With no electrical source (otherwise known as batteries)
yet on board, I could not, at this time, test the
fixtures, unfortunately.
With visitors planned for the remainder of the weekend,
this was the extent of my accomplishments for the day. |


|
Total Time Today: 2.5 hours
|
<
Previous |
Next > |
|
|