Project Log: Sunday, February
26, 2012
One thing I'd known I'd have to do eventually was make
some minor modifications to the forward end of the
pilothouse sole hatches, since the helm console would
overhang part of the port and center hatches and
therefore would require these hatches be cut, and the
new, shorter sections supported by additional
understructure. At the time of sole construction,
it was easier to ignore this issue and deal with it once
I was ready to build the console. That time was
now.
Originally, the boat had some additional cross beams and
some such that had accomplished this, and I intended to
stick with this general simplicity and make my required
modifications as simple as possible. In the area
beneath the console, I'd also have to provide ample room
for wiring and cabling runs, and other things. The
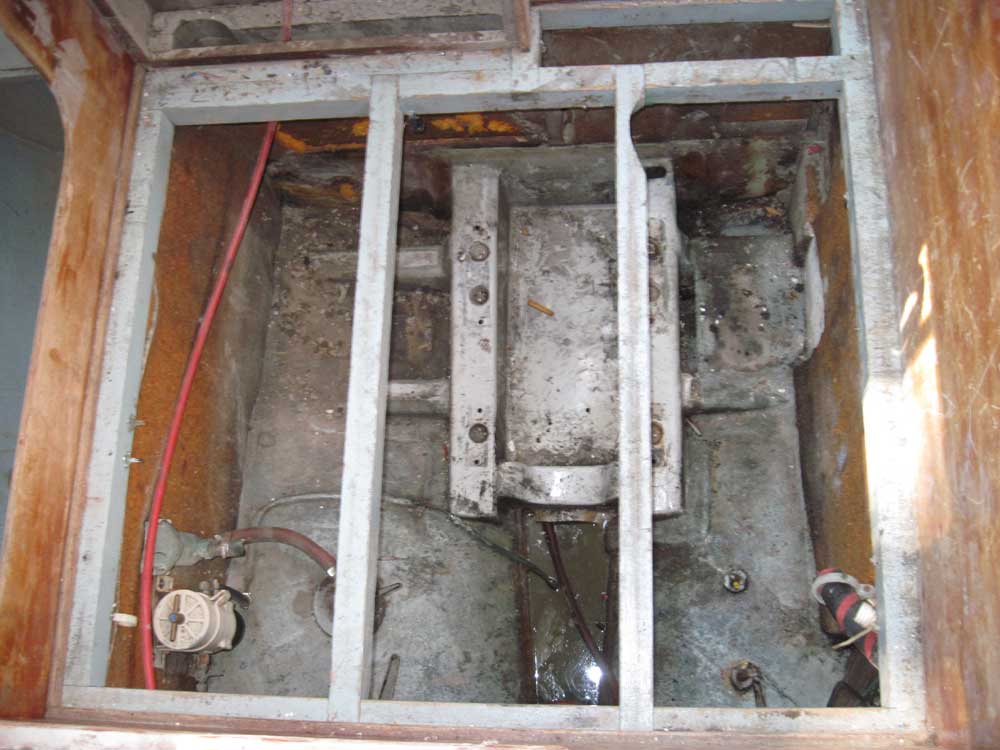
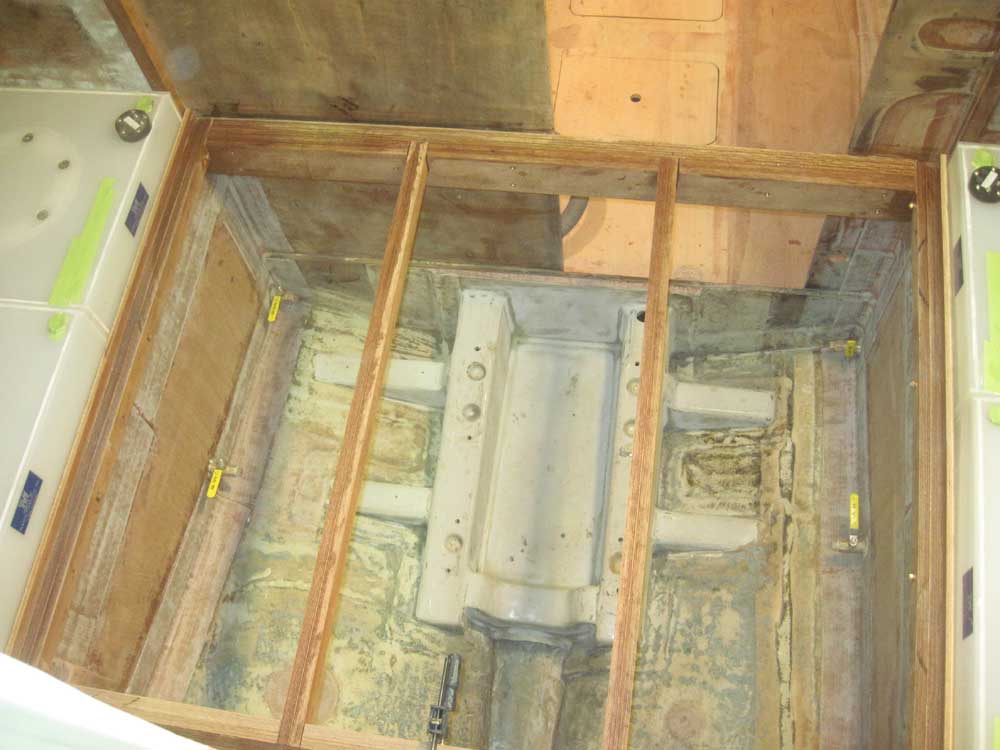
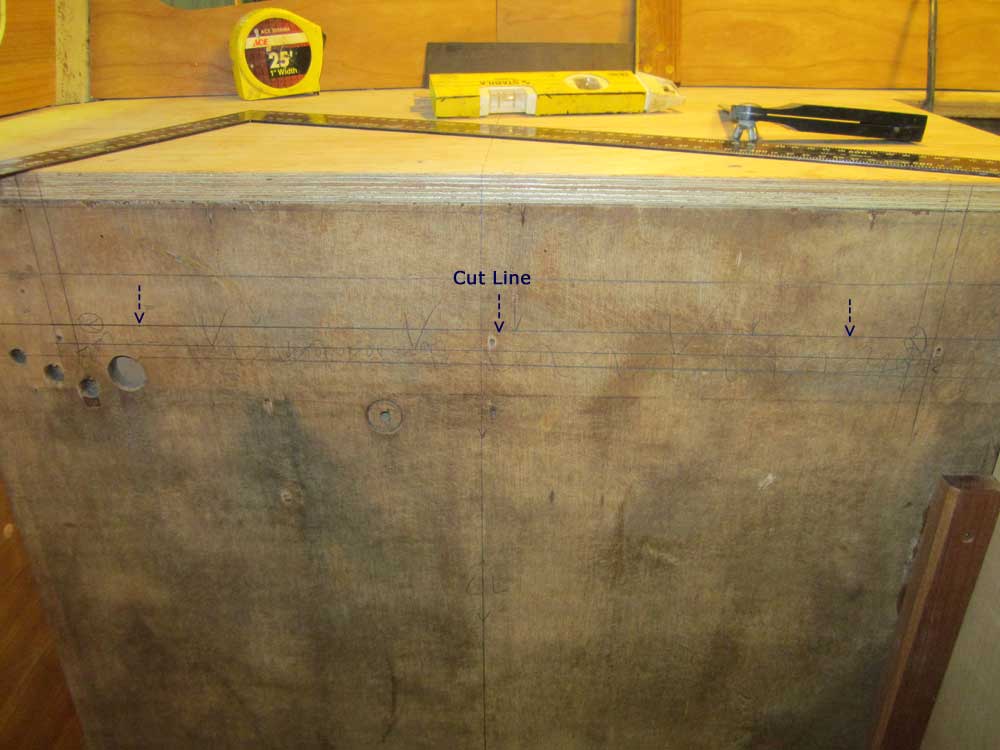
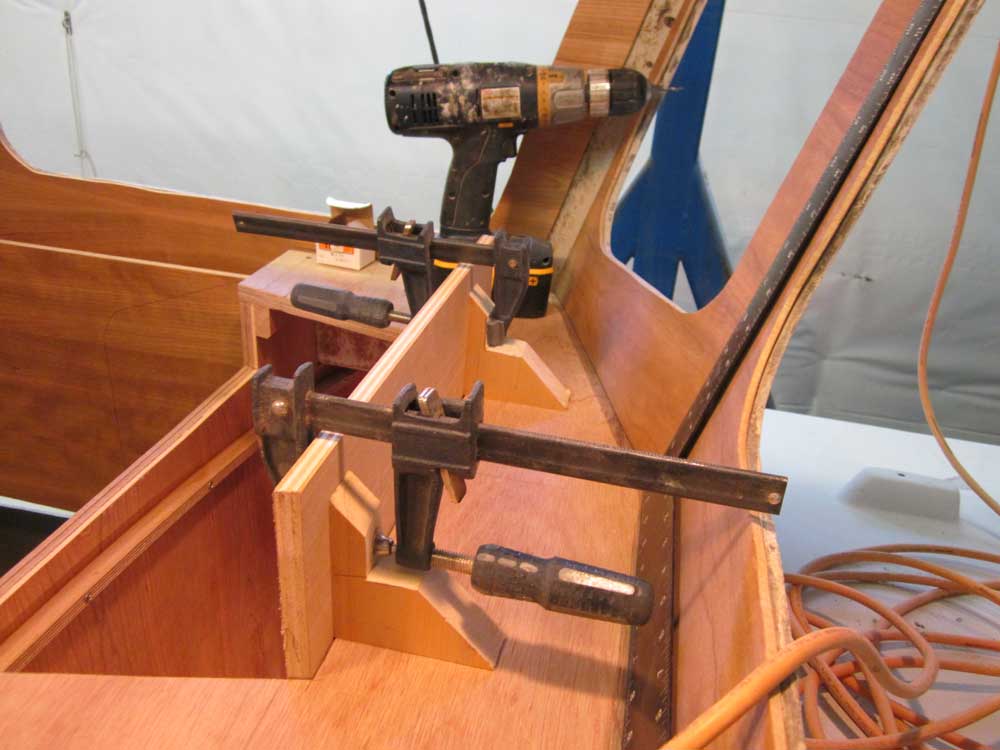
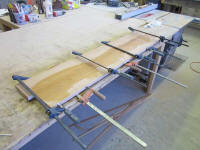
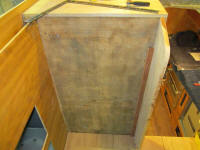
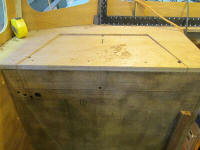
section in question is at the top left of the photos.
I'd need to shorten the port support beam and provide a
new means of support for it; cutting the plywood
substrate to fit would be the easy part. |
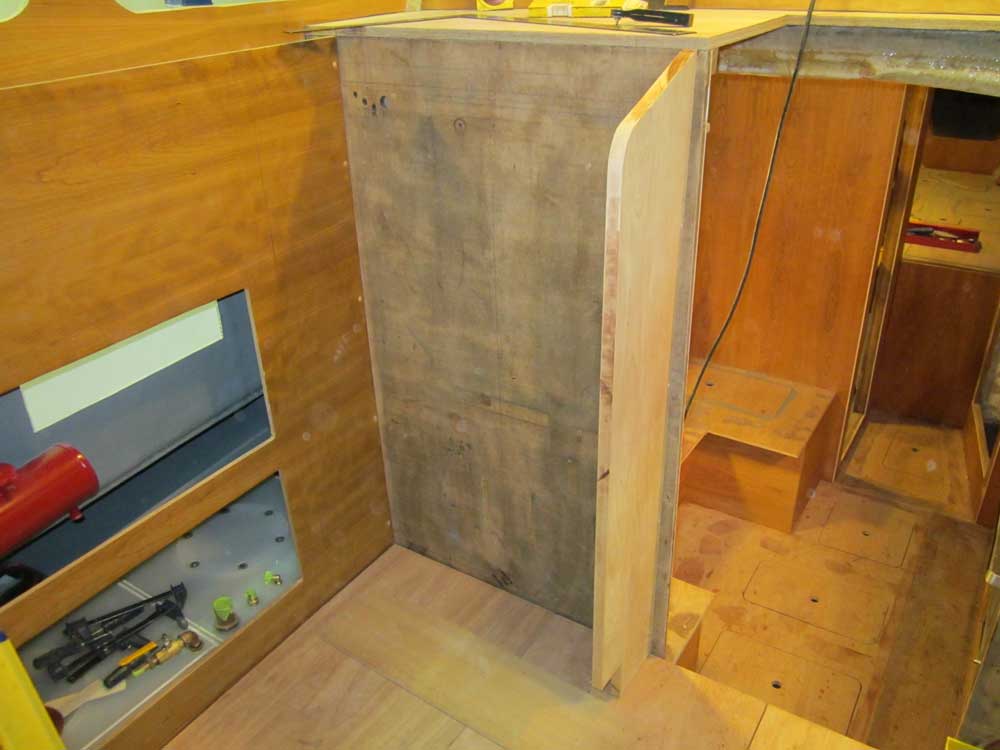
Photo showing the original structure
taken on 8/28/10
 |
Photo showing the newly-built structure
taken on 2/20/11
 |
To determine where I'd need to make these cuts and
support changes, I needed the helm console. Happy
with the general configuration of my
second helm area mockup, I used that as my
construction guideline; I'd saved the console and dash
mockups for this reason.
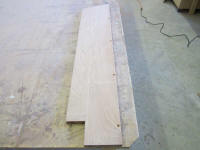
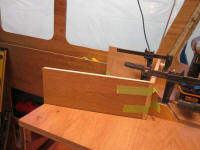
To begin, I glued up a panel from solid cherry planks;
the side of the console required a board 9" wide, but
nothing I had in stock was that wide. I used an 8'
long board cut in half to give me two pieces about 48"
long, with related color and grain structures.
After straightening the edges of the boards, I glued
them with waterproof glue and set the panel aside for
the glue to cure. |
 |
While I waited for the panel to cure enough to continue,
I worked on some layout. Using the plywood mockup
as a guide and for some basic measurements, I determined
where I wanted to locate the side panel and marked a
plumb line on the bulkhead. I'd already noted much
earlier that the nearby companionway opening was not
plumb; that problem would solve itself with trim later.
But the new console layout would all build off this one
plumb line. From here, I installed a hardwood
cleat to support the solid wood console side. |
 |
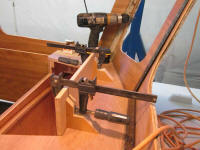
For guidance, I placed the top section (the dashboard
section) of my helm mockup in the cockpit for easy
reference. I'd refer to it throughout the next
several layout steps.
|
 |
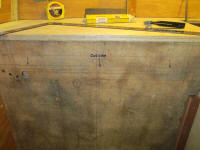
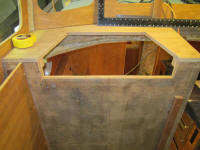
After marking a plumb centerline ( in terms of the
console width) on the bulkhead, I laid out the cutlines
required for the recessed electronics box. As
rough as the plywood mockup was, it was invaluable in
terms of making the layout easy; though I didn't use it
for exact measurements, the basic configuration gave me
the starting points needed to fine-tune the layout on
the actual dashboard.
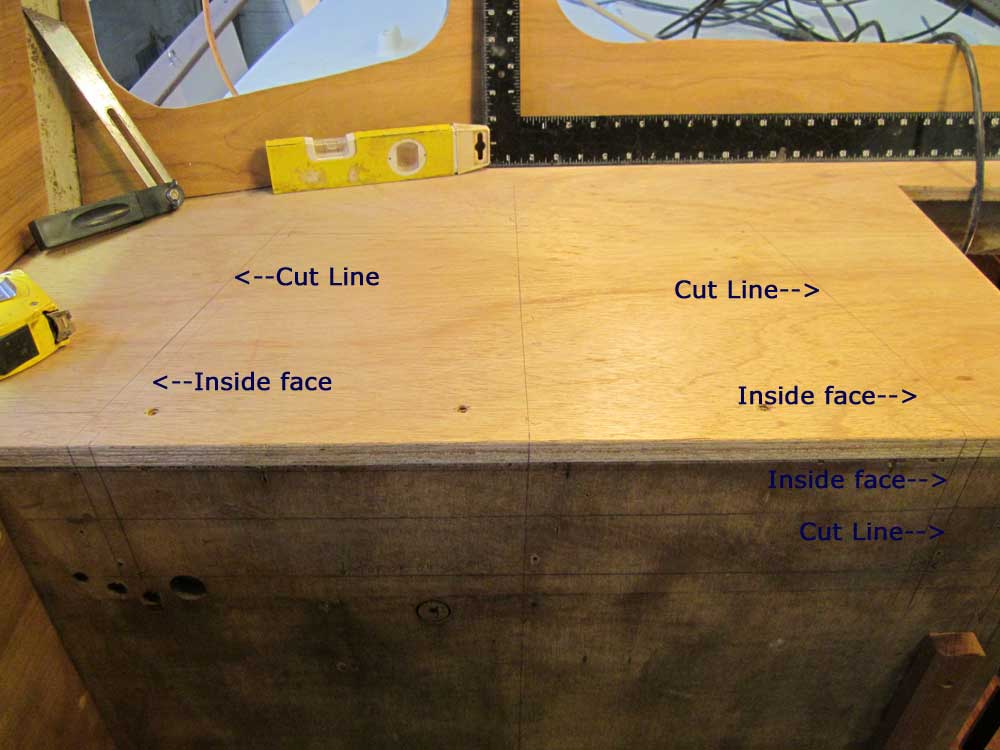
After marking the inside limits of the insert, I used a
scrap of 1/2" plywood to make another mark outboard of
the first lines; this would be the actual cutline, so
that the face of the panels would be where I wanted them
according to how the mockup was arranged. I
confirmed the measurements several times against the
mockup, and, more importantly, to ensure that the layout
was centered and symmetrical according to the new helm. |

 |
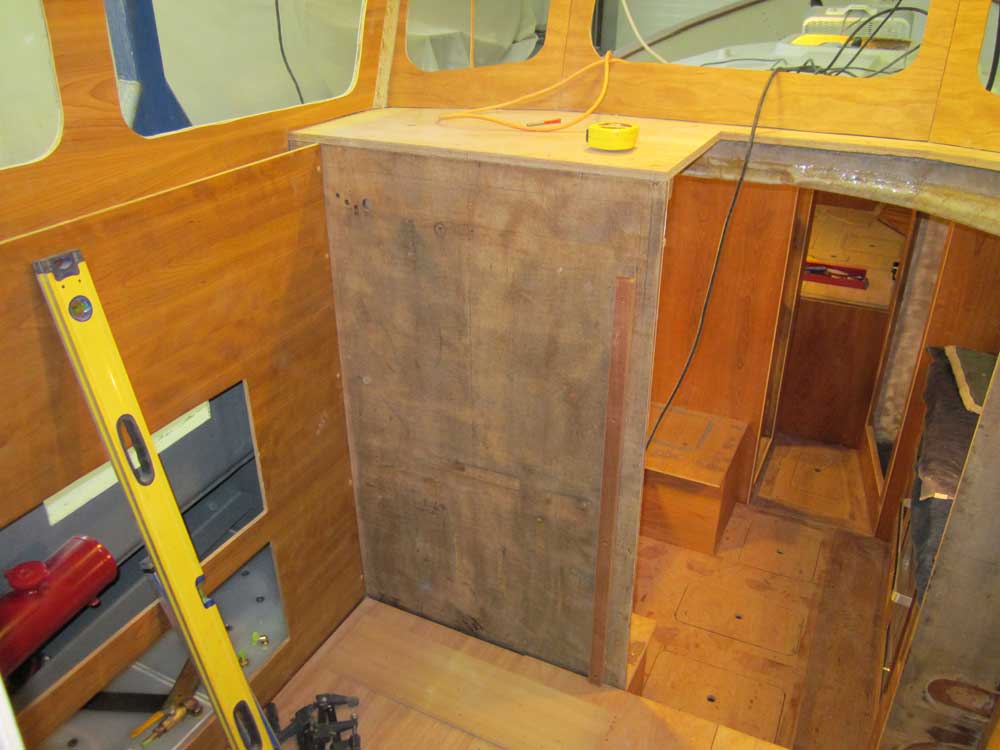
By now, the cherry side panel had cured enough, so I
unclamped it, trimmed it to length and proper width, and
cut the angled top edge and toe kick recess to
approximate the mockup shape; I enlarged the toe kick to
better accommodate foot height. |
 |
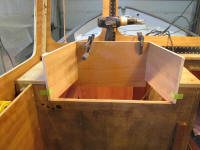
With a 1/4" spacer on the plywood sole substrate to keep
the new console off the plywood, I secured the side
panel temporarily with screws to check its fit, and to
transfer some critical layout marks from the bulkhead.
Before securing the panel, I'd traced its shape on the
port pilothouse bulkhead to simplify installing support
cleats there later; no side panel was required on this
side since it faced the bulkhead. |

 |
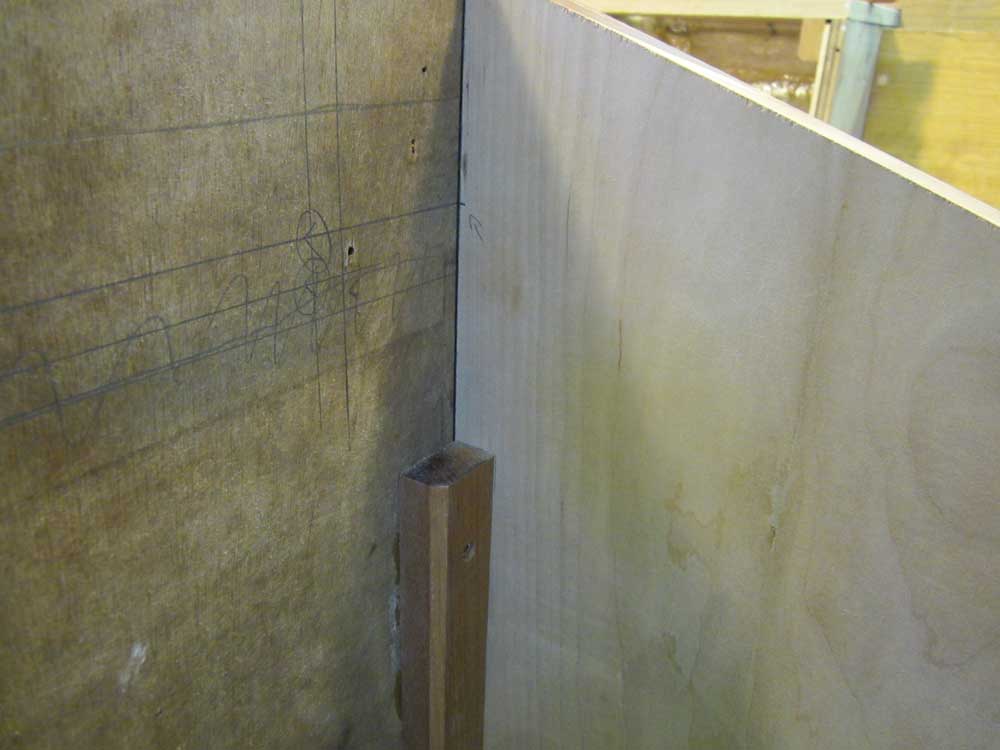
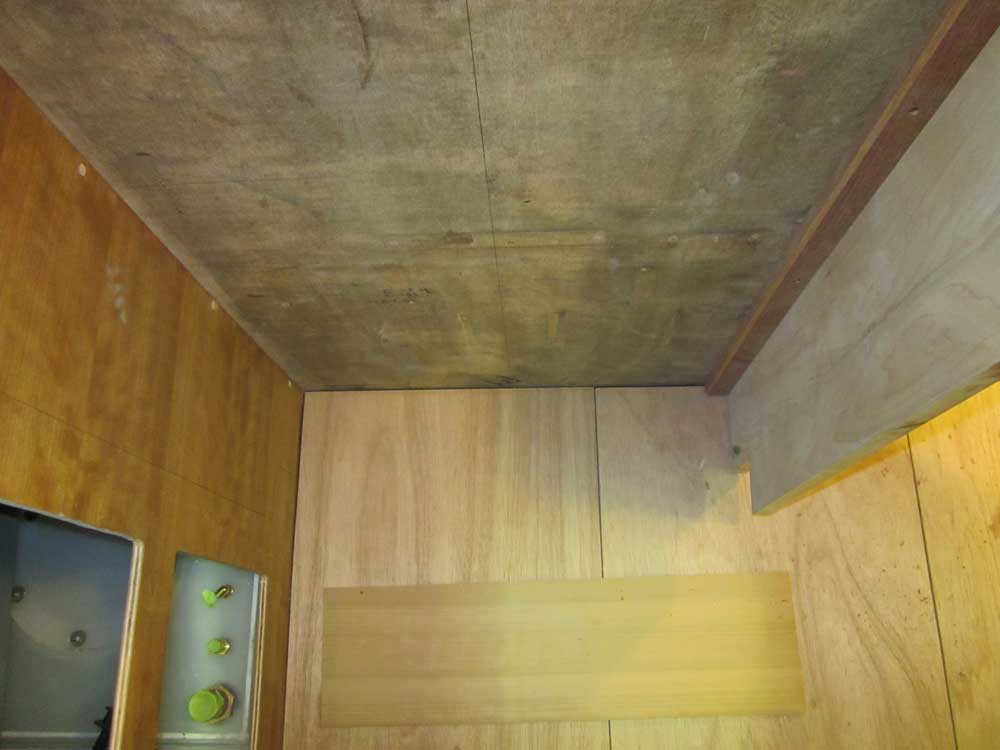
The space directly beneath the shadow of the console was
where I'd need to make the changes to the sole support
structure. I made some reference marks on the
plywood for later. |
 |
For now, I removed the side panel and focused instead on
the dash insert. After confirming the layout marks
once more, I cut out the opening along the prescribed
lines. |
 |
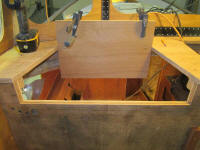
To me, the easiest way to build the actual insert was to
construct it piece-by-piece in place. Beginning
with the back (well, forward, really) panel, I measured
the width and required angles, and cut an oversized
piece of cherry plywood to fit. I left the bottom
edge hang low for now, but the top edge was where I
wanted it, 4.5" above the dash surface, the final height
of the insert. I secured it to the plywood dash
with screws for now, and held it at 90° to the surface
with a couple braces clamped to the back face. |
 |
Next, I measured and cut the two side panels.
These panels would later require a stepped cut on the
sides, but for now I kept them full height all the way
to the after bulkhead, as the position of the
electronics mounting panel would eventually determine
the location of this cut. I faced the "good" side
the plywood out, as this would be exposed.
The inside faces would either be hidden within the box
itself, or covered with another material later.
Any exposed plywood end grain would be trimmed out
later; it occurred to me partway through that I could
use solid cherry for this construction, but that would
lead to a lot of waste product, substantial thickness
planing (as 3/4" would be too thick for these pieces),
and simply more work than I thought was necessary.
With lots of plywood scraps on hand, it seemed easier to
go this route and just cover the edges with trim where
necessary.
For the moment, I held these in place with some tape;
later, I'd cut some cleats to secure the angles at the
forward end, but that would be for another day, as the
afternoon was growing long and it was clear that making
fussy compound angled-cleats was not the right task to
tackle at the moment. |
 |
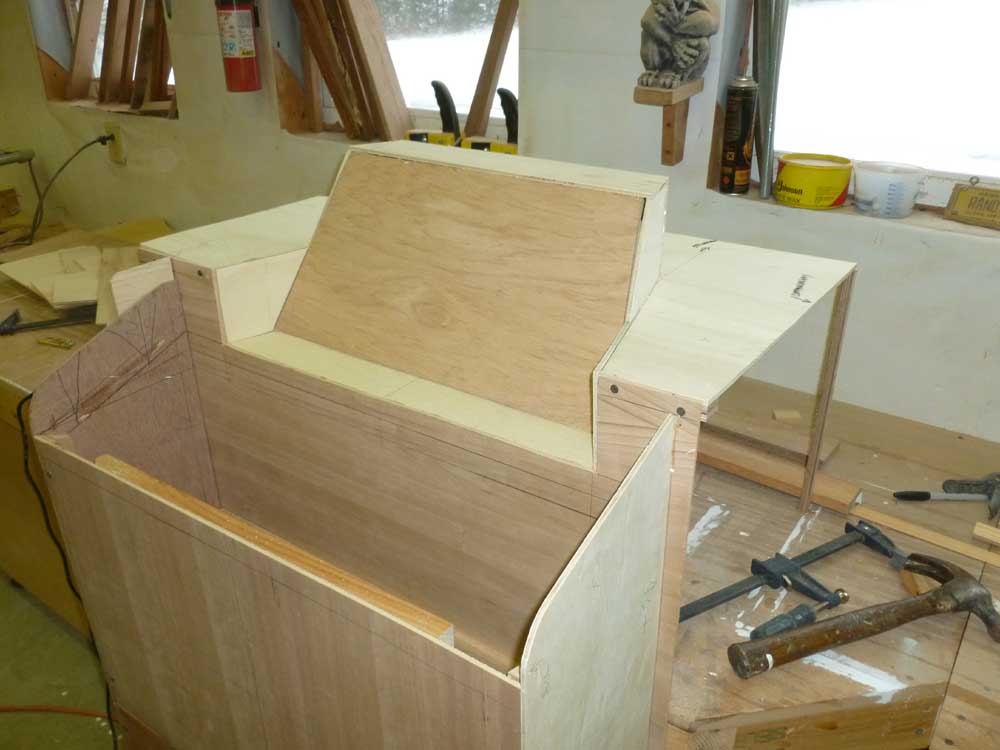
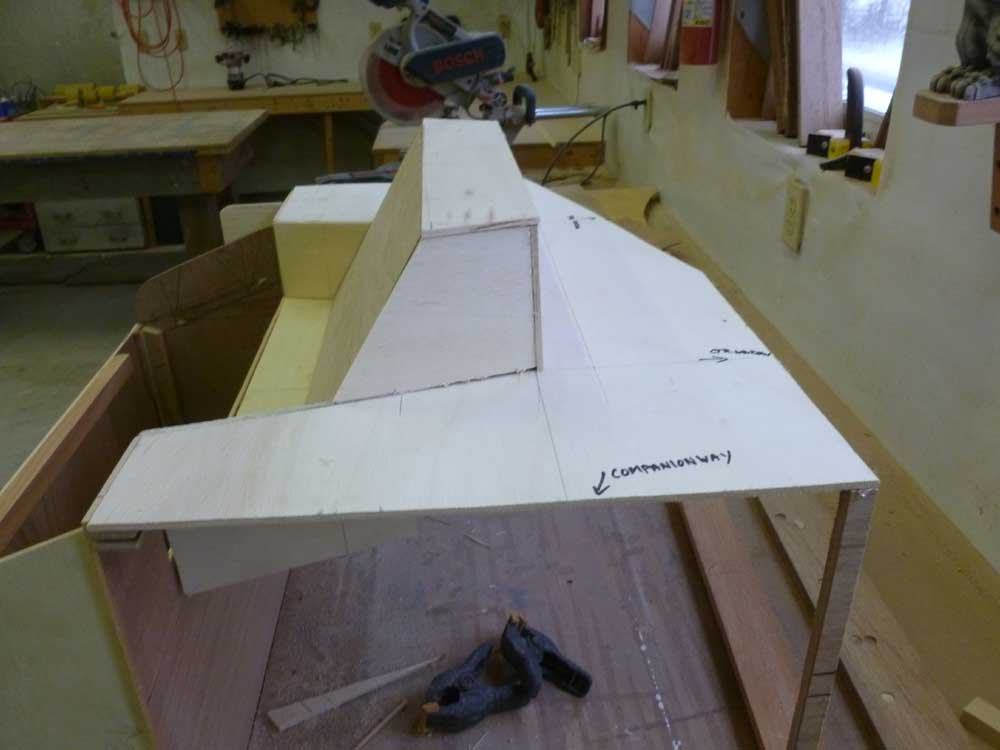
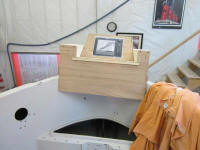
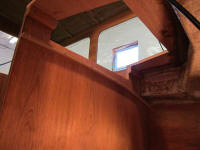
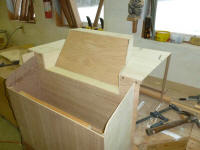
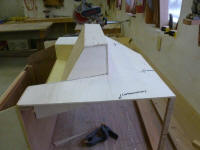
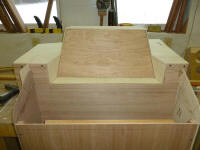
For reference, these photos of the mockup, from
January 21, 2012, show the basic thing I was now
creating for real. |
 |
| |
Total Time Today: 5.75 hours
|
<
Previous | Next > |
|
|