Project Log: Tuesday, January 3, 2012
As I neared the time when I'd be permanently installing
the pilothouse bulkheads, I had to make a decision
regarding the location of the pilothouse hydronic
heating fan. Based on simple volumetric
calculations that I'd made, I specified the smallest
size fan heater for this space.
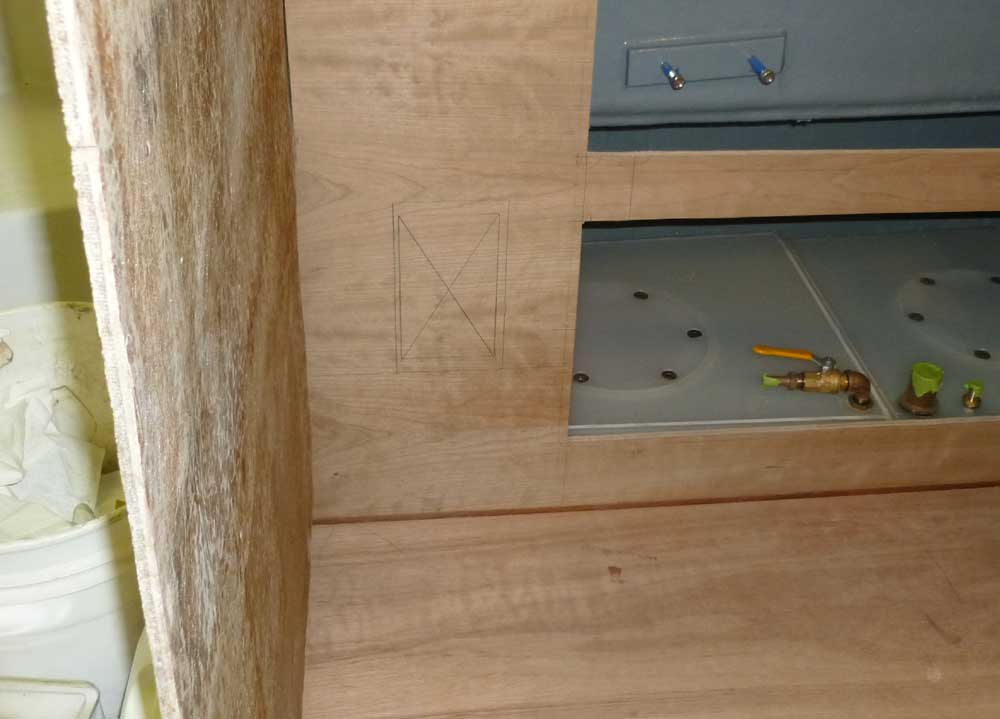
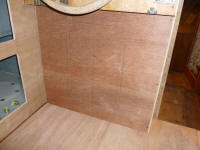
I had a couple options for the location. The
first, and most likely, was at the aft end of the port
bulkhead; there was ample room behind the cabinet, and
also in the face of the bulkhead for the heater as long
as I mounted it vertically, which was an acceptable
position. This location would also be convenient
since it was near my intended location for the diesel
boiler (port side of the engine room), and also en route
to the second fan heater located in the main cabin.
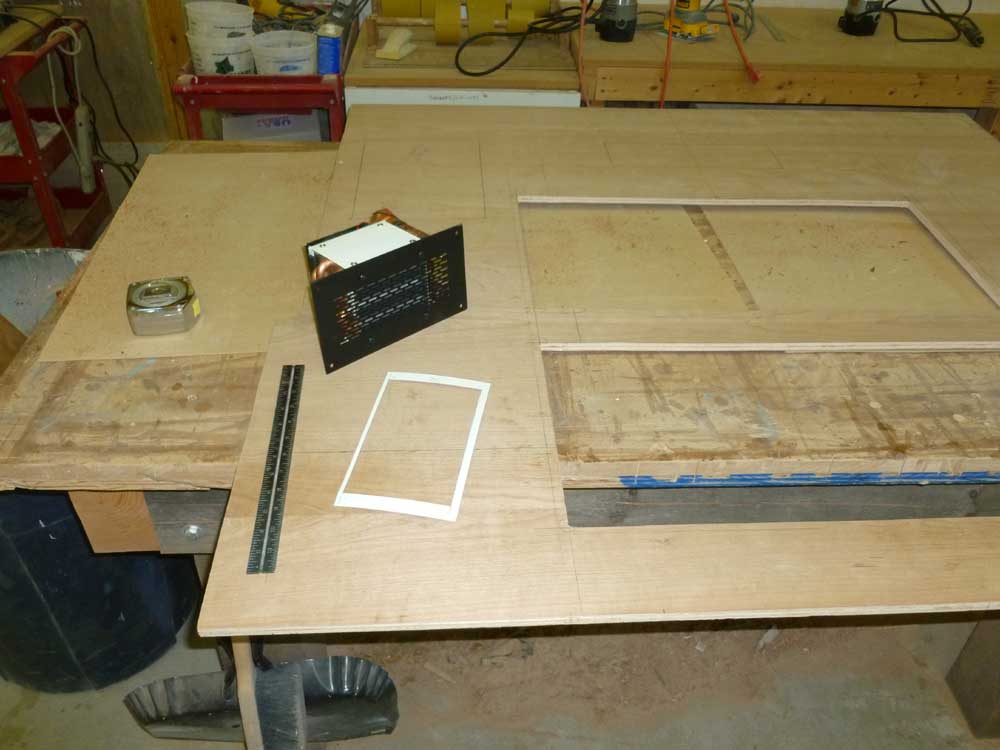
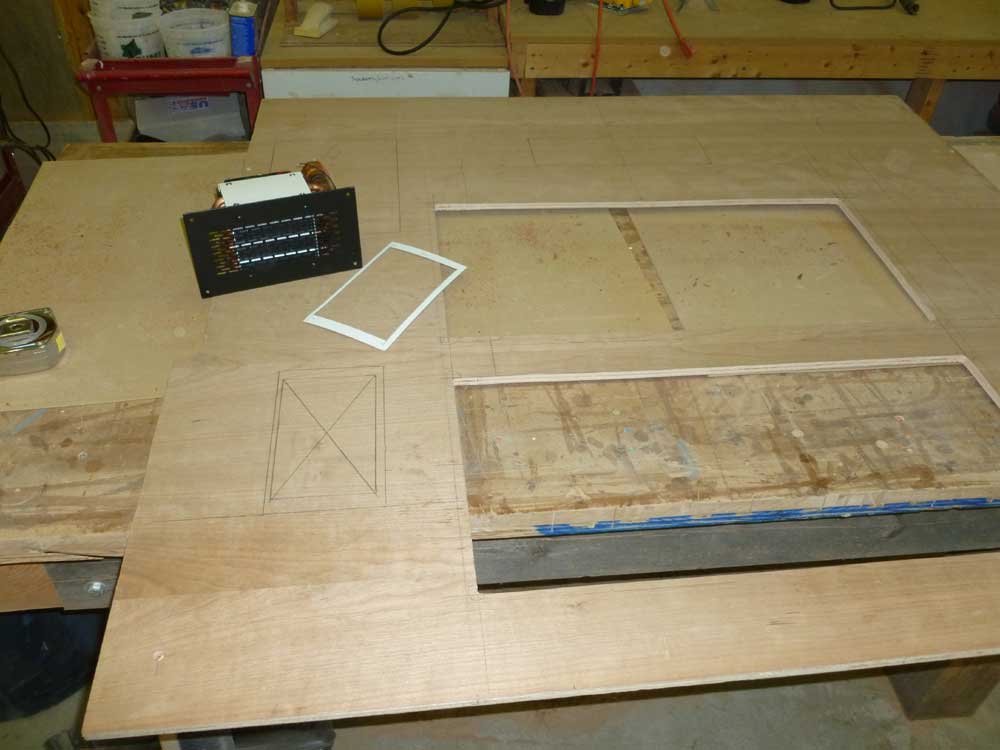
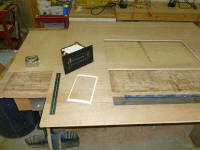
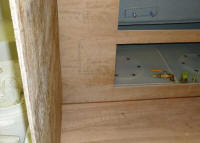
From some thin cardboard, I made a simple template of
the overall register grate dimensions, as well as the
cutout required to insert the unit, then, working off
some basic marks I'd made to assure proper clearance,
laid out the potential cutout on the bulkhead. |
 |
However, another possible location might be somewhere in
the helm console. Before I could commit to the
location on the port side as laid out above--probably
the most likely location--I needed to get to work on the
helm console to see where, or if, the fan heater might
work within. Beginning work on the console was on
my work list for later in the day.
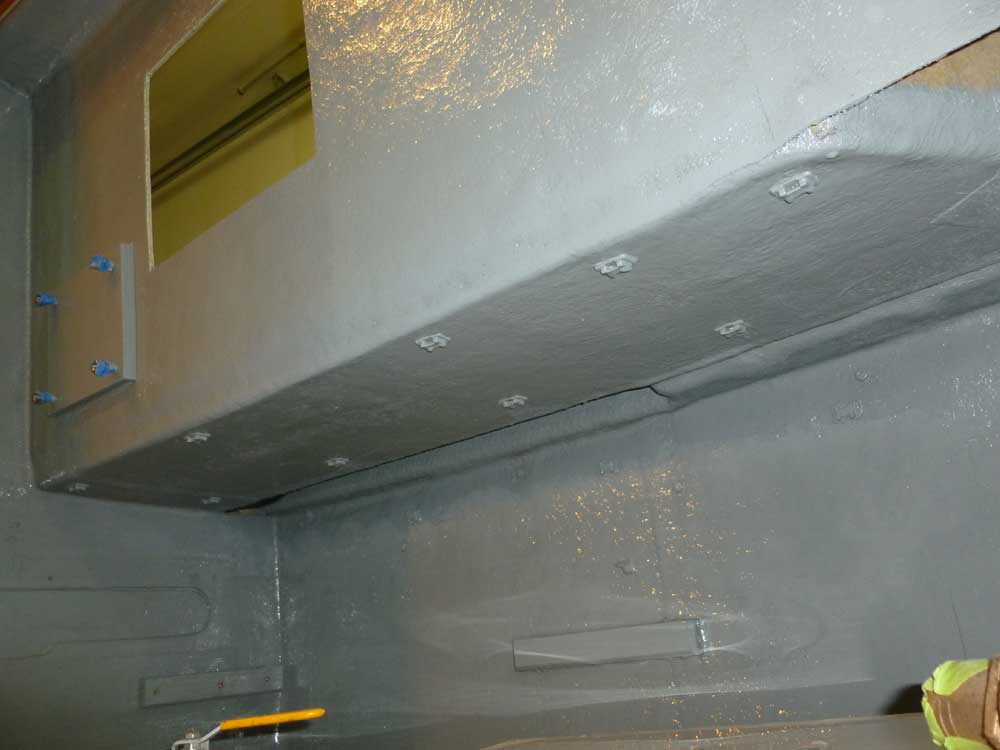
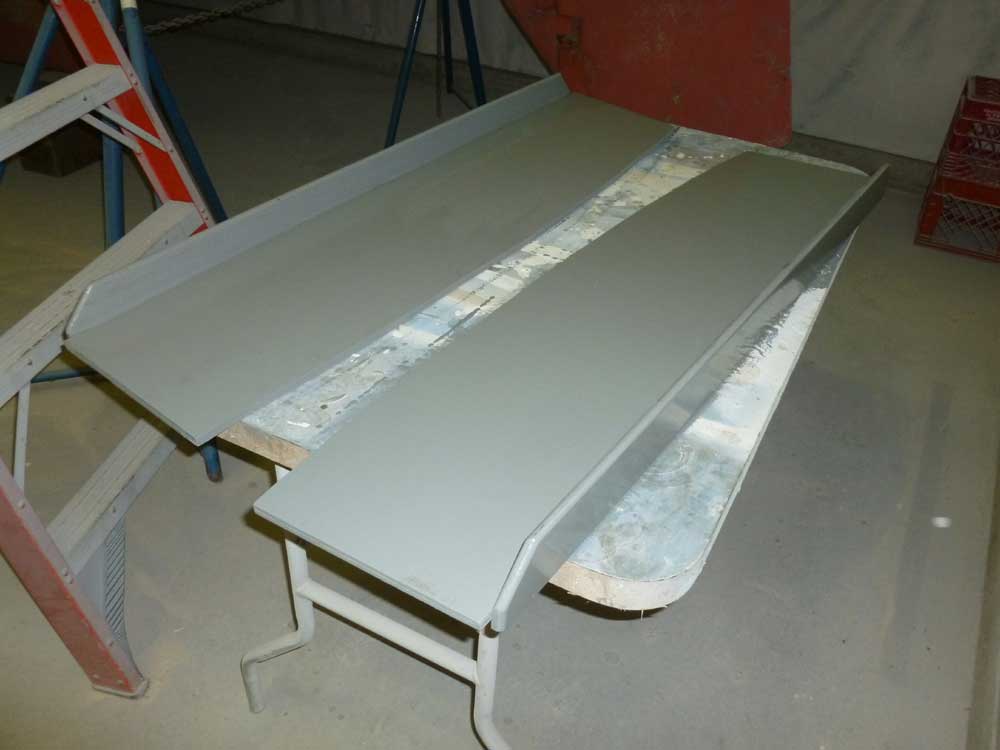
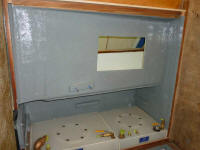
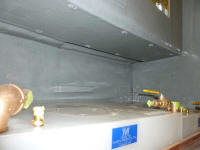
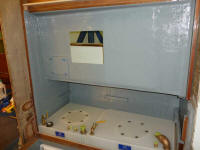
First, however, I finished up the preparatory work in
the pilothouse tankage spaces and applied a coat of gray
Bilgekote to all areas behind the longitudinal
bulkheads, as well as the new utility shelving. As
always, it was satisfying to cover up the bare
fiberglass and wood with fresh paint. |

 |
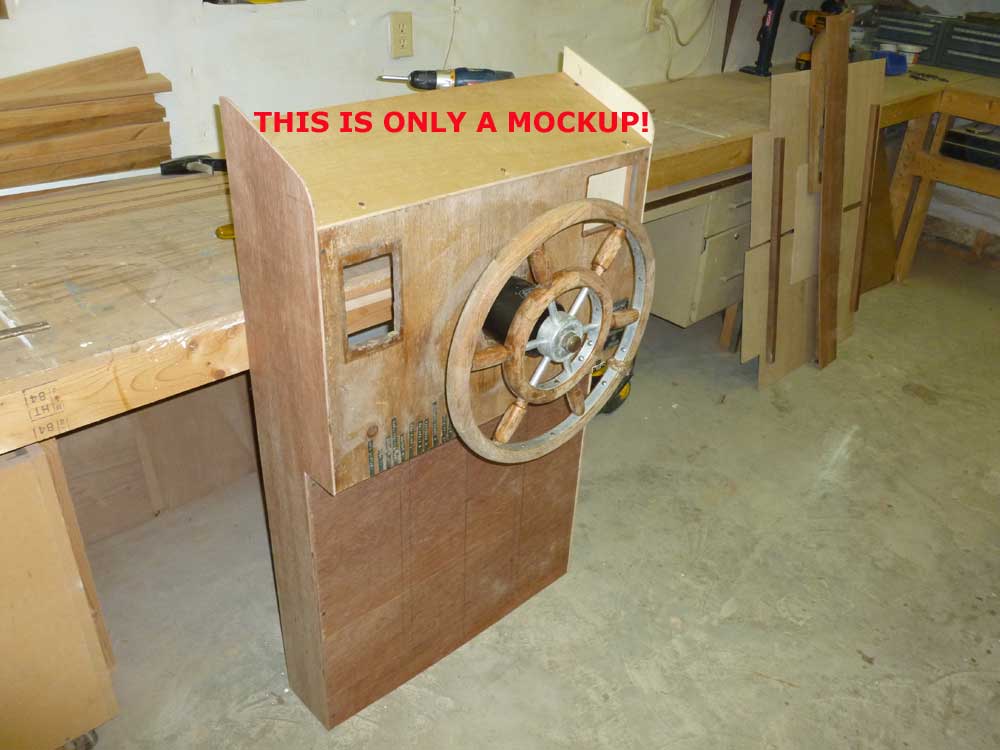
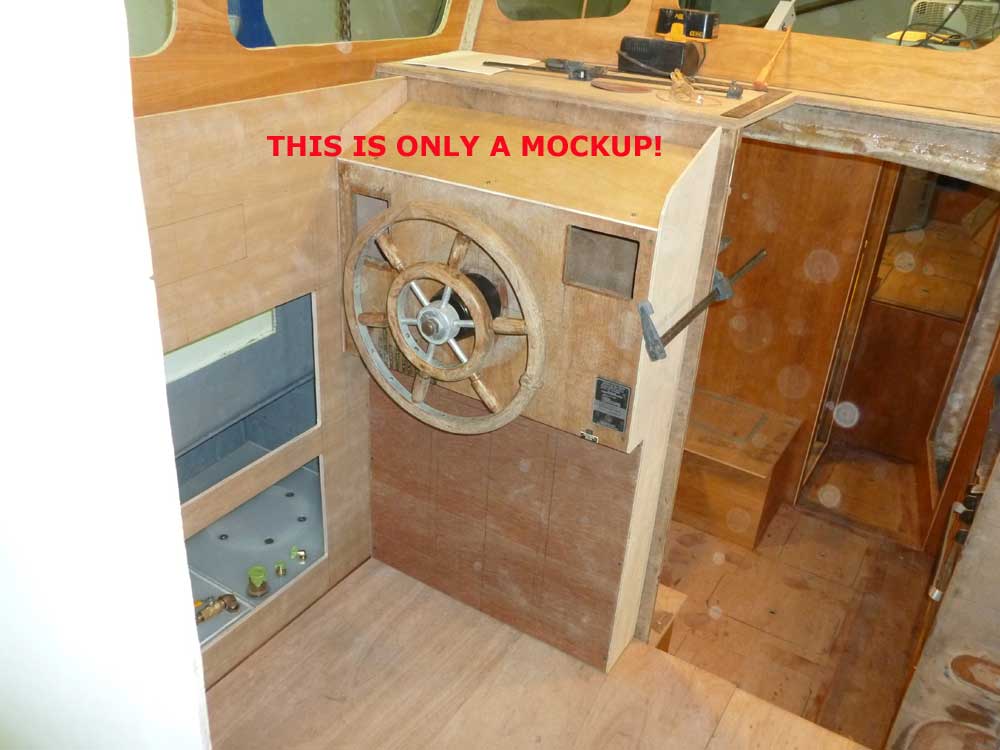
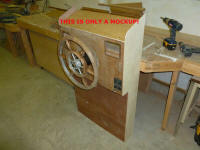
I spent most of the afternoon working on a basic mockup
of the helm console, the beginning of one of the tasks
I'd most been looking forward to. With plans for
built-in electronics, gauges, and so forth, I'd been
anticipating this for some time now and savored the
process.
I had to start somewhere, so I essentially recreated the
console as per original; I even used the original front
panel as part of the mockup. The only change I
made at this early stage was to increase the depth of
the lower section by an inch to allow more clearance
behind; this was where I planned my electrical panel and
main service area. However, some of my planned
installations might require other manipulations along
the way, so I expected to make changes going forward.
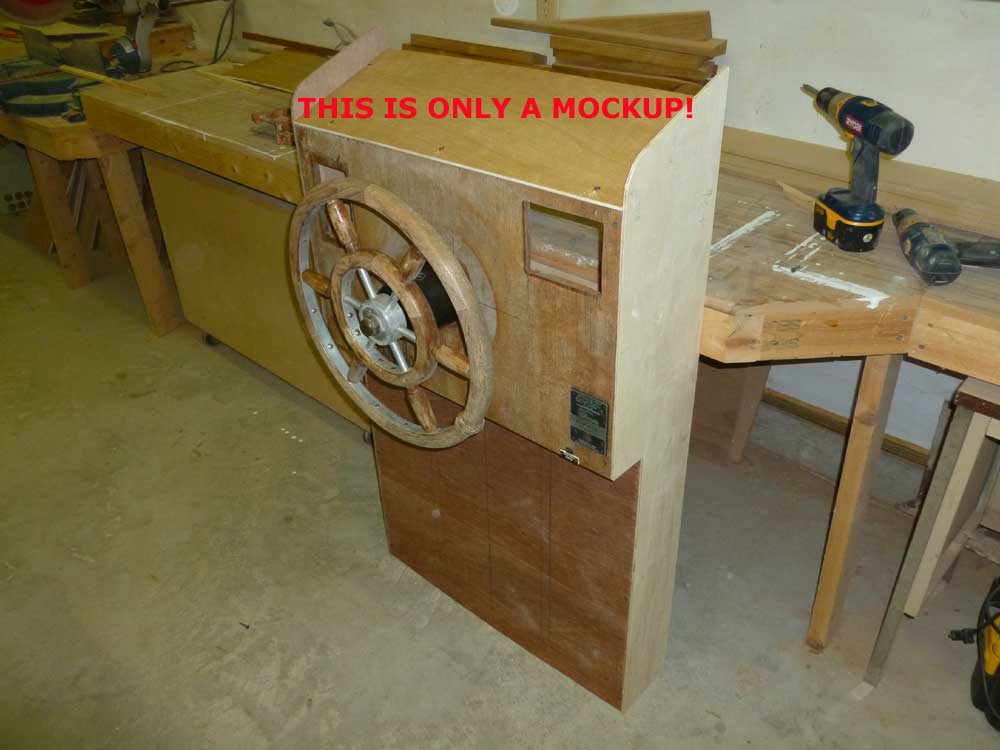
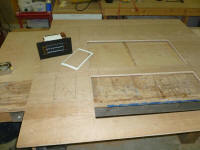
Using a couple saved pieces of the original console as
guidelines, I build the new console of 1/4" templating
plywood with cleats of scrap wood, all held together
with hot glue and drywall screws.
I temporarily installed my new helm pump unit so I could
gauge clearances around and beneath the wheel. |

 |
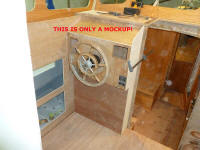
With the mockup temporarily clamped in place in the
pilothouse, some of the final configurations began to
fall into place in my mind. |
 |
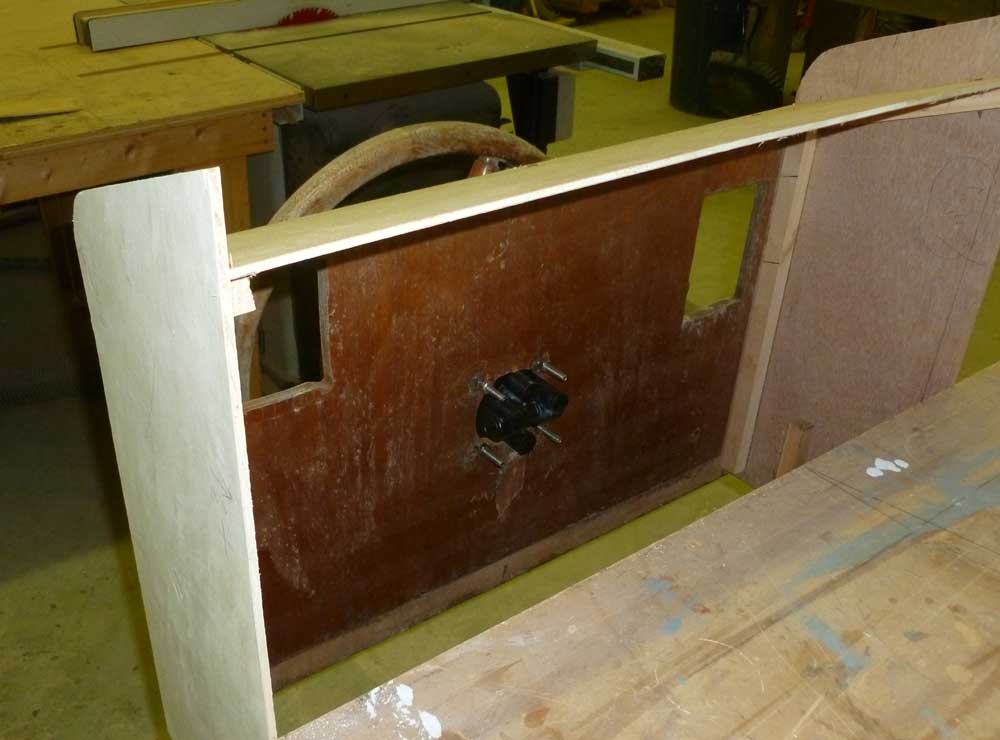
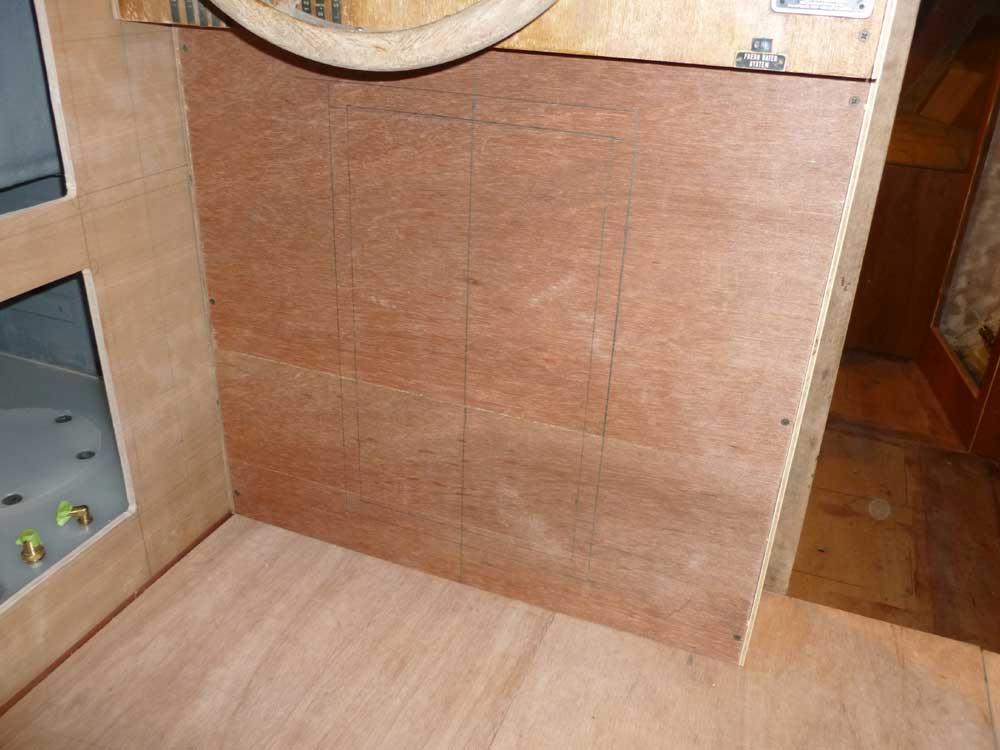
My rough plan for the electrical panel, which I'd been
working on and specifying details with a vendor, called
for it to be centered in the recessed space beneath the
wheel. The outer line represents a recessed frame
that would surround the panel, while the inner line
represents the panel dimensions itself. Because I
was also contemplating a door over the panel enclosure,
determining clearance for the operation of the door was
also an important part of this initial layout. |
 |
| |
Total Time Today: 5.75 hours
|
<
Previous | Next > |
|
|