Project Log: Saturday, October 6, 2012
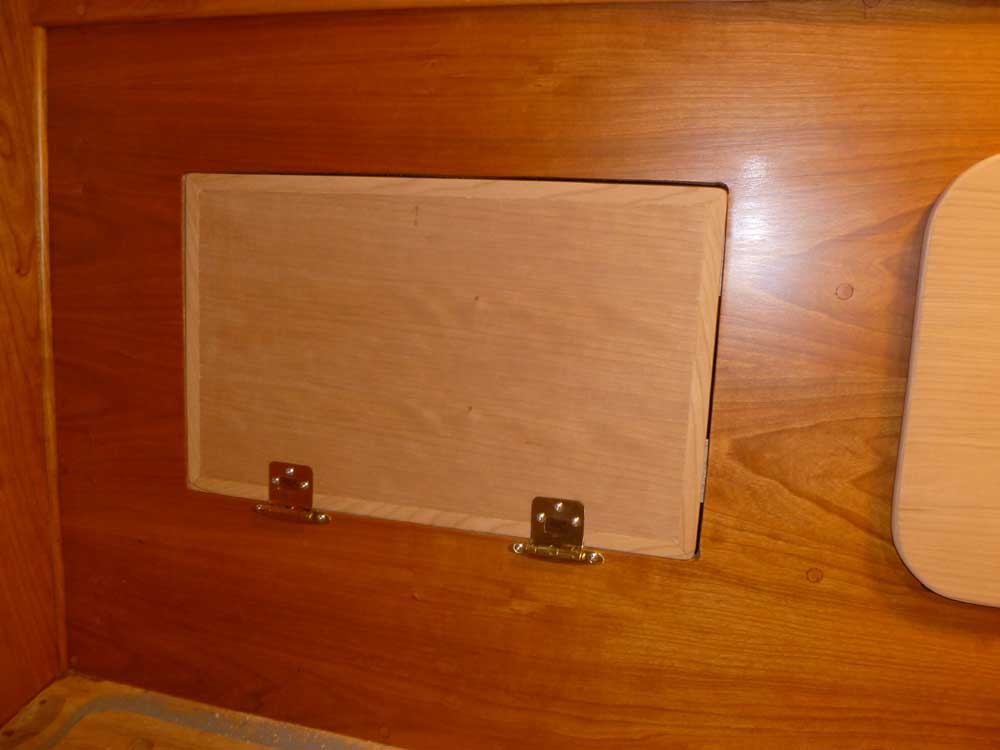
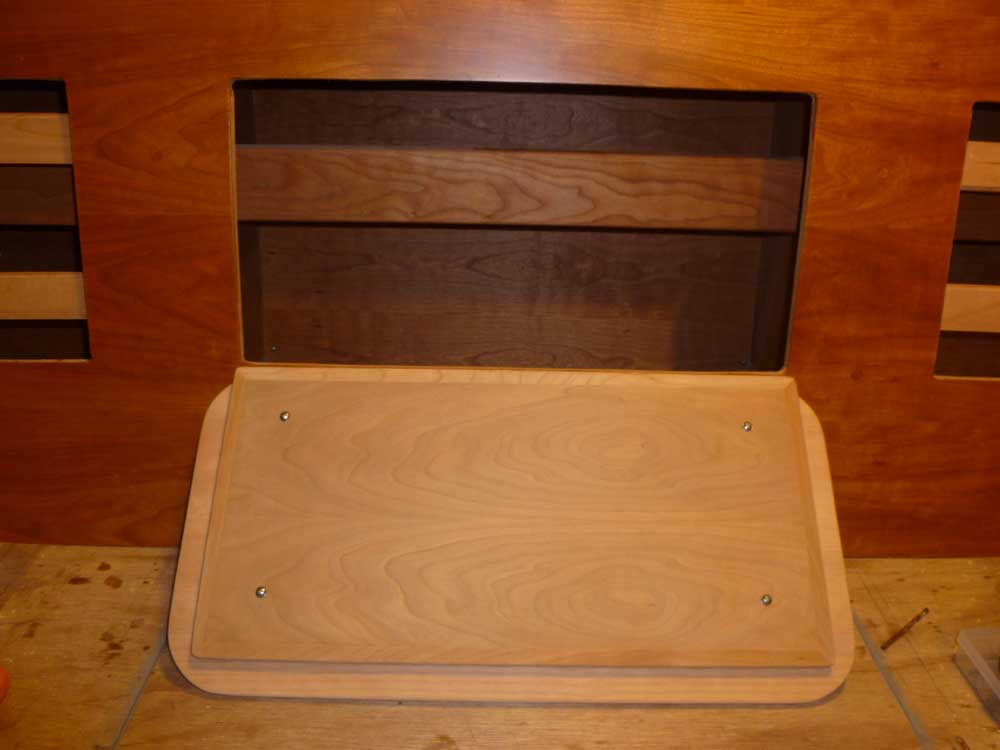
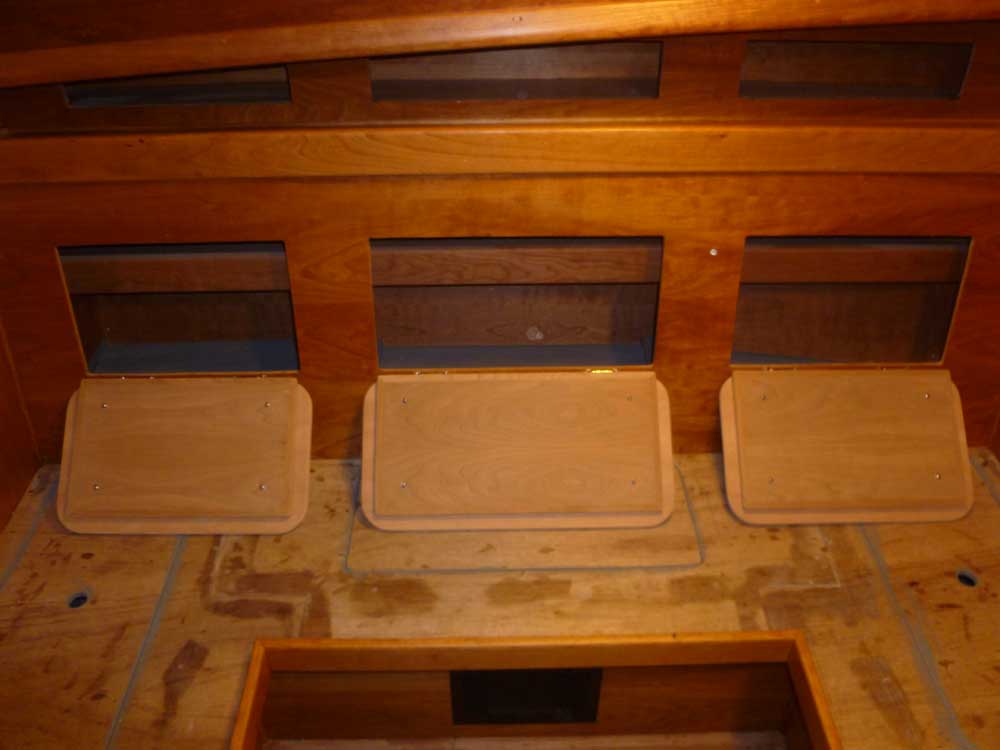
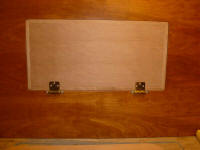
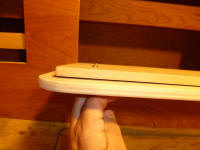
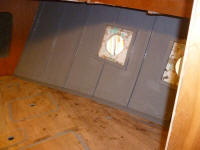
The next step in constructing the settee back
cushion/locker doors was to hang the doors with their
hinges, and secure the upholstery panel to the
structural panel. With each door in place, and
held in the proper position by the temporary cleats I'd
glued in the openings earlier, I secured flush brash
hinges in place. The hinges didn't come with their
own screws, and since this was a temporary installation
I used some stainless steel screws I had on hand to
secure them. |
 |
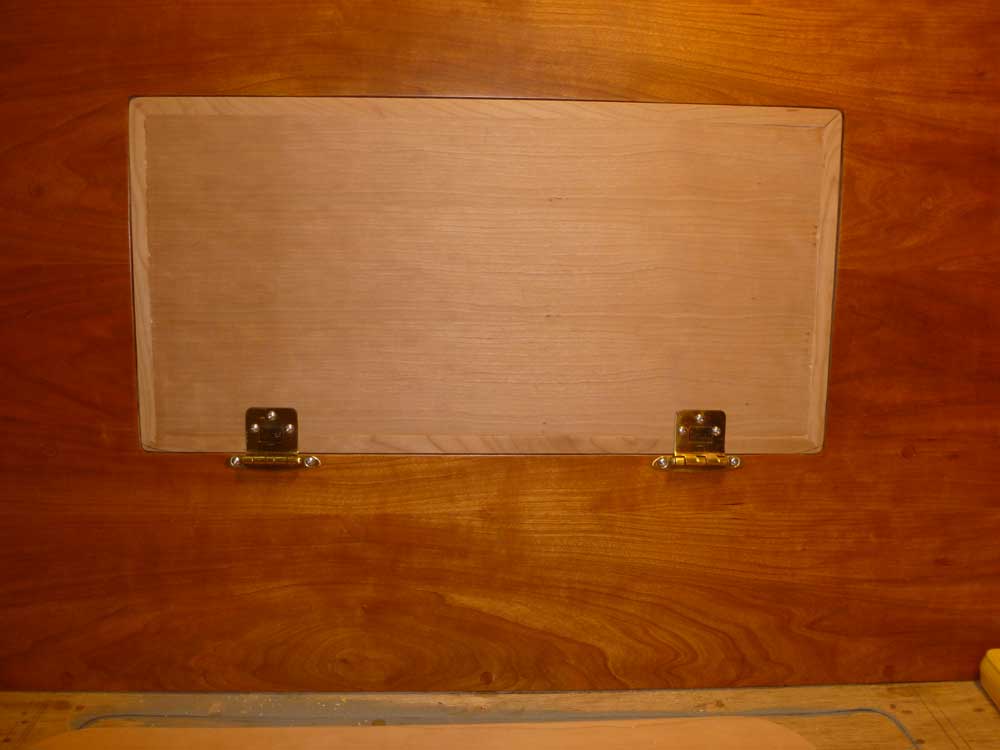
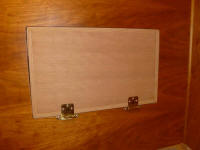
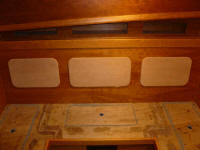
Once I had the hinges in place, I removed the lower part
of the hinge from the cabinet, then laid out for a
series of four screws to secure the front panel (which
would hold the cushioning and upholstery) to the back
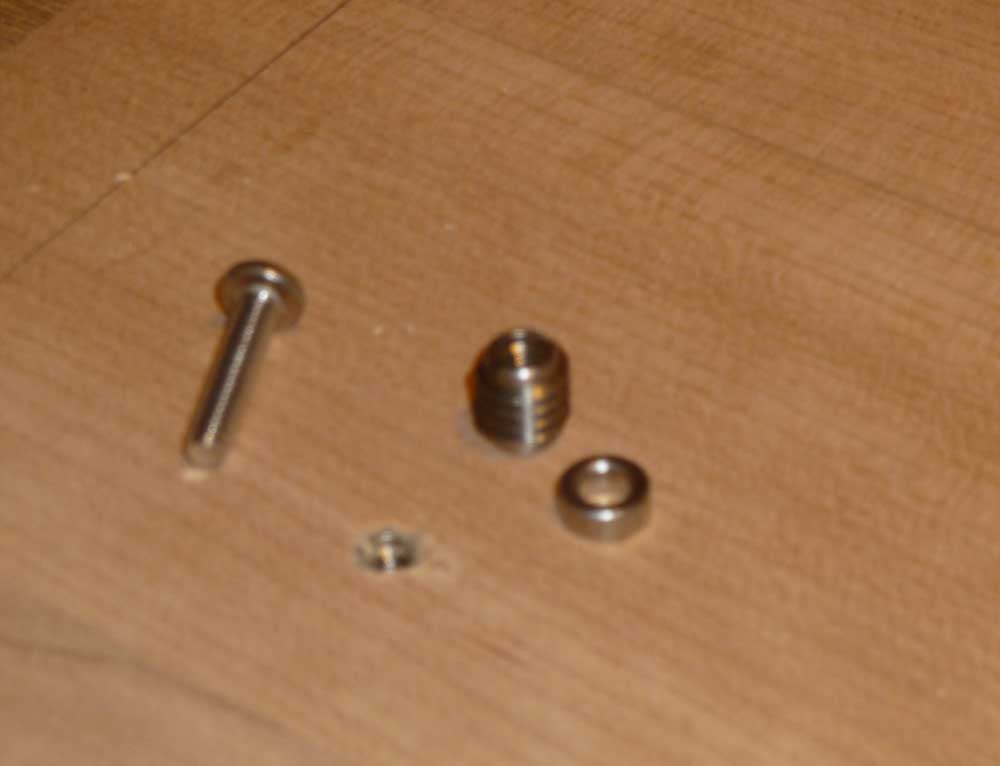
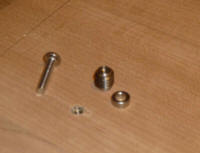
part of the panel. Here, I chose
threaded inserts and machine screws, along with a 1/8"
spacer to provide room for the eventual upholstery on
the back side of the panel. For each panel, I
marked for and drilled pilotholes for the screws, then
slightly larger holes to accept the threaded inserts,
which installed with their own external threads. |
 |
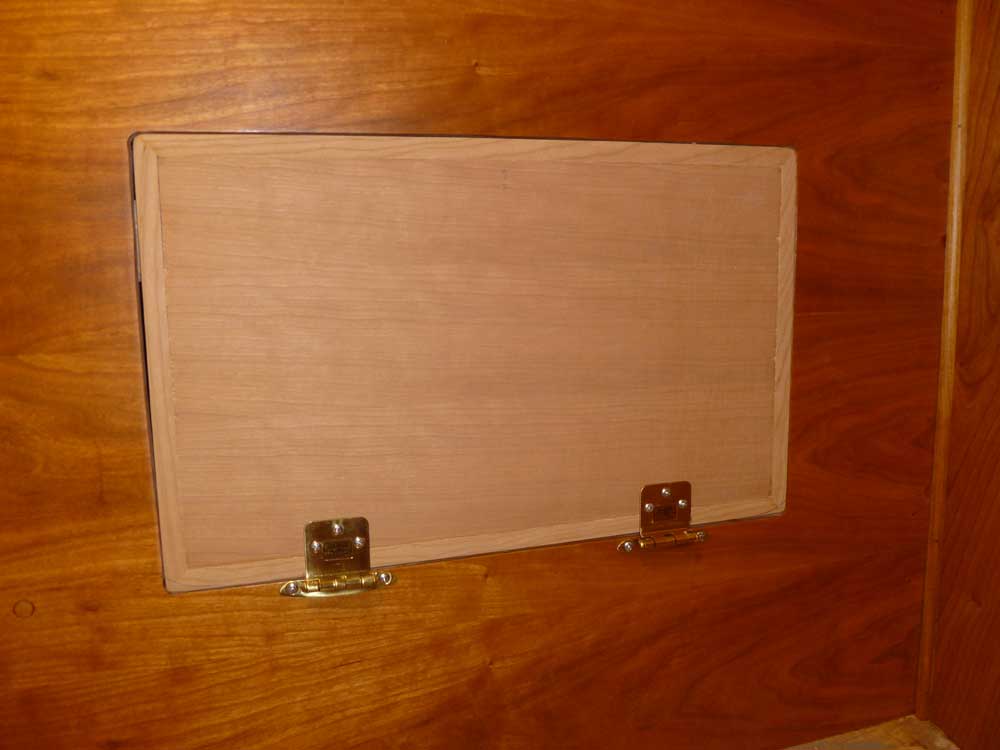
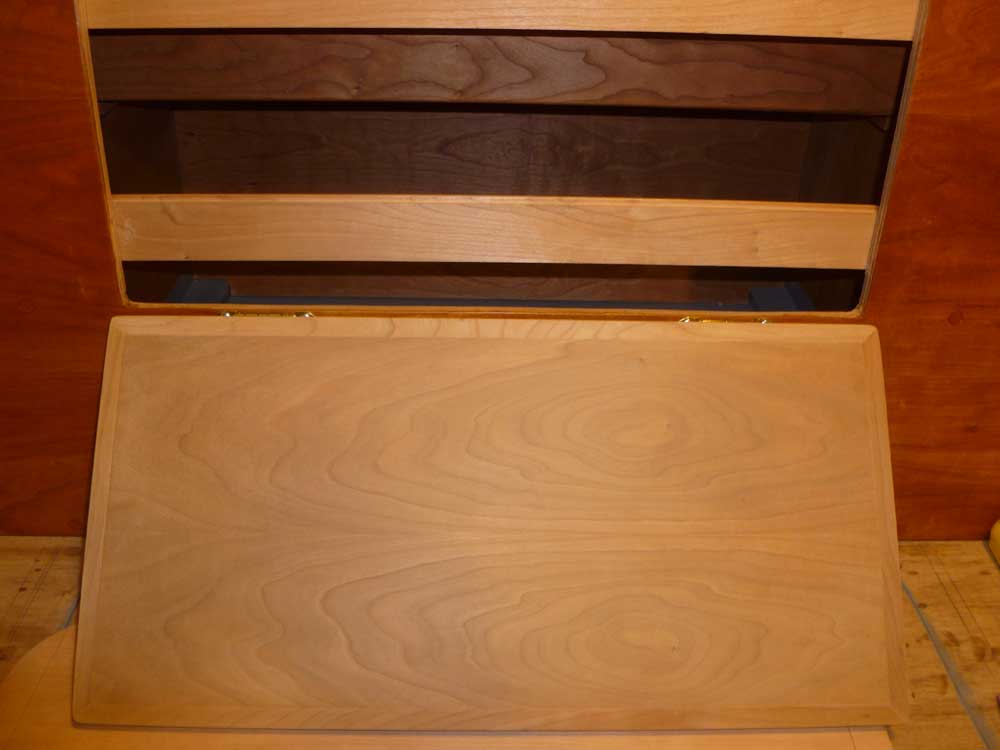
When assembled, the two sections acted as one, and
provided the requisite space between. |
 |
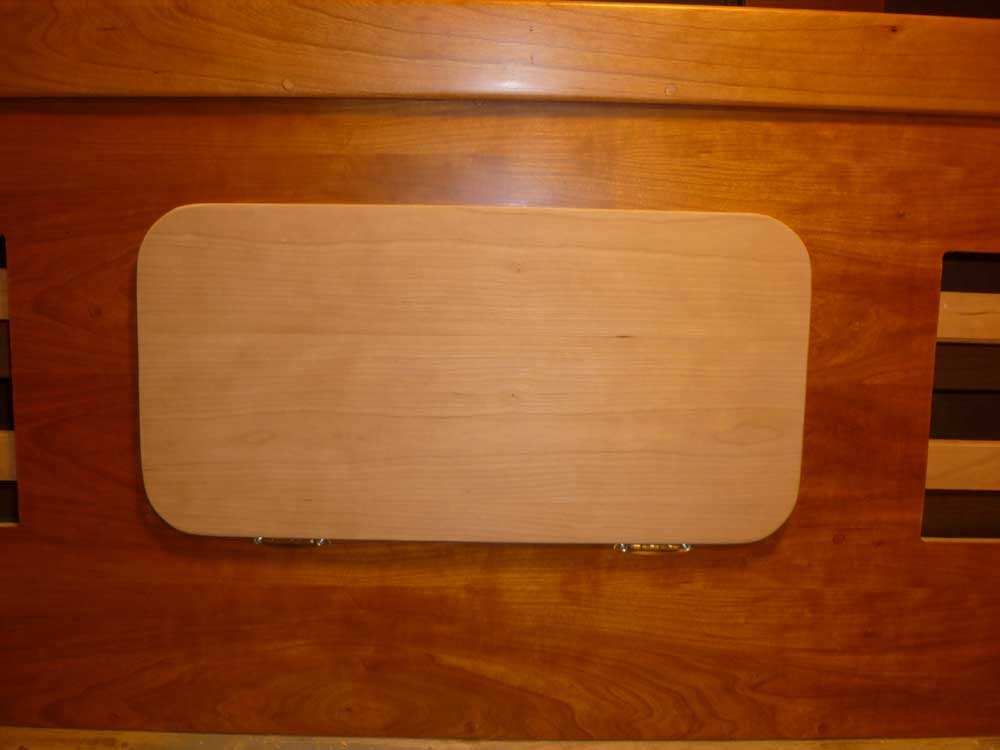
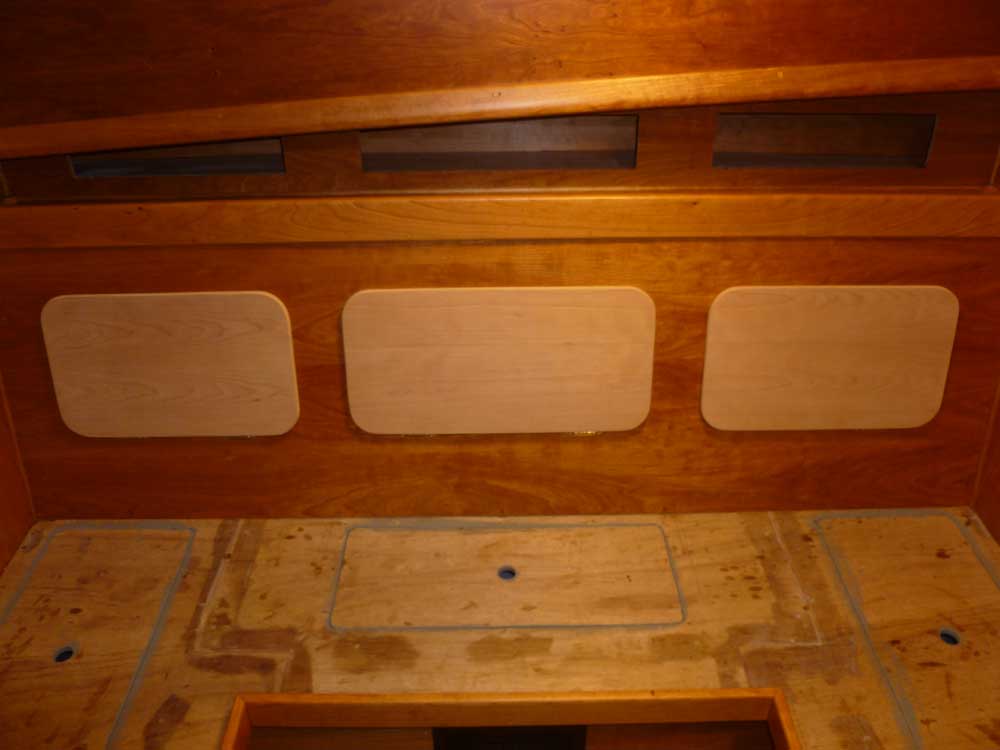
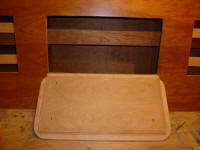
I resecured all three doors to check the fit and
function before removing them again to send to the
upholsterer in the near future.
|
 |
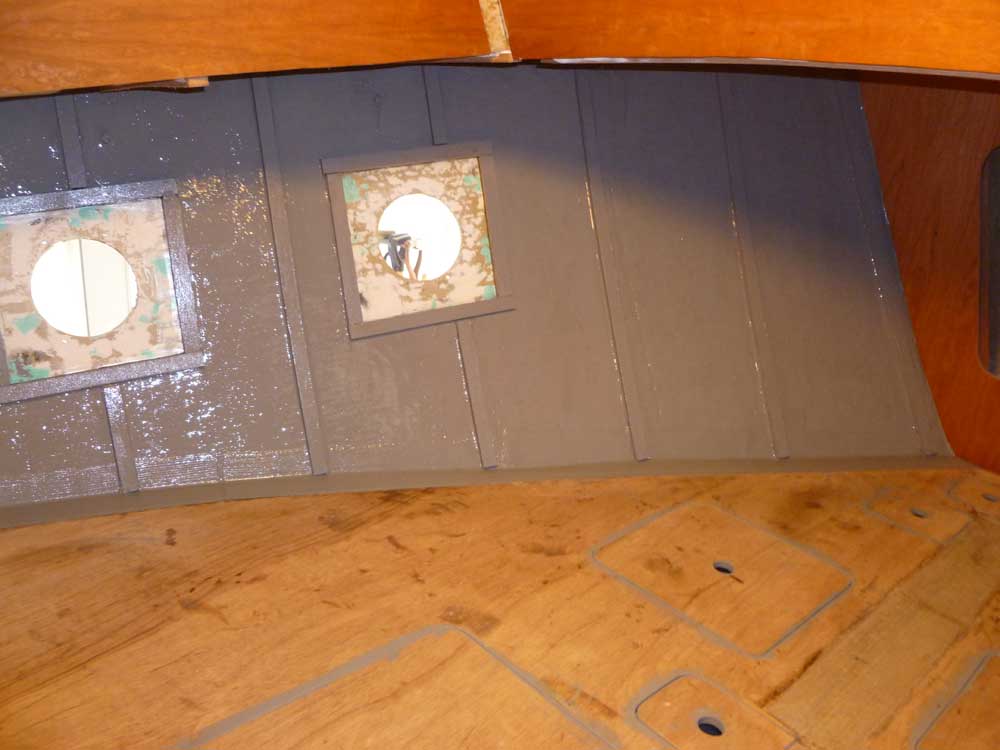
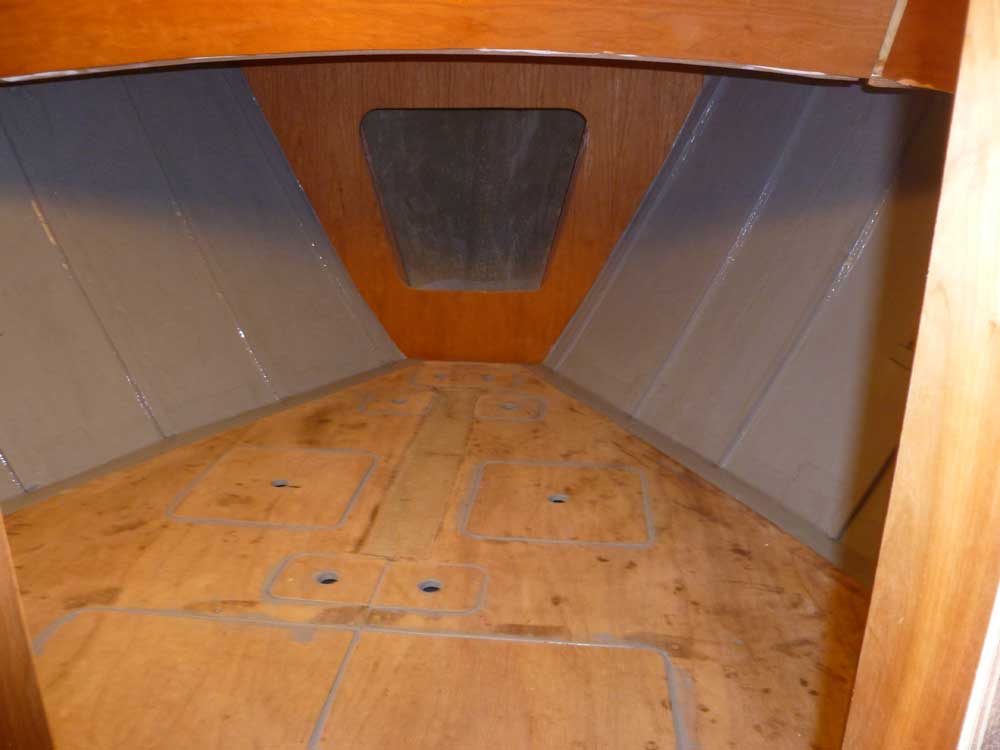
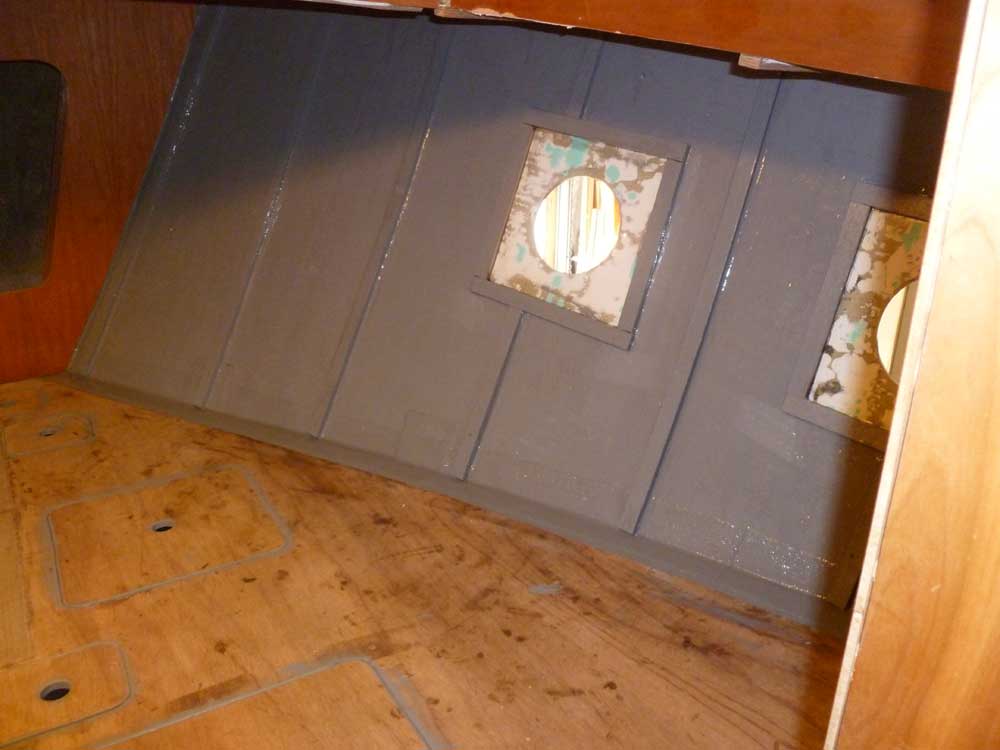
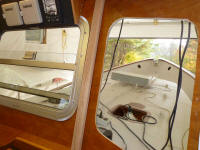
In the forward cabin, in order to have the berth area
templated accurately for the mattress I needed to
simulate the thickness of the wooden ceiling (hull
liner). Since I wasn't sure when I'd actually
purchase the materials for and install the ceiling, I
made up some simple sections of scrap plywood, one for
each side, that I could secure to the support strips as
required for templating. These extended high
enough (over 6") so that both top and bottom
profiles of the mattress thickness could be accurately
measured. |
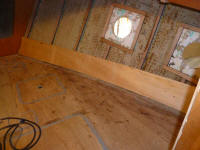 |
For now, I removed the plywood so I could paint the hull
and surrounding area before continuing other work in the
forward cabin. |

 |
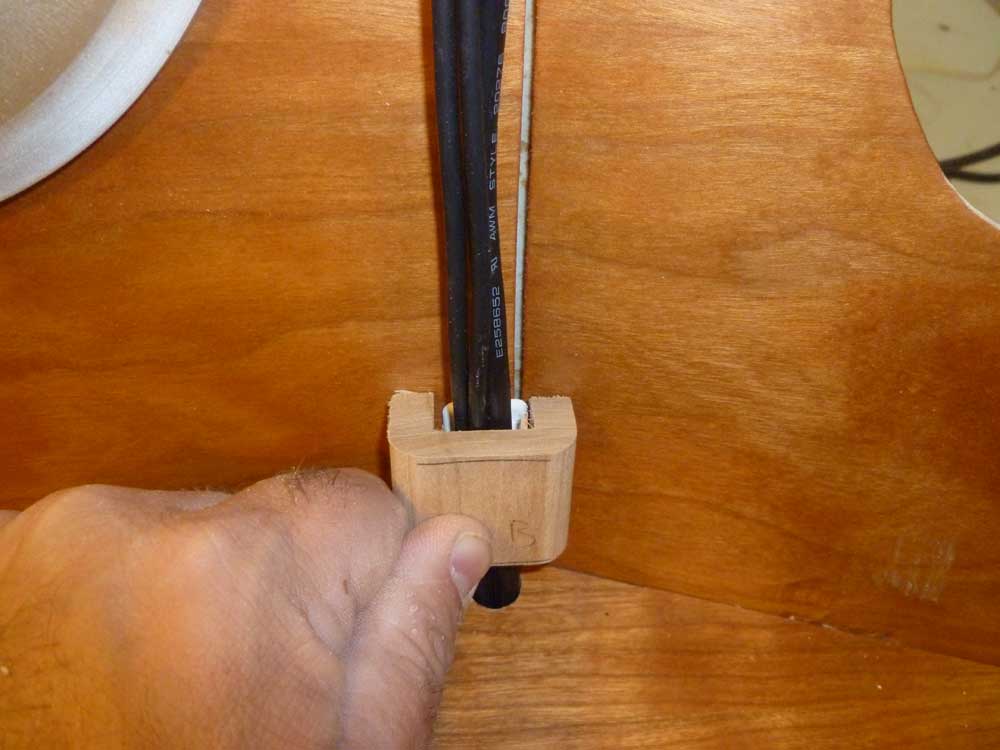
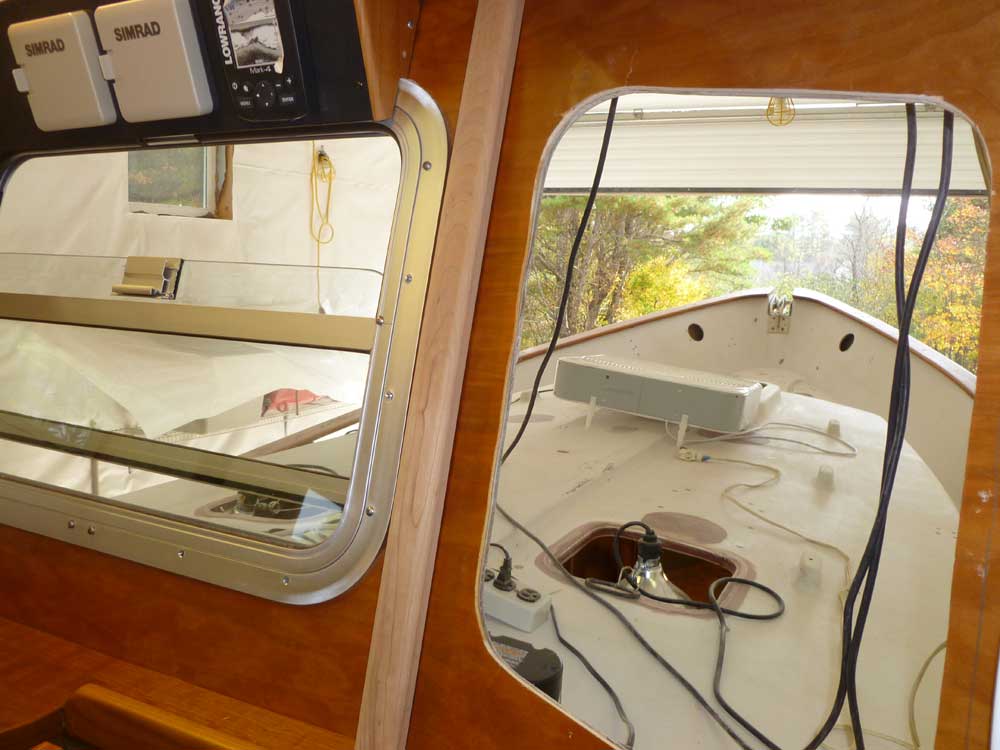
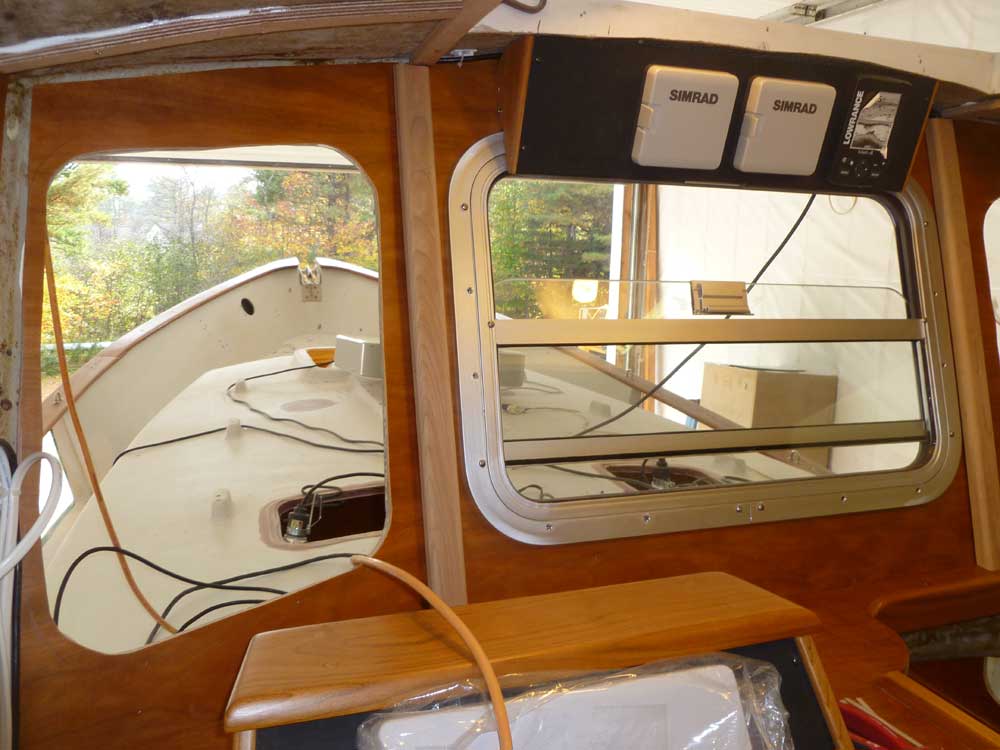
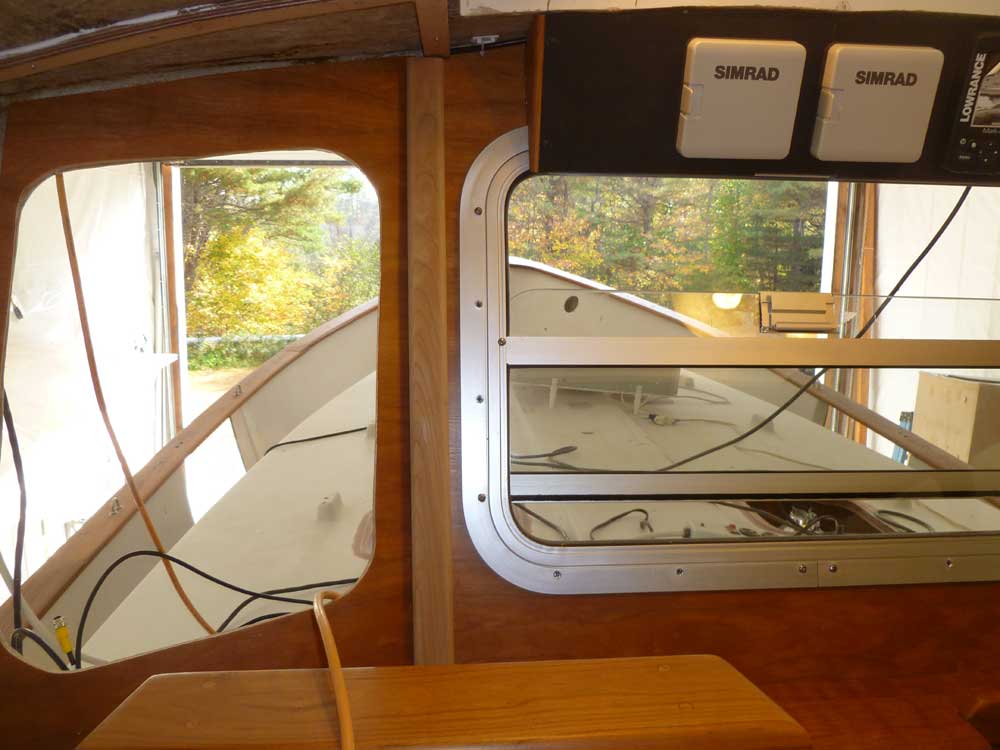
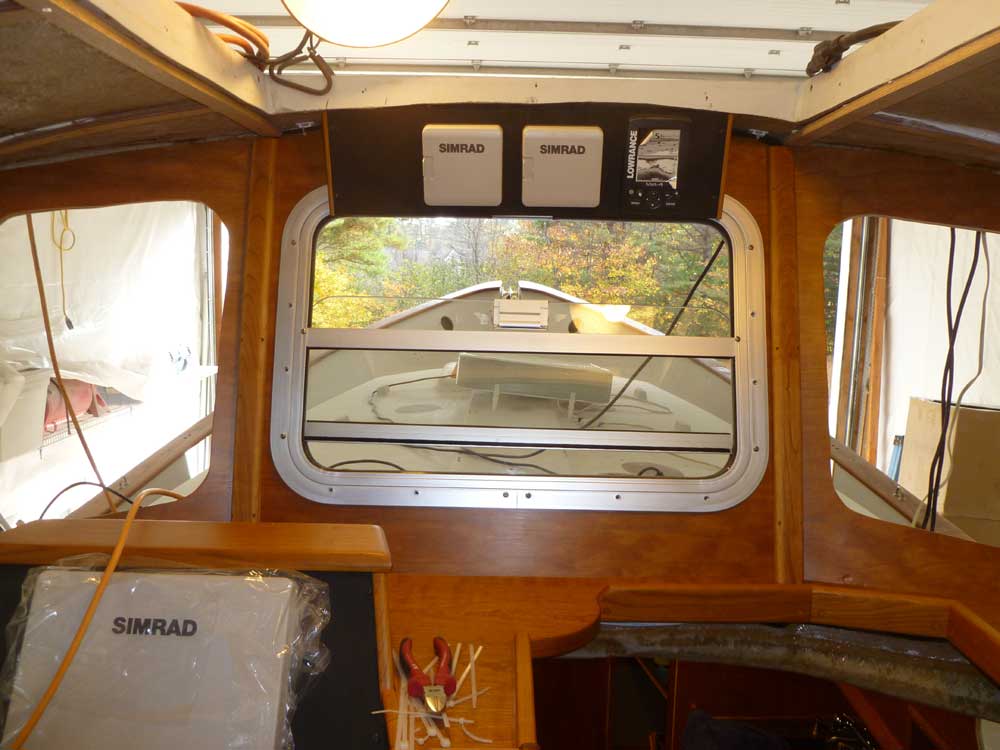
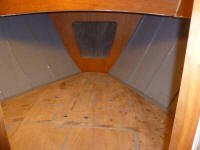
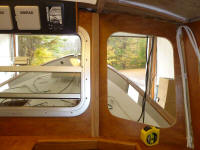
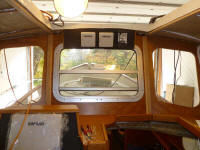
Next, I decided to continue work on some trim pieces,
this time in the pilothouse. All the various
corners and seams between plywood veneer panels required
trim of one form or another, including four sets of wire
chases at the forward end. I began with the two
wire runs leading up the sides of the center section.
From solid cherry I conceived then milled sections of
trim to fit, incorporating space for the wires and wire
supports and thick-enough edges to allow for small
screws to secure the trim.
Once I'd milled the requisite trim, I used short
sections to determine the proper angles to cut the top
and bottom, then cut the two sections to fit. I'd
not install these permanently till after I'd varnished
them. |


 |
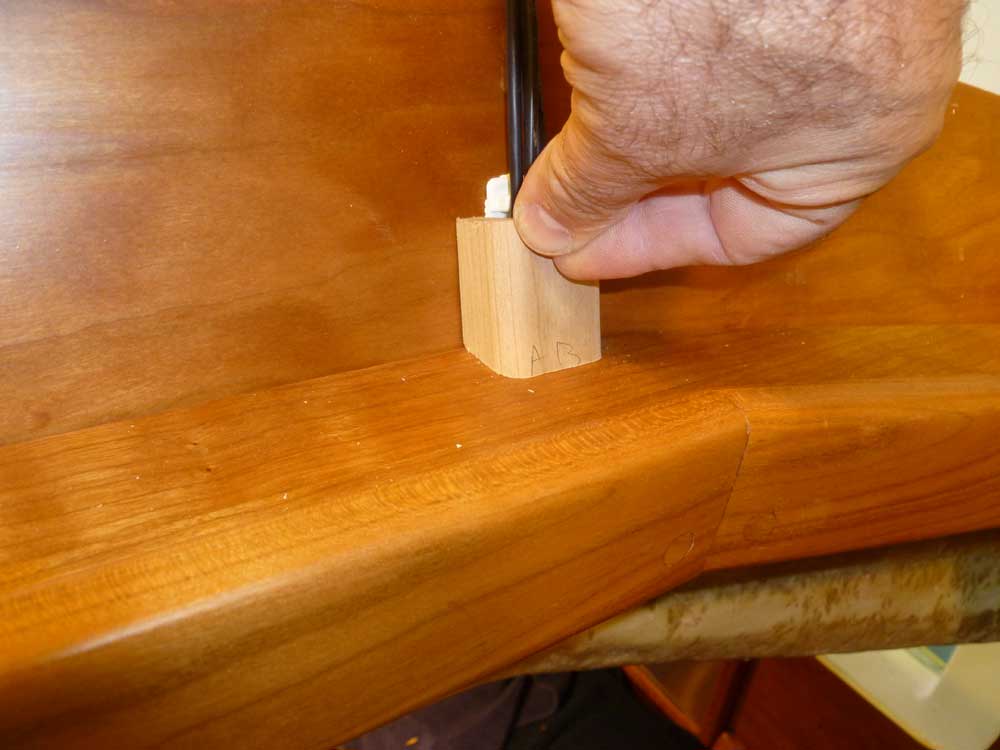
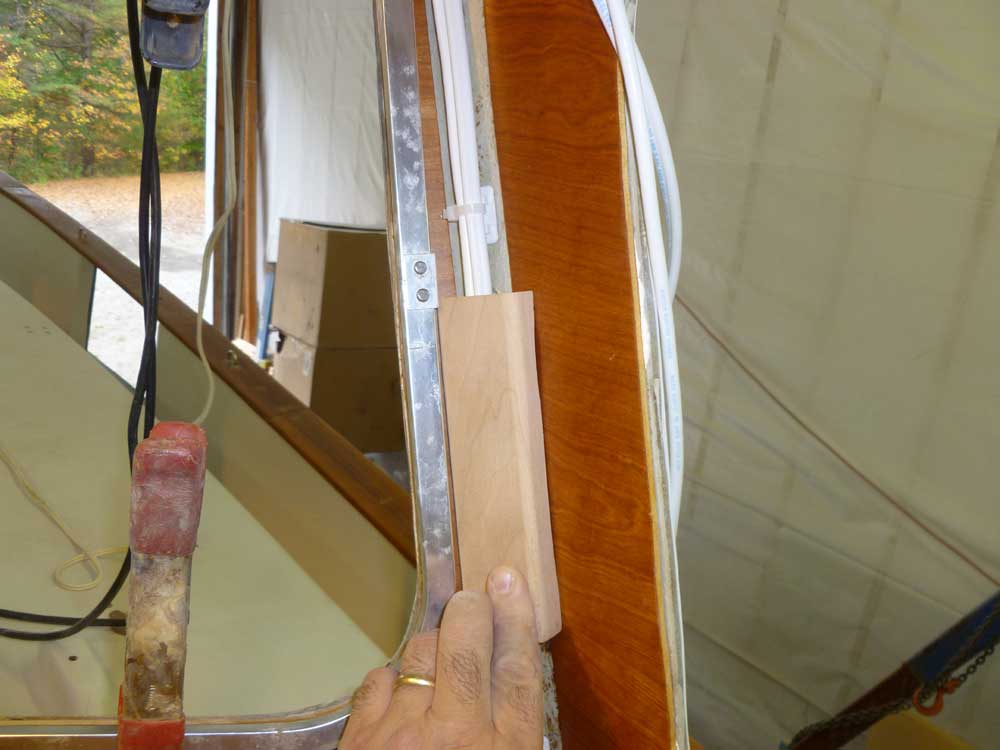
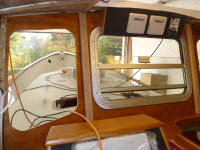
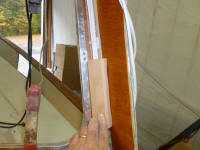
The trim for the two side corners at the forward end
also needed to cover wire runs, but these areas were
complicated by close clearances with the aluminum frames
from the side windows. The windows were slightly
asymmetrical from side to side, so on the starboard side
there was more room next to the trim than the port side.
After some thought, I came up with a trim profile that I
thought would work, and milled a section. Cutting
off an end piece (which featured some edge damage from
the lumberyard), I tested the concept in place, but the
final execution would have to wait till next time. |
 |
| |
Total Time Today: 6.5 hours
|
<
Previous |
Next > |
|
|