Project Log: Sunday, October 28, 2012
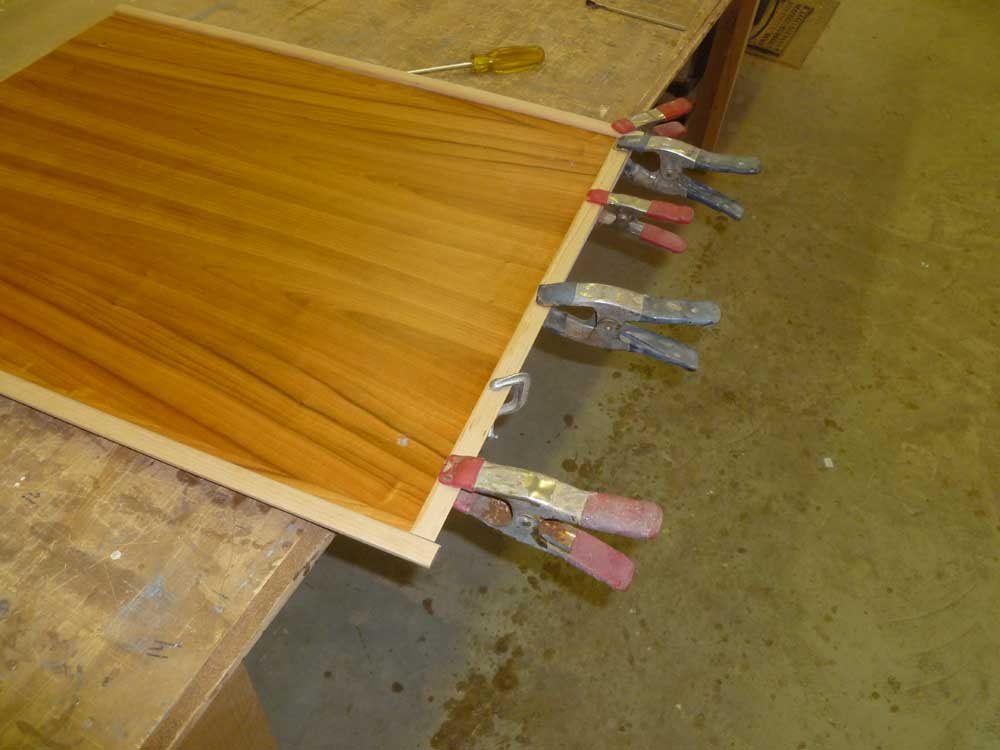
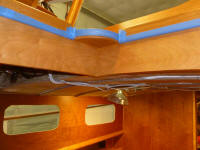
I had a bit of trim work to finish off a the top edge of
the engine room hatch beneath the companionway, to cover
a gap there. Nothing fancy here: just a slim
piece of trim that I cut to fit and attached to the top
edge of the plywood panel as needed to cover the gap,
without interfering with the removal of the hatch. |
 |
N0t sure where to turn next, I eventually ended up, in a
roundabout way, deciding to work on preparing the stock
for the ceiling (hull liner) in the forward cabin. My
first thoughts for the ceiling were in a somewhat
different direction, using something like cypress, but I
was unable to get cypress through my regular supplier,
so I'd postponed the ceiling decision and order while I
reconsidered choices. I wanted to use something
different here, not more cherry, and I'd used cypress on
an earlier project and had liked the look of the light
wood.
Other light woods I might have used included species
such as maple and ash, but I didn't want to use either
of these. Maple was too hard, making milling and
sanding numerous strips tedious, and too bland for my
liking. Ash, with its heavy, oak-like grain,
simply didn't float my boat, and I didn't like how
yellow it became when varnished. I couldn't easily
get white cedar, and didn't want to use any other
softwoods.
I'd recently accepted delivery of a rather large supply
of Khaya, which I planned initially to use only for the
cabin sole on this and another project. However,
it looked like I had such an ample amount that I decided
to also use it for the ceiling. So to begin, I
went through my notes to determine what I needed for the
two cabin soles I'd purchased the wood for, and set
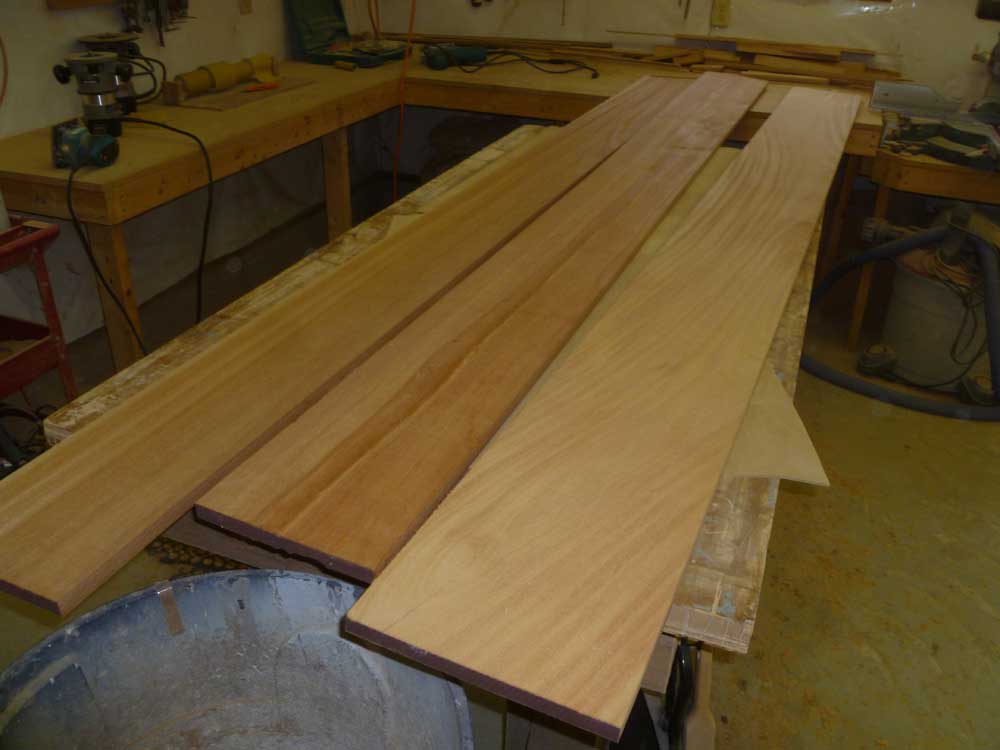
aside several boards for that purpose. This left
plenty of material for the ceiling, with some to spare,
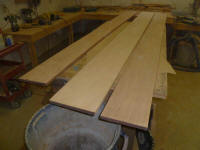
so I selected three boards that looked like they'd yield
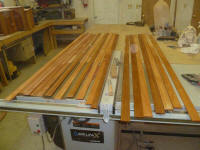
the amount of material I needed. I'd mill the
boards into two-inch planks, then resaw the planks in
half to yield ceiling slats about 5/16" thick. |
 |
The boards were already surface and thickness-planed to
3/4", but still needed sanding to prepare for the
milling work ahead. I sanded both sides of each
board, working through three grits (ending at 220) on my
finishing sander. One of the boards had a
grain structure in the center that was full of loose
flaps and tear-out, which the sander frequently caught
and ripped out; this should have been a warning sign,
but for the moment it was simply an irritation, and I
figured I'd just work around any flaws in the final
planks. |
 |
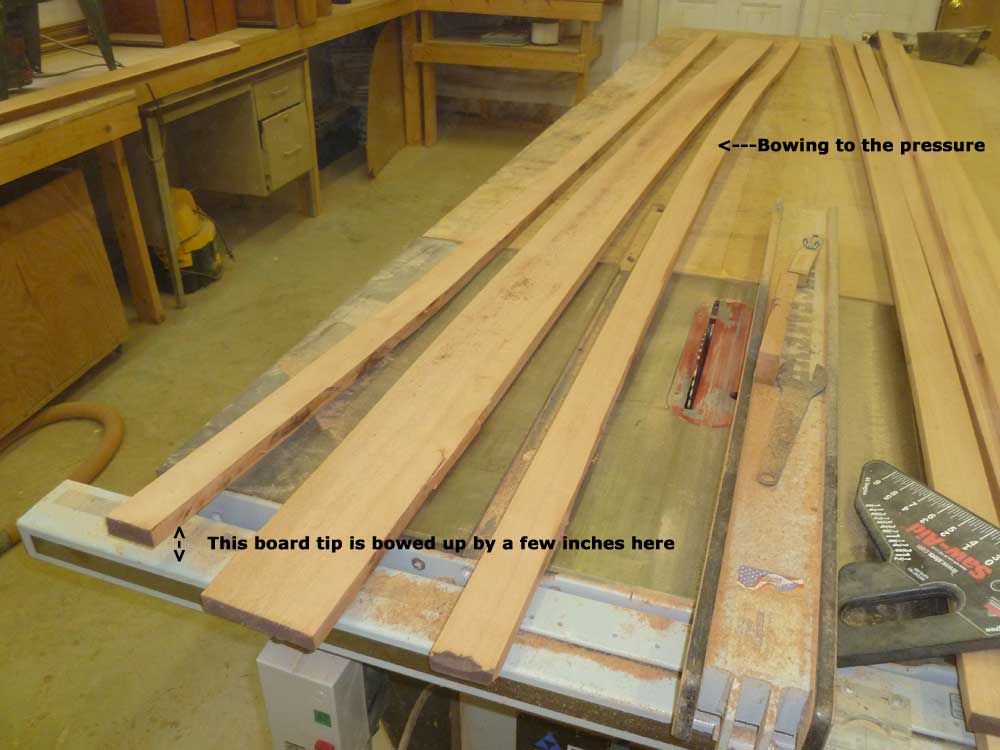
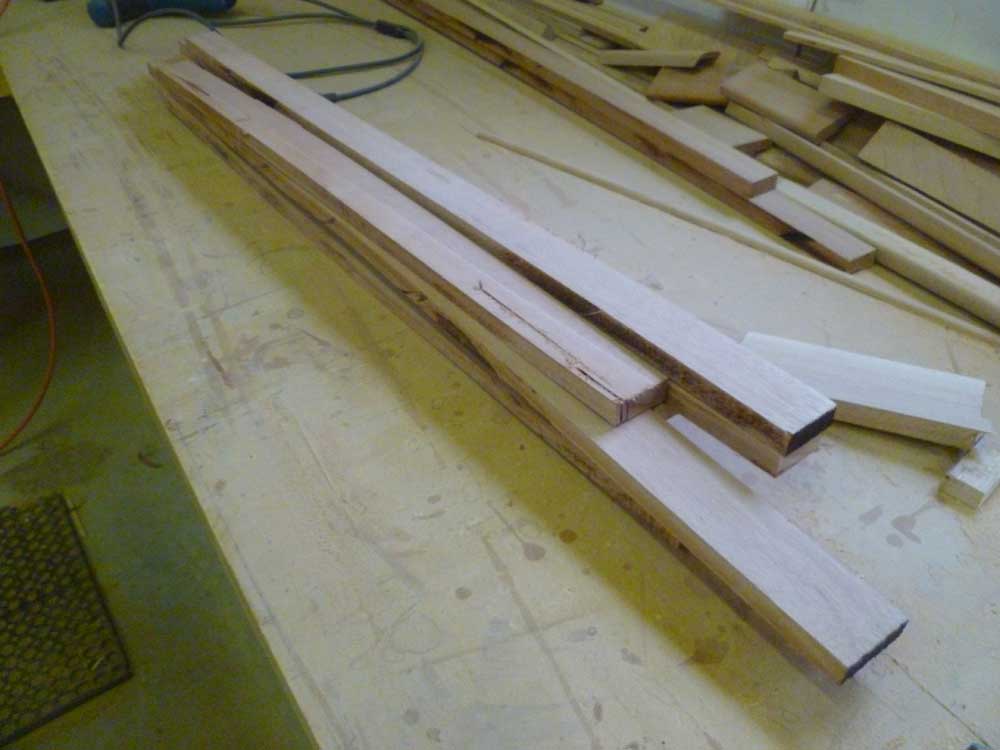
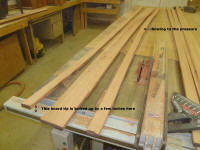
Next, I ripped the wide boards into two-inch wide
planks. This went smoothly for the most part, but
one of the boards--the same one that I'd run into
trouble with while sanding--featured intense internal
pressures that began to release as I cut into the board.
This caused the board to twist, bend, and pinch the saw
blade, making cutting a challenge. It'd been a
long time since I'd worked with any lumber that twisted
and bent like this when sawn, though it wasn't the first
time and I should have been more prepared for this
possibility.
|
 |
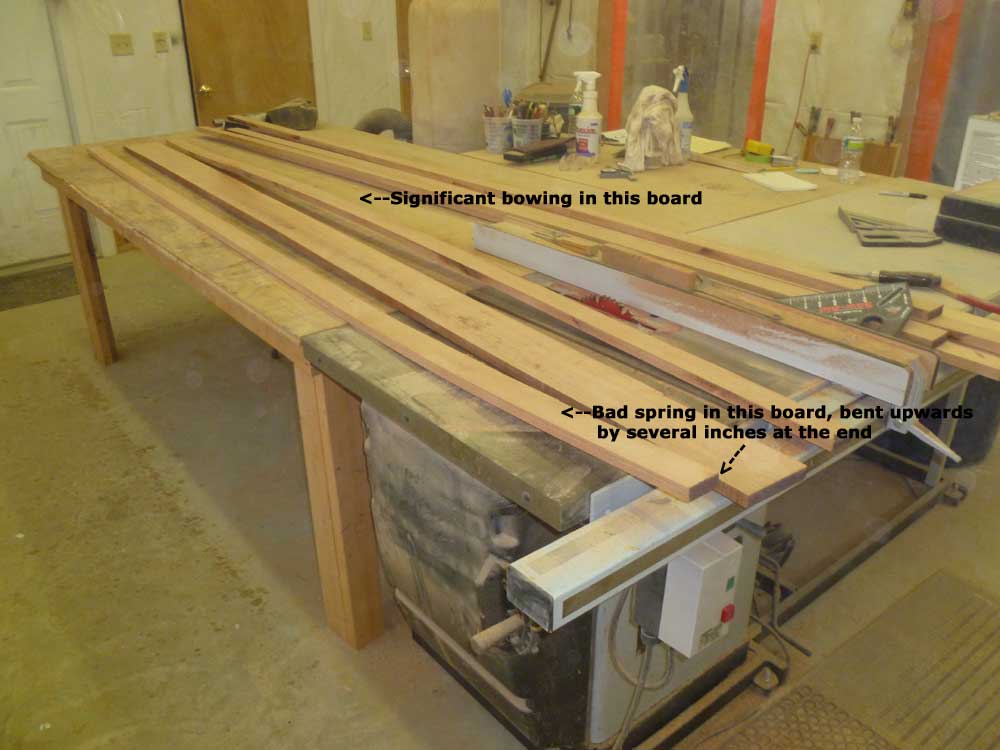
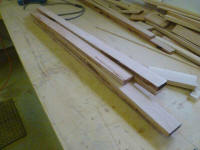
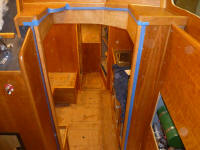
Fortunately, I needed only part of the boards'
length for my ceiling slats; the planks were over 10'
long, but I needed only 7' or less in length. So I
could cut the planks to the appropriate rough length and
remove the most distorted parts of the boards; the
usable short lengths would work out well in and around
the deadlight surrounds that I'd built into the ceiling
framing.
Even so, I ended up with several short lengths of wood
that I deemed completely unusable because of their
tortured inner workings, so I threw them away rather
than risk using them sometime later. |
 |
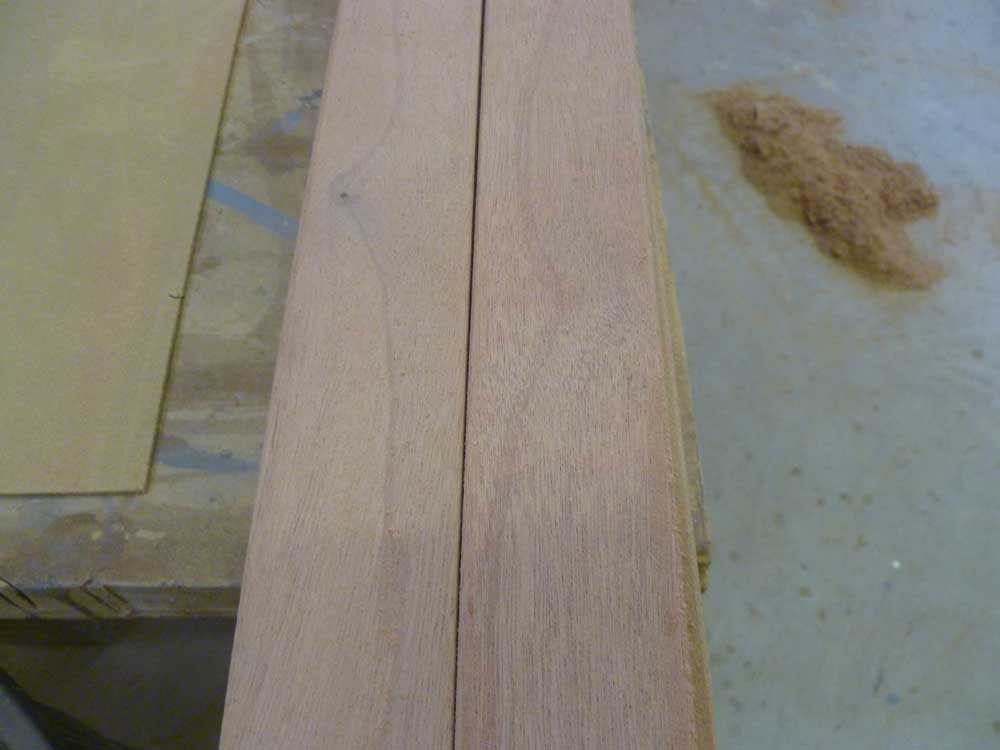
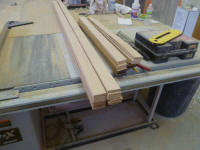
Next, I resawed the 3/4" thick planks into two thinner
planks each. The cut sides of each plank would never be
seen, so there was no need for me to sand those areas.
However, I did ease the top edges of each plank, using a
hand block and sandpaper, to improve appearance and
create a small v-groove between the planks to absorb any
slight inconsistencies in their thickness once
installed. |
 |
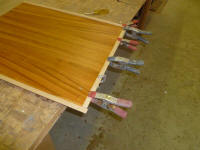
Afterwards, I solvent-washed all the planks to remove
sanding dust, and set them aside for now. This
also gave an idea of the finished appearance of the
planks: similar in color to cherry, though with
more variation from darker to lighter, and with a
completely different grain pattern and structure that
would set the ceiling apart from the remaining woodwork.
Before installation, I'd apply several coats of natural
tung oil to the ceiling planks, a simple wipe-on finish
that would be similar in appearance to the other
interior brightwork, but much easier to apply to the
numerous planks. |
 |
(Much later, in something approaching panic, I realized
that I'd badly miscalculated how many planks I needed
for the ceiling, and had milled only about half the
material I needed. However, with the numerous
short cuts required to work around the deadlights, I
might get farther with the material I already had than I
expected, so before milling any more material I'd get
going on the installation and see where I ended up.
Fortunately, I still had enough of the Khaya on hand
when I needed more.)
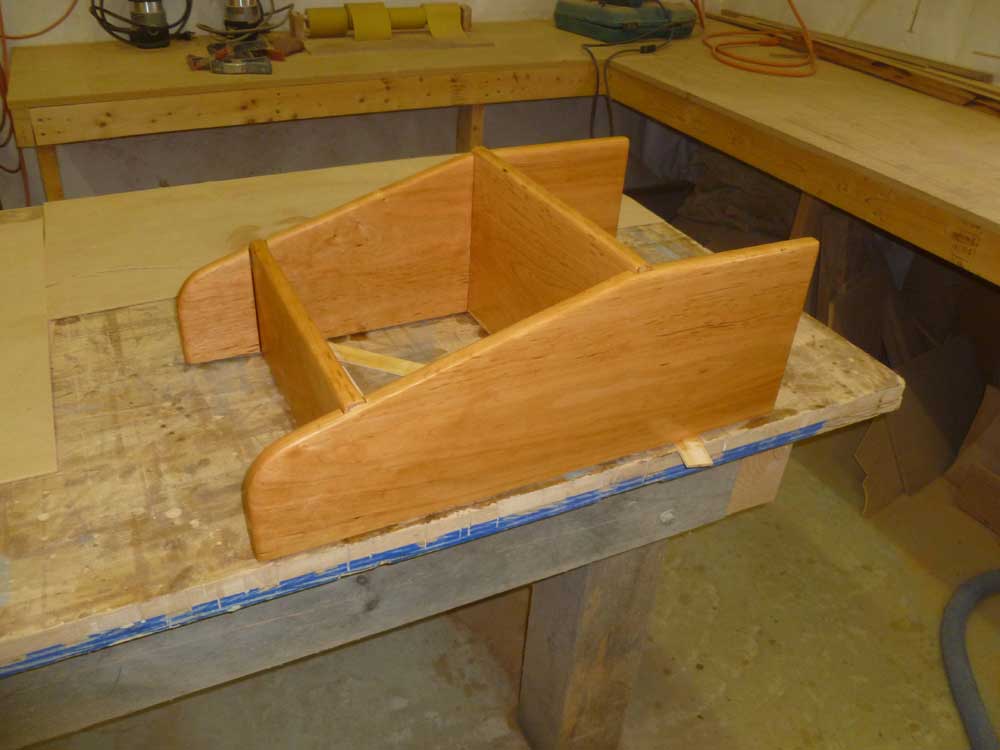
To wrap up the day's work, I masked off the new
companionway trim, and around the new trim on the engine
room hatch, and applied a sealer coat of varnish to
these areas, as well as the companionway ladder. |
 |
| |
Total Time Today: 4.75 hours
|
<
Previous |
Next > |
|
|