Project Log: Saturday, February 2, 2013
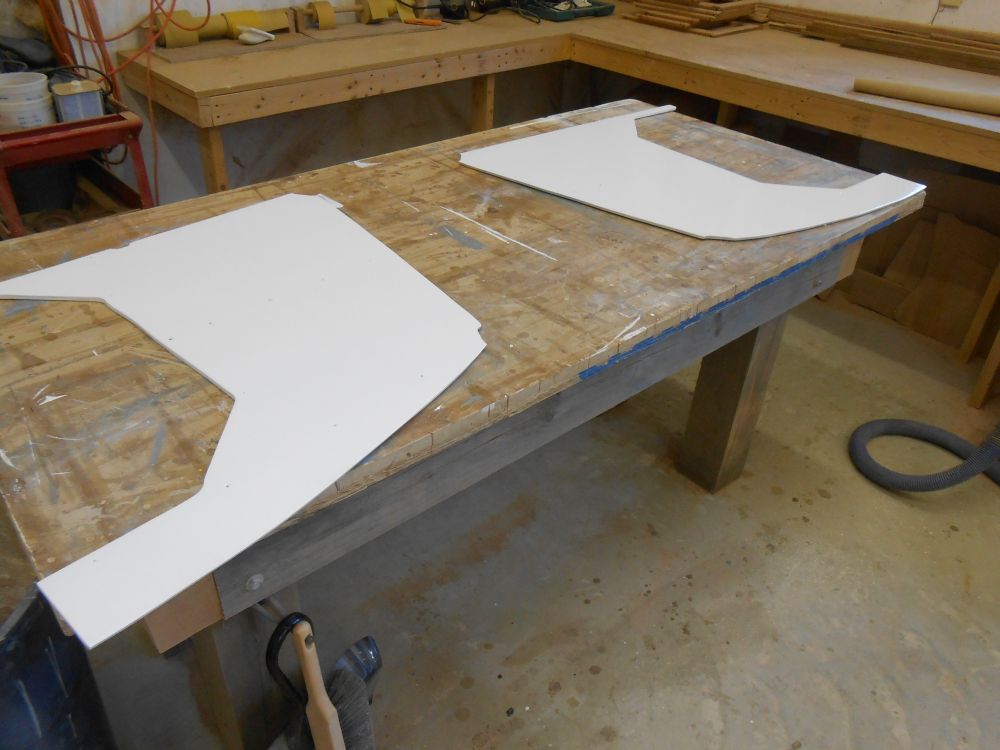
The pilothouse overhead panels had been stacked in a
corner for a while, awaiting their final paint; I'd not
had time nor inclination to do it. So to get
started, I lightly sanded the primer coat, then applied
the first coat of semi-gloss white enamel to the panels. |

 |
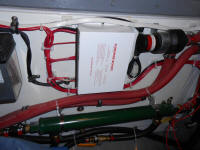
Before getting going on other things in the engine room,
I dismantled the last floor section and the cross beam
at the aft end so I could get back beneath the cockpit
to finish tying up the stern light wiring I'd run
through a few weeks earlier. |
 |
While I had the whole thing taken apart and "good"
access, I decided to do a couple other small jobs in the
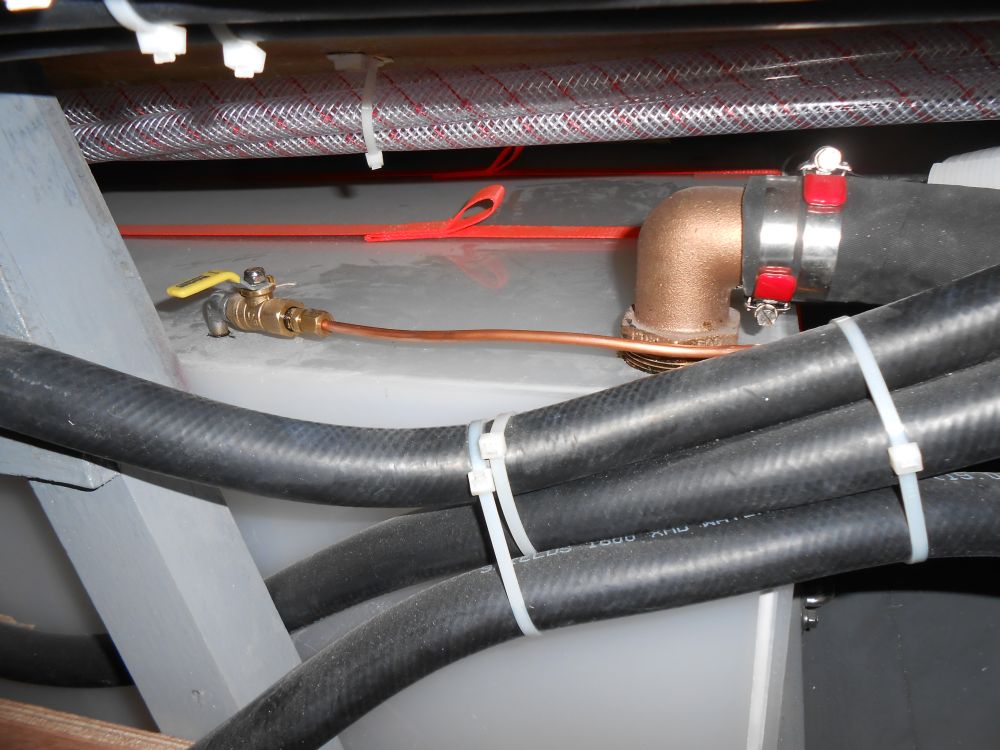
same area, beginning with the fuel line for the diesel
boiler, which I'd held off installing to avoid excess
clutter in the area, but now was as good a time as any,
and this area--located at the port aft corner of the
engine room--was hardly uncluttered anyway.
From 1/8" annealed copper tubing, as specified by
Webasto, I cut an appropriate length and secured it to
the fittings--previously installed and ready--on the
fuel tank and fuel filter assembly, using the supplied
compression fittings. |


 |
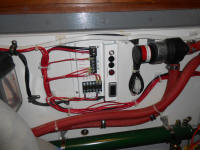
AC electrical power was a low priority overall, and
something that, while I planned to have it available on
board in a limited sense "just because" and "just in
case", we had few plans to really ever use shore power.
Still, the Isotemp water heater was also set up
internally for 110V power, supplied through a convenient
power cord with standard 3-prong plug. So I'd long
intended to install a GFI outlet nearby, and for a long
time now had had the materials on hand. For
whatever reason, I'd never pre-installed the wiring box
long ago when I'd obviously planned to, since I'd
purchased the components,
and, for other unknown reasons, I chose this moment to
get it done.
This was a simple job...if I were doing it spread out on
the bench in comfortable conditions and with good
lighting, or in almost any other circumstance than the
actual one I faced. In the location I chose (mostly from
necessity), the job was extremely difficult and
challenging to the point of nearly proving impossible.
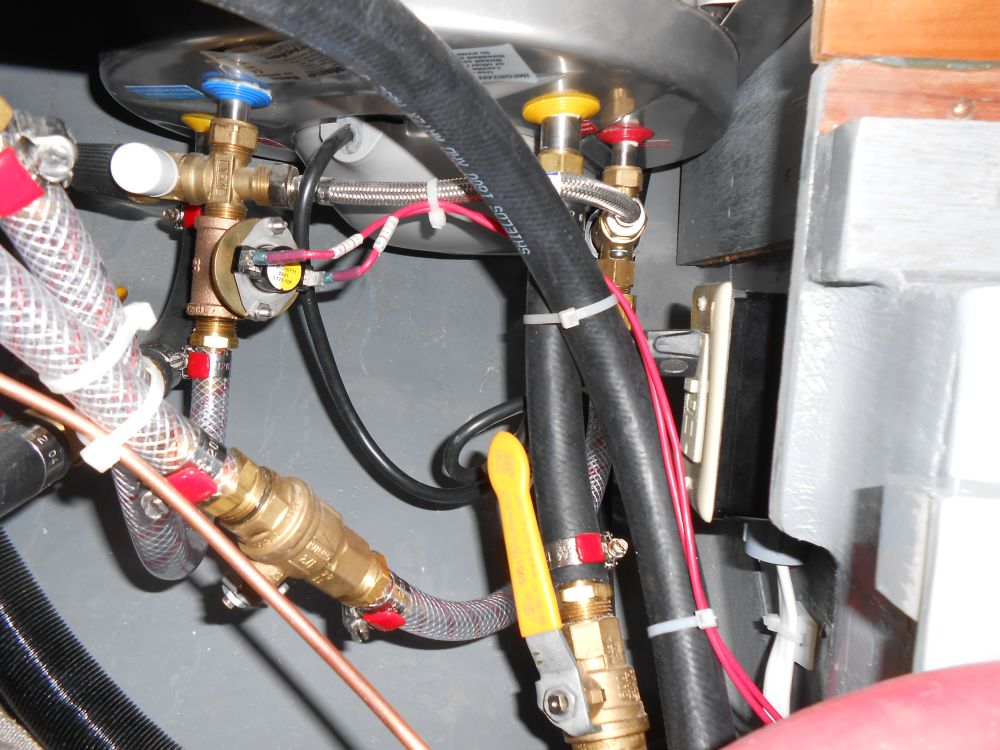
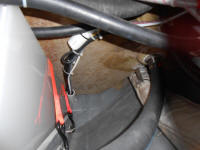
With the water heater located outboard of and above the
engine room in the cluttered port aft corner, the outlet
needed to be nearby, and the only logical mounting
location was on the short transverse bulkhead just
forward of the water heater. Access was difficult,
and the space was now filled with numerous hoses, wire
chases, and so forth.
After significant effort, dropped fasteners, drill
contortions, and more fun, I somehow managed to screw
the electrical box to the bulkhead--by for the hardest
such "simple" installation I'd ever done--then ran in a
12/3 cable from the engine space and wired up the outlet
(I could wire the outlet more in the open, then pushed
the wires and outlet into place for final securing; it
would have been impossible to wire the outlet in the
tight space surrounding the box). So even if
I never used it, at least the water heater was available
to be fired by 110V AC power. This job just
about killed me.
|
 |
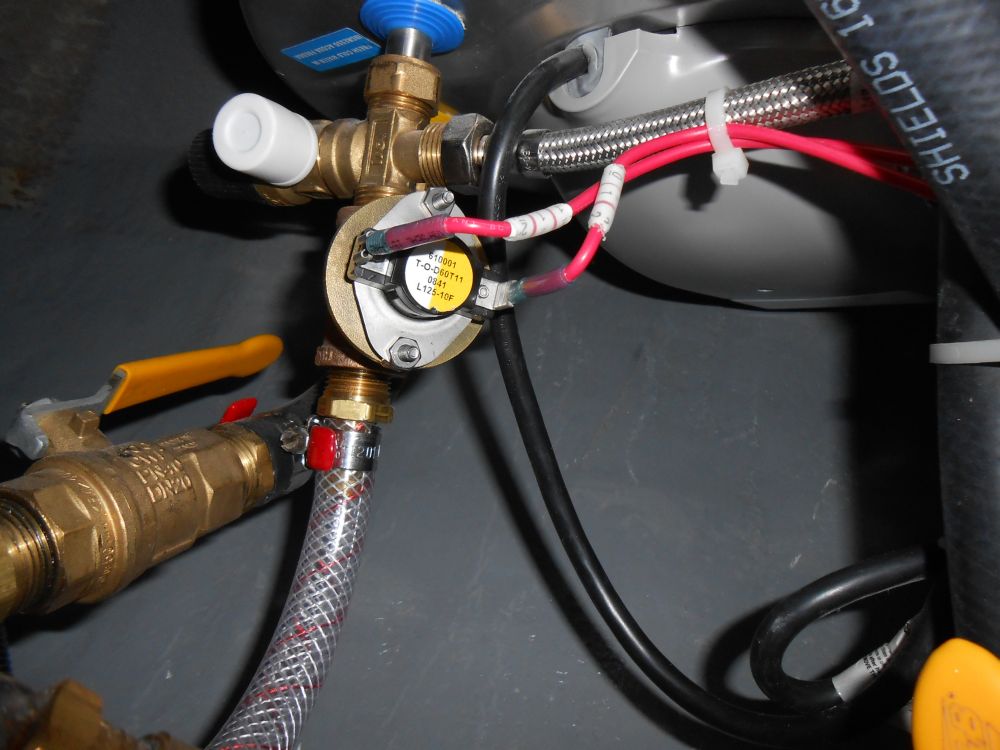
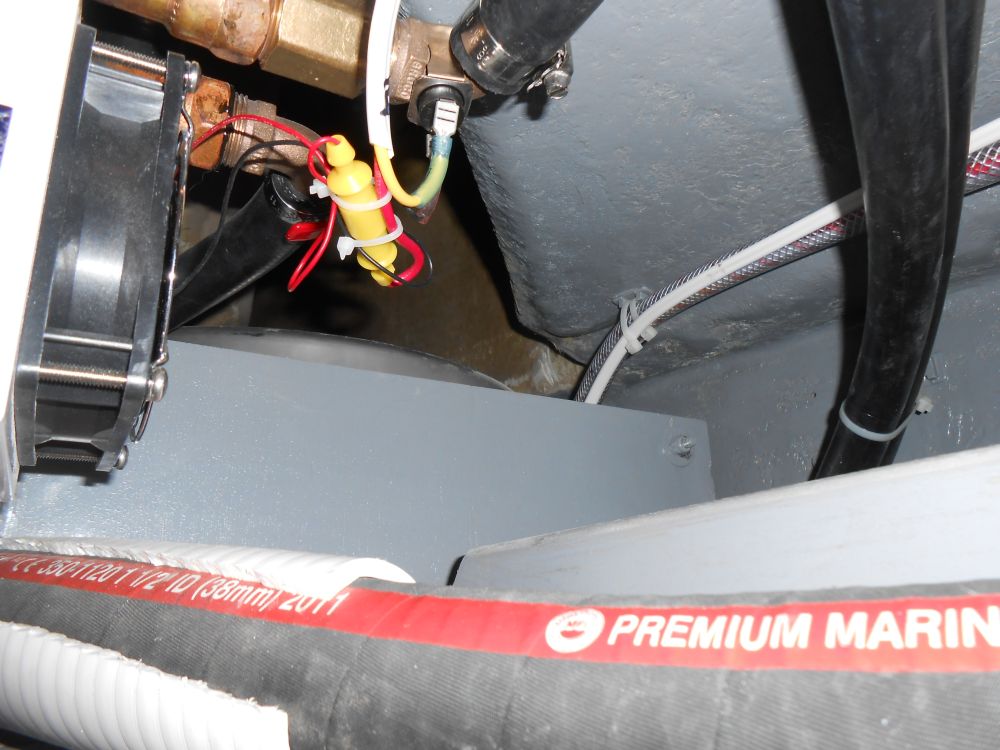
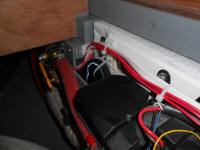
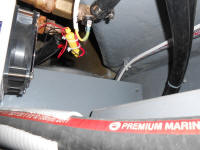
Also in the same area and requiring a pair of wires was
the domestic water aquastat, located on the water
heater. This aquastat, which was to be wired into
the heating system's thermostat, would trigger the
boiler to kick in when it sensed cold water entering the
tank. So
I ran in two wires along the same route as the nearby AC
outlet I'd just wired, and secured them to the aquastat
with spade connectors, then secured these wires along
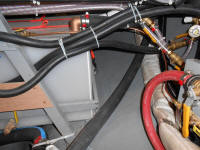
with the 12/3 from the outlet to some wire mounts. |


 |
I led the water heater cable into the electrical panel
space within the console and left the tail for now.
Then I led the two wires from the domestic aquastat to
the destinations indicated by the wiring diagrams,
which, along with a third wire that would eventually
lead to the thermostat, pretty much finished up the
wiring on the heater's wiring board in the engine room.
I led two wire tails into the console for later
connection. |
 |
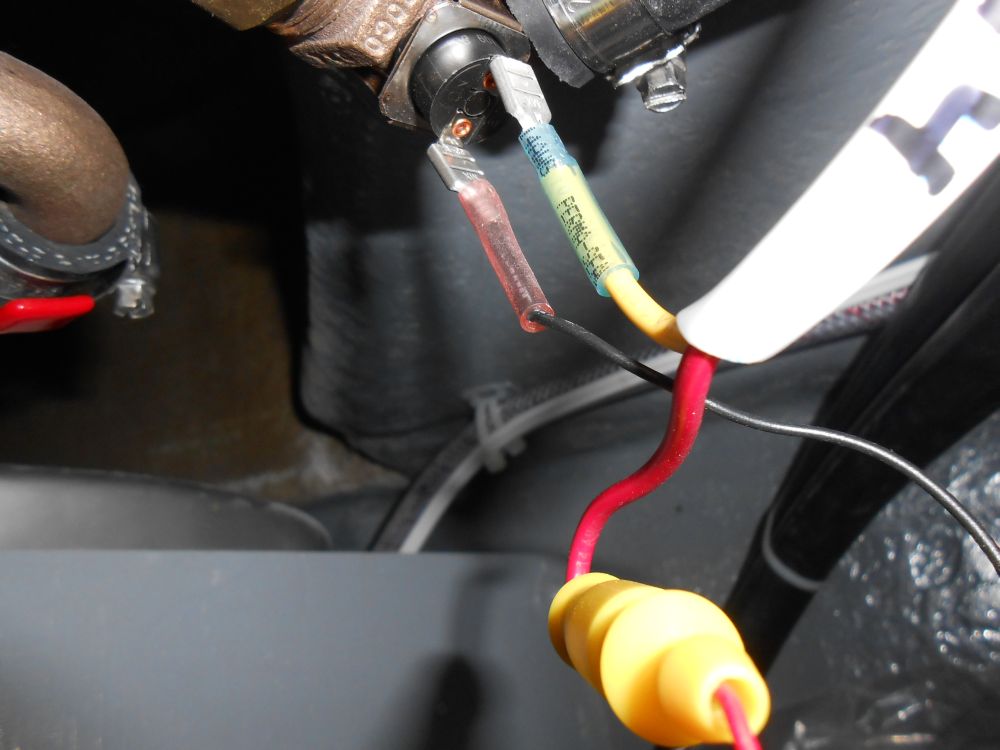
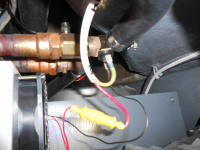
Reviewing the wiring diagrams, I realized I'd made an
error connecting the aquastat to the pilothouse fan
heater earlier: I'd wired in both the fan's
positive and negative wires, but now I could see that
the aquastat was designed to just be inline with the
negative conductor. So I removed the connections
I'd made and rewired it the proper way. |

 |
I had a bit more wiring to complete in order to feel
satisfied with this stage of the process. There'd
still be other wiring chores ahead, but for now I needed
to complete the heating system's wiring with the
thermostat and other final connections, and tie in the
cable from the water heater to the AC panel.
I'd sort these out next time. |
| |
Total Time Today: 4.5 hours
|
<
Previous |
Next > |
|
|