Project Log: Saturday, January 19, 2013
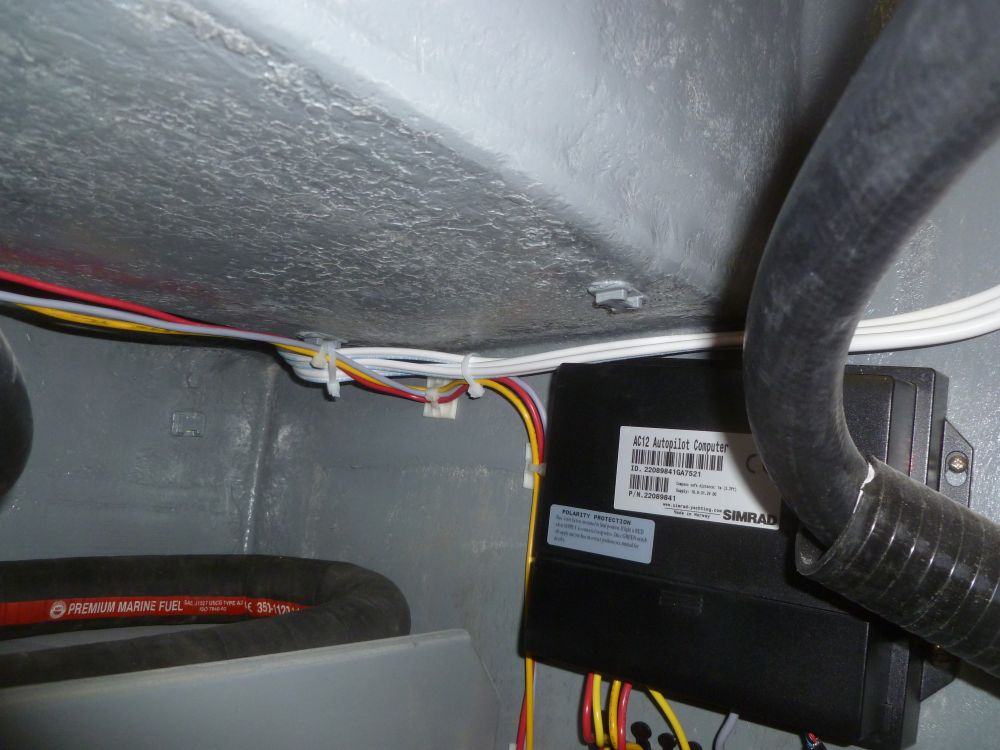
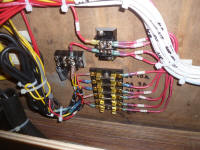
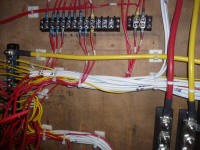
I spent the day making up wiring connections, and
running several new wires. To begin, I terminated all
the remaining raw wires within the console, including
the electronics wiring, which I'd set up in a separate
area at the base of the console, incorporating a fuse
block and two additional terminal blocks to conjoin
properly the various wires. Various components of
the electronics suite were designed to be interconnected
in a variety of ways, including what I chose: to
have the radar and sounder modules power up
automatically when I turned on the main display, which
required that a separate wire from each component be
combined and tied into the main display power. |
 |
The instructions for the radar were clear that the radar
shouldn't be powered up till all components were in
place, including the scanner, and since that wouldn't
happen till the masts were stepped sometime later, I
omitted the fuse from the radar power supply, and left
its power combining conductor detached from the terminal
block for now.
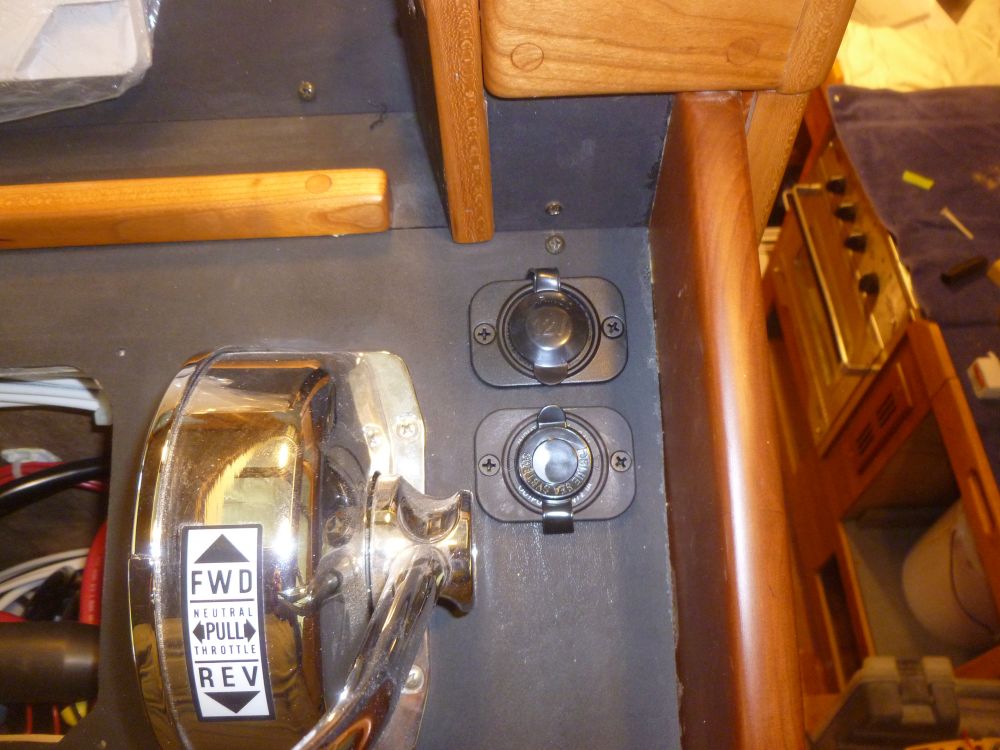
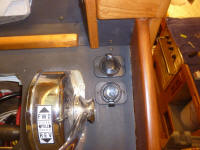
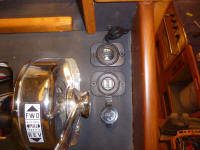
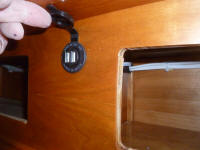
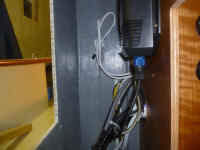
In the top of the console, I installed a 12-volt outlet
(the traditional cigarette lighter type), plus a 20 USB
port for charging small devices, and ran and connected
the wires as needed. Since there was no
access to these ports from beneath, thanks to the bulk
of the throttle lever beneath the console, I used the
cover plates to install them from above, and left enough
slack in the wires to allow the ports to be pulled out
for service if needed. I positioned these outlets
to be convenient to the dashboard. |
 |
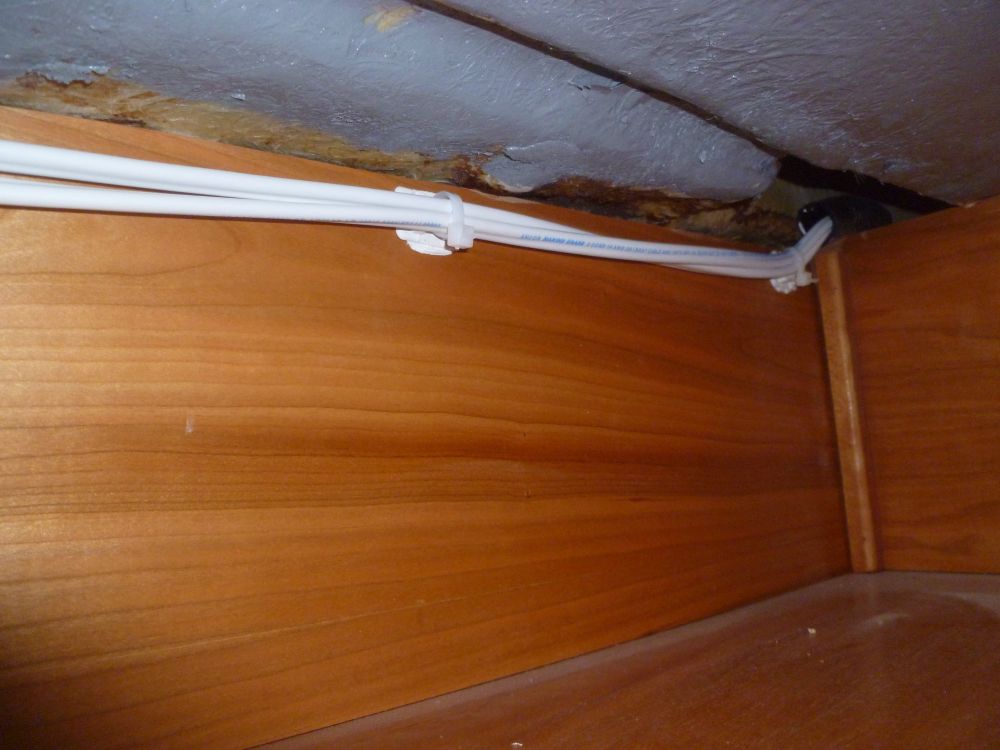
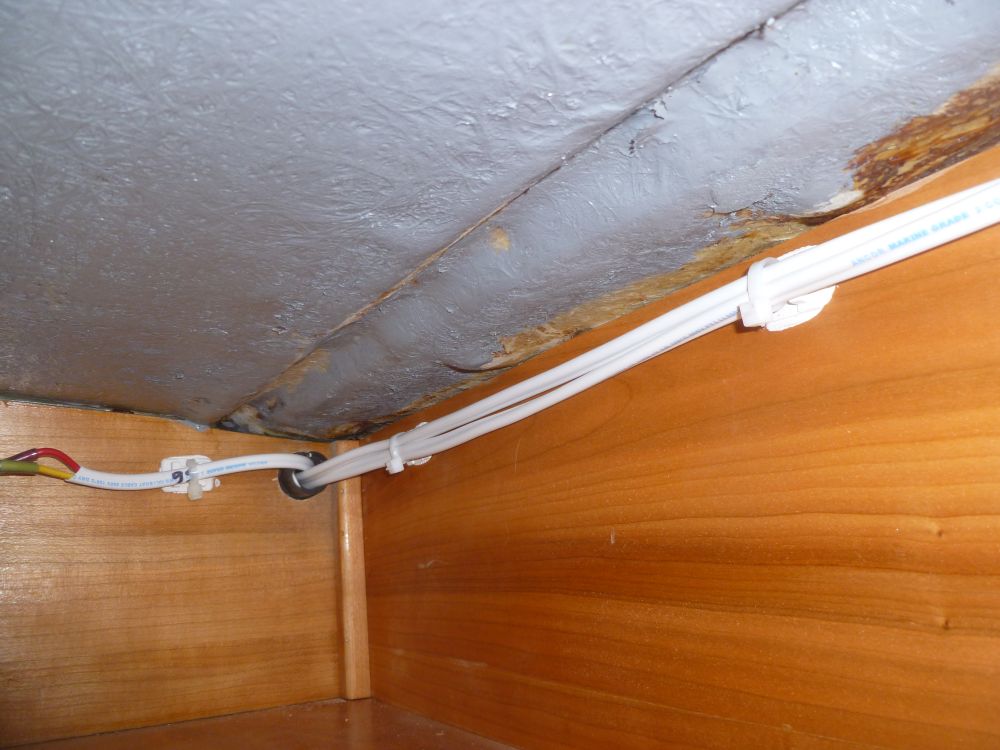
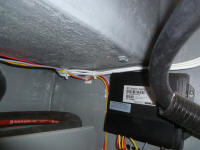
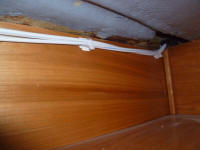
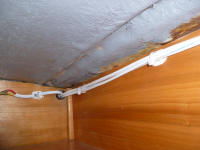
On the port side, I ran several conductor pairs for
additional circuits, including lighting, fans, and
another USB charging port above the dinette. I
installed wire tie mounts and secured the conductors
accordingly, with chafe gear where the wires passed
through bulkheads and other openings. I ran two
circuits forward into the still-bare head compartment,
where I left slack cable for eventual use. I led
these cables into the console and wiring area as needed. |
 |
On the port aft bulkhead in the saloon, I determined a
position for a reading lamp (one of several I'd be
installing on these new circuits) and, since it was
basically alone, ran its own circuit from the nearby
console. Planning ahead, I also included a
conductor for another cabin fan, though I didn't know
how many I'd eventually install.
|
 |
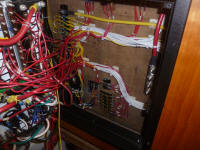
Back in the console, I made up the final terminations of
most of the new wires, including tying all four cabin
light circuits together through a terminal block with
jumpers installed; then I led a single conductor from
there to the circuit breaker in the main panel.
(seen on the four-gang terminal block to the right) |
 |
By the end of the day, I'd made up most of the final
connections, though I had two circuits still loose in
the cabinet. In all cases, I used adhesive-lined
heat shrink crimp connectors, and labeled the wires with
circuit numbers at each end. With several
additional circuits yet to run, plus the main power
feeds to the panel itself, there remained plenty of work
and wire-tidying, but the system was coming together
nicely. |
 |
| |
Total Time Today: 6.5 hours
|
<
Previous | Next > |
|
|