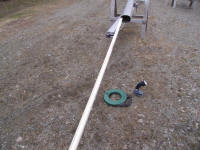
Project Log: Saturday, April 26, 2014
This would not go down as one of the world's great days
of achievement.
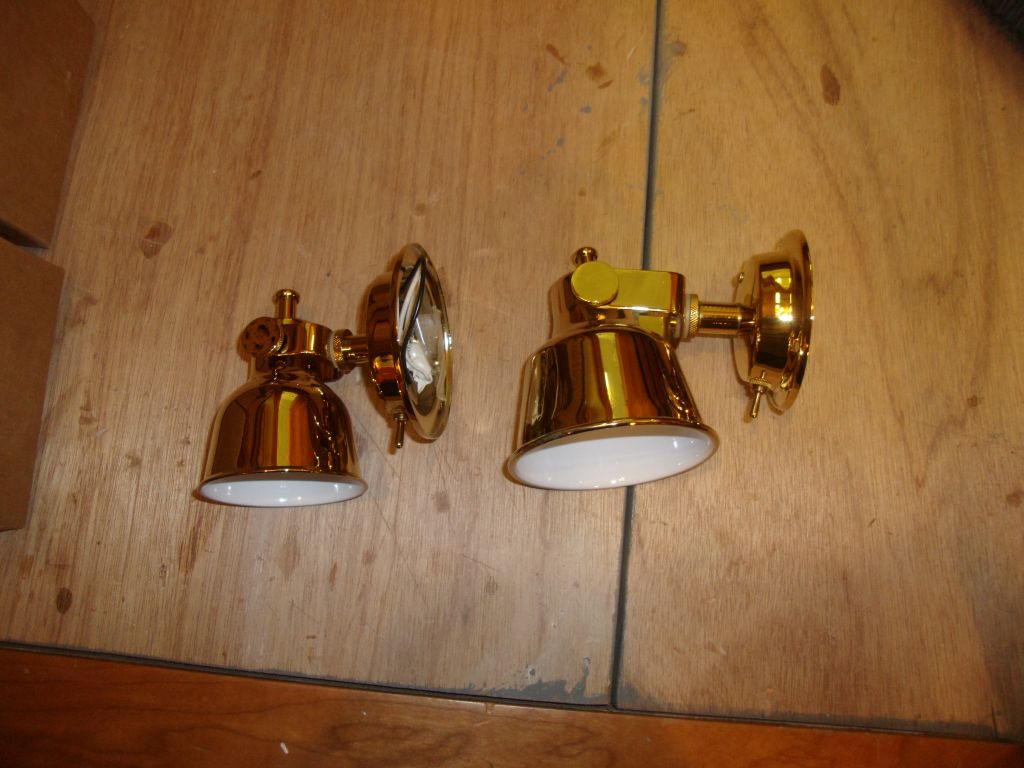
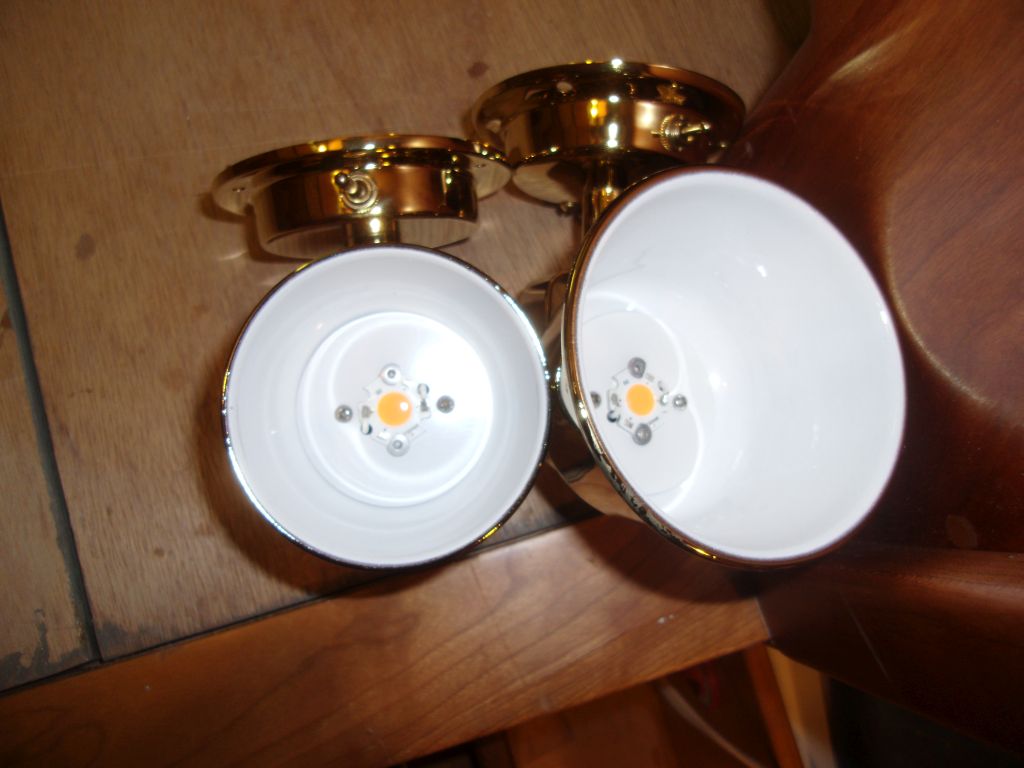
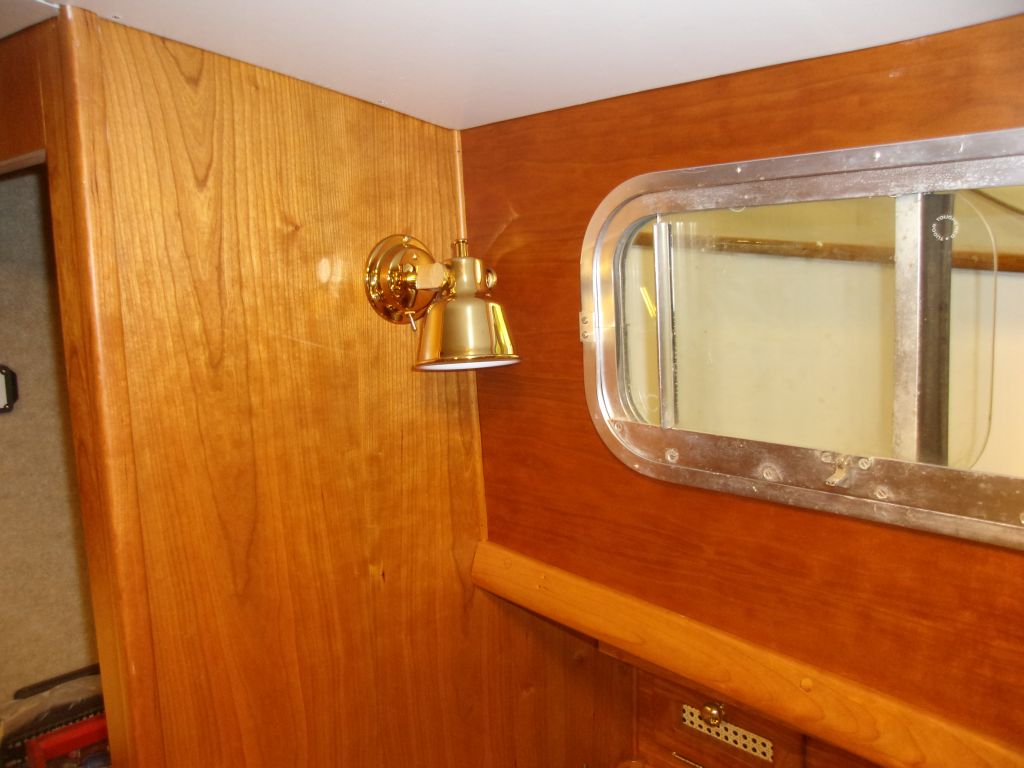
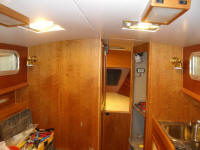
I began with cabin lights. I'd recently ordered
and received from Alpenglow the five (for now) LED cabin
lights that I needed/wanted: two berth lamps for
the v-berth, and three reading lamps in the main cabin.
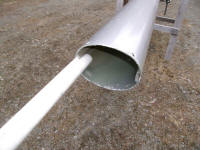
The difference between the berth lamp and the reading
lamp was simply one of size: the shade, bell, or
whatever you might call it was noticeably smaller on the
berth lamp, though the bases were the same size. I
also noticed a slight difference in the profile of the
bases between the two lamp styles: the raised
center portion of the berth lamp's base was more
square-sided than the gently rounded profile of the
reading lamp base.
|
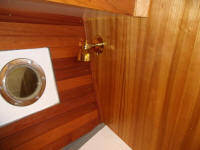
Berth lamps on the left in these photos
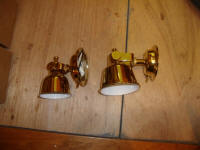
 |
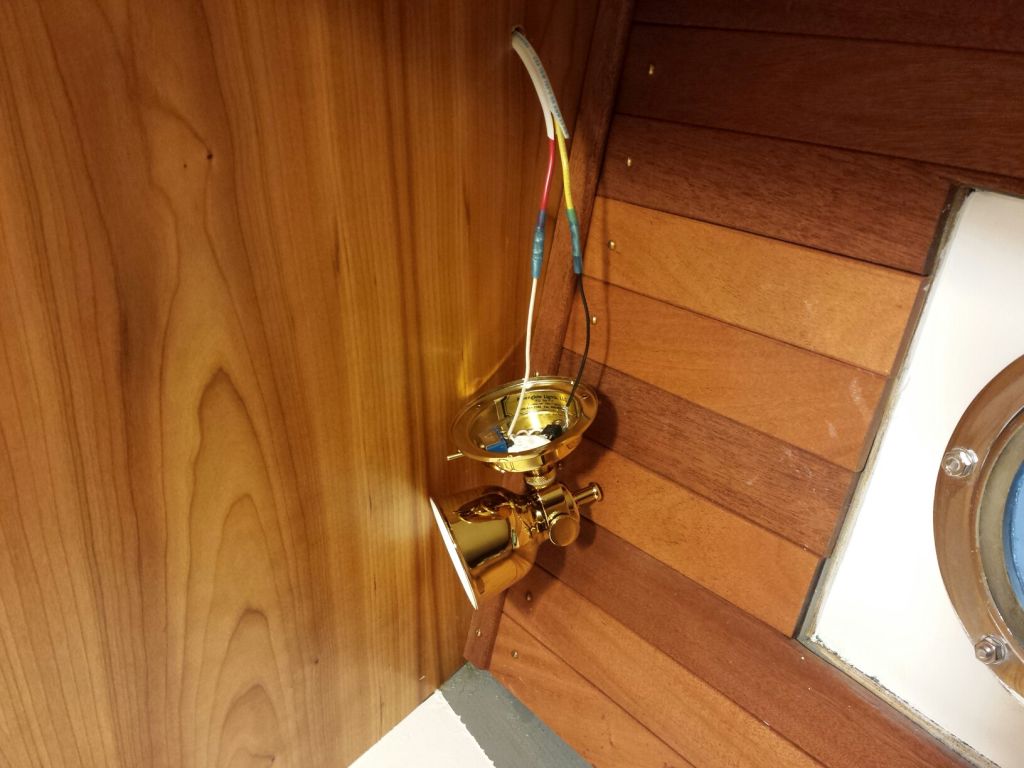
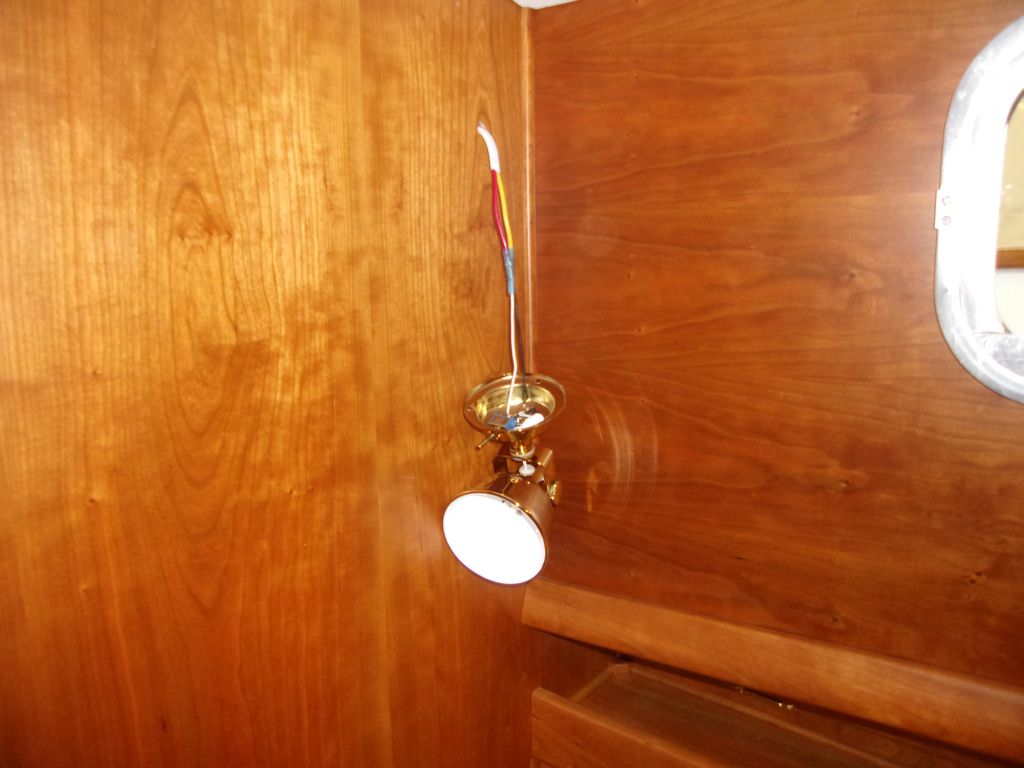
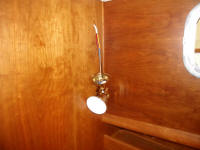
Starting in the v-berth, I installed the two berth
lamps, connecting the lamps' wiring to the wiring I'd
led through the bulkheads, then securing the lamp in
place with the provided screws. After
installation, I discovered that the port lamp was not
swiveling properly: the whole stem was turning,
not just the shade, so I had no choice but to remove the
lamp and correct the problem by tightening the stem and
breaking free the threaded shade end before reinstalling
the now-functional light. |

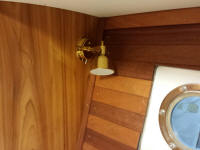
 |
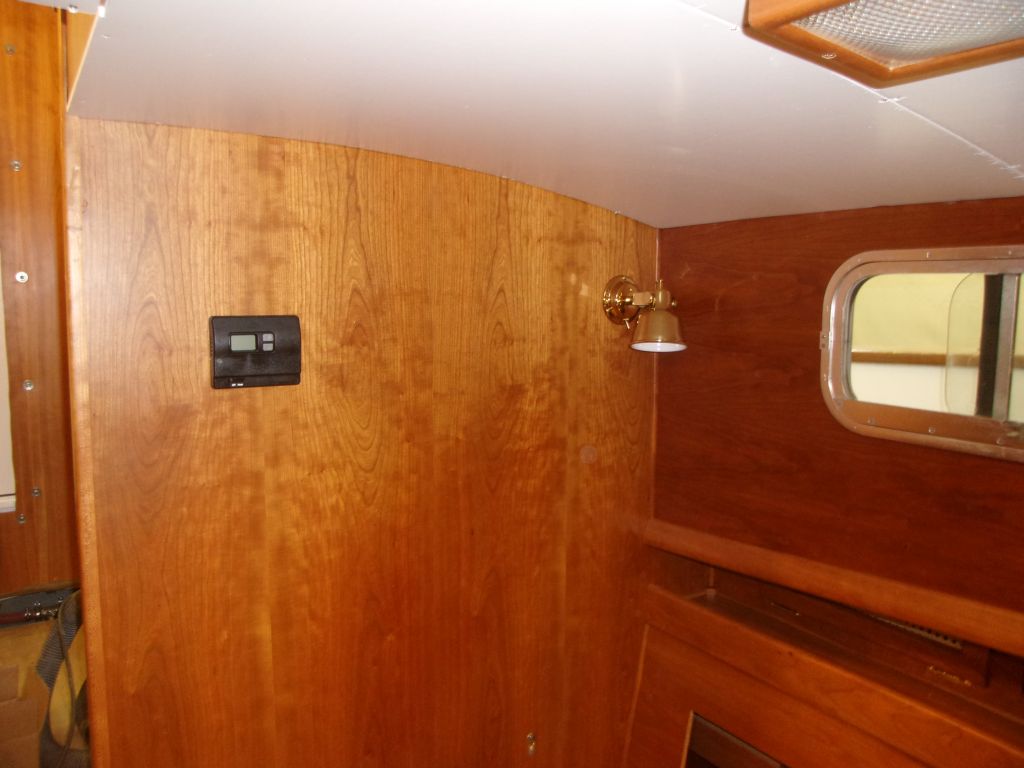
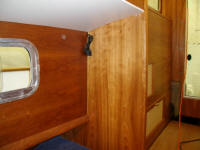
Moving on, I installed a light at the forward end of the
galley. Sometime later, I planned another fixture
at the aft end, but I needed to run a wire pair for that
one, and didn't think it was critical for now, so I
postponed that to save time and money at the moment. |


Future light location at the aft galley
 |
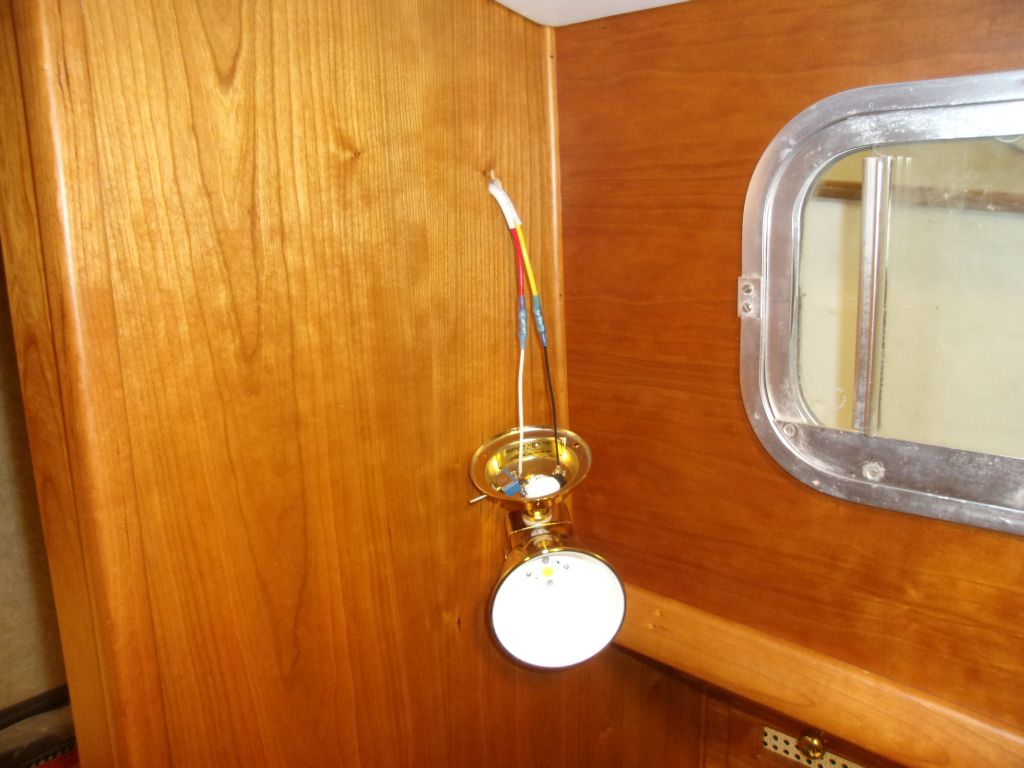
On the port side, I installed the final two lights at
the forward and after ends of the dinette. |
 |
The five lights took about an hour to install.
Afterwards, with rain promised but not yet happening, I
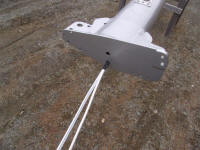
decided to see if I could get the wires run through the
mast from the masthead. I'd left the snake in
place, and set up two wire reels (one coax, one 14/2
sheathed cable) on a rod and stand nearby from which the
wires would feed.
I securely (or so I thought) taped one cable to the end
of the snake, and fed/pulled it carefully through the
masthead hole and (I think--one could never be sure
without being able to really see) into the top part of
the internal wire conduit before I taped on the second
wire, which kept the two bulkier ends well separated for
(I hoped) easier pulling. It was a tight fit
through the masthead hole. Unfortunately, it
didn't take too long before I pulled the snake out from
the taped ends of the wire, a frequent hazard despite
care and caution. |
 |
That ended this particular attempt at pulling the wires,
as I'd no choice but to pull back the wires, and then
try to refeed the snake. Strike one.
Around now I had a short-lived epiphany, or perhaps a
"duh" moment: I knew that the conduit moved within
the mast, and I thought that perhaps I could just pull
it right out, which would make it a snap to snake the
wires through before reinserting the conduit. This
would be really cool if it worked. Excited, I
pulled out the conduit...only to find that it was in
six- or eight-foot sections, not connected to each
other. So while I could pull out the bottom piece,
there was no way to access the upper sections to remove
them. Oh sure, maybe if I raised the mast
vertically and then eight feet off the ground they would
slide out, but how was I going to do that? Strike
two.
If nothing else, though, at least this would mean six or
eight fewer feet through which I'd have to run the
snake, so I left the bottom section out for now. |
 |
Back to the original plan. This time, rather than
try to get the snake back through the tiny top hole the
way I did earlier, I figured I had nothing to lose by
re-trying to insert the snake from the top end rather
than the bottom--my preferred direction since somehow I
thought it would ultimately make it easier to snake the
wires through (who knew whether or not this would be the
case). I'd tried this earlier, to no avail, but
this time I got the snake into the internal conduit
without any problem at all, on the first attempt.
That was a positive development, but since I couldn't
really see into the mast I didn't truly believe I'd
succeeded in getting the snake into the conduit till I
saw it through the small hole halfway down, through
which I'd eventually run the wires for the masthead
light(technical and proper name, having nothing to do
with its location--commonly called steaming light to
avoid undue confusion).
I was on a roll, until I wasn't: somewhere, well
down the mast--south of the masthead light location, but
north of the end of the conduit that I could see up from
the bottom (though I couldn't see the snake)--the snake
simply stopped its progress. I worked it back and
forth, twisted, blah blah blah, all to no avail. I
took lunch break, then returned in light rain to try
again--still no luck. I went indoors for a while,
saw nothing else on my work list that I felt like
tackling, and then returned to the mast--this time in
steadier rain--to make another brief attempt (often just
stepping away for five minutes has magical effects on
stubborn installations), but that thing was simply not
moving. I'd no idea what it was hung up on, but
hung up it was. For the moment, I had to quit, as
the rain was not conducive to further efforts.
Strike three.
I left the snake in place, and had no intention of
pulling it all the way back out. Ever. It
would have to go somehow, sometime.
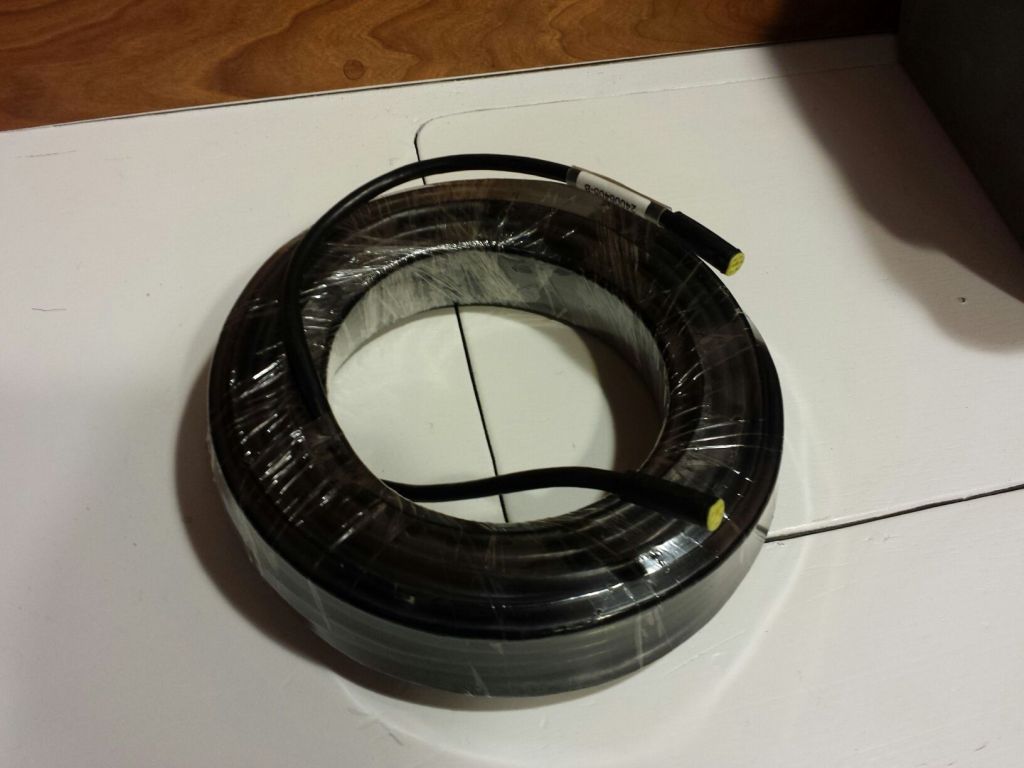
Sometime in and around all this came the revelation that
I also needed to run a SimNet network cable to the top
of the mast, for the wind instruments. It never
ends. Frankly, I didn't know that the extra
cable--this one about 1/4" in diameter, like coax, but
with permanent end fittings of just under 3/8"
diameter--was going to fit through the conduit, never
mind dealing with it at the top of the mast. |
 |
No, this cable was not critical; no, I didn't need to
run it to get the boat in the water; no, I didn't really
ever need it, but it still needed to be run,
and this was when I was running mast wiring, so now was
when I was going to run all the mast wiring. Sigh.
Somehow I'd figure out how to make it all work, and all
get done. At least for the afternoon, it was a
non-immediate problem.
Unenthused still by my work list, I thought I'd knock
off some easy tasks. Against all odds, I did
manage to successfully insert my plastic trash
can--which I'd reserved in safe storage for some
time--into the already-installed roll out shelf in the
galley. An amazing achievement! |
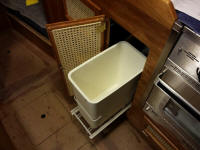
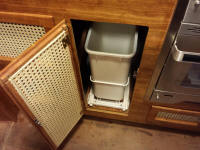 |
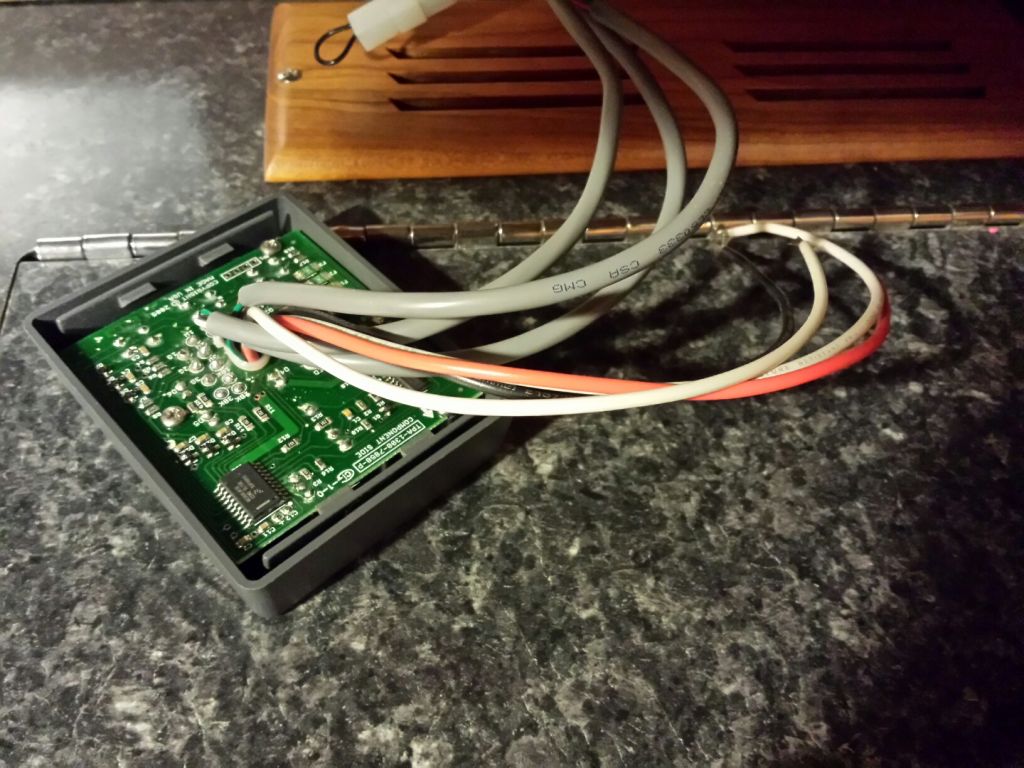
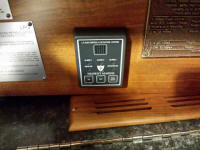
The next easily-expunge-able item (note: irony to
follow) that I thought I'd take care of was to install
my propane control panel, the early installation stages
of which I'd taken care of eons ago, in what now seemed
like another lifetime. Opening the service panel
above the galley, where I'd already installed the
bracket for the propane panel, I found the gray cable
with neat and tidy factory plug end waiting for me just
where I'd left it back in the day. Snap, click,
install the panel, and I'd be done.
As soon as I found the panel in my office closet, where
I'd stashed it for safekeeping, I knew I was in trouble:
what were all these wires? |

 |
Of course I knew on some level that there had to be
other wires--power in, ground, and two to connect the
solenoid switch--but the truth was I'd never given the
propane panel (or its required wiring beyond the sniffer
cable that I'd run during stove installation) any
thought during my wiring stage, now at least a year in
the past (and the initial propane system steps happened
another year before that). When I worked on bulk
wiring runs, the propane system was the furthest thing
from my mind, and I did not run a wire pair for its
power. Other than blatantly and successfully
ignoring the need to reconceive and rebuild my cockpit
propane locker, I'd not given the system the least
consideration since I completed the stove installation
in that other lifetime.
Seeing four additional wires that I needed to
connect--and for which I'd not properly planned
ahead--was a crushing blow, and quickly quelled the
emotional high on which I'd been flying ever since
installing the trash can. Rats.
Of course I still could--and obviously would--run these
wires, but at the moment the prospect was a death knell
to the day's feeble efforts. The theoretically
simple task of leading one additional cable into the
compartment by the galley was, in reality, a convoluted
process that would require perhaps a half day's work, by
the time I led the wire 20 feet through the twists and
turns and already-clogged wire chases in and around the
engine room and console. One can't plan perfectly
for everything, the five "P"s notwithstanding.
Stuff falls through the cracks during a 4-year project.
As Sara Bareilles sings, "I'll be all right...just
not tonight". |
| |
Total Time Today: 3.75 hours
|
<
Previous | Next > |
|
|