Project Log: Sunday, December 14, 2014
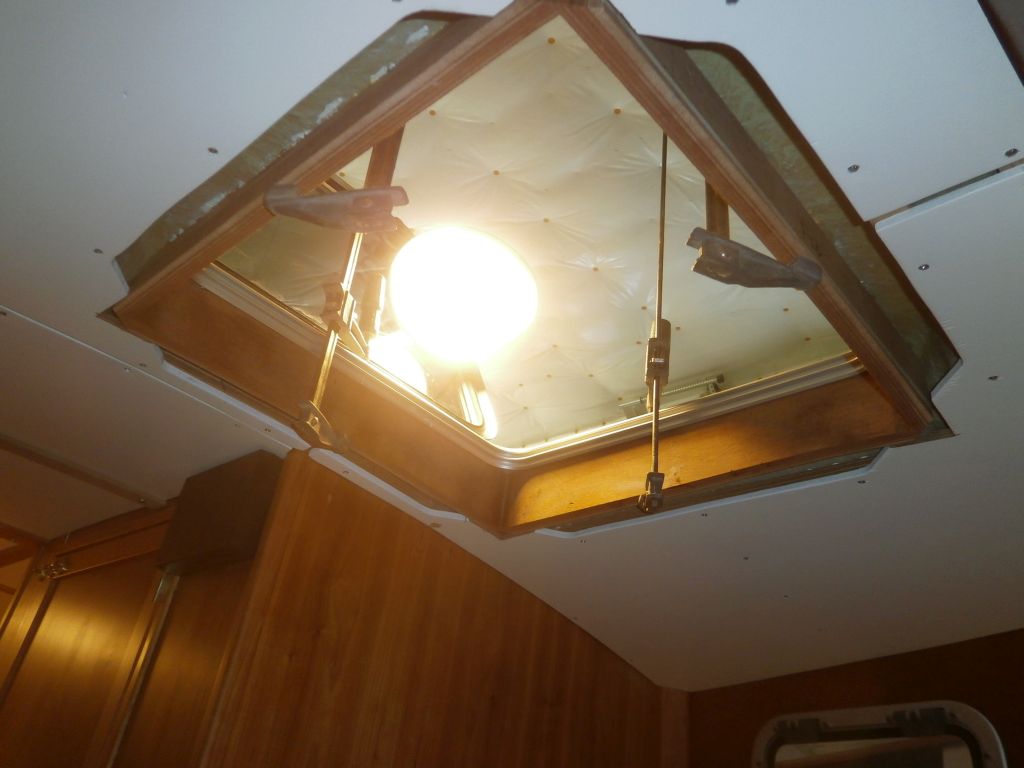
After several more minor adjustments, additional cuts,
and finally some rounding of the two after corners--all
of which I accomplished with numerous trips up and down
from the boat--I got the forward hatch frame to fit into
position around the hatch as needed. Once there, I
clamped it tightly in place.
|


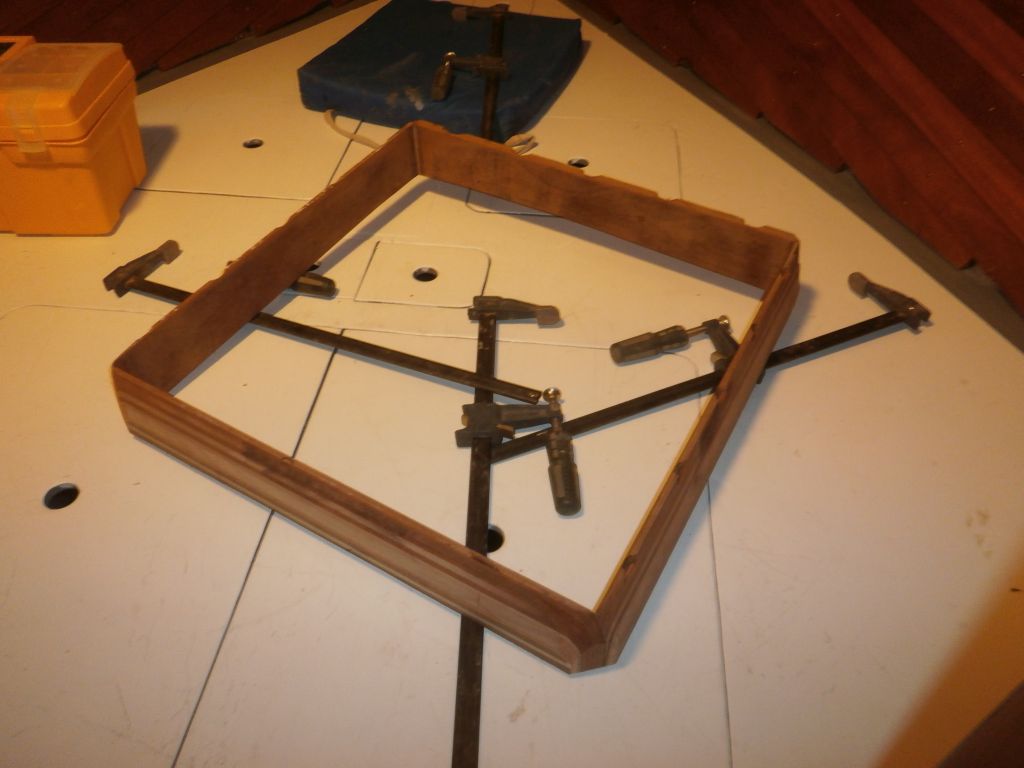
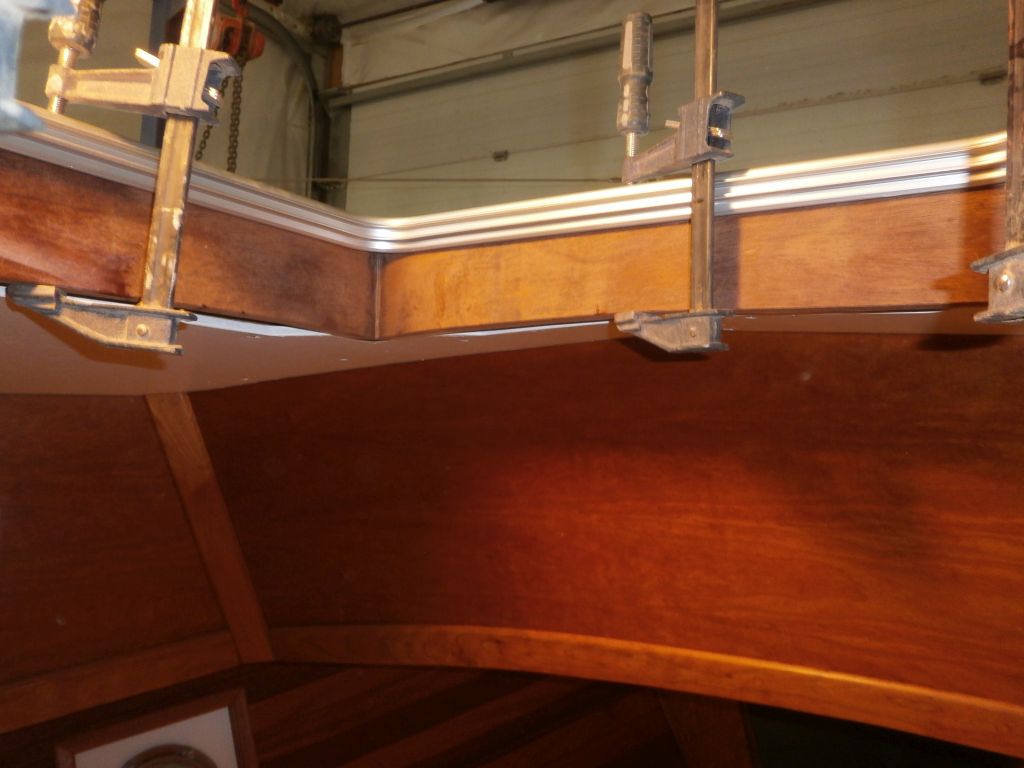
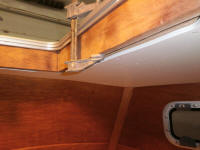
The tight clamping impressed up the top edges of the
frame the locations of the machine screws that secured
the hatch above. After removing the frame once
more, I used a Forstner bit in the drill press to ream
out openings at these screw locations, which would allow
the frame to fit tightly to the molded fiberglass and
leave spaces around the fasteners. |
| |
 |
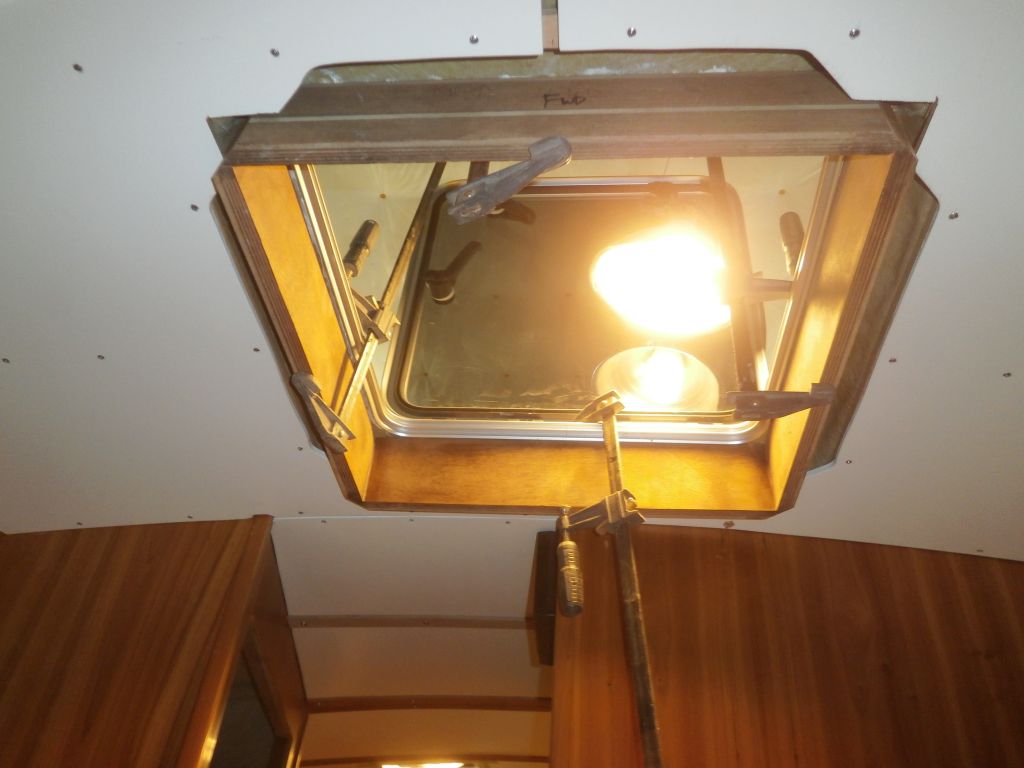
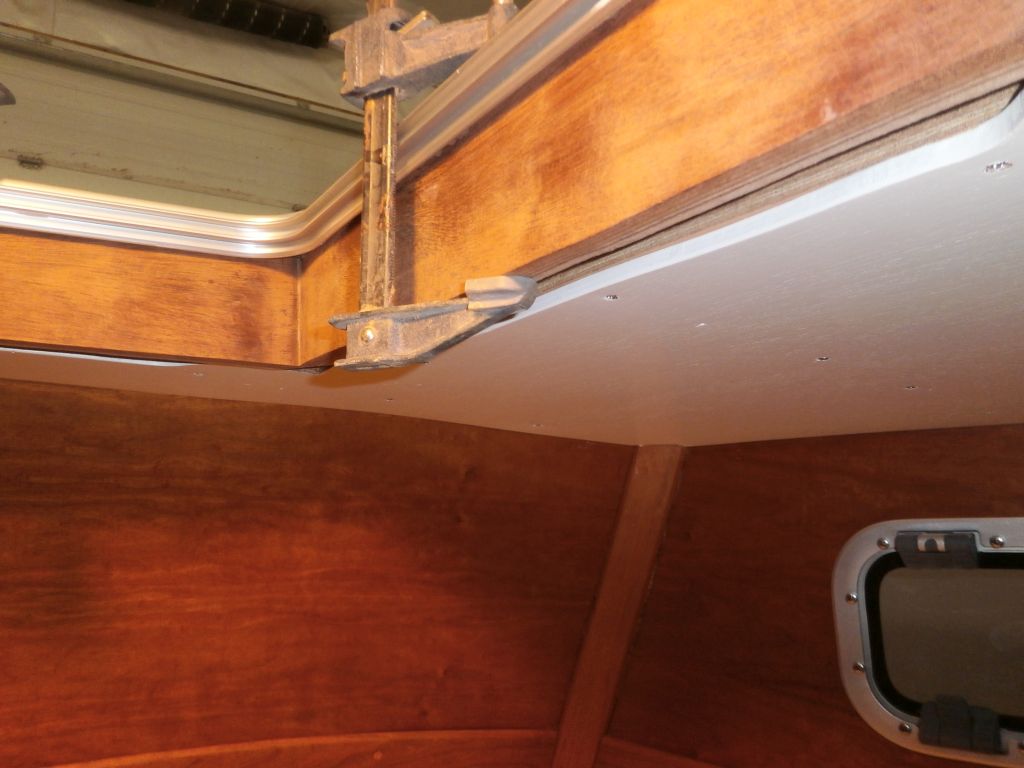
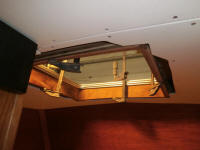
Clamping the frame in place once more--this time its
final position--I used a semi-flexible metal ruler to
mark the four sides of the frame where they extended
past the overhead, transferring the shape of the
overhead to the frame. With the frame down in the
shop once more, I cut to these lines with a jigsaw, and
cleaned up with a sander before trial-fitting the frame
once again. Now that the bottom edge
of the frame was flush with the overhead surface (though
the perspective on these photos sometimes makes it look
like it still protrudes), I'd be able to trim out the
opening with cherry, covering the remaining gaps, which
was the ultimate goal. |
 |
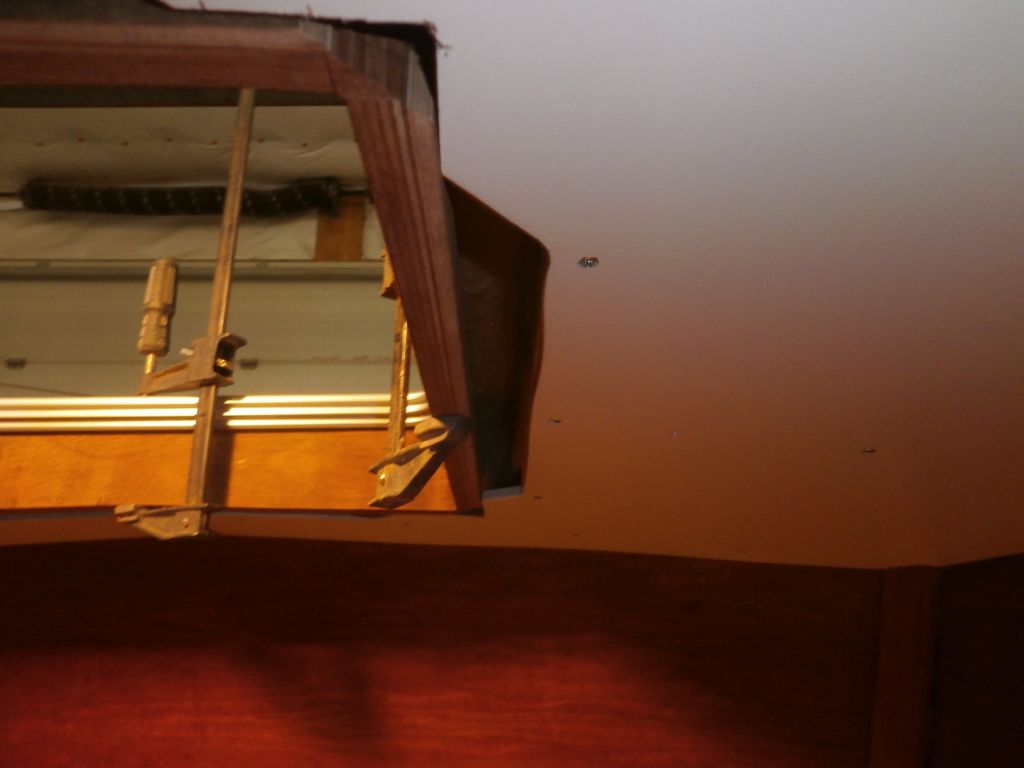
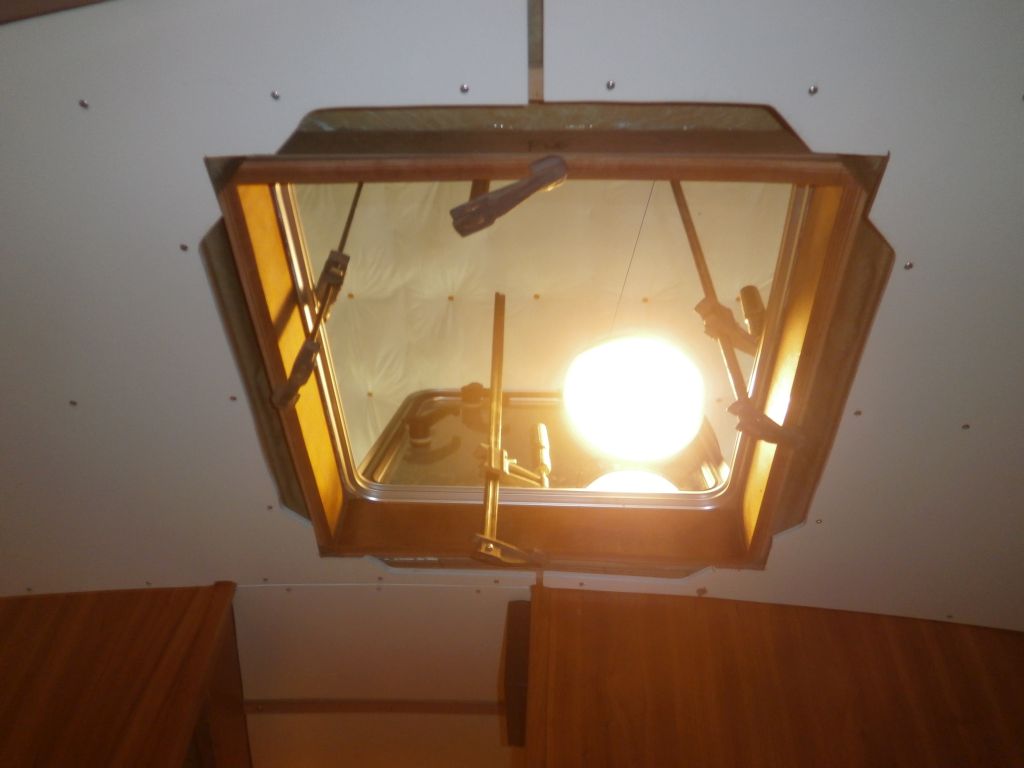
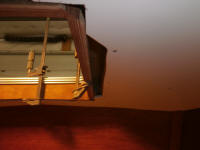
Satisfied with the fit, I secured the frame in place
with epoxy adhesive, clamping it tightly to the molded
recess. |


 |
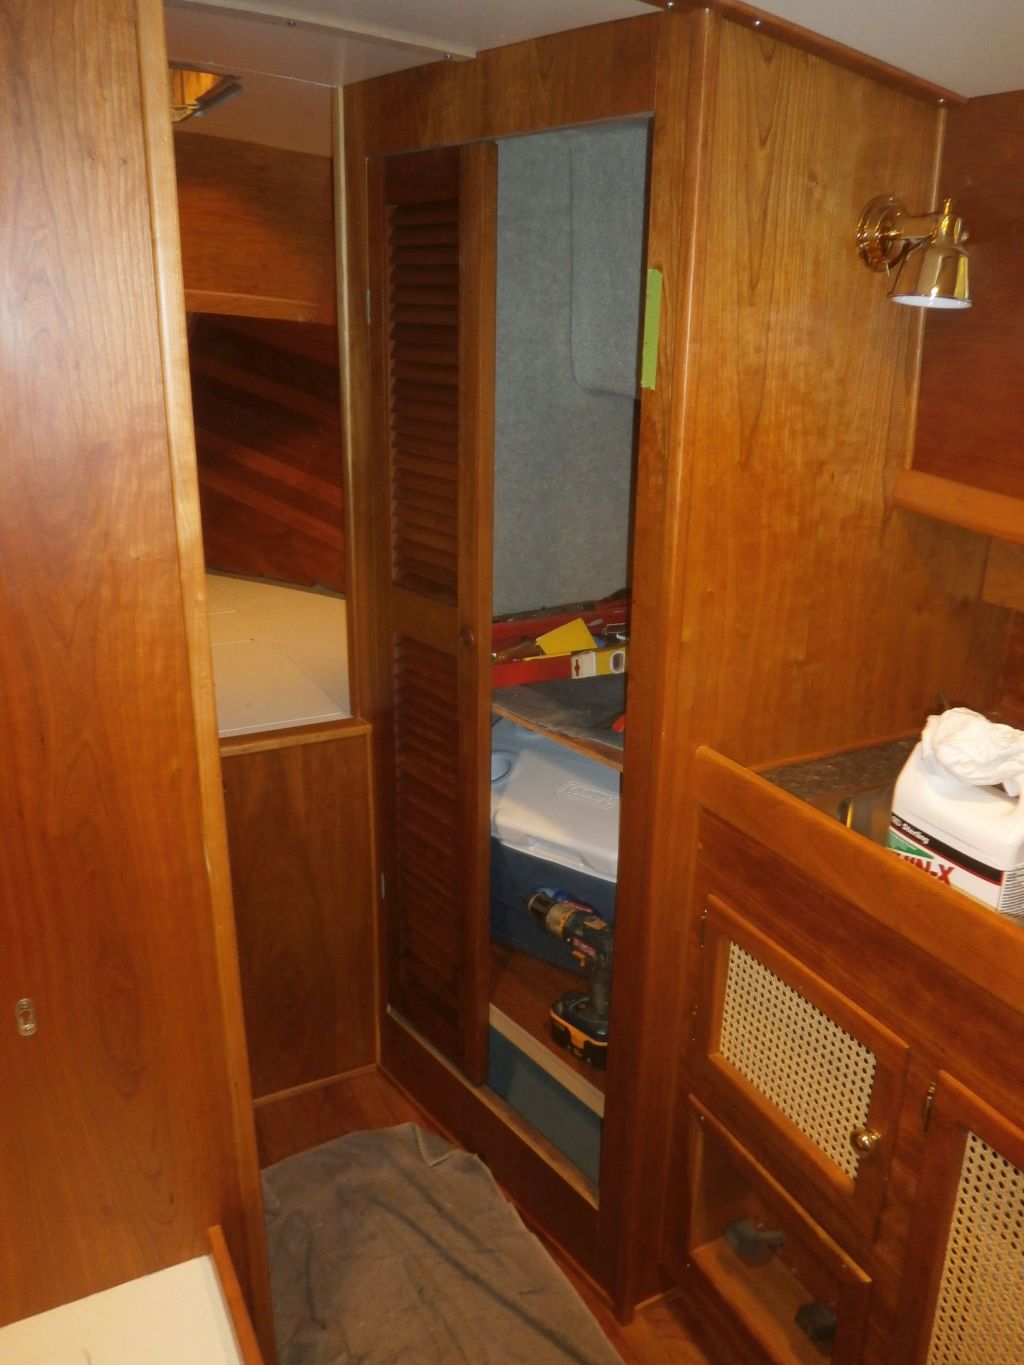
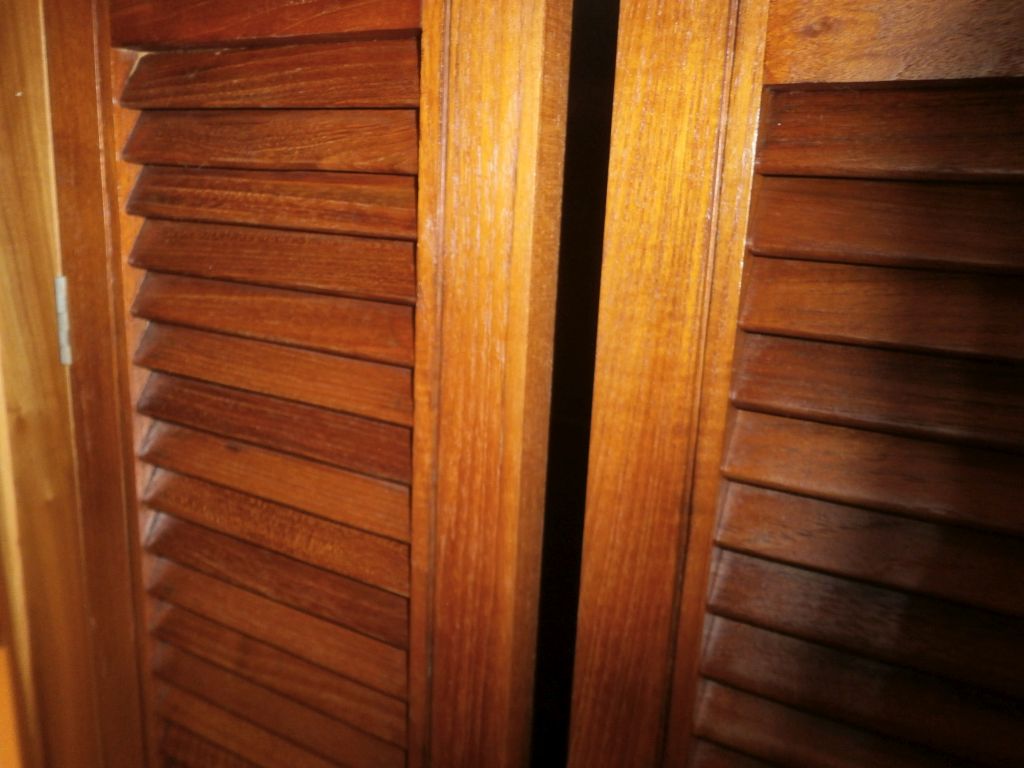
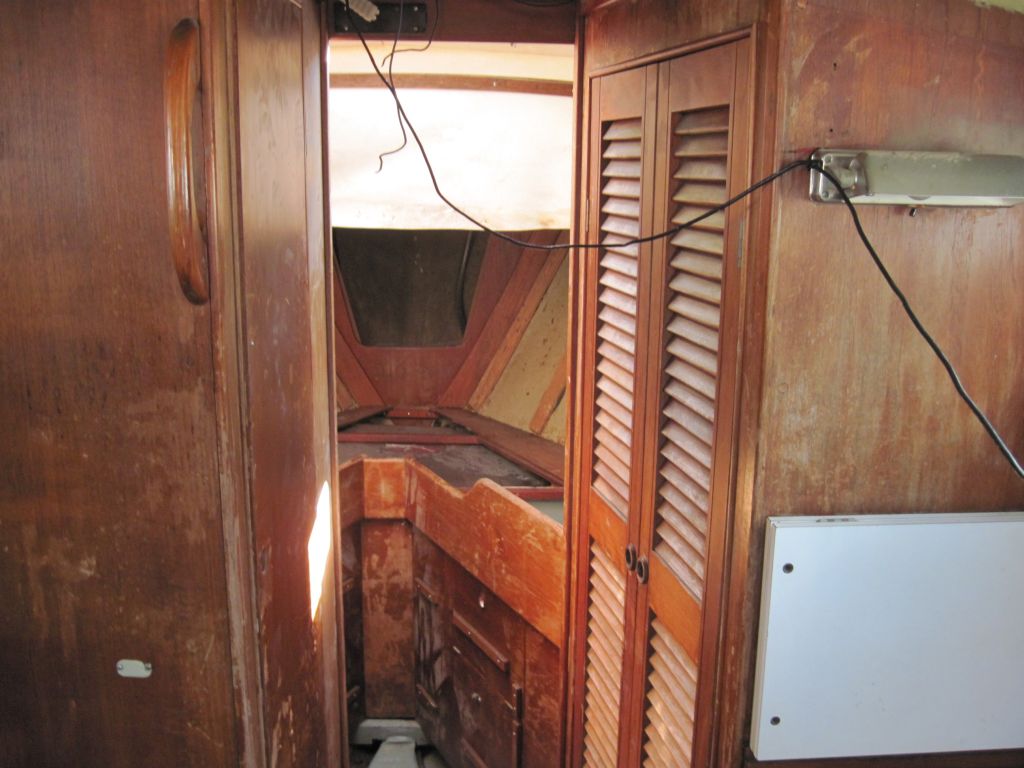
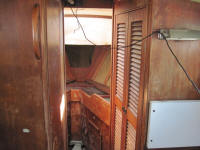
During the week, I'd refinished the louvered doors for
the tall locker opposite the head, and now hoped to
install them and finish off yet another space. I
installed the first door, noting how much shorter the
door was than the opening, but not thinking that much of
it--I'd just trim out the bottom of the opening
later--but when I went to install the second door, I
noticed that there was a 1" gap between the doors, which
was obviously not right. Clearly, there must have
once been additional trim around the opening that moved
the doors closer to each other, and filled the gap top
to bottom. It'd been so long since this part of
the boat had been together that I couldn't remember any
trim, and hadn't thought it necessary. |

 |
This was disappointing, as it meant more work required
to finish off this opening after all. Reviewing
some original pictures, I could see the trim detail on
the opening, and since I'd saved most bits from the
original boat I thought I might still have it, whether
to reuse as is (refinished), or as a template for new
trim. I'd have to go looking for it. |
Photos from August 2010 showing the
locker doors and trim
 |
| |
Total Time Today: 2.5 hours
|
<
Previous |
Next > |
|
|