Project Log: Saturday, December
11, 2010
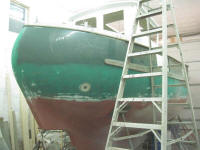
I was ready to begin work on the hull. Despite the
generally good condition of the existing hull
surface--it had been painted with Awl-Grip in 2002--I
knew from early on that I'd be repainting. I
preferred a different color scheme, and wasn't happy
with certain aspects of the existing paint job. I
wasn't about to go through this rebuilding process only
to settle on a so-so hull appearance.
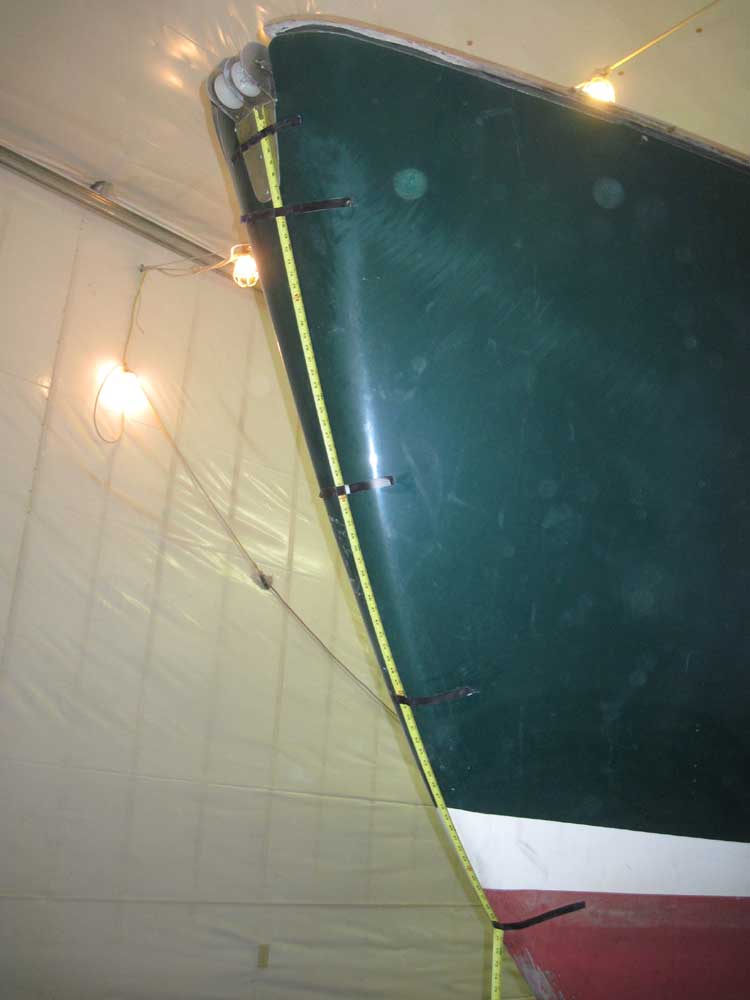
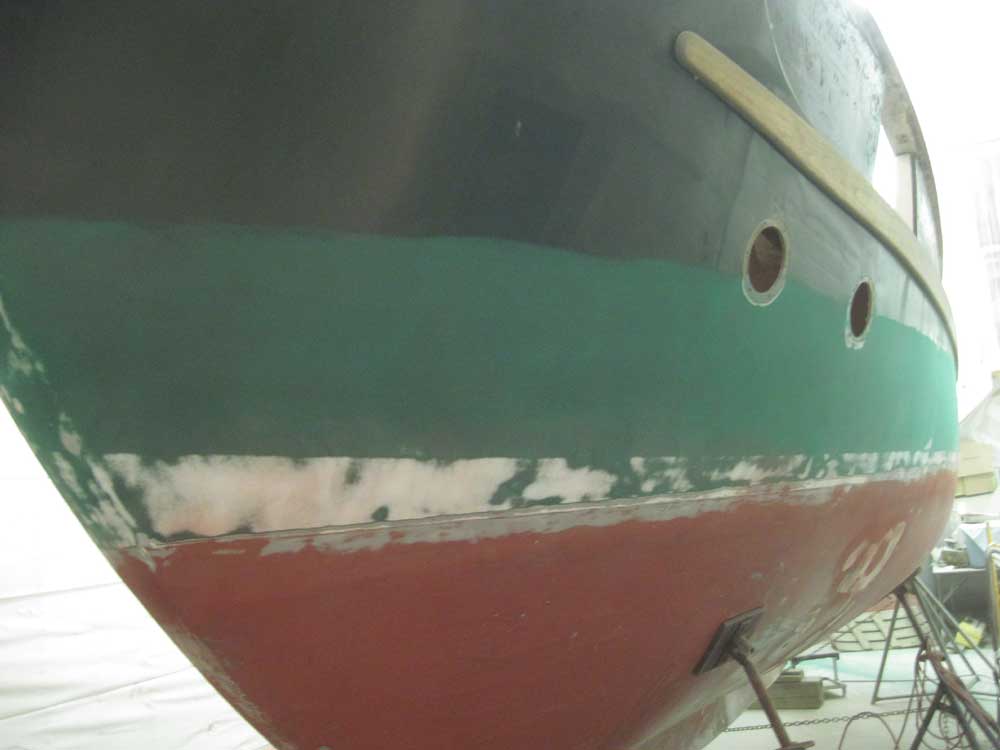
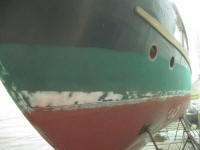
My first step was to determine some reference points for
the existing waterline. (Note: when I say
"waterline", I mean the top edge of the bottom paint.)
Based on the general appearance of the existing
waterline and boottop, as well as some in-water photos
of the boat taken at an earlier time, I planned to
restrike a new line from scratch, but I wanted the basic
reference points duly recorded before I proceeded, for
whatever they were worth.
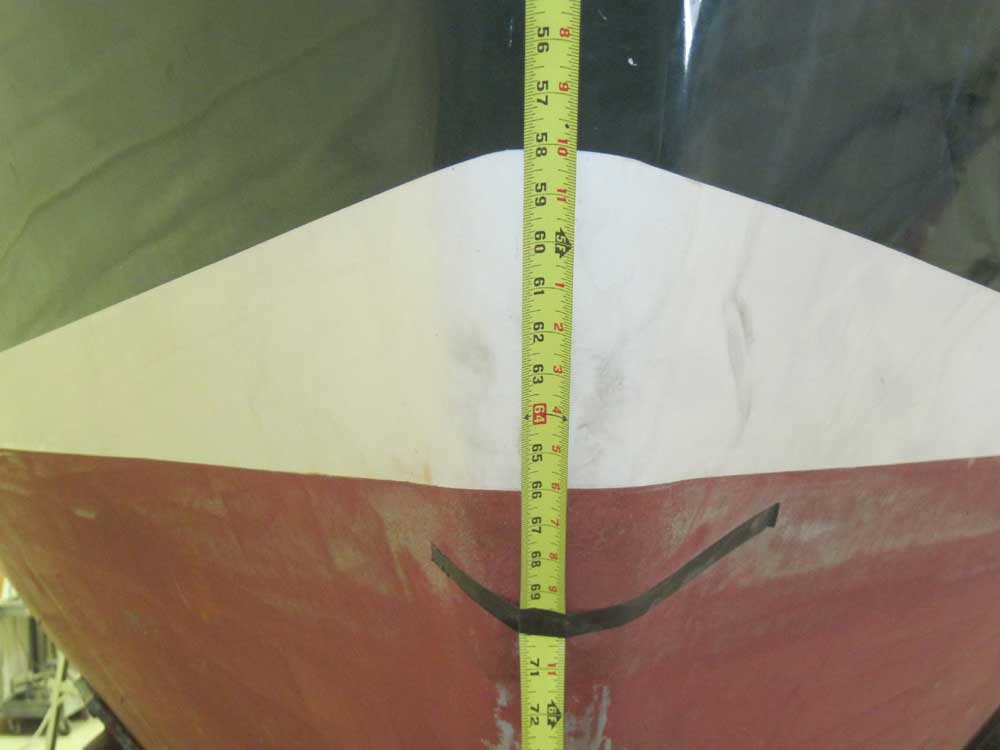
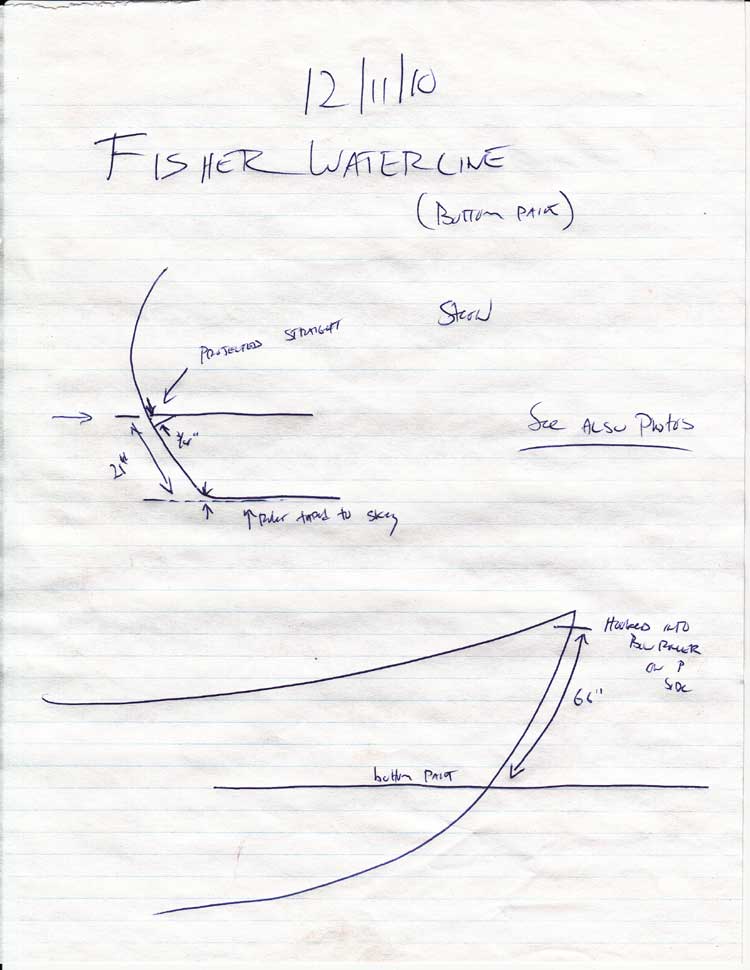
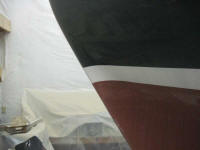
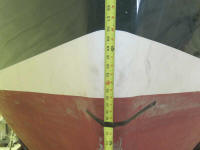
At the stern, I measured up to the waterline from a
straightedge held along the base of the skeg. The
existing waterline took a little dip right at the end,
where the molded shape of the stern made an abrupt
change in direction, and this resulted in the waterline
and boottop taking an awkward and unsightly jog
downward. So I compensated for this in my base
measurement. The measurement I recorded was 21",
as shown in the photos (the tape was held at 4" at the
starting point to allow it to lie flatter). |
 |
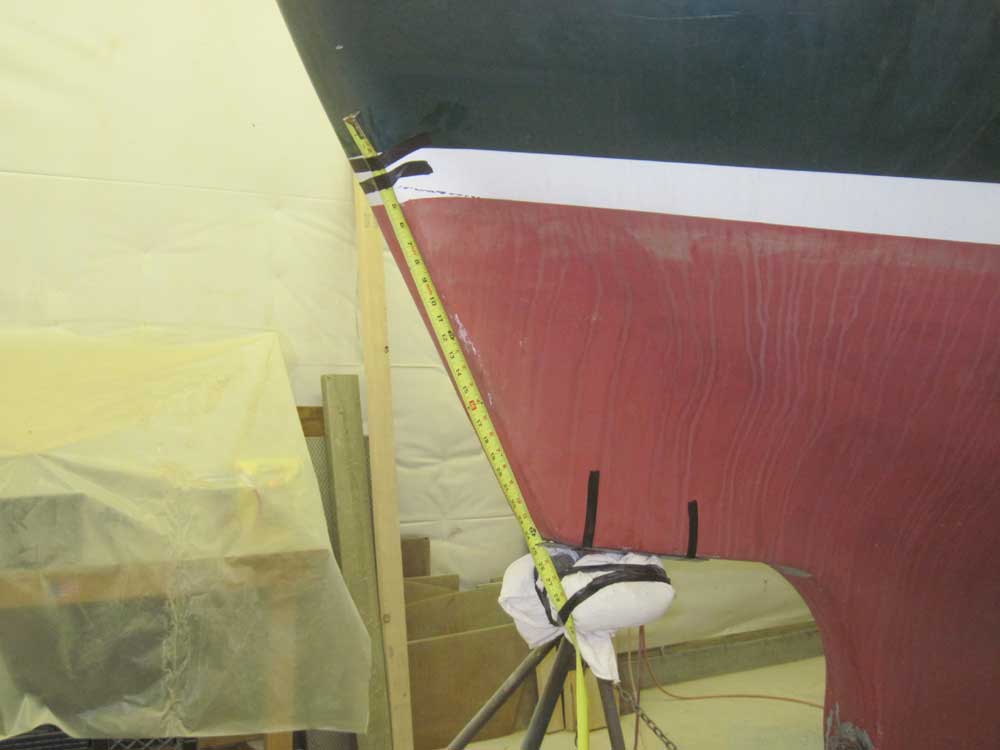
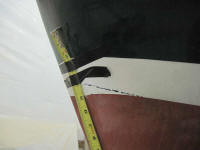
At the stem, I hooked the tape into the bottom edge of
the bow roller assembly, and measured down the curve of
the stem to the waterline, recording 66". |

 |
With these measurements and reference points filed away,
I could move on with the hull work and not worry about
the position of the existing waterline and boottop,
which would soon be sanded away.
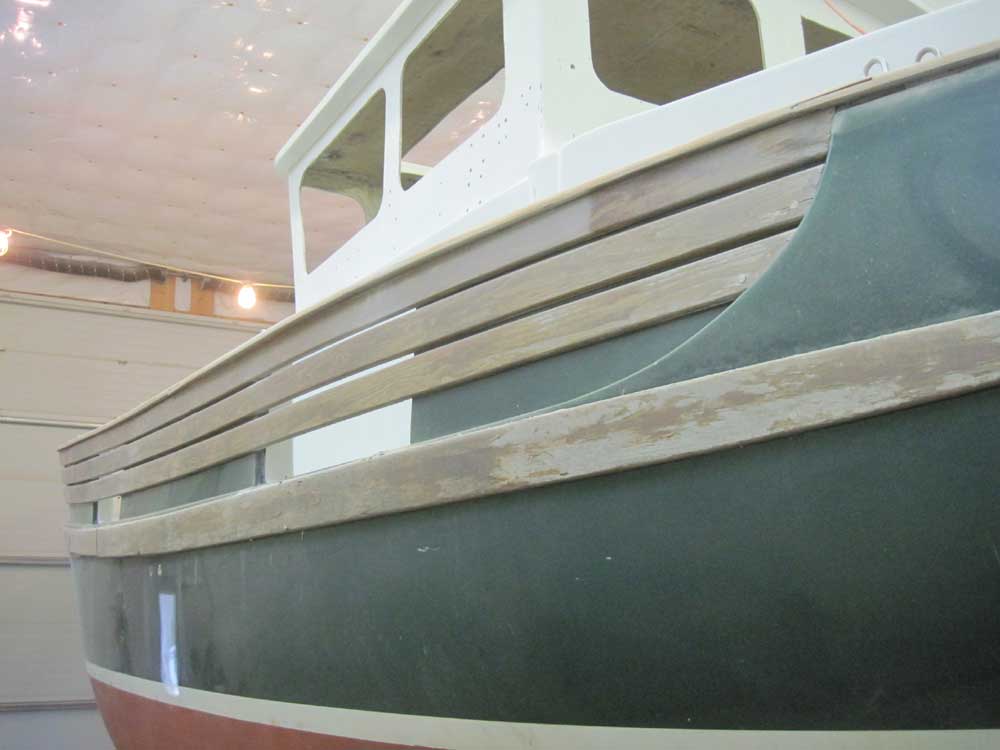
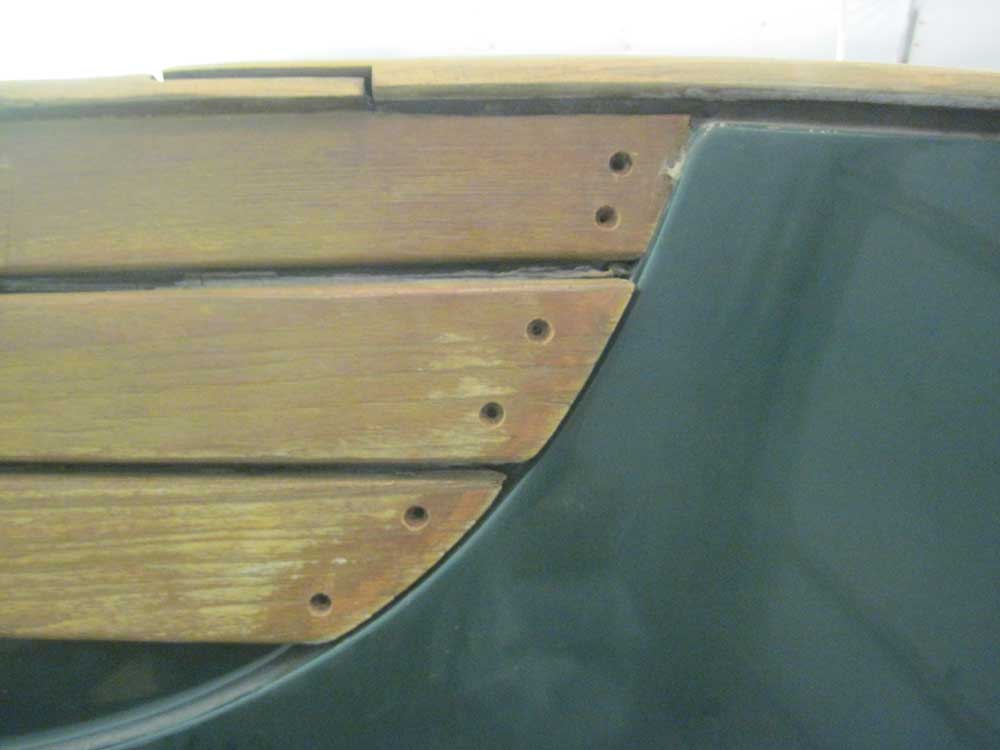
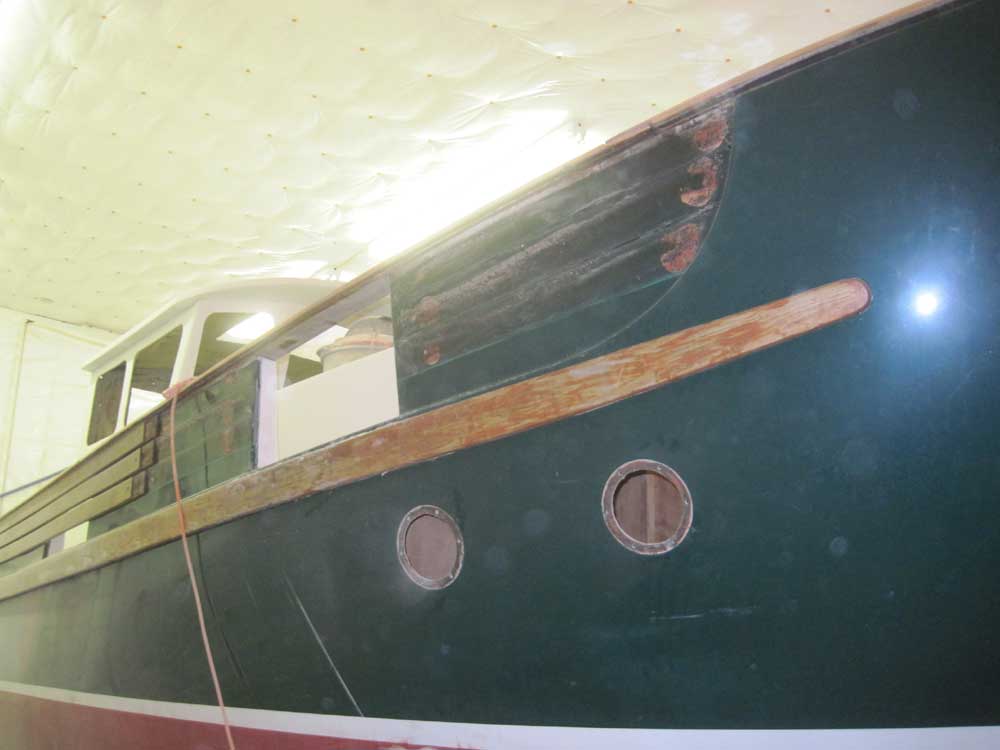
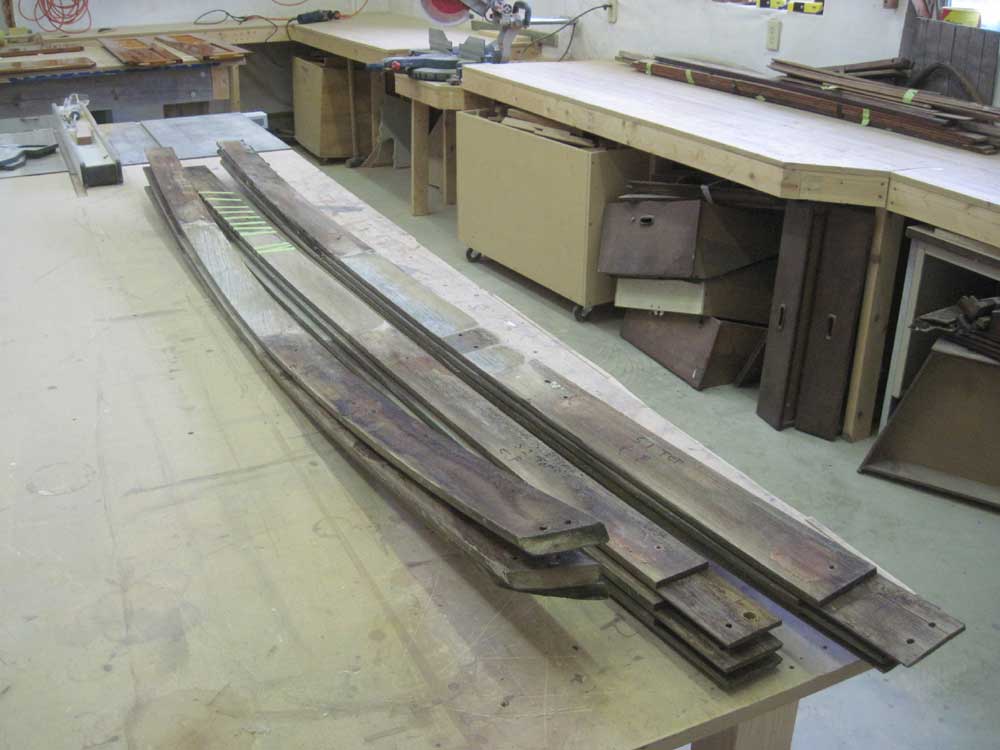
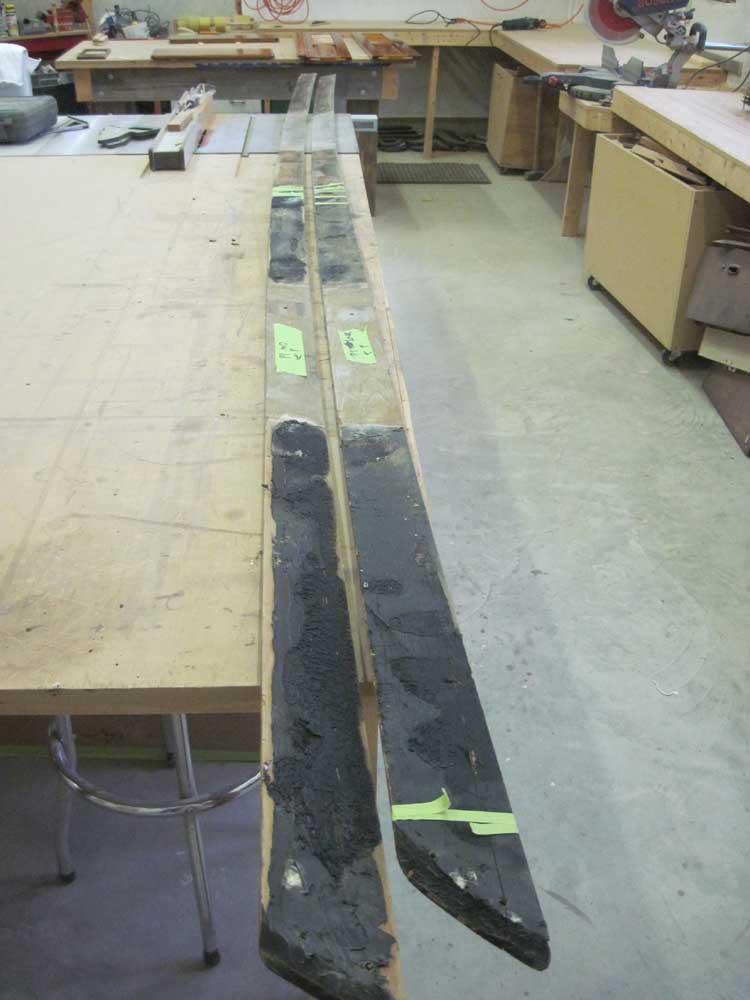
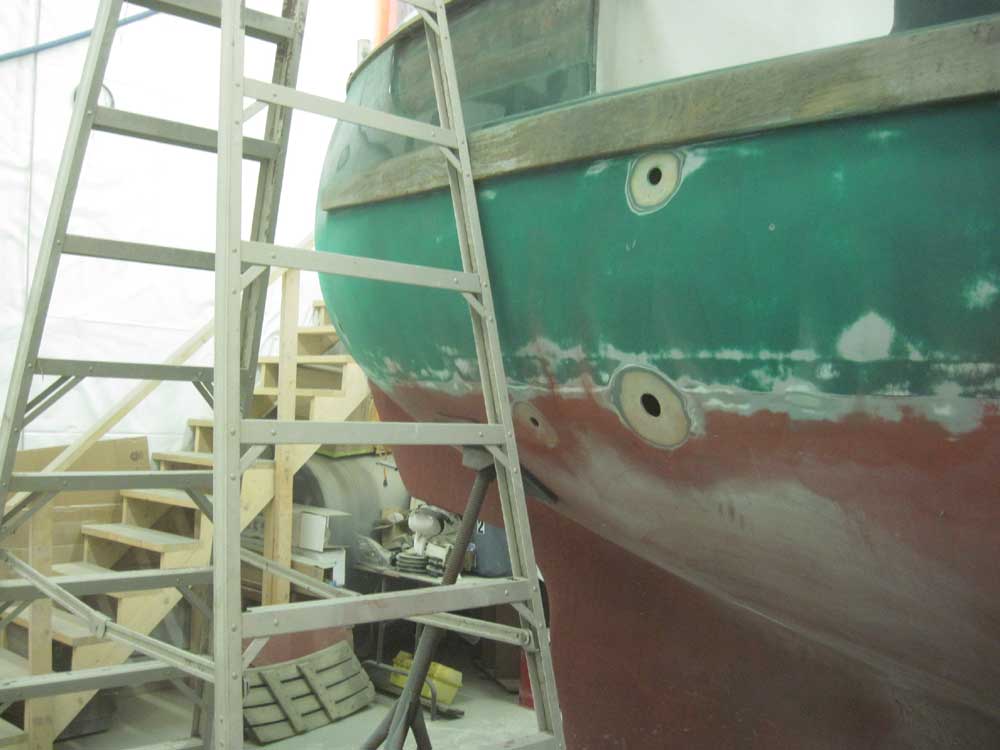
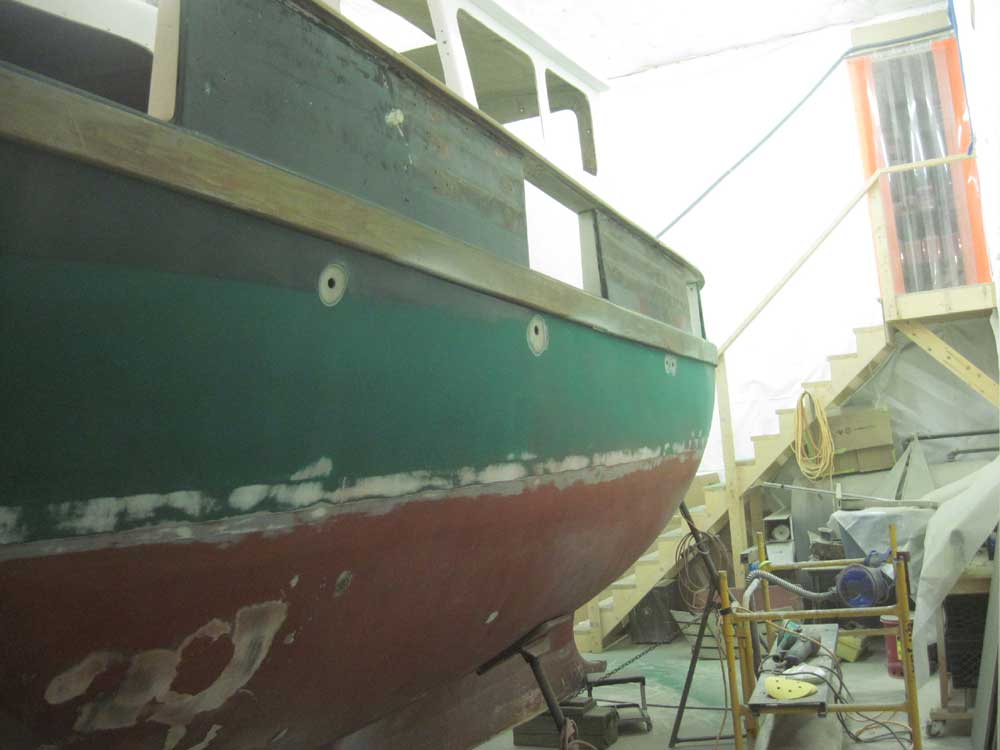
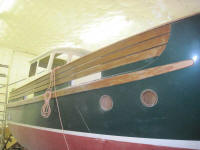
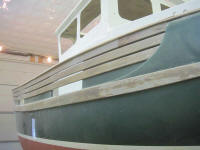
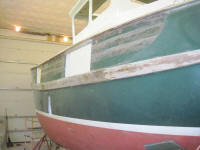
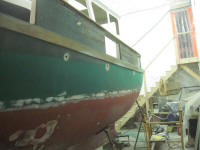
One of the distinguishing features of Fishers is the
series of wooden strips that cover the outside of the
bulwarks. In order to paint the boat, I thought I
needed to remove these; plus, they were in fairly
decrepit condition, and it'd be easier to sand and
varnish them on the bench.
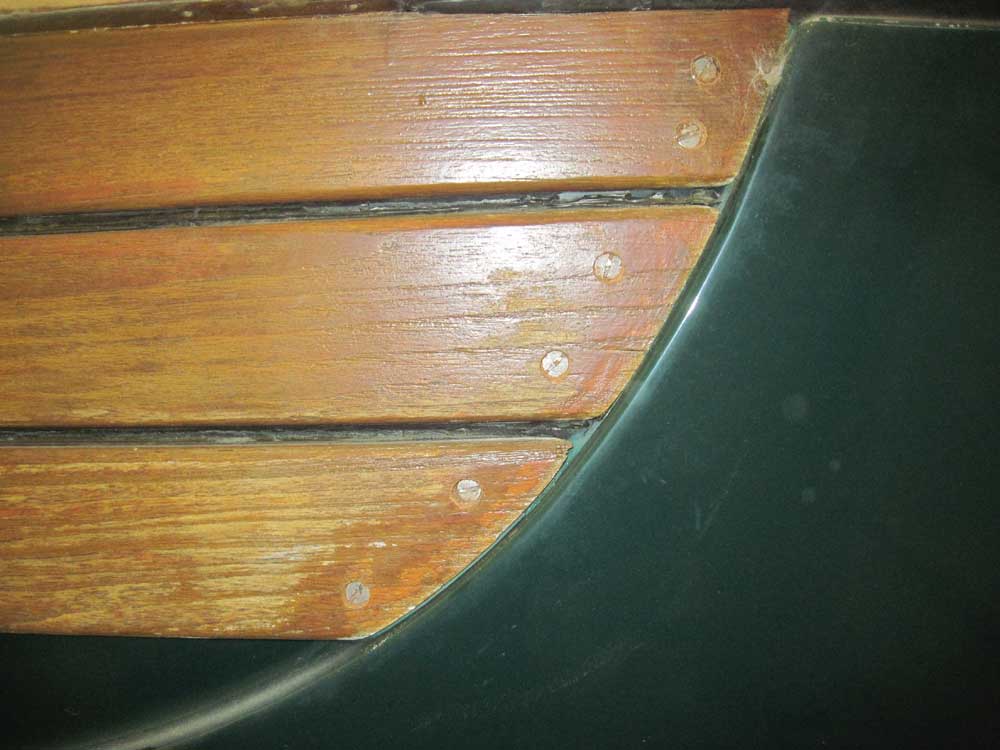
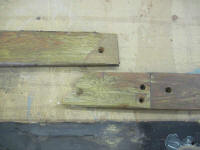
Each strip was held in place with screws, which were
hidden from view with bungs. To remove the strips,
I first center-pointed the bungs, then used a 1/2"
Forstner bit to drill away the bung, exposing the screw
head. Everyone always says to break the bungs out
with a chisel, but I vastly prefer this method. It
takes a modicum of care to ensure the bit remains
centered in the bung, and to avoid damaging the screw
head. |


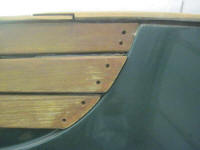 |
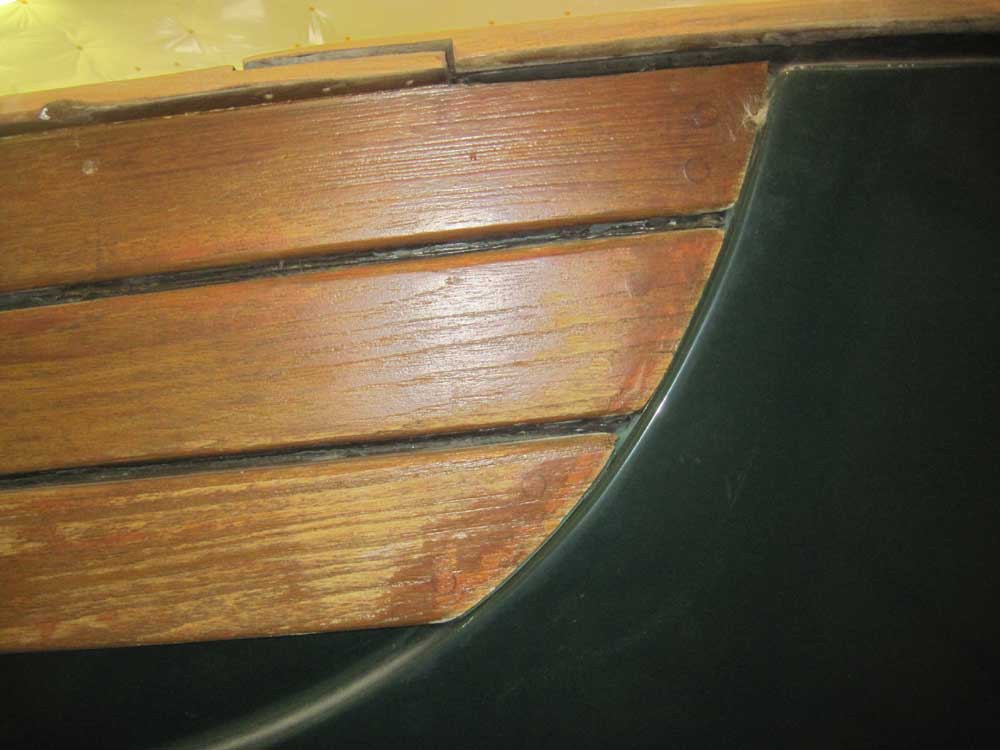
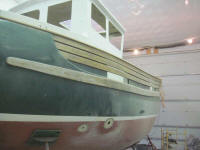
Once the screw heads were exposed, I cleaned out the
slots and removed the screws, beginning at the bow and
working my way aft. Each of the three tiers of
teak comprised three lengths of wood, joined together
with half-lap joints where they met. So it was
surprisingly easy to remove all the wood from the
starboard side, and all nine pieces came off without
incident and appeared to be worthy of re-use.
I did discover that there were screws driven into the
top edge of the top board from within the caprail above,
so I had to go on deck and remove all such screws before
proceeding. |


 |
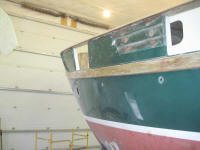
The starboard side went so swimmingly that I moved
directly over to the port side, expecting to finish the
removal before lunch. Unfortunately, things were
different on the port side; a bit of explanation and
backstory is in order.
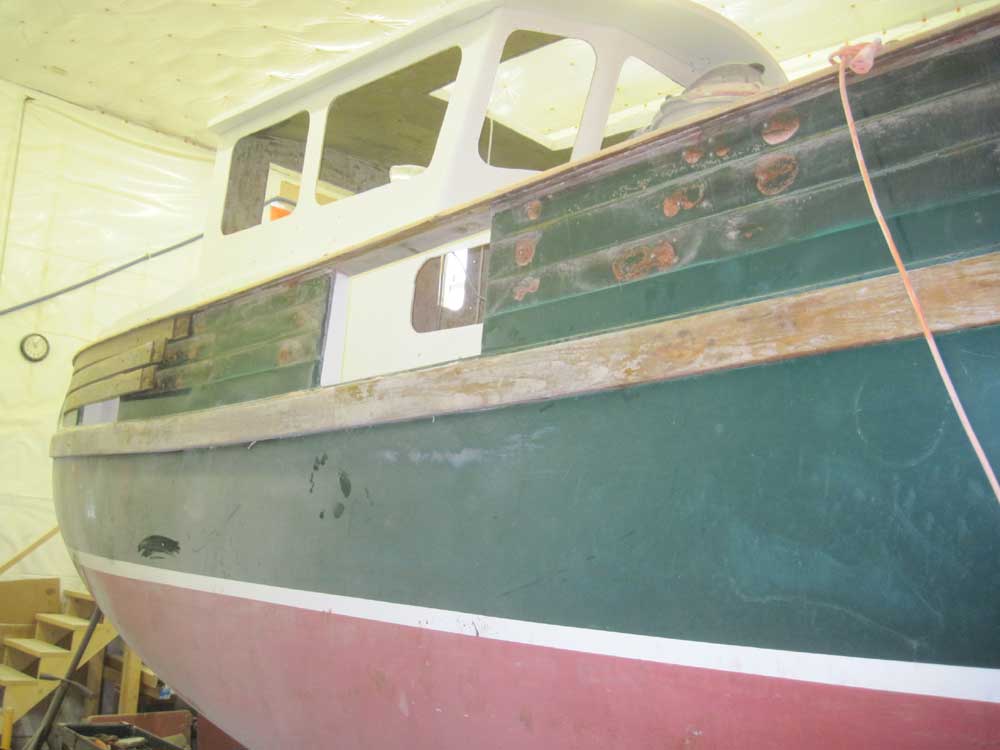
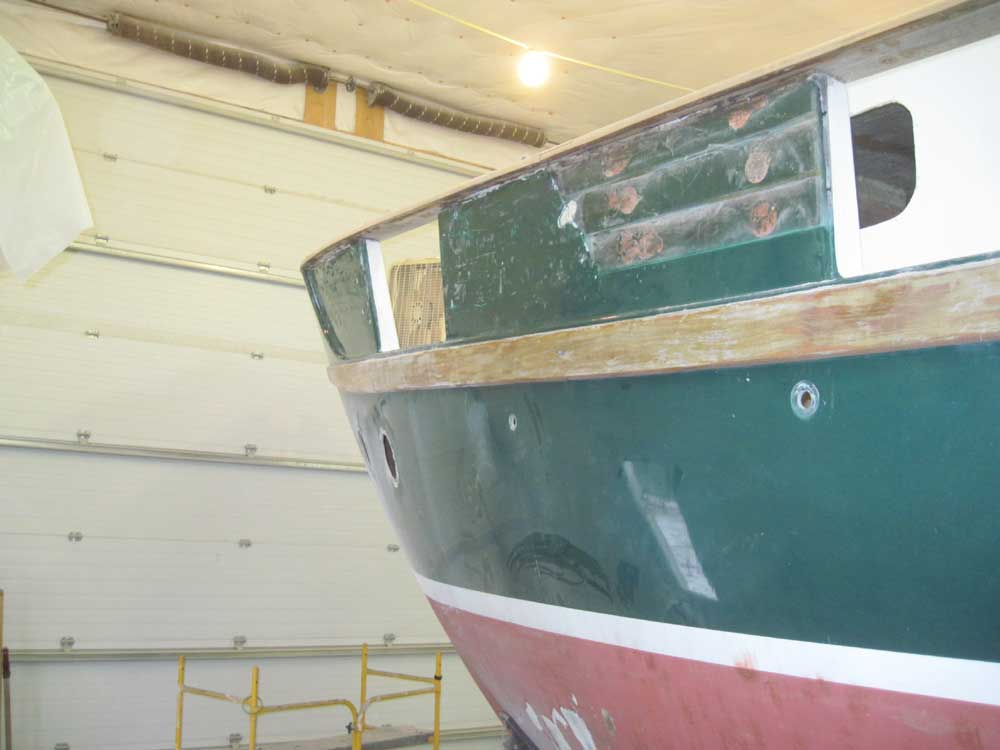
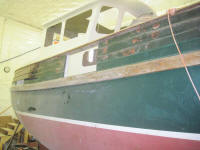
Something I've not yet discussed here is the fact that
the boat was clearly involved in some sort of collision
in the past, on the port bow. Even though I didn't
know what had happened, I'd noted a number of pieces of
evidence as I worked my way through the boat to this
point.
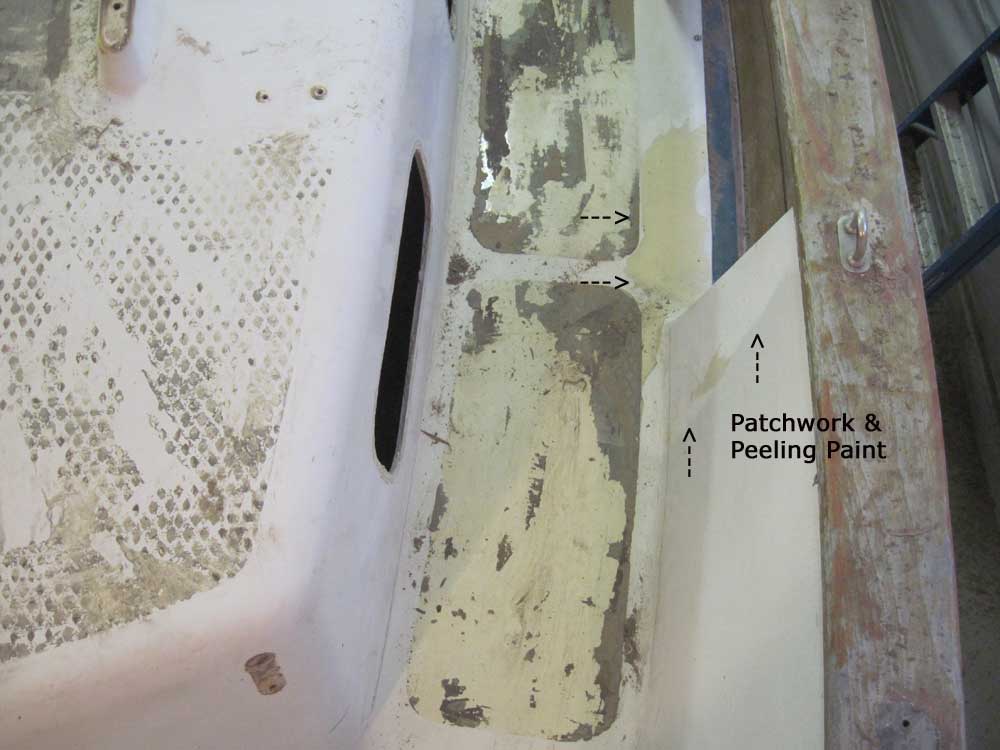
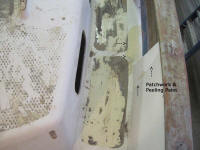
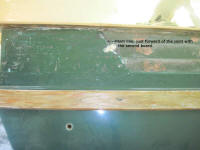
One of the things I noticed first was an area on the
port sidedeck, right at the forward side of the forward
freeing port, where there was clearly an area that had
been painted. This was obvious since the deck was
otherwise original gelcoat, but there was aged and
blistering paint in this area. |
 |
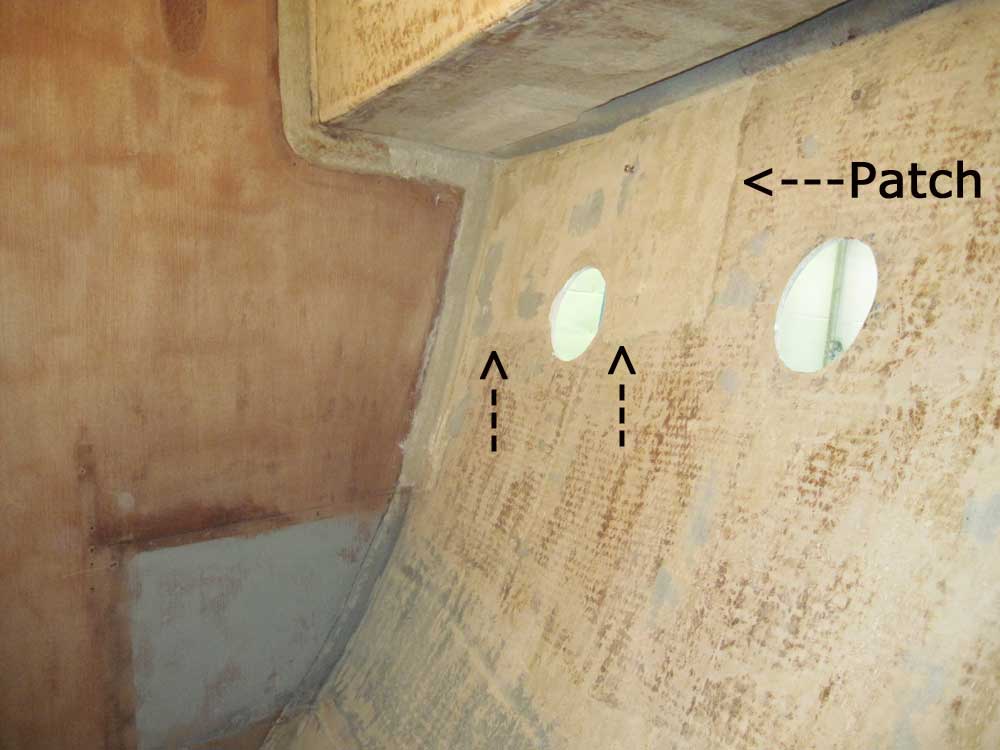
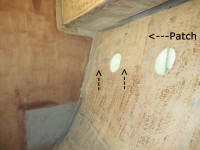
A further sign of this past damage could be found inside
the forward cabin, in way of the round ports in the
hull; here, there was evidence of a patch. The
work appeared good, and this caused me no concern, but I
wondered what had happened. |
 |
The final piece of the puzzle, as it were, came to light
as I tried to remove the bulwark strips on the port
side. I began, once again, at the bow, since the
half-lap joints were aligned with the forward piece over
the piece behind. As before, I removed the bungs
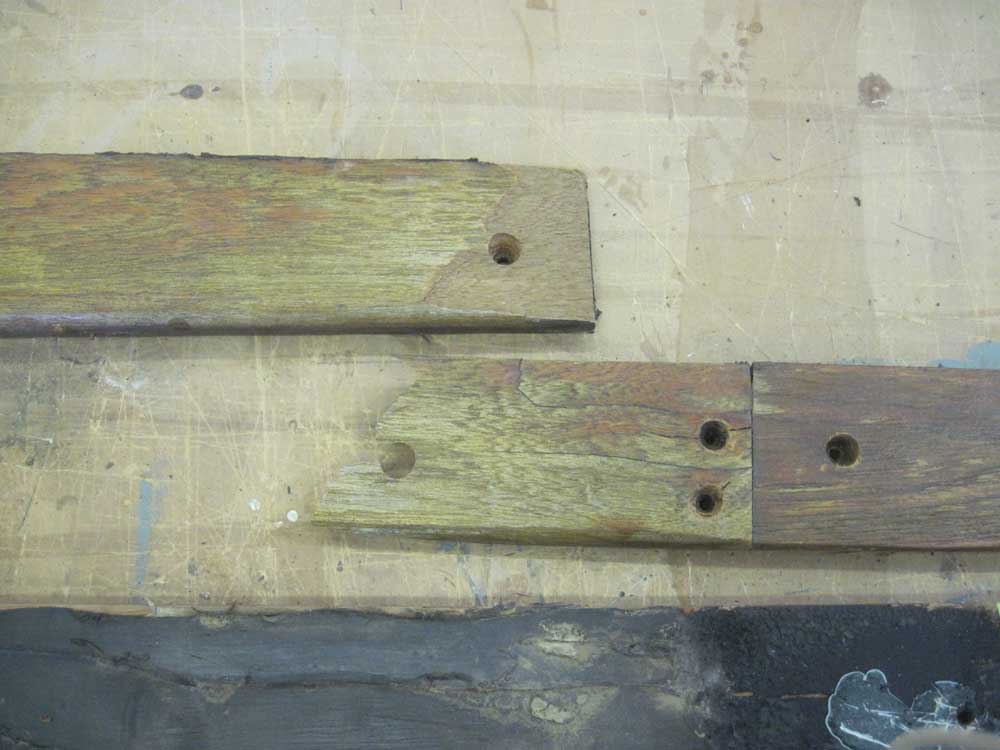
and screws with no trouble. However, these
boards--which, upon closer inspection and with the
benefit of new-found knowledge, were clearly newer than
the remainder--appeared to be bonded to the hull (and,
worse, to the half-lap joints) with some sort of
adhesive.
This made removal extremely difficult, particularly the
lower board, since there was little room to insert a
prying tool beneath the board. Eventually, I did
manage to pry the boards loose, but discovered--as
alluded to above--that the boards were also similarly
glued to the half-lap of the board behind, which was a
real problem.
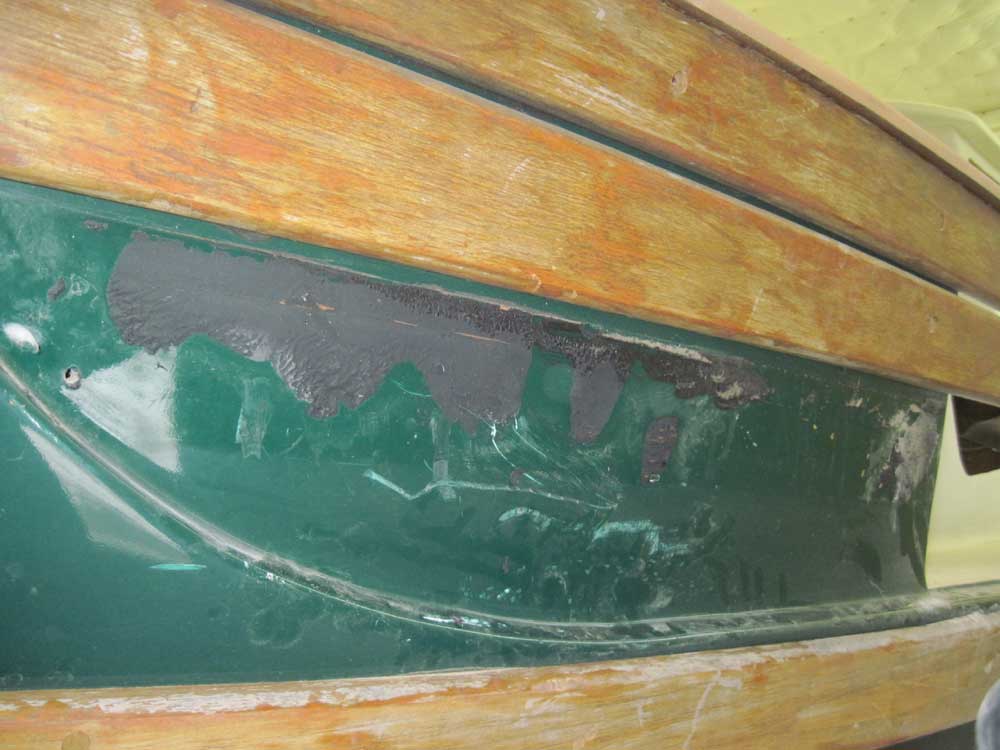
The adhesive (or sealant) in question was black in color
and had been slathered all over the backs of the boards
on their bonding surfaces, though fortunately all of the
stuff hadn't contacted the hull. I wasn't sure
what the material was; it acted in many ways like
silicone, and it's possible I uttered a few choice words
about whoever had done this installation.
My solution to this, for the moment, was to remove the
screws from the next length of board, and then take down
both forward pieces at the same time, being extremely
careful not to stress the wood around the firmly-glued
half-lap.
However, despite my best efforts, I did slightly damage
the wood just forward of the half-laps on the lower and
middle tiers--but managed to avoid any true breakage.
But on the top board, which was also adhered to the
bottom of the caprail with whatever evil black compound
had been slathered everywhere, the bond was so
tight--particularly at the screw located just forward of
the joint--that shortly before the last bit of adhesive
released, I heard a sickening cracking sound, and the
forward board broke a couple inches forward of the
half-lap. This displeased me, and I might have
muttered some derogatory comments aimed at the previous
installer.
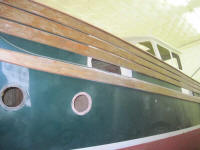
The remaining boards on the port side were clearly
original, and came off as easily as their counterparts
to starboard. Later, I scraped off the offending
sealant or whatever. It scraped off the hull
easily--more easily than I'd expect of silicone--but the
gobs of it on the back sides of the boards seemed
resistant and rubbery to the touch, like silicone.
I really was unsure what it was, but I didn't like it. |
 |
What became all the more clear now was that
whatever had happened to the boat, clearly these wood
strips--just the forward third--had been replaced at
that time, along with the forward half of the wide teak
rubrail just beneath. (I now remembered the
previous owner telling me he'd replaced the rubrail,
though it was clear only the port forward section had
been done.)
In fact, the boards must have been replaced when the
boat was painted, as there was a clear paint line in the
recessed bulwark area that had been previously hidden
behind the boards; none of the original boards had been
removed for the paint in 2002, and these areas were
original green gelcoat. This led me to believe
that the reason the boat was painted in the first place
was probably to hide the repairs to the port bow, after
which the affected pieces of wood trim were replaced as
necessary. |
 |
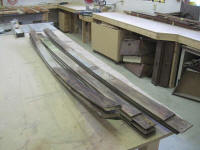
In any event, all the teak boards were off, and I'd have
to spend time later to see if I could de-bond the
half-laps on the port boards. But that'd be for
another time.
I really wanted (in an obligatory sense) to remove the
rubrails too, in order to clean them up, refinish the
back, mating surface, and to ensure that they were well
sealed to the hull at the fastener locations. Most
of the fasteners were easily accessible from inside the
bare hull, but the aftermost bolts still seemed
virtually impossible to reach, even with everything
removed from beneath the cockpit. I postponed any
decision on the rubrails for now.
I hated the thought of not doing an unsavory chore while
I had the most logical chance, but at the same time I
also hated the thought of removing and then reinstalling
these rubrails--all the more so because I figured
whatever fool had bonded the bulwark strips the way they
had probably would have used similar stuff on the new
forward port section of the rubrail, and I didn't want
to damage that either.
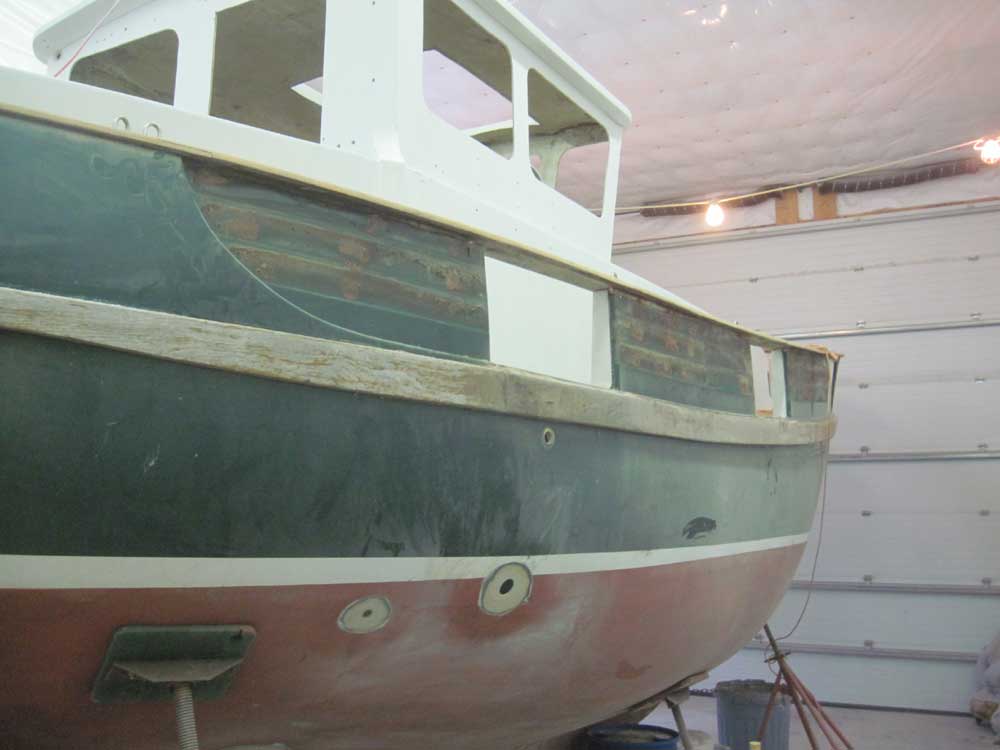
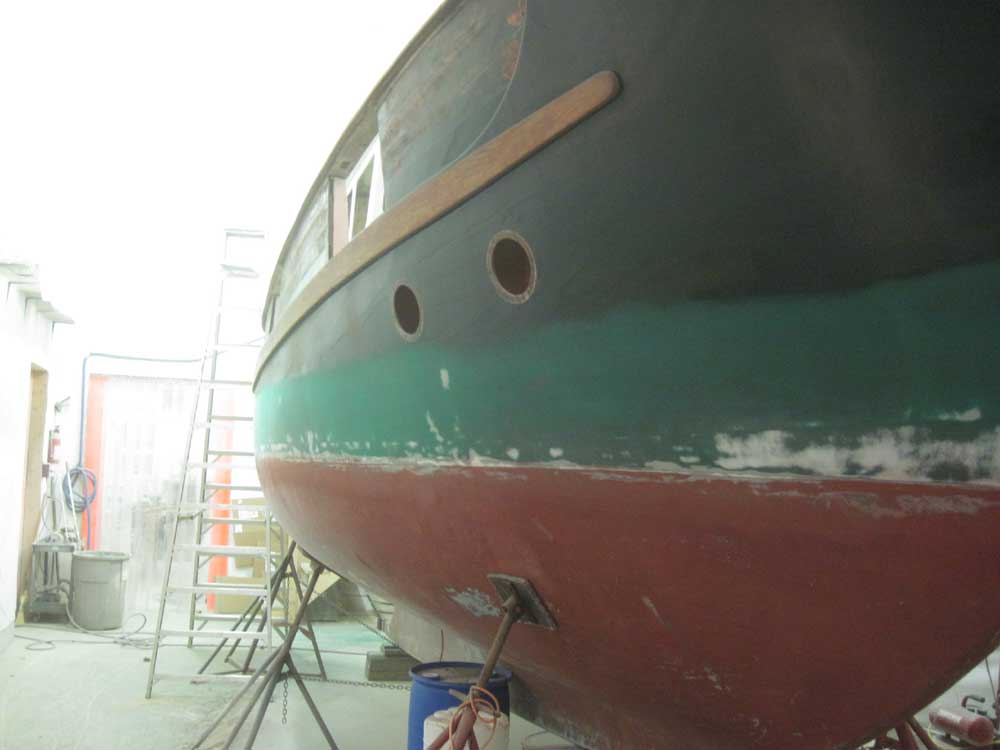
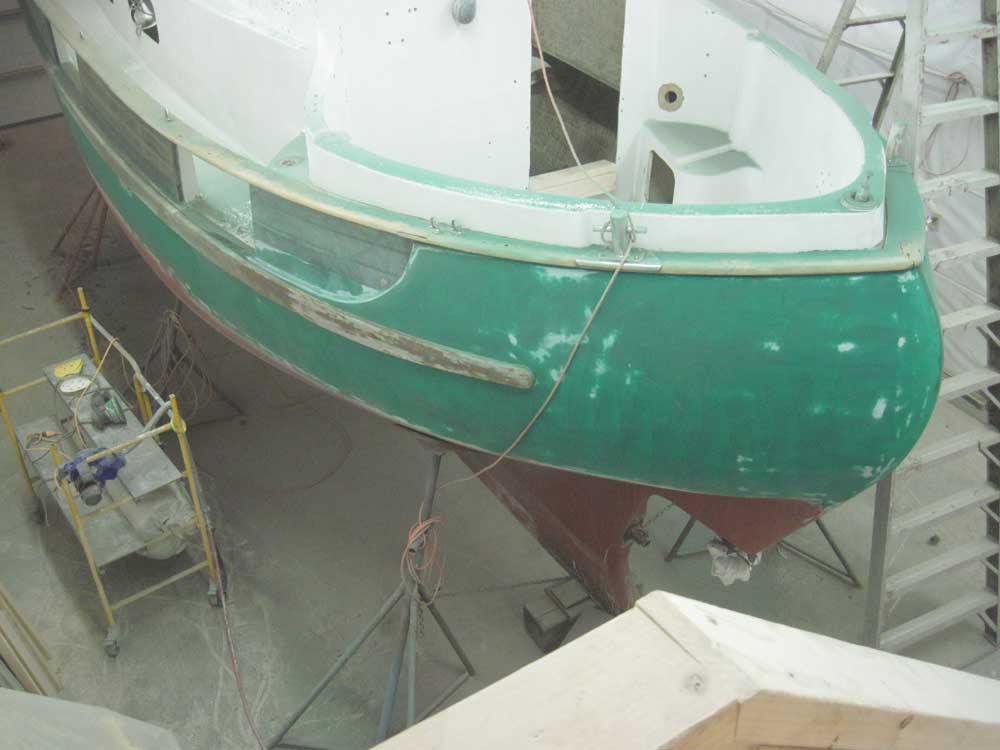
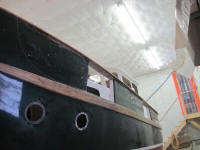
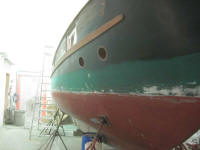
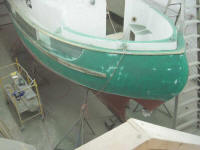
Moving on, I now got started on what I'd expected to be
the main focus of the day: sanding the hull to
prepare it for primer and paint. The existing
paint was in good-enough condition that I'd only need to
thoroughly sand the surface; there was no need to
attempt to remove all the old paint, as I often need to.
In addition, I knew the old paint--Awl-Grip--would be
compatible beneath the new paint.
To begin, I sanded everything I could reach from the
floor. Using a 6" finishing sander, I sanded first
with 80 grit paper, then followed with 120 grit.
In this way, I worked myself around the hull. |
 |
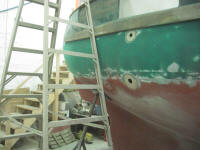
Afterwards, I had enough time left in the day to begin
some of the staged work, beginning at the port transom
and starting to work forward. My small
rolling staging worked well throughout the day's
processes, since I'd still not managed to put together
any real staging for this job. |
|
Total Time Today: 6.25 hours
|
<
Previous |
Next > |
|
|