Project Log: Thursday, December 30, 2010
I got sidetracked with other things during the morning,
but had time later to work on the interior patches for
the boat's myriad through hulls and deck patches, the
exterior sides of which I'd recently filled, patched,
and faired.
Since none of the interior patches would be visible in
the finished boat, the patching process was more
straightforward, as there was no need to recess the
patches or worry about filling and fairing.
Earlier, during the interior surface prep phase of the
project, I'd taken the time to prepare the surfaces
around each of the old through hulls, so no additional
sanding or other prep was required now.
After solvent-washing all areas as needed, I prepared a
small batch of thickened epoxy and took care of some
minor filling on the inside surface of the filled holes,
most notably on the inside of some of the old fastener
holes left over from the original seacocks that had
featured bolted flanges. While I'd filled these
holes from outside, small voids remained inside, which I
filled now.
Until recently, I'd had a power cord run into the boat
through the old depthsounder transducer hole amidships,
so I'd not addressed this particular opening during my
exterior patching efforts. However, I'd changed
how I ran the cords, so now was the time to start the
patch on this opening. I masked over the outside
of the hole (I'd already ground out the dished area
around this opening much earlier in the process), then
filled the hole from inside with my thickened epoxy;
since I was focused now on the inside of the boat, I
began this particular patch from the inside.
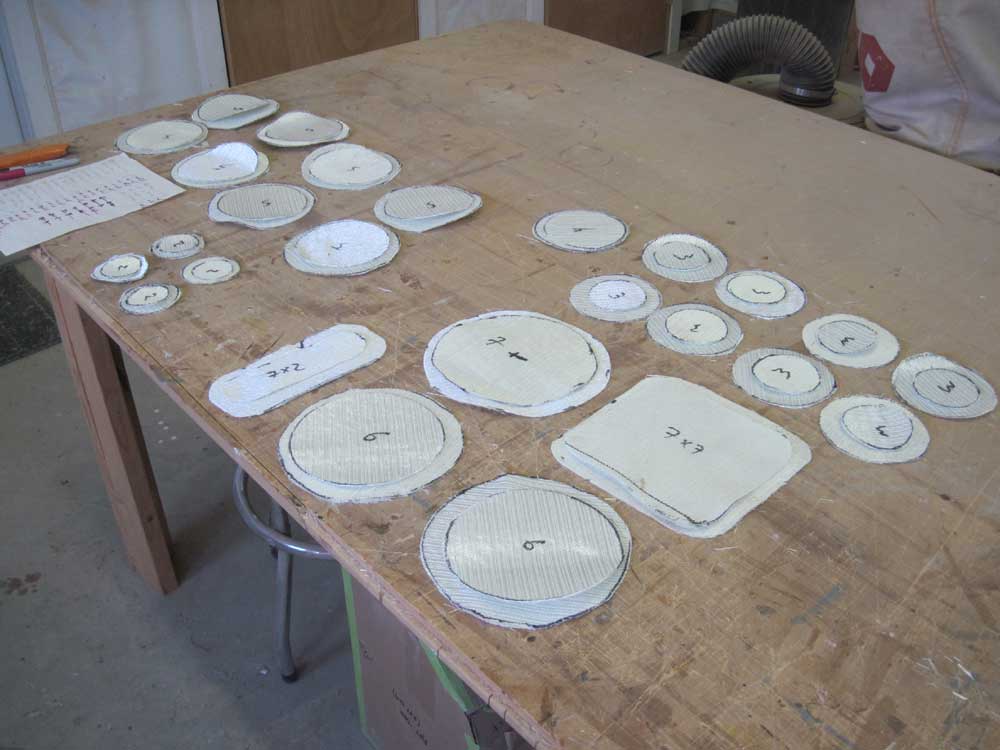
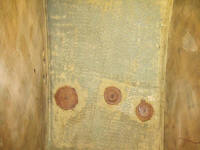
While giving the new epoxy a bit of time to partially
cure, I measured each area to be patched, then cut a
series of mostly circular fiberglass patches for each
opening--two layers of shop-standard biaxial cloth
for each, with the second layer slightly smaller than
the first in each case. |
 |
Working in logical stages, I wet out each patch and
applied them to their appropriate places in the boat,
starting at the bow and working aft. |
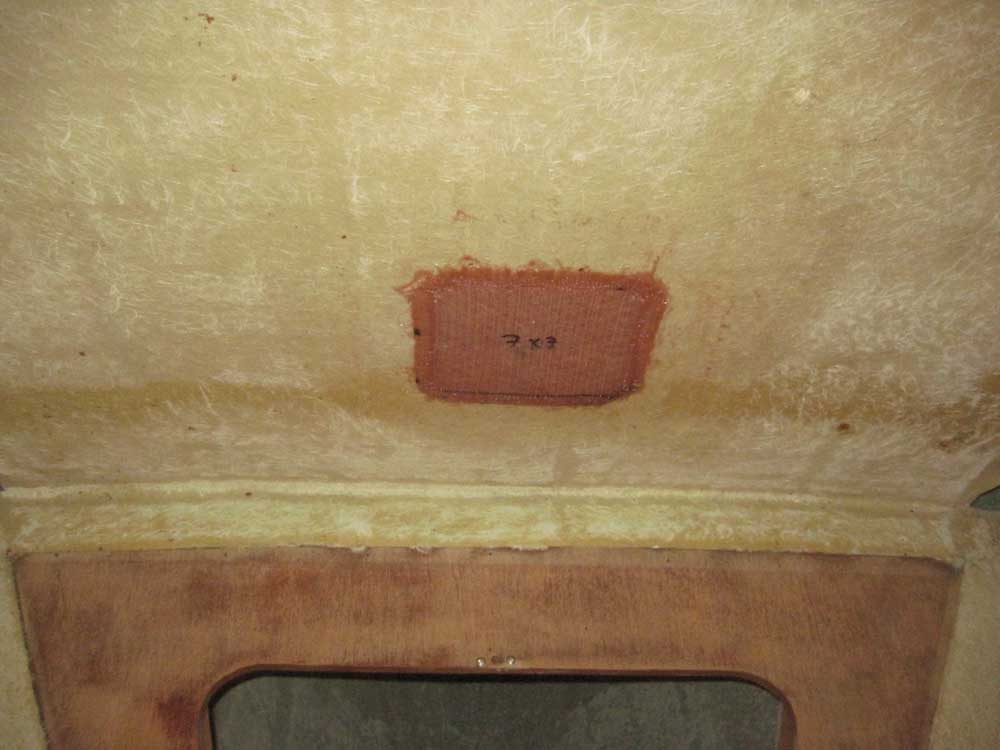
The foredeck:
 |
The forward mooring bitt:
 |
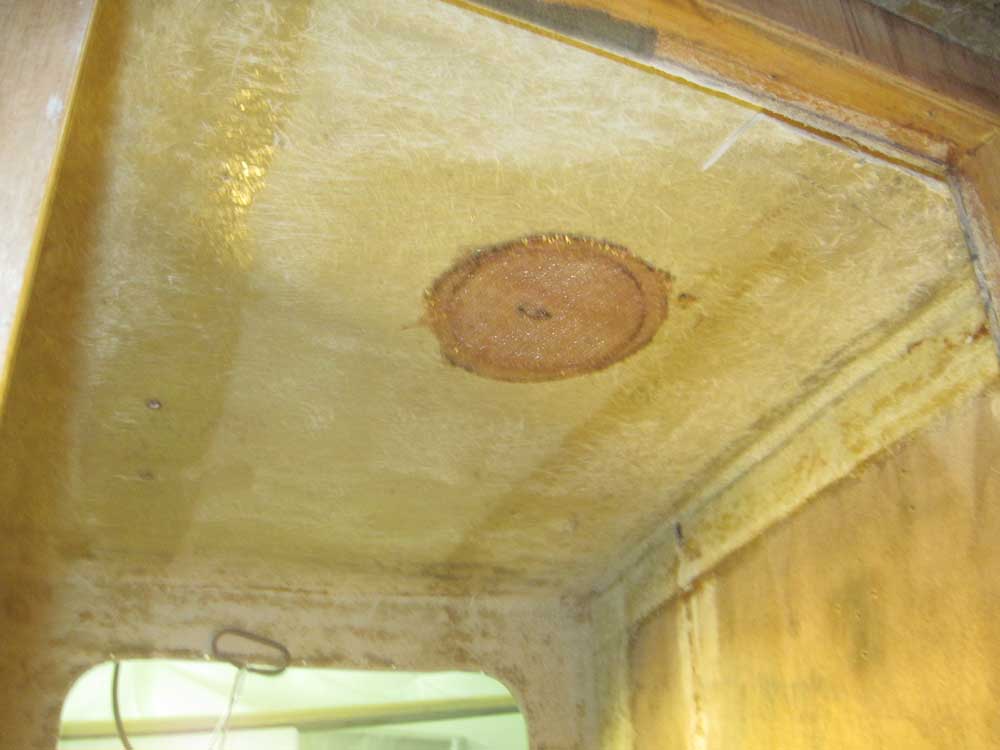
The head through hulls, vent fitting, and overhead
Dorade vent opening:

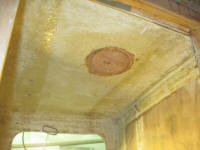 |
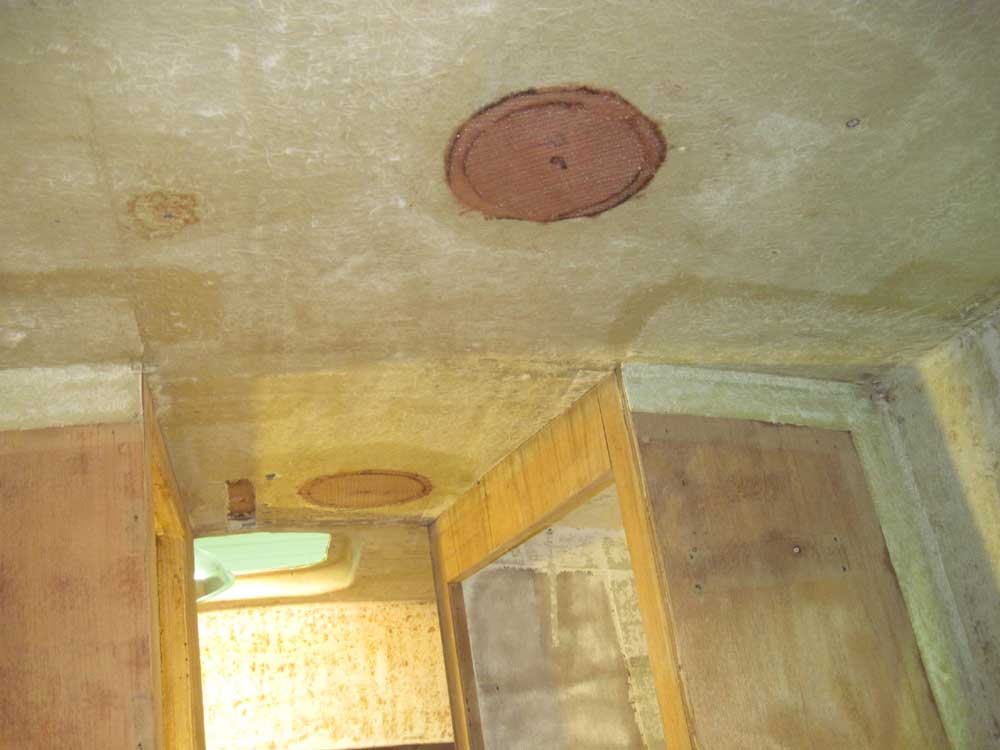
The overhead Dorade vent (aft) and ventilator (fwd)
openings in the main cabin:
 |
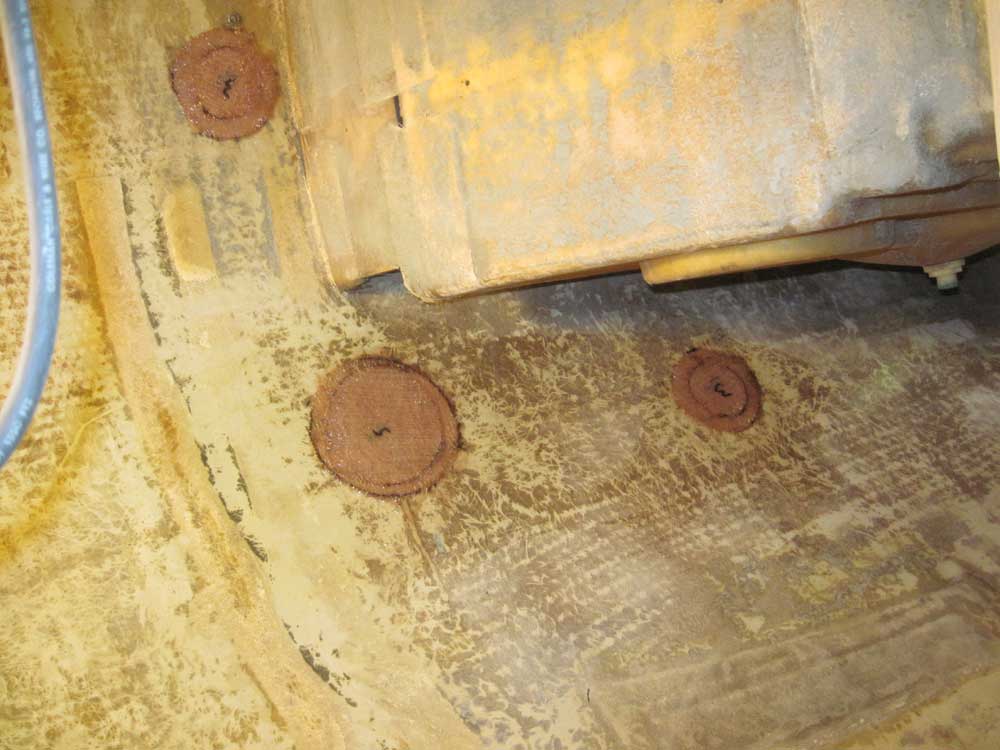
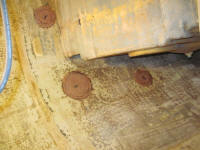
The galley sink drain, depth sounder, and two small
holes
I drilled to help drain the boat during the early
washdown efforts:
 |
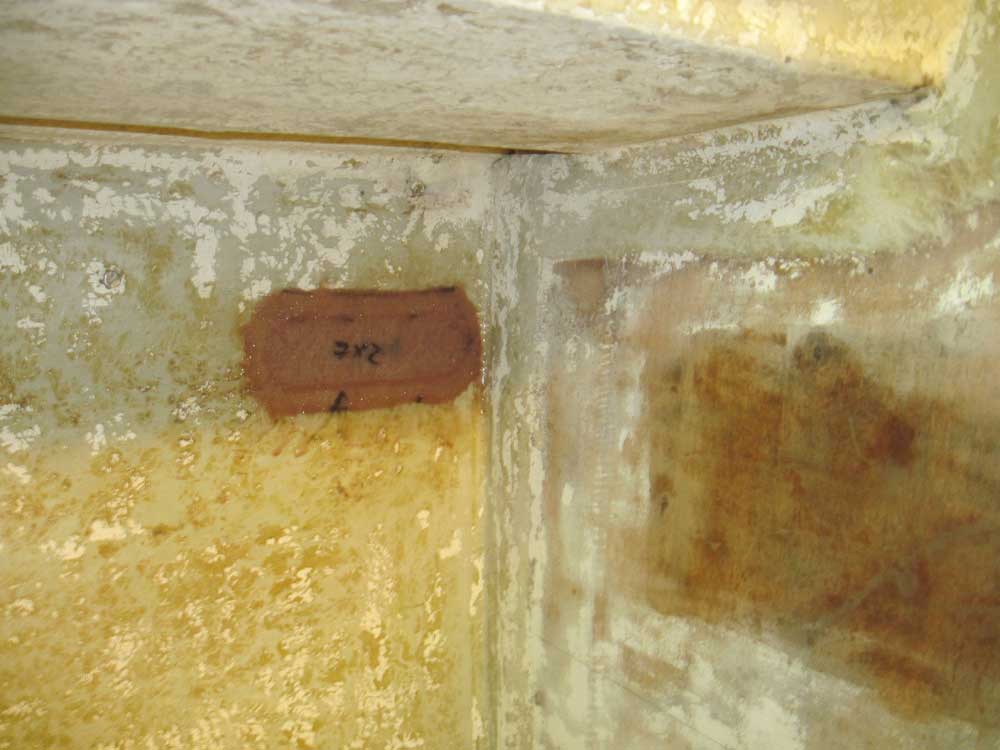
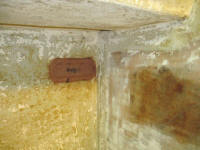
Old waste tank vent fitting in the port saloon:
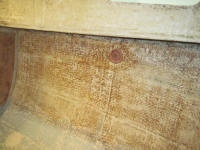 |
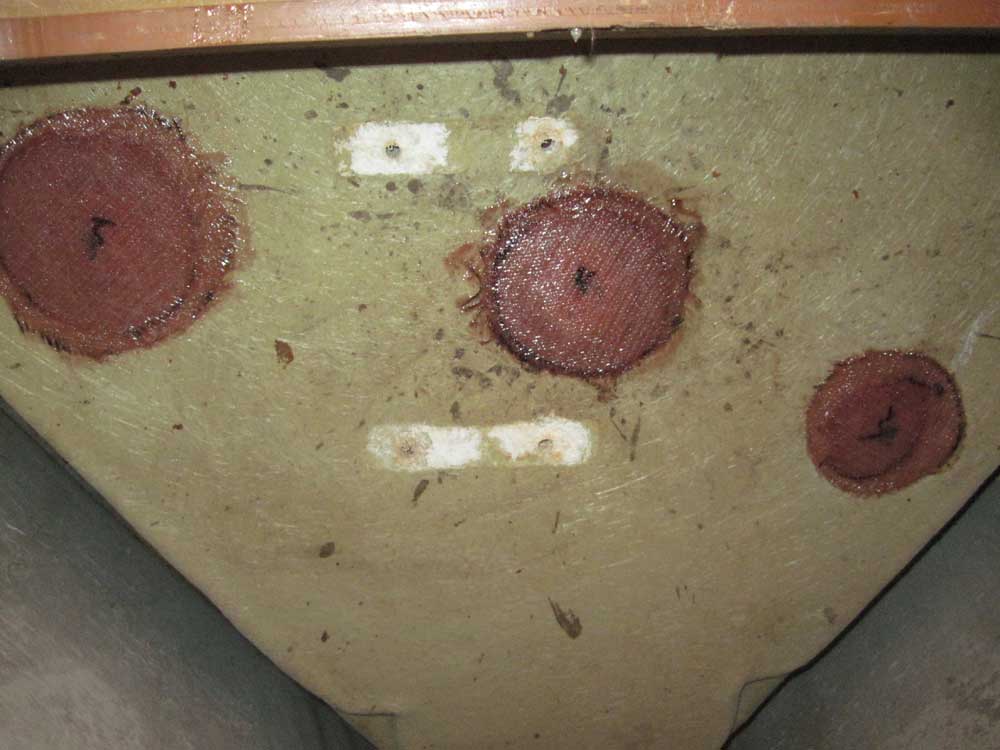
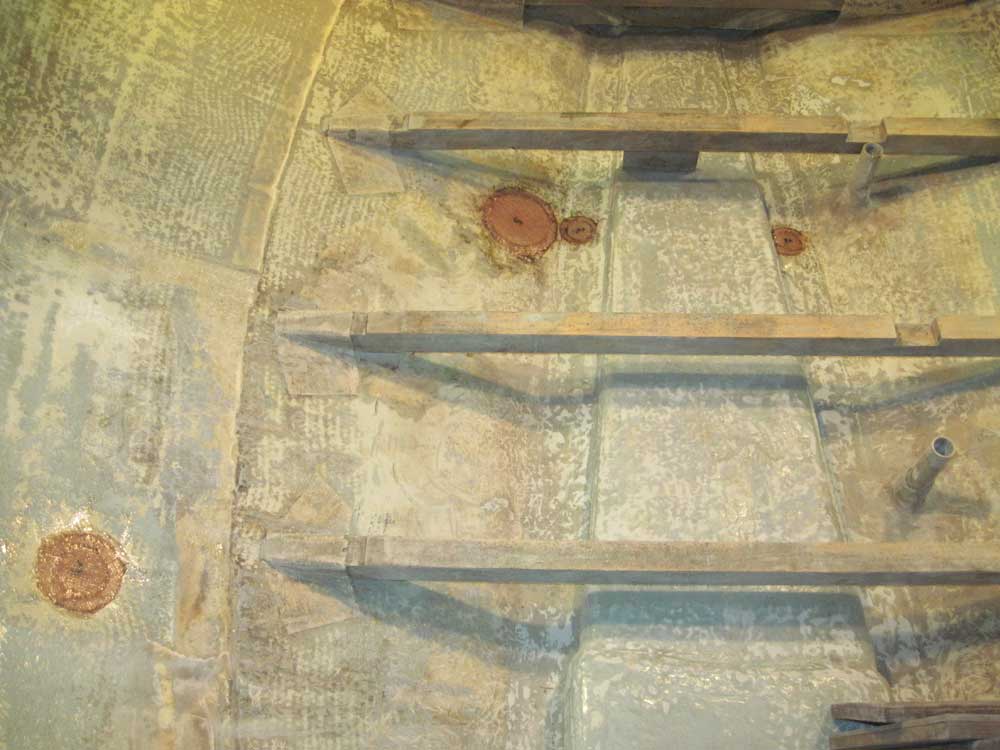
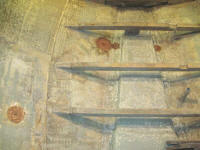
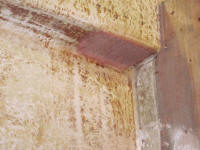
Cockpit scuppers, engine intake, and fasteners from the
old Dynaplate:
 |
Engine exhaust outlet, LPG locker drain/vent, and old
electric bilge pump outlet:
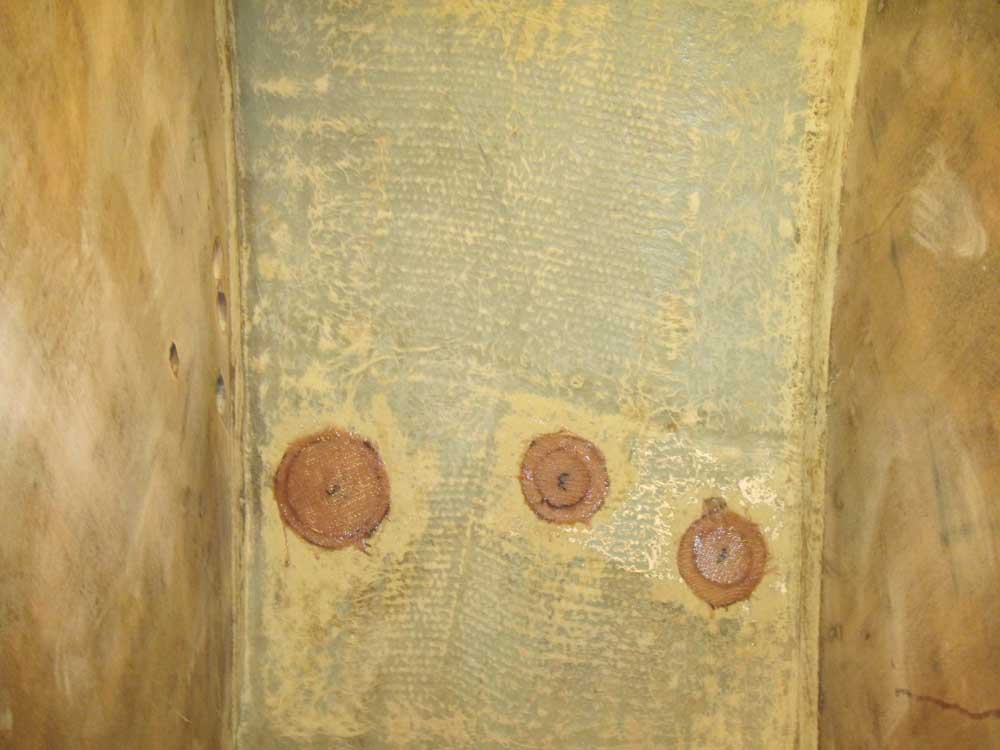
 |
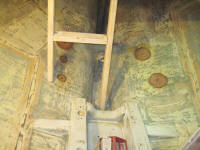
A pair of engine room holes left from fittings I don't
even remember:
 |
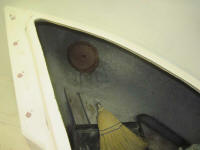
The hole from the engine room air intake vent:
 |
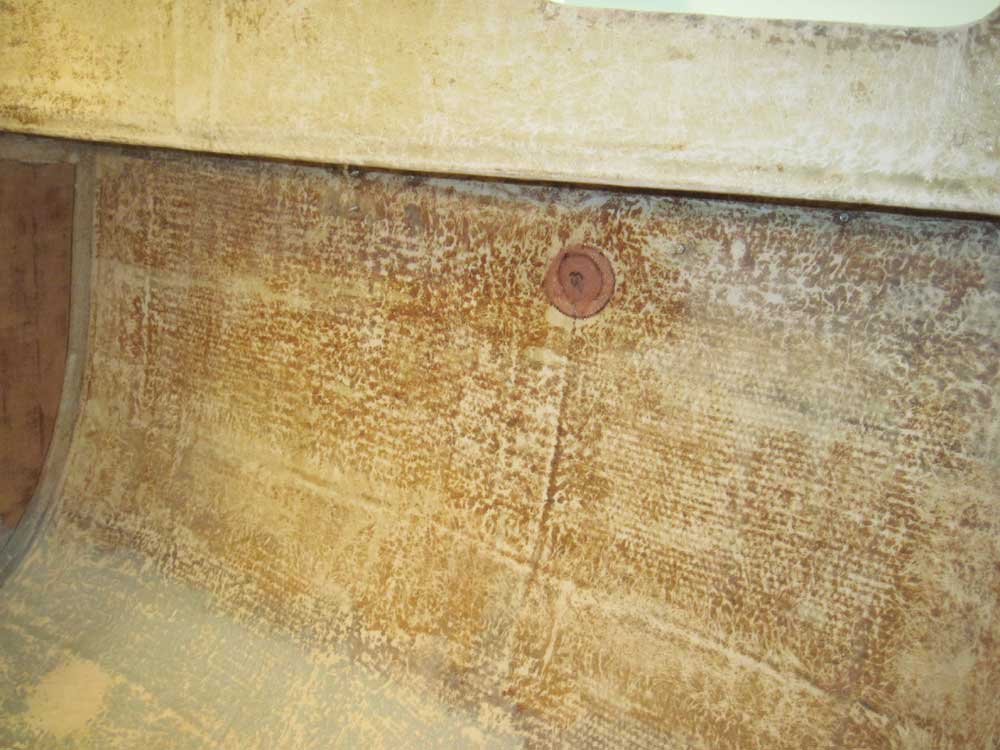
The manual bilge pump outlet in the lazarette:
|
Total Time Today: 4 hours
|
<
Previous |
Next > |
|
|