Project Log: Sunday, November 7, 2010
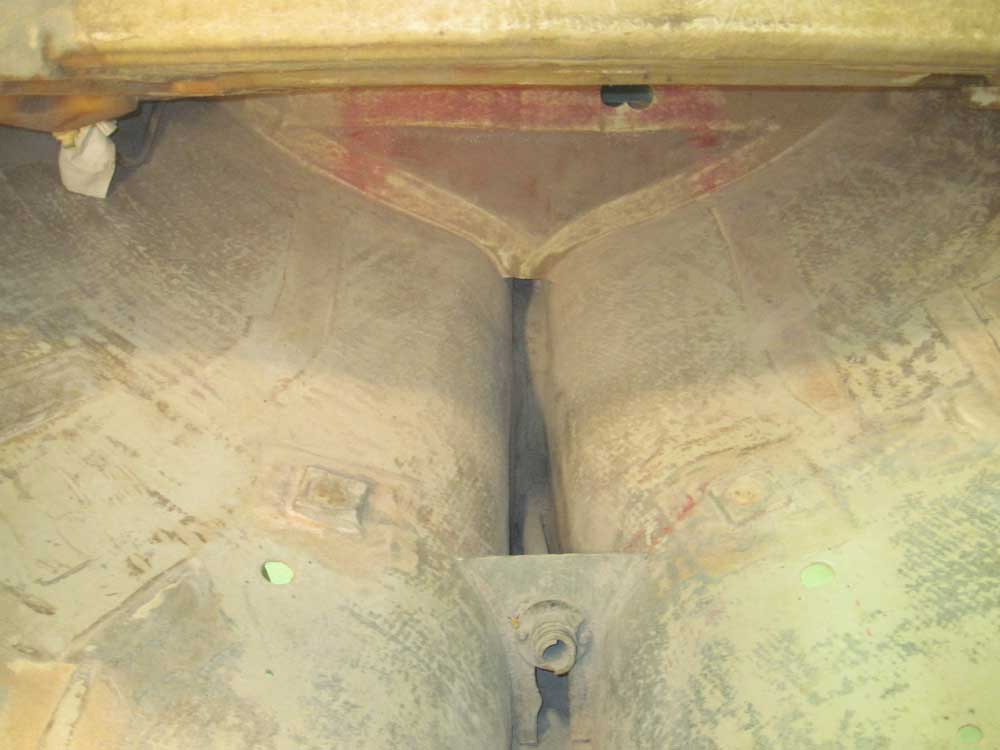
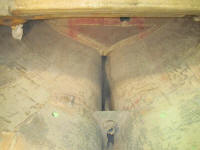
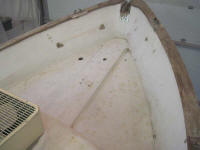
To begin, I sanded the newly-exposed area beneath the
cockpit, where the fuel tank had been. I cleaned
up the rough tabbing edges and sanded the whole area
clean to remove any remaining paint, dirt, etc.--you
know the routine. |
 |
Sometimes, the only motivation for a given job is the
thought that doing it means not having to do it
tomorrow. And so it was with the Treadmaster
removal. I felt I'd gone as far as I could using
alternative means to remove the durable product, and now
had to address the leftover adhesive and remnants of the
Treadmaster. I was rather looking forward to
removing the final vestiges and moving on. This
meant lots of sanding; how long it would take, and how
difficult it would be, remained to be seen, and I didn't
know how far I'd get.
I'd not yet had time or motivation to arrange staging
around the boat, in part because I wasn't yet sure how I
wanted to best go about it, and in part because I'd been
mainly focused on the interior of the boat so far.
Staging at a proper height would have made parts of the
job easier to date, but I'd have to go on without it for
the moment.
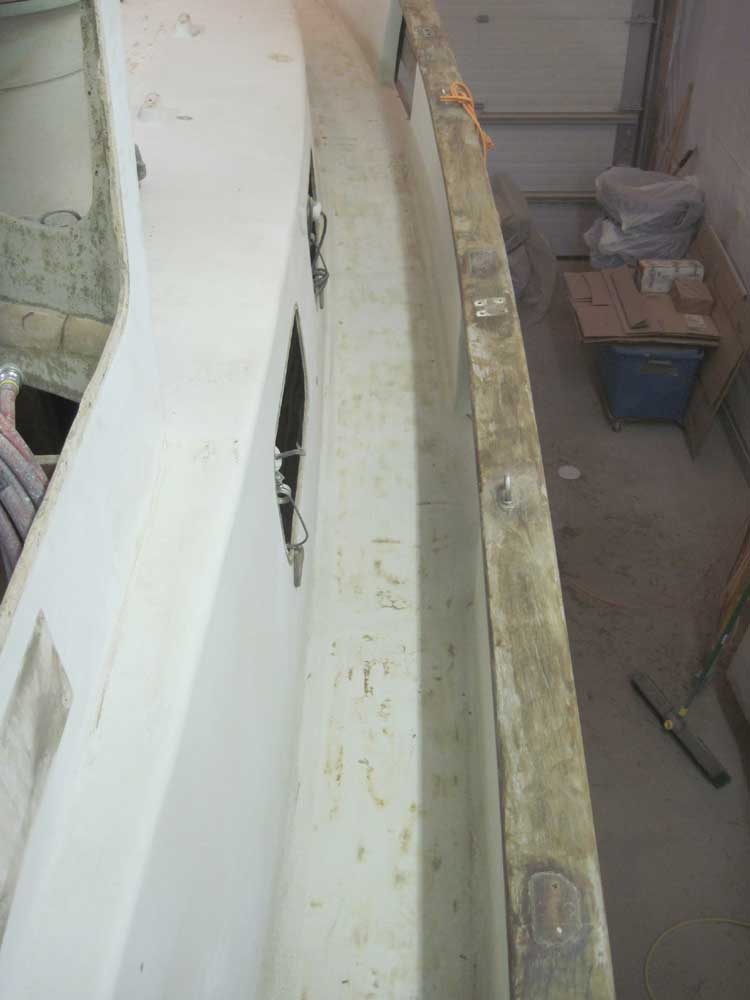
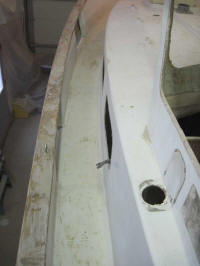
I decided to start sanding on the sidedecks, which were
just narrow enough to be awkward to kneel in thanks to
the deep bulwarks and high cabin trunk. I could
almost fit, but not quite. This proved to be
the most significant complicating factor in the day's
sanding: gaining enough leverage (i.e. weight
pressure) on the sander to adequately cut the material.
Particularly at the aft ends of the sidedecks, where
they were narrowest, shoulder room was minimal to the
point that using two hands on the sander was nearly
impossible, so I did most of the work one-handed until
the decks widened sufficiently to allow a two-handed
approach.
During an earlier test-removal run, I'd used my 4-1/2"
angle grinder, equipped with a 36 grit angle flap disc,
to remove some of the Treadmaster product. I hated
to use this powerful, difficult-to-control combination
on any surface where a smooth appearance was desired,
and fortunately the success of the power planer to
remove the bulk of the material had obviated the need
for the grinder in most places.
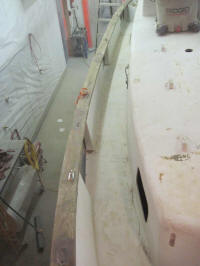
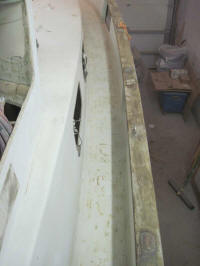
To remove the adhesive and remnants of Treadmaster, I
chose my old standby right angle random orbit sander,
aka DA, equipped with 40 grit discs. This worked
better than I'd anticipated, slowed mainly by my
inability to use two hands on the tool. Starting
on the aft end of the starboard side, I worked my way
forward to the foredeck, sanding off all the adhesive
and whatever else remained on the deck surface.
Later sanding steps would take care of the sanding marks
and remove any final tidbits of adhesive.
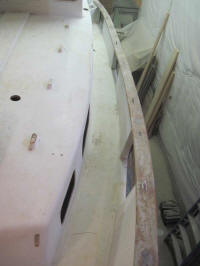
The starboard side went better than anticipated, so I
moved right over to the port sidedeck and repeated the
process. Completing both sidedecks took about 75
minutes. |
 |
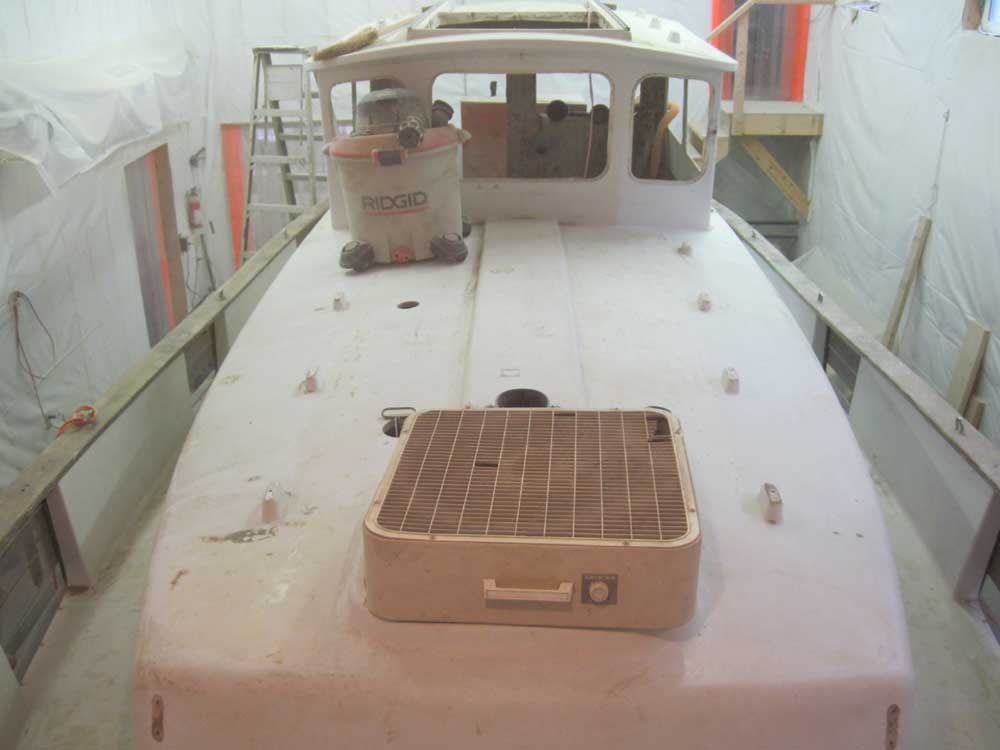
Pleased with the progress, spirits buoyed by the
prospect of eventually being through with the
Treadmaster forevermore, I pressed onwards and sanded
the coachroof, eliminating the gray adhesive there. |
 |
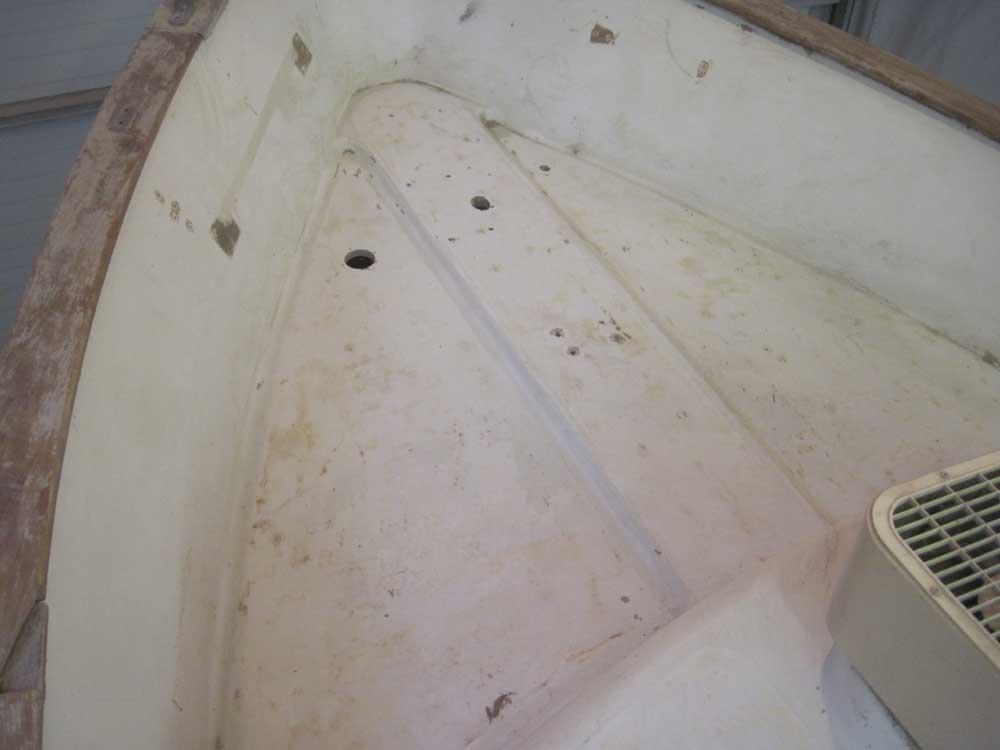
The foredeck was where I'd had the least success with
the planer. Earlier in the week, my original set
of blades had disintegrated while still working on the
port foredeck, and the new set of cheap blades that I'd
tried yesterday had accomplished nearly nothing.
So there was quite a bit of Treadmaster remaining,
particularly in the center area and on the starboard
side.
Here, I used my angle grinder with the aggressive flap
disc attachment to remove the bulk of the material,
taking it down through most of the cork till the gray
adhesive showed through, but being as careful as
possible to avoid going further. This was
surprisingly time-consuming and difficult, and strained
the tool to the point that I had to give it a break
partway through to allow the smoking motor to cool off;
I parked it on top of my box fan to provide a steady
flow of air through the motor housing.
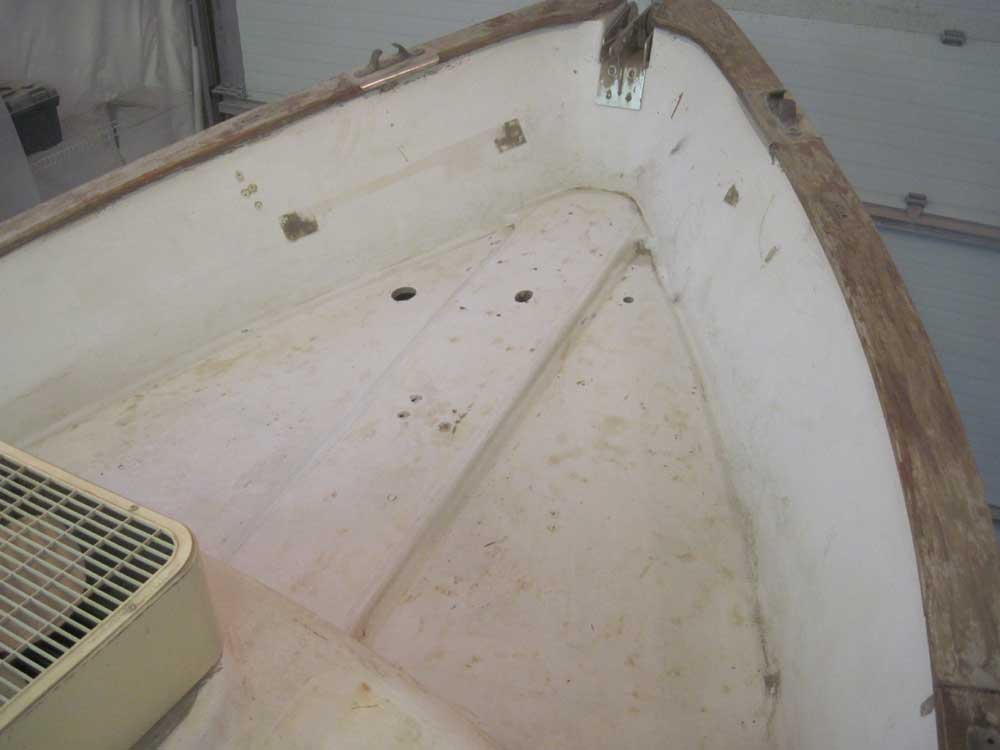
While I waited for the grinder to cool, I used the DA to
sand the port side of the foredeck, and then the narrow
raised center section. By then, the grinder had
cooled to the point that I could use it to pare down the
remaining Treadmaster on the starboard side, after which
I used the other tool to wrap up the adhesive removal
there. |

 |
I was most pleased to be done with this task, which had
frankly been more difficult than I'd imagined in even my
worst-case scenarios. I always knew it'd be an
unpleasant job, but was surprised by the tenacity of the
Treadmaster adhesive, whatever it was (it wasn't epoxy),
and its resistance to removal through heating and
scraping.
A small amount remained in the cockpit, with the forward
section of the sole covered with it (about 12" x 48"),
and two slim sections on the cockpit coamings. I'd
deal with these sections later, when I got to work on
the cockpit.
I cleaned up the day's mess and departed, extremely
happy with how well the day's work had gone, and how
productive and satisfying it had been. |
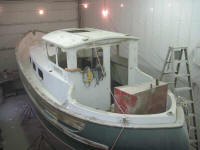 |
The day's work also demarked (to me, at least) a turning
point in the project, and the beginning of a new phase
of work. All the major unbuilding, demolition, and
interior surface prep was complete, and the project
would now continue in a related, but different,
direction, with exterior surface prep, repair work, and
the beginnings of new structure all to come in the
(hopefully) near future.
Click here for a summary of
Phase I.
|
| |
Total Time Today: 4.25 hours
|
<
Previous |
Next > |
|
|