Project Log: Sunday, April 17, 2011
Sometime earlier in the week, I cleaned up and sanded
the fuel/water tank fill enclosure plugs, and then
applied two coats of plain epoxy over the entire things. |
 |
I'd had higher hopes for progress over the weekend, but
a five-hour power outage on Sunday, during a dark and
stormy morning, pretty much quenched
my enthusiasm and limited how far I could get once I was
able to get to work later in the day. Springtime
brings with it a variety of other hibernated chores,
from house to grounds to shop to boat, and these various
obligations worked also to limit my availability this
weekend and beyond.
Nonetheless, I made progress on some of these busywork
projects while I waited for a better time to immerse
myself in some of the larger, more important jobs
looming on the horizon. Knowing that I had a
period ahead where I'd not be able to work much on the
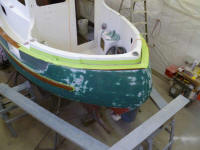
boat, I decided this was a good time to install sealant
in the large void between the caprail and the cockpit
coaming, on both sides of the transom. I knew that
the sealant in this quantity would take quite a bit of
time to fully cure, so I'd avoided its installation till
there was a time when I'd be away from the boat for a
period.
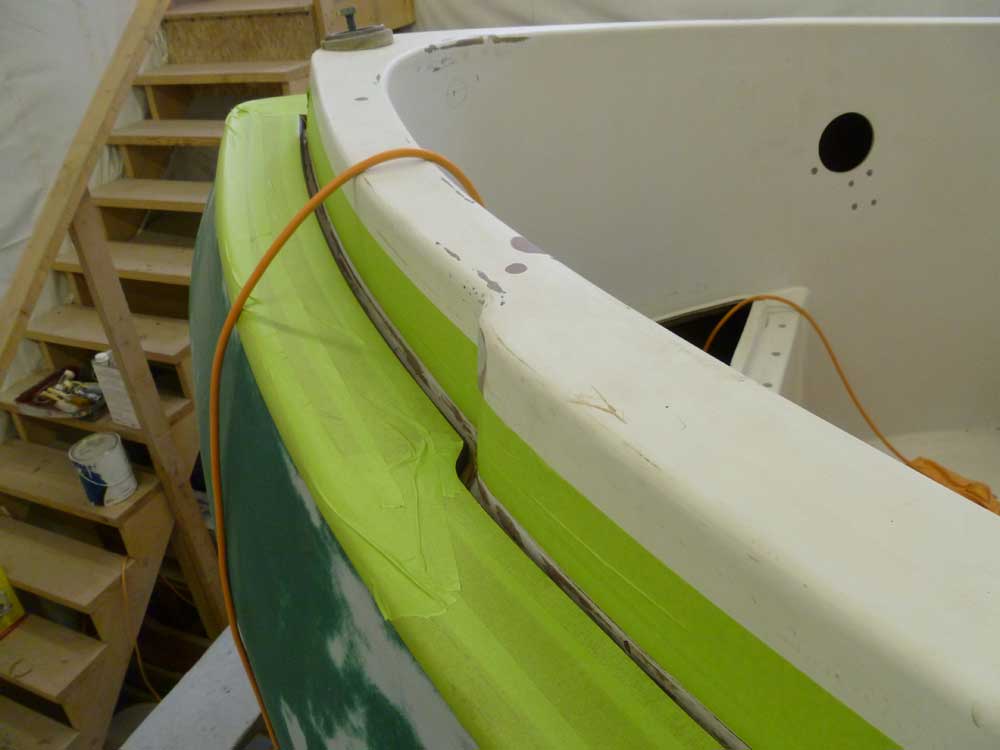
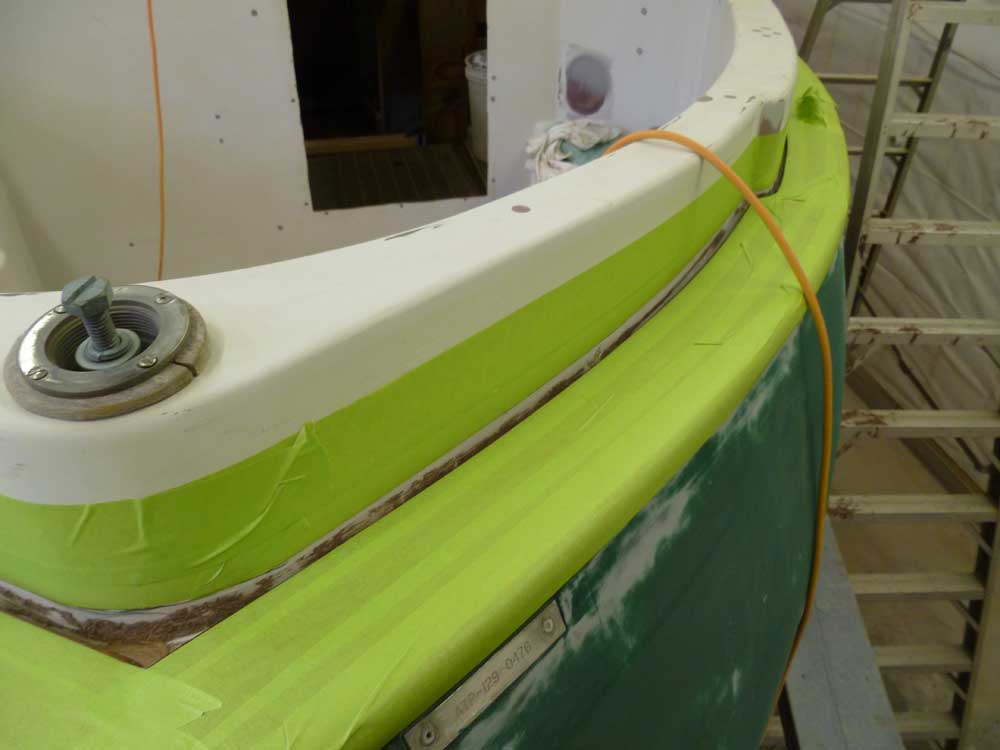
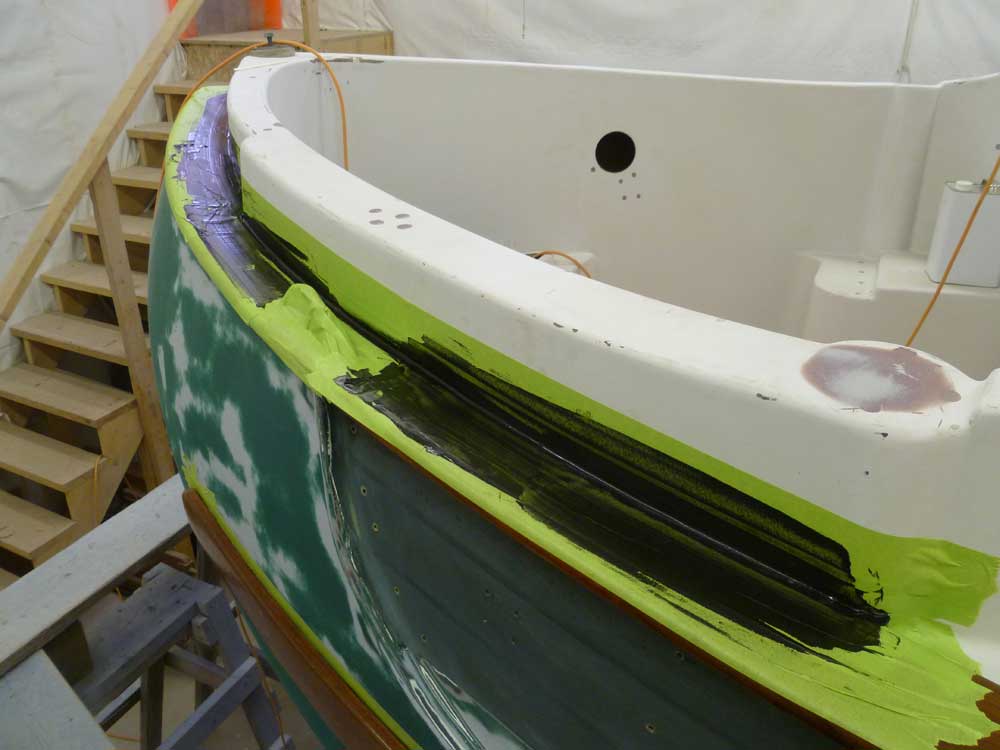
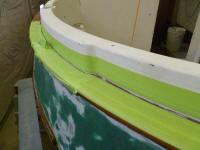
To begin, I set up staging around the stern, and masked
off the caprail and the coamings, after first marking a
line on the coaming even with the top of the caprail all
the way 'round. |

 |
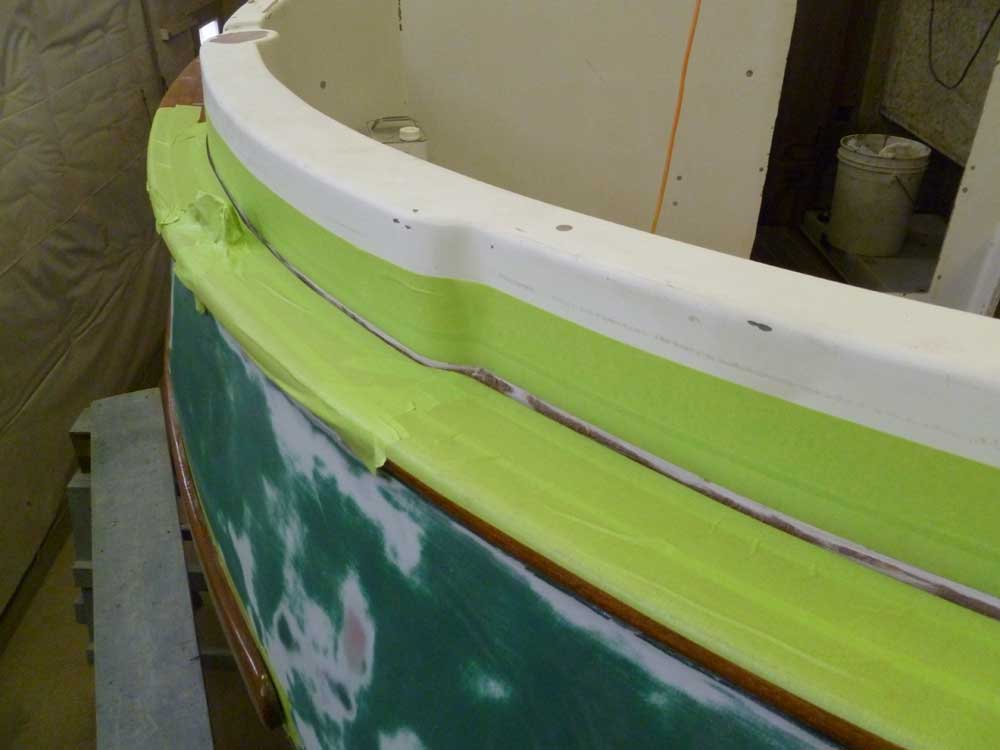
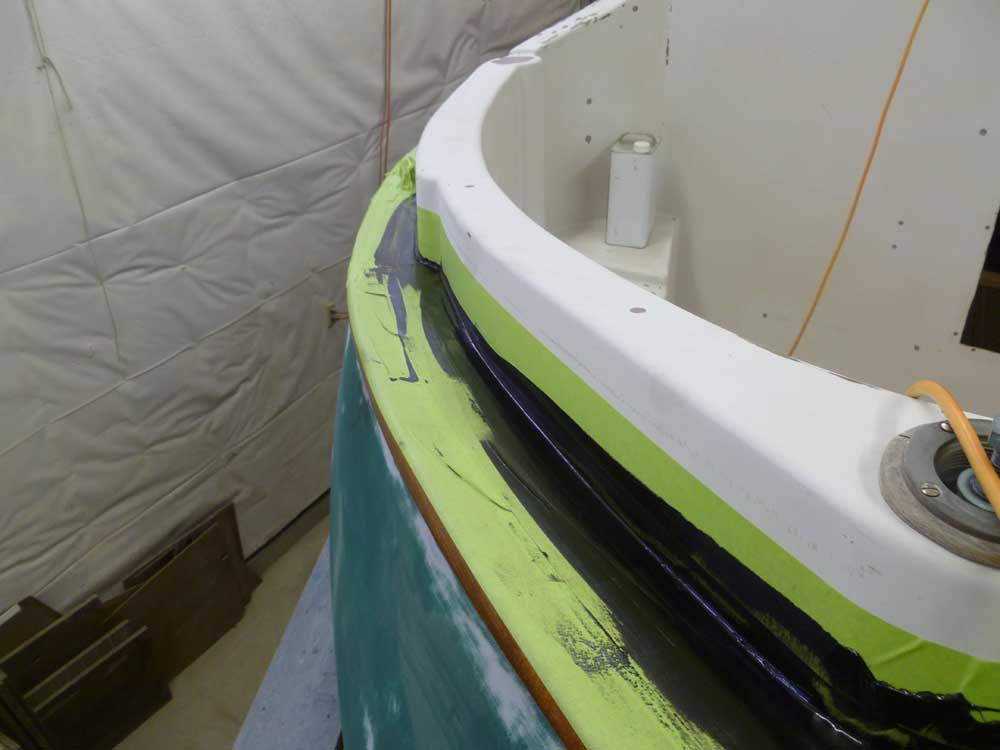
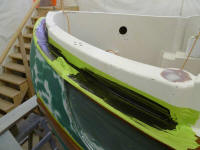
Next, I filled the gap with polysulfide sealant; I chose
black in color as I thought it would look the best, as I
didn't particularly like the appearance of the "teak"
colored sealant and white would only turn brown in the
sun. I used a plastic squeegee to smooth out the
sealant in the gap and trowel off the excess even with
the masking tape, or at least to the best of my
ability. The void required three cartridges of sealant
to fill. Later, once the sealant cured, I'd remove the
masking tape, but planned on leaving this area strictly
alone for quote some time. This fit in well with
my other commitments in the near future. |

 |
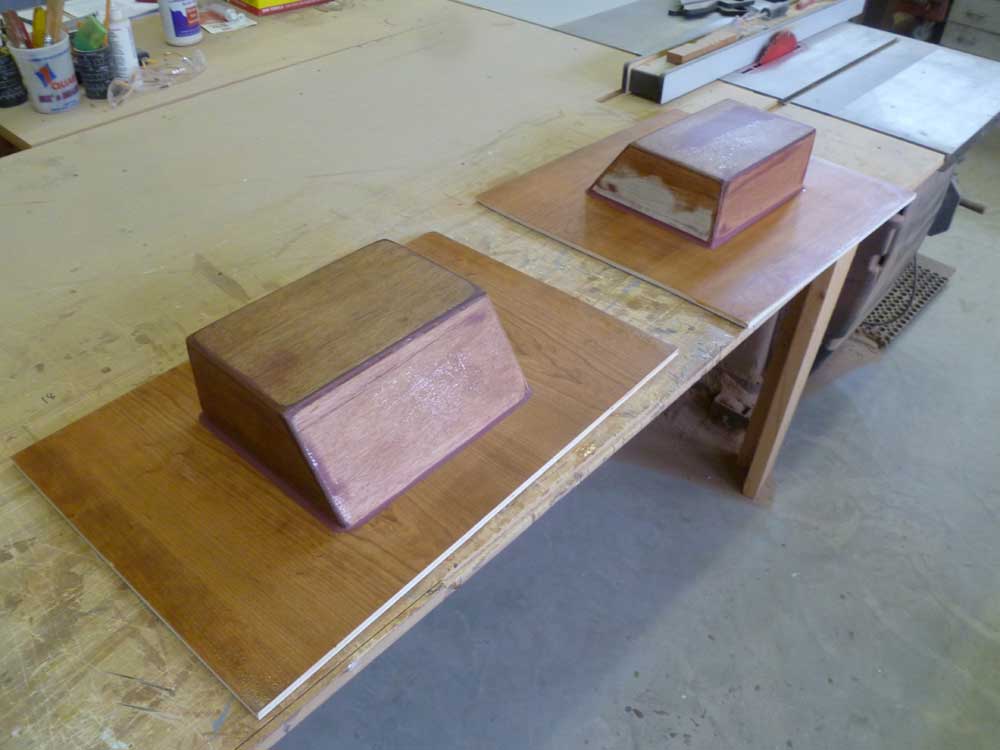
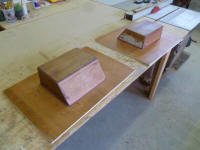
Moving back to the male molds for the fuel/water fill
enclosures, I sanded the epoxy coating with 220 grit to
smooth it to an acceptable level. I actually chose
not to water-wash the epoxy, as the goal later would be
for the laminate not to stick to the surface, so if any
amine blush remained in the surface so much the better
in this case.
I knew the finished parts would require minor fairing
and, of course, painting, so my goal with the male molds
was not to create a perfect, finished surface, but
rather to smooth them as needed to help ensure release
of the finished fiberglass parts. So once I'd
sanded things adequately, I applied several coats of
paste wax to the molds. |
 |
I'd hoped to lay up the parts, but with the delay caused
by the power outage I just didn't have the time or
inclination to fuss with cutting and installing
fiberglass, so I left that for another day lest I make a
botch of it by rushing. I had to accept that
progress for the next month or two would be slower than
I'd like no matter what, so I figured there was no need
to push things; in any event, these parts wouldn't be
required for some time, and I chose to build them now
simply because I had no other great focus on board, but
wanted to generally maintain inertia and at least keep
the project moving inexorably forward.
|
Total Time Today: 3.5 hours
|
<
Previous |
Next > |
|
|