Project Log: Sunday, August 7, 2011
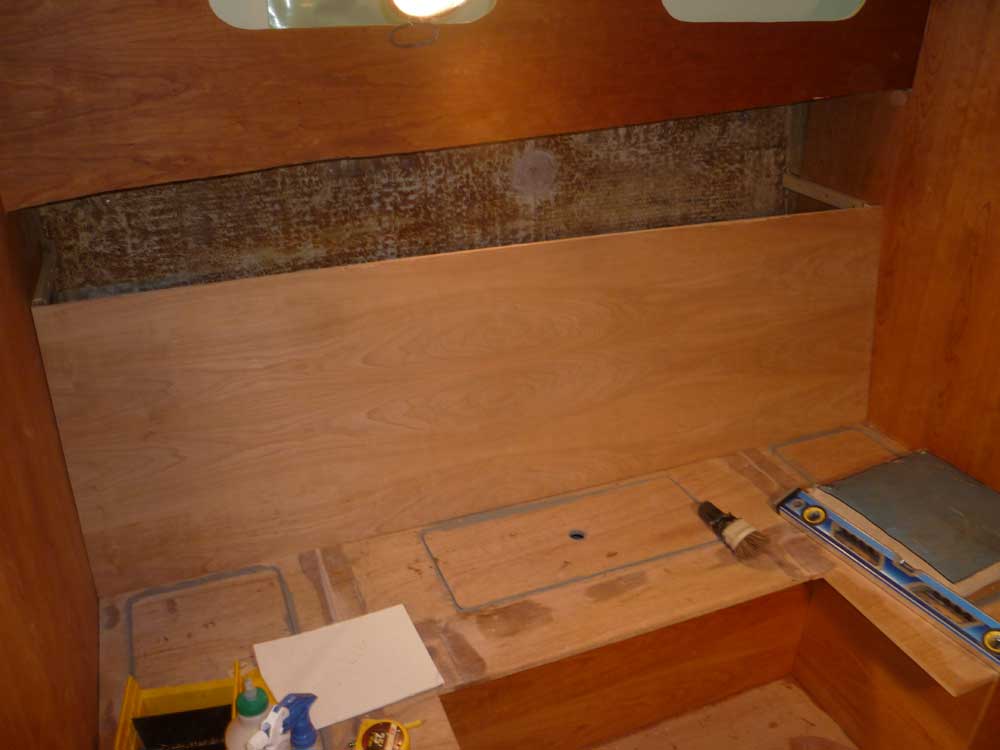
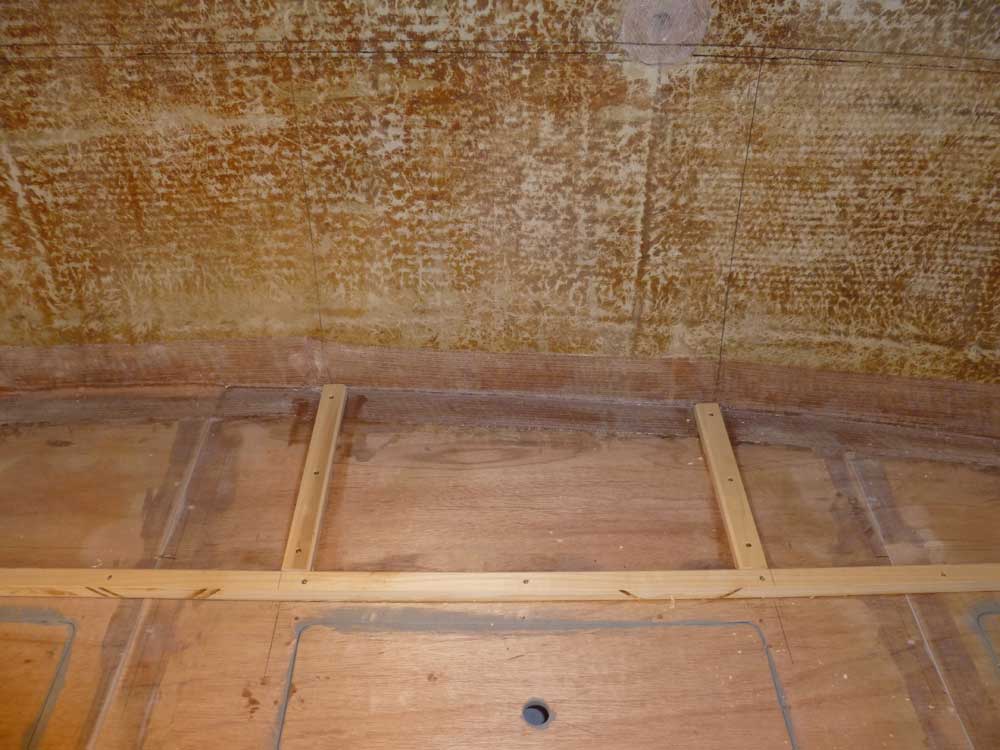
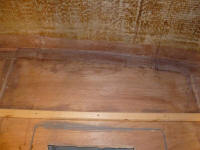
With the basic support cleats for the dinette backrest
now in place, my next step was to cut the panels for the
backrest and the shelf above. I began with the backrest,
a relatively simple almost-rectangular piece (neither
existing transverse bulkhead was quite plumb).
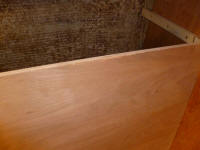
I'd put a new (well, newly-sharpened) blade in my table
saw, as the one I'd been using had dulled badly from
overuse. However, I found that the blade I chose
to install did a poor job cutting the veneer plywood.
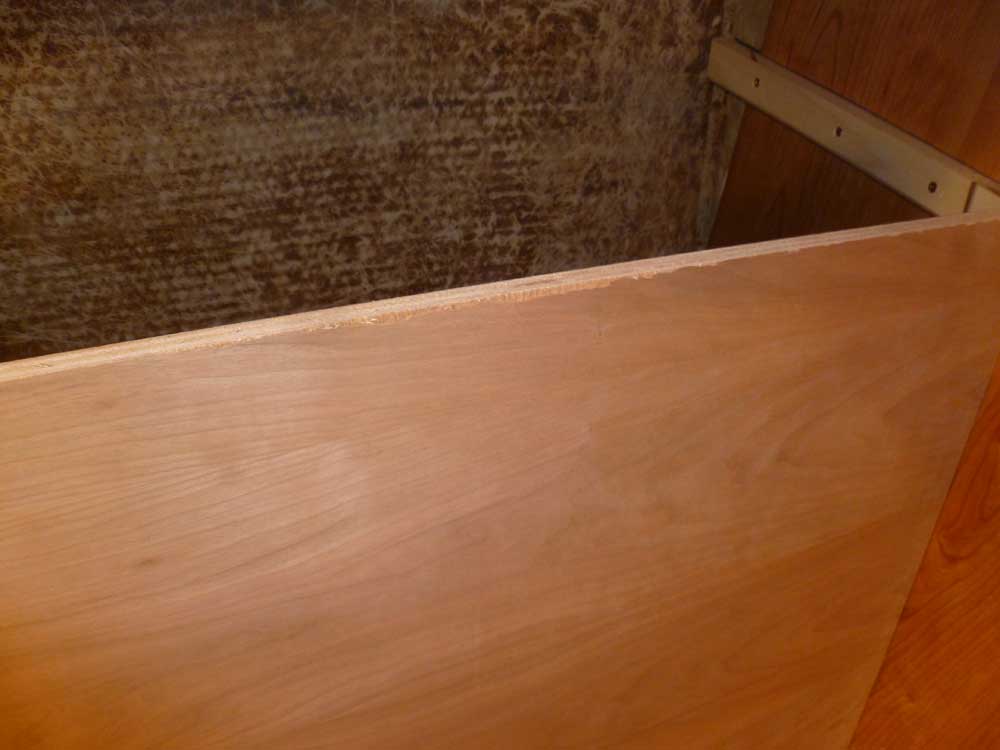
Because of the 10° angle cuts required on the top and
bottom edges of the panel, I had to cut with the veneer
side down for one cut, and this caused some veneer
tearout along what turned out to be the top edge of the
new panel. Fortunately, this area would be covered
by trim later, so I didn't have to recut the panel, but
I promptly changed the blade for one I hoped would be
more appropriate. |

 |
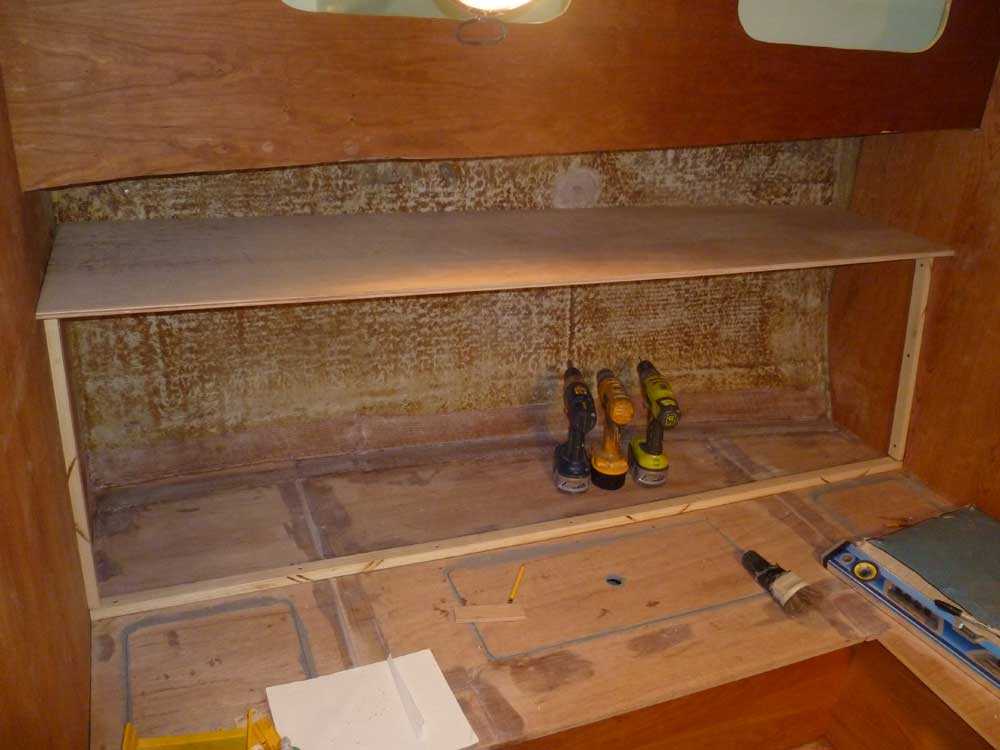
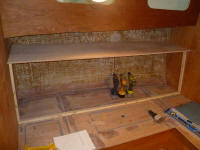
I repeated the process to cut the shelf for the top,
beginning with a piece of plywood cut to the proper
length, but several inches too wide. After a
test-fit and scribing the shape of the hull onto the
panel, I cut the curved outboard edge and refit the
panel. With adequate fit at the outboard edge, I
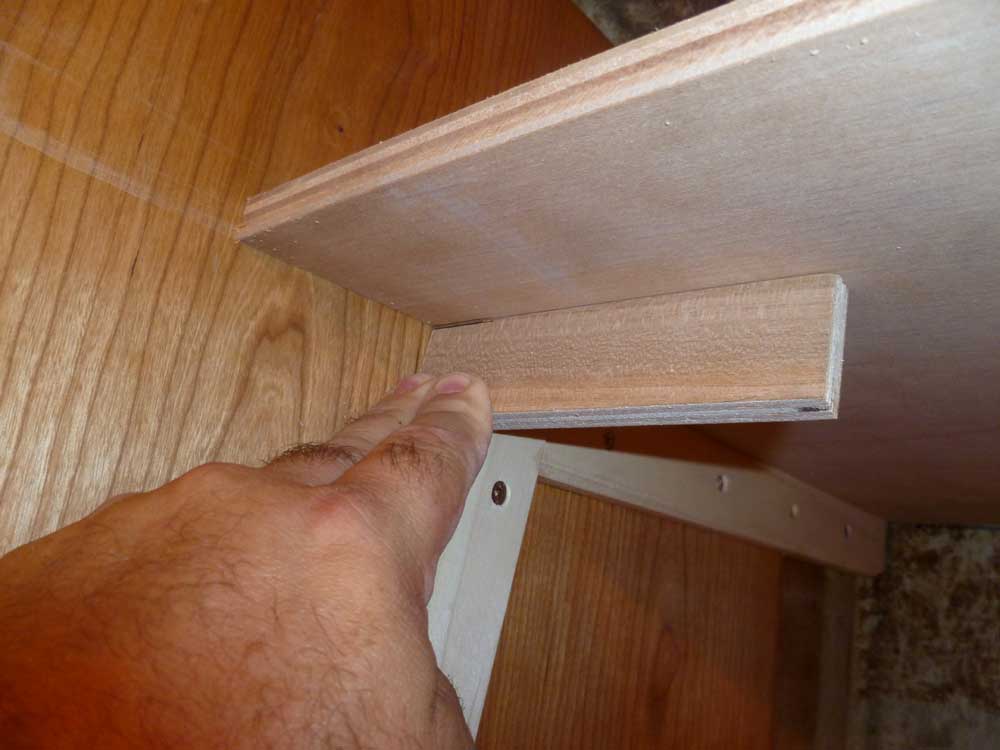
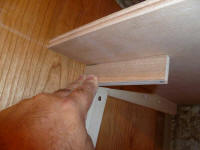
used a scrap of 1/2" cherry plywood to mark where I
needed to cut the overhanging portion of the panel, so
that it would end up flush with the backrest beneath. |
 |
Now I made a reference mark on the hull at the top edge
of the shelf panel, after ensuring it wasn't sagging in
its unsupported center (the backrest beneath held it
straight). Removing the panels, I could now
transfer the top mark 1/2" down to indicate the lower
edge of the panel, which was necessary so I could
determine the appropriate height for transverse dividers
within the locker that would cut it into several smaller
storage spaces, as well as support the backrest and
shelf.
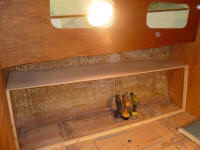
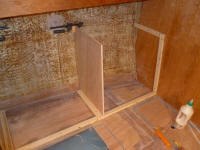
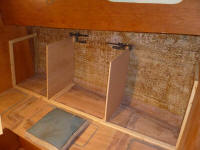
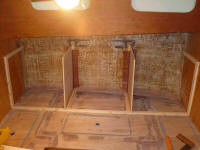
After considering the size of the overall space for a
time, I elected to divide it roughly into thirds, with
equal-sized lockers fore and aft, and a slightly larger
one in the center. I made some measurements and
marked layout lines on the dinette platform and up the
side of the hull to indicate where these small bulkheads
would be, then cut and installed hardwood cleats to
support the lower edges of the panels. |
 |
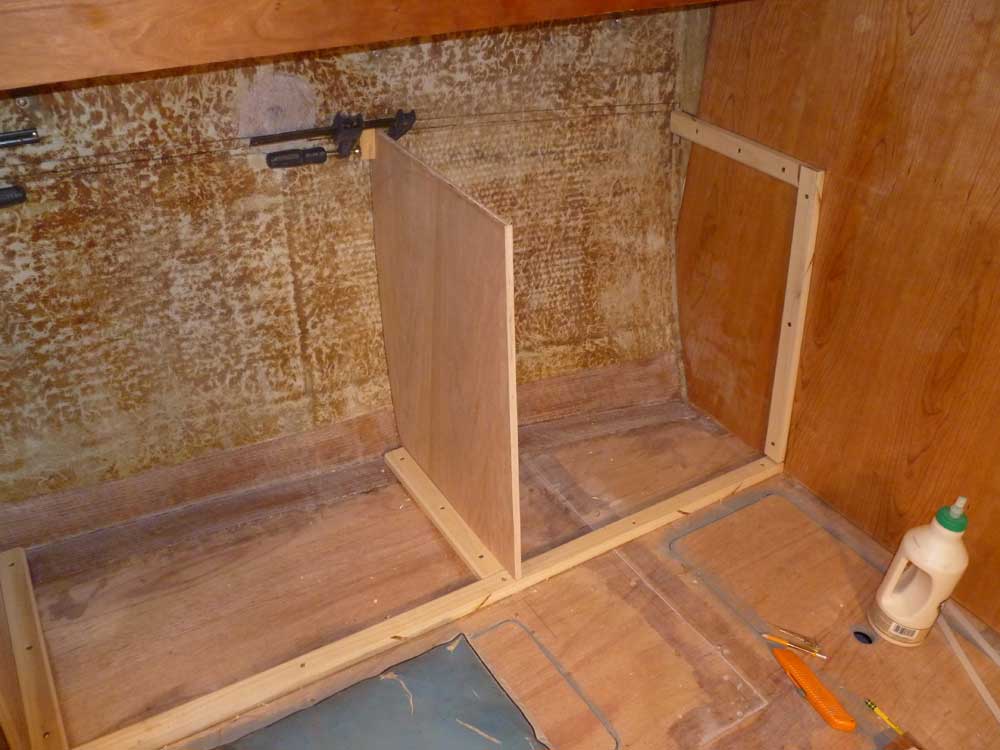
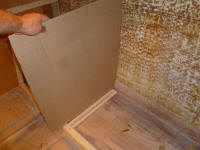
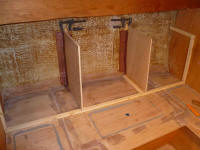
I used cardboard to make templates of the two dividers
needed: first the after one, which was larger, and
then, using the same template, the forward divider.
I cut the outboard side of these bulkheads to match the
shape of the hull, and incorporated a 10° angle on the
inboard side to match the backrest, which would lie
directly against the dividers. I chose cherry plywood
for these dividers since I decided it would be nice if
the insides of these cabinets were attractive wood
instead of paint, though I'd paint the portion of the
platform that served as the bottom of these lockers. |
 |
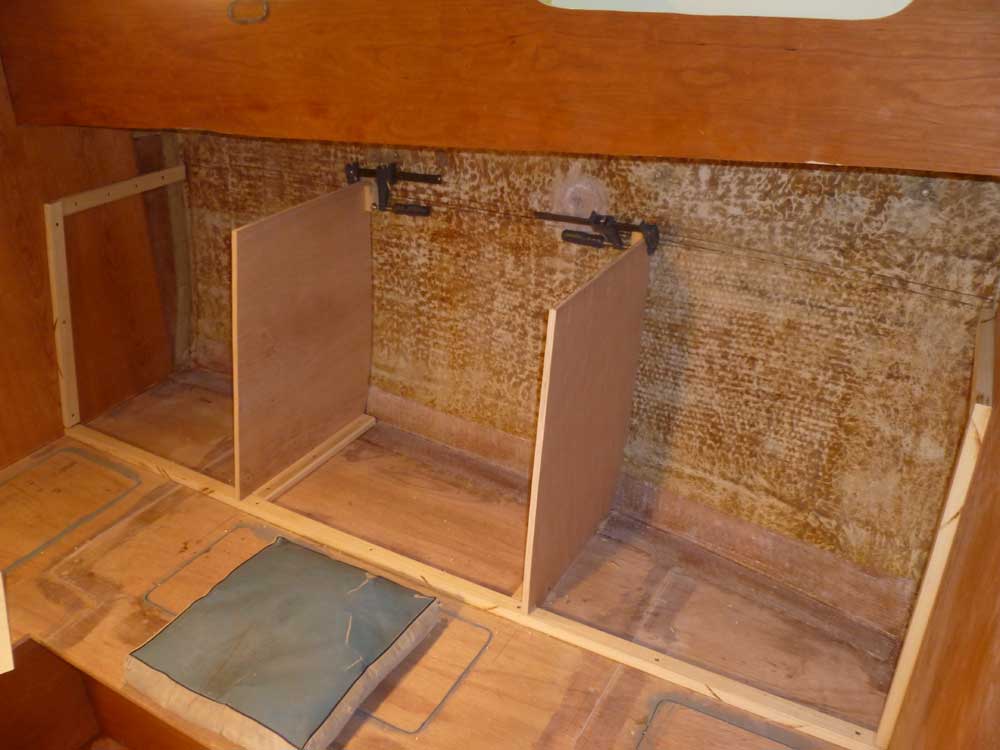
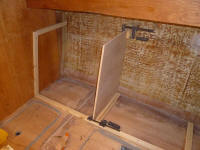
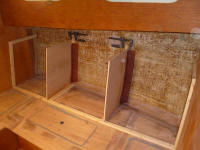
I'd left the bulkhead blanks slightly taller than they
needed to be so I could mark their heights accurately in
place. By temporarily installing the backrest
panel, I could use a level to mark the cutline on each
divider exactly at the correct height. |
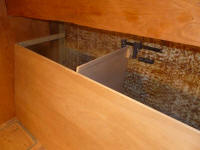 |
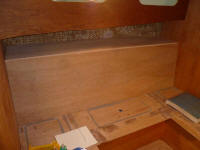
To round out the day's work, I Installed the dividers
permanently, after first coating the edge grain of the
plywood with epoxy resin. At the lower edge, I
secured the panels with glue and screws to the hardwood
cleats; at the hull side, I applied thickened epoxy
adhesive to the hull and pressed the panels into the
bead, using the excess to fillet the seam as needed,
then installed a single layer of 4" biaxial tabbing on
each side of the dividers to hold them in place. I
left small open areas at the lower corners of each
divider where it met the junction of hull and platform,
to act as limbers if needed (though I didn't expect any
moisture in these lockers)> |
 |
Next on the dinette agenda would be insulation and
covering panels, intermediate shelving, and then final
installation of the backrest and shelf.
|
Total Time Today: 5.25 hours
|
<
Previous | Next > |
|
|