Project Log: Saturday, December 3, 2011
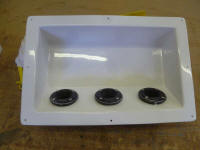
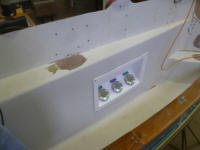
Beginning where I left off last weekend, I installed the
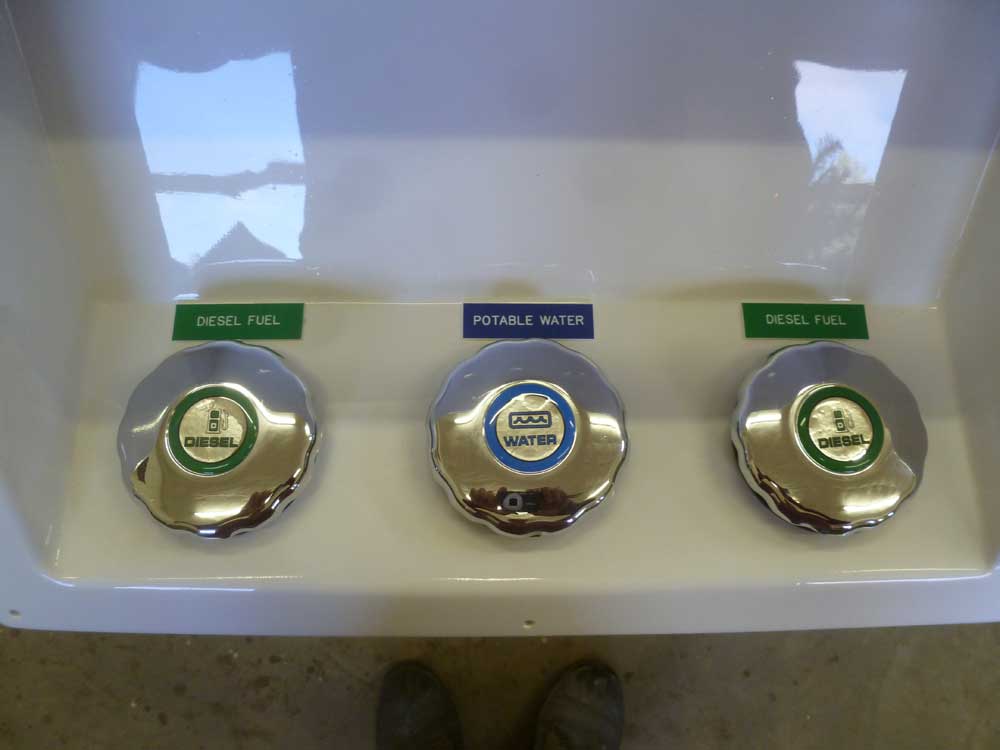
three deck fill/vent fittings in the port recess,
securing them with sealant and screws. |
 |
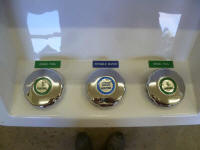
A reader brought up a concern about the fill cap labels
and the possibility of mistaking the water fill for
diesel, or vise versa. Although the
readily-identifiable caps were attached to the fills
with small chains in the usual way, the bodies of the
fills themselves were not labeled--just the caps--and
because of the proximity of the different fills on each
side of the boat (plus the fact that the cap labels were
just appliqués and potentially impermanent), I felt this
was a valid point, so I had some tank tags made up to
clearly mark each fill, cap on or cap off. The
tags were self-adhesive, but I thought I might add some
tiny screws to ensure they also remained in place. |
 |
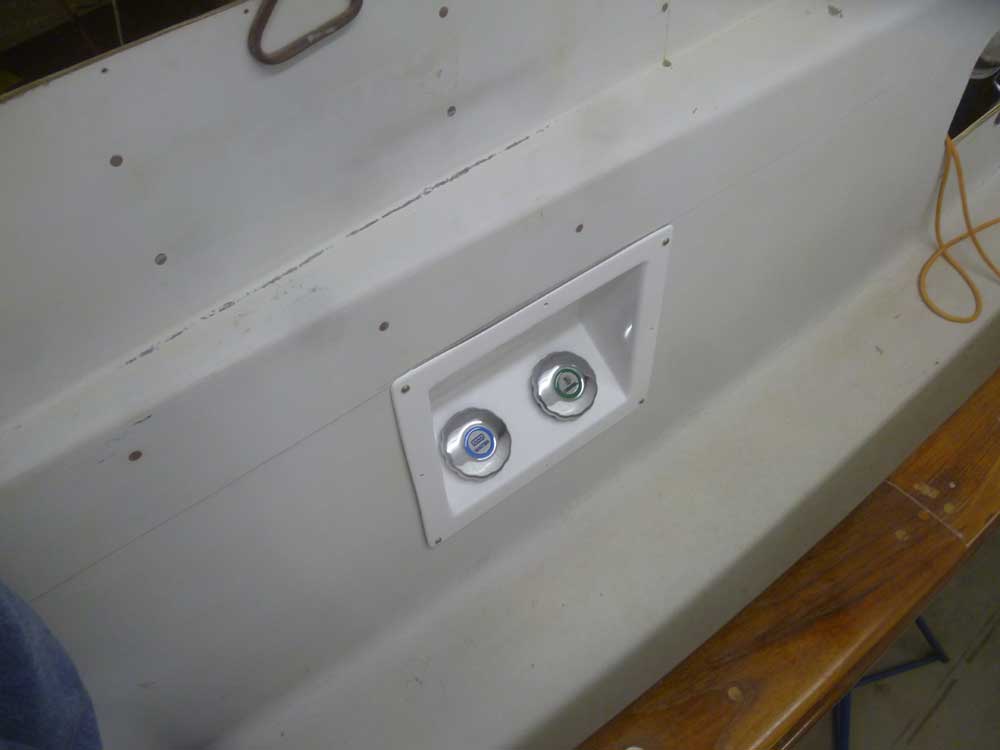
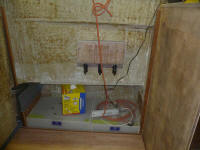
To aid in the eventual layout and construction of the
longitudinal pilothouse bulkheads, I temporarily
installed the tank fill unit assemblies; I wouldn't
permanently install these till the boat was painted, but
for now I wanted them in place to help me locate various
openings and, eventually, other installations that would
go in the adjacent spaces. |

 |
My work on the pilothouse interior was temporarily
stymied as I was finally forced to admit that I couldn't
proceed till the engine--and, most importantly, the
remote coolant header tank--arrived at the shop.
I'd learned that as of last week, the engine had arrived
at the North Carolina distributor, so I sent off my
final payment and hoped to have the engine in hand in
the near future.
The header tank was critical because it needed to be
mounted somewhere above the domestic water heater, and
this meant somewhere in the pilothouse behind the new
side panels. I didn't know the dimensions of the
tank, and most other aspects of the new construction
hinged upon its ultimate location, so without it I found
myself at a standstill. Anxious as I was to
continue with the interior construction, I made myself
refocus my attention to some other part of the project;
certainly there was no shortage of other tasks I could
work on in the meantime.
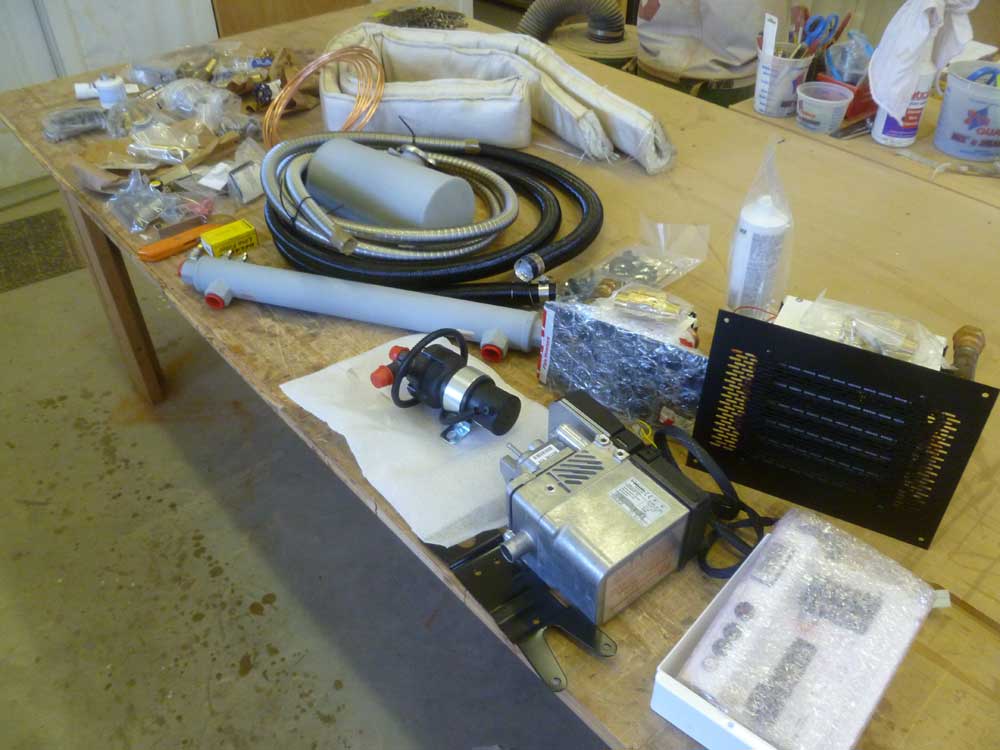
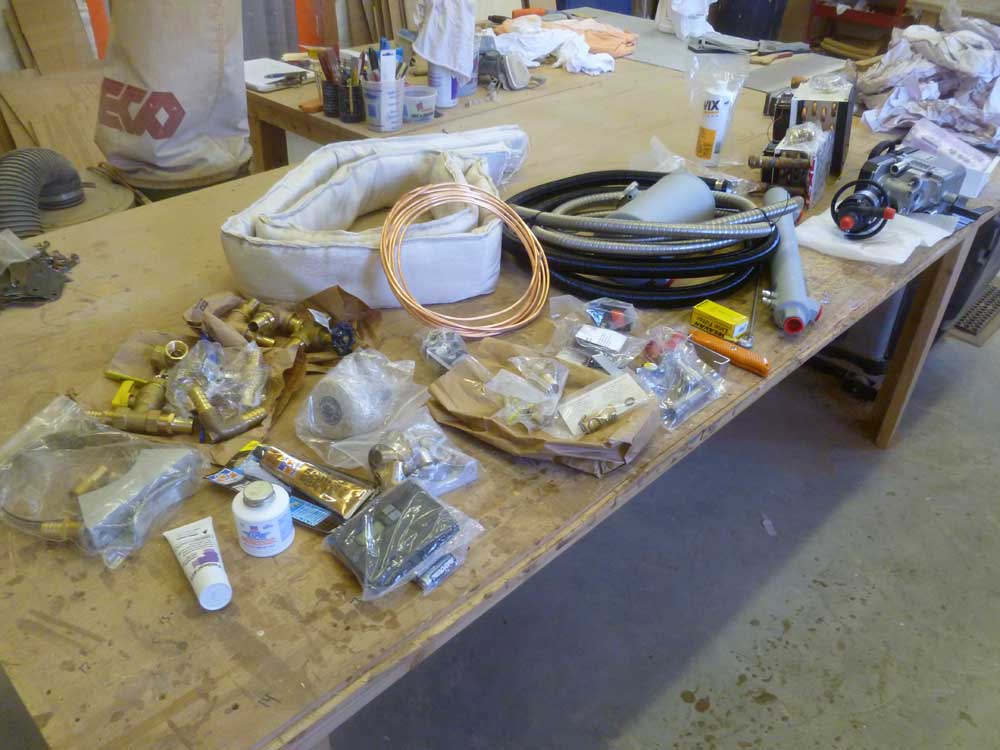
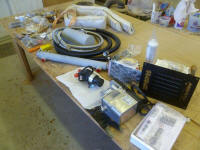
After some delay, late last week I received four large
boxes containing all the pieces and parts required for
the diesel heating system. One thing I'd already
learned was that there was no "stock" kit containing
everything needed, since each installation was so
potentially different, so despite careful planning I
wouldn't know till I installed everything whether I'd
ordered all the correct parts or not.
In any event, I thought it prudent to check that I'd
received everything I ordered, as well as get some sense
of all the pieces in 3D, so I unpacked everything and
marked it off my list in turn. The large pile was
more than slightly daunting in scope and complexity,
but, like the larger scope of the boat project itself,
would surely be easier to cope with with item by item,
system by system, rather than as a whole.
(Not shown: the system water hose) |
 |
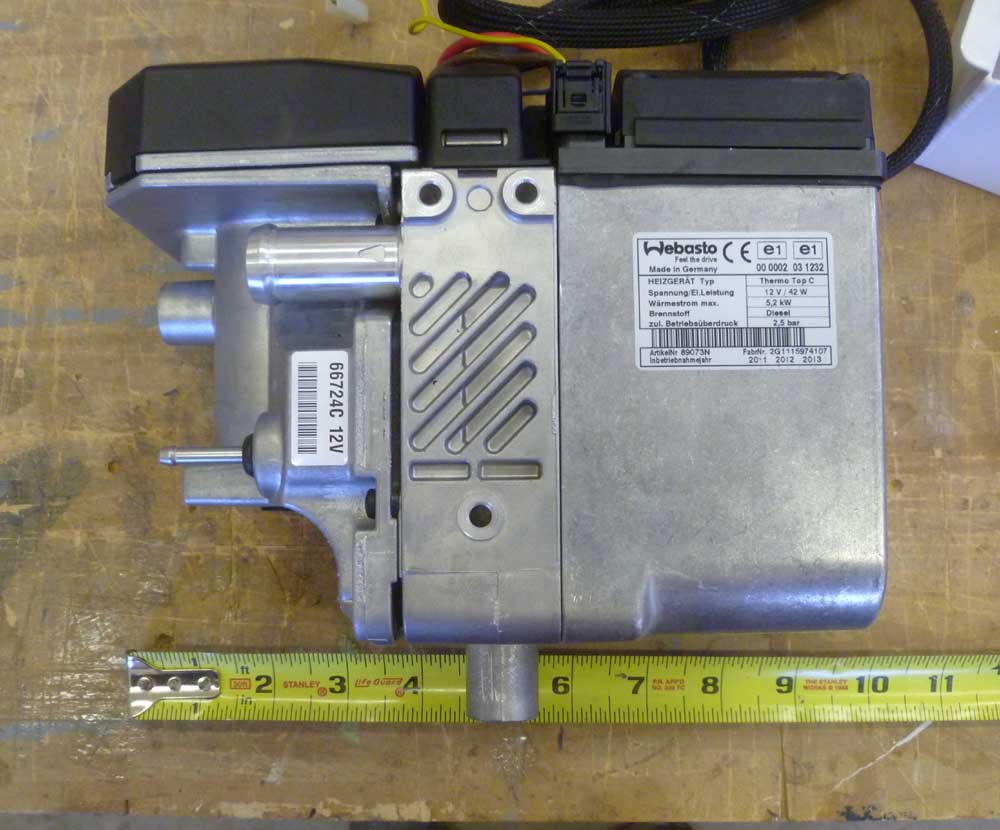
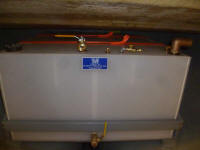
The good news was that the Webasto TSL-17 diesel boiler
was quite a bit smaller than I'd anticipated, which
meant it'd be an easy--luxurious, even--fit in the space
I'd planned for it in the engine room. |
 |
During my planning and ordering process, I'd had various
discussions with the supplier, and one of the things
that came up was that they recommended that the boiler
use its own dedicated fuel pickup rather than drawing
off an existing fuel line or manifold, this to avoid the
possibility of competing fuel supply needs affecting the
operation of either the boiler or main engine.
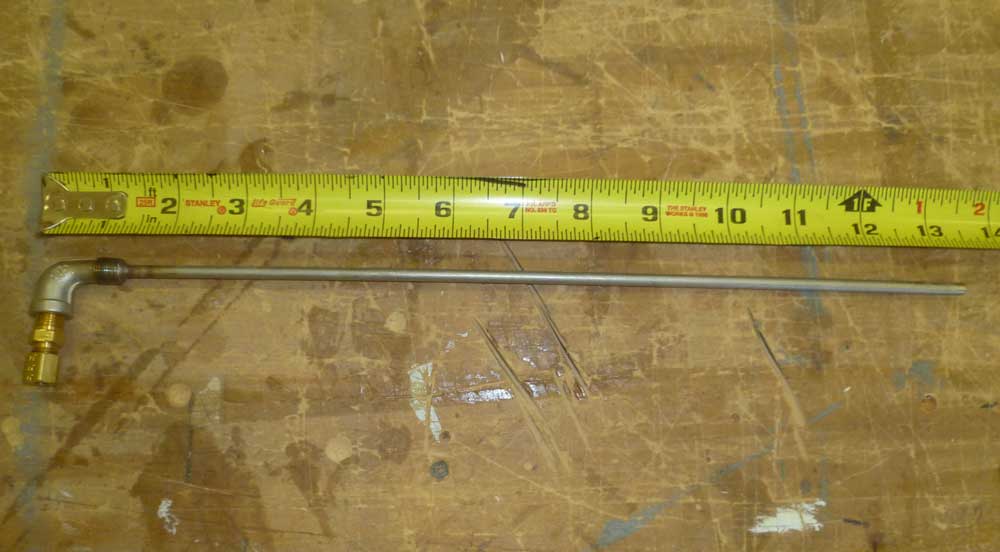
Since there was no reason I couldn't install an
additional fuel pickup in one of the tanks--and in fact
doing so would actually make the fuel supply run to the
boiler more convenient--I ordered a fuel pickup tube
designed for use with the boiler, which I planned to
install in the after (center) fuel tank.
While having the dedicated pickup meant that I'd only be
able to draw fuel from the one tank, I felt that this
was a small compromise. I chose the center tank
because I expected this would be the last tank I'd
select for engine use, assuming all three diesel tanks
were filled, so it seemed most likely there'd always be
substantial fuel in this tank under any circumstances.
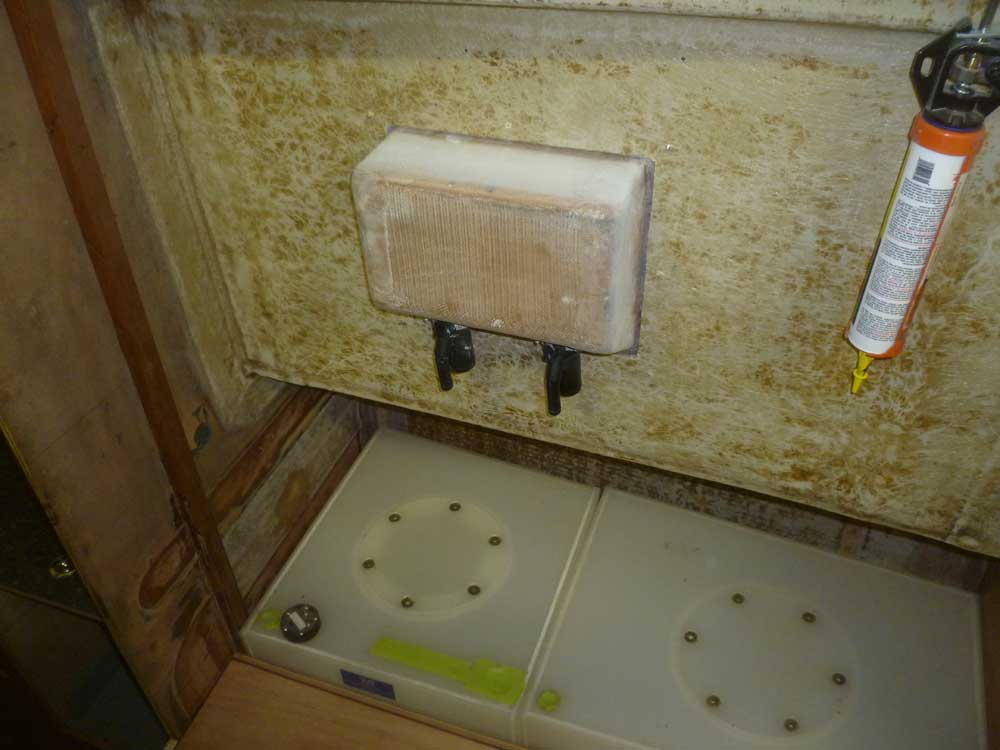
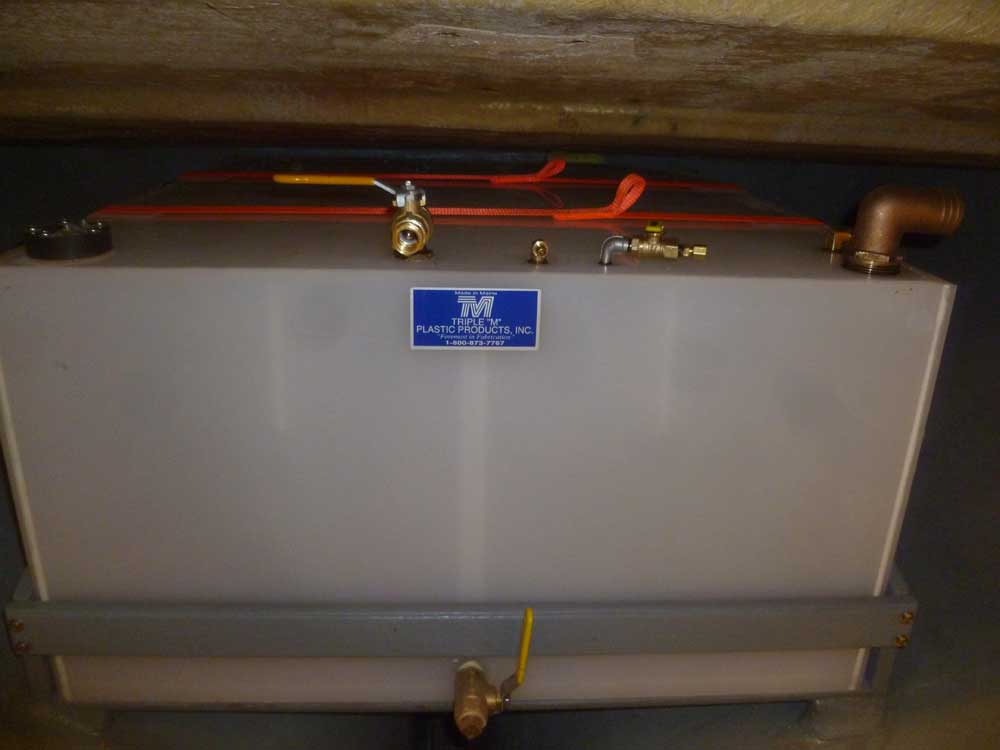
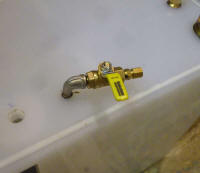
Now was the time to install this new supply pickup in
the tank. |
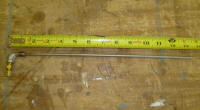 |
Installation would be a simple matter of drilling and
tapping the appropriate-sized hole and threads in the
polyethylene tank; the wall thickness (3/8") was more
than enough to provide adequate threads for the supplied
fitting without a need for a bushing or other fiting.
However, there wasn't enough clearance above the top of
the tank to drill and tap the hole, and insert the
fitting, so I unstrapped the tank and slid it forward
into the engine room for better access.
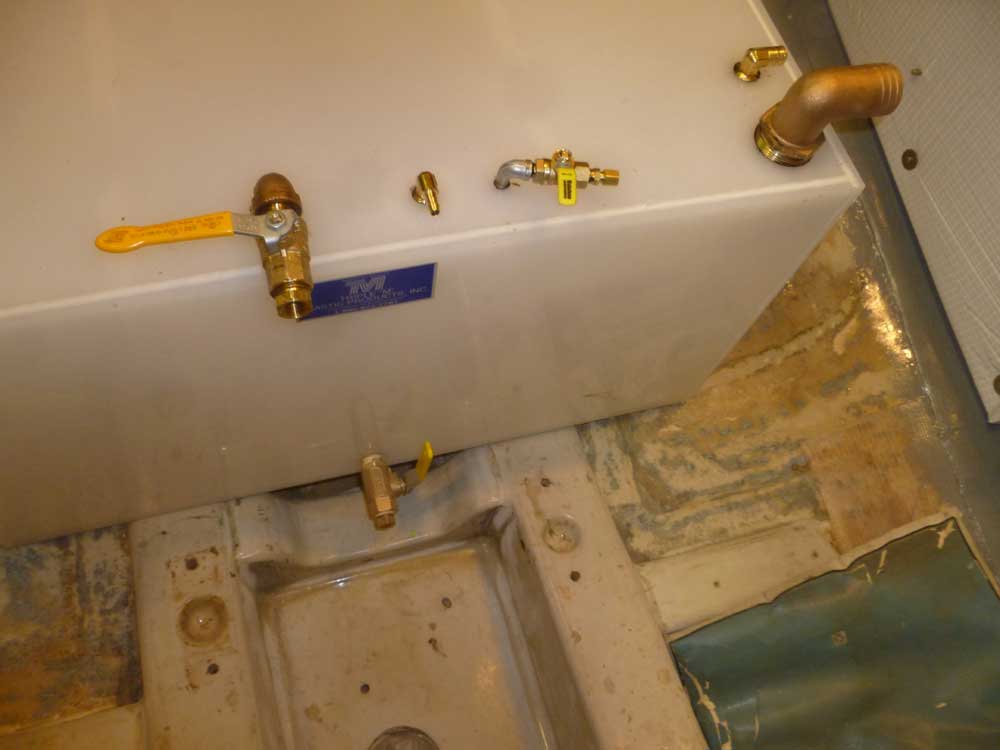
In short order, I drilled and tapped the new hole
(3/8-24 threads) and installed the new pickup, along
with a shutoff valve I'd ordered as part of the heater
installation. |
 |
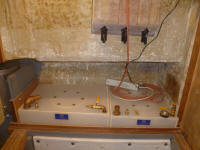
While the tank was out, I installed all the other
fittings, which I'd recently ordered with this
intention: fill, vent, supply, and return.
Afterwards, I returned the tank to its platform and
resecured it. |

 |
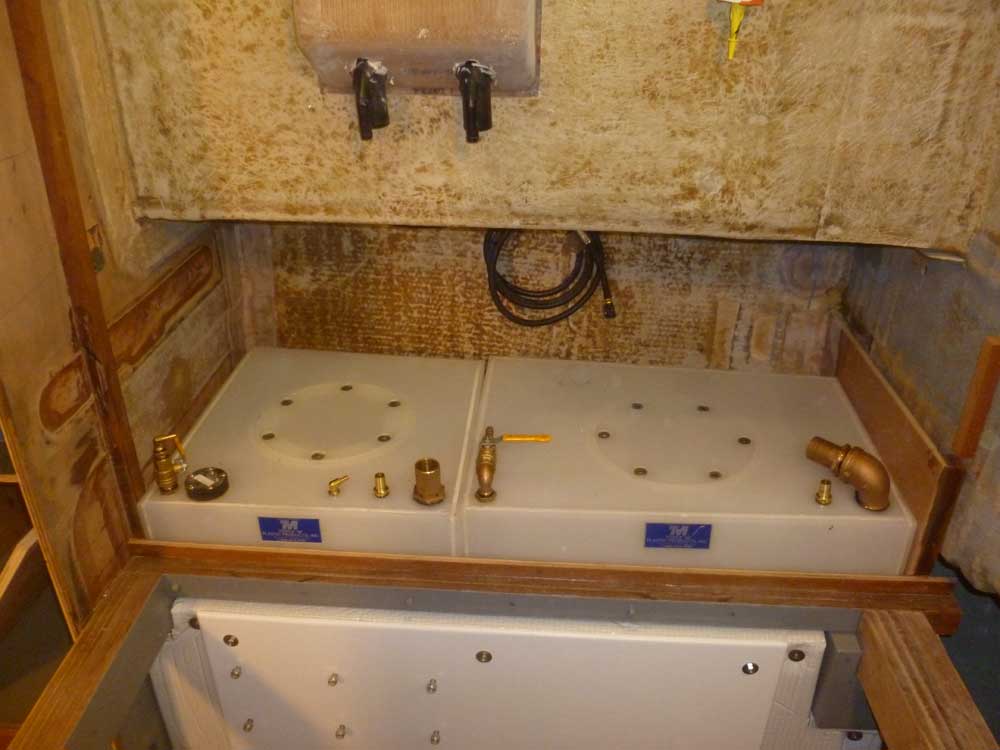
Similarly, I took the opportunity to install the tank
fittings on the other four tanks outboard of the engine
room. The access was as good as it would ever be,
and with any luck I'd soon be installing portions of the
related fuel and water systems, so this was a good way
to spend the afternoon, and in any event was one of
those seemingly insignificant tasks that not only needed
to be done, despite it having no apparent--or
immediate--impact on the completion of the vessel, but
also took a surprisingly long time to do. |
 |
| |
Total Time Today: 5 hours
|
<
Previous |
Next > |
|
|