Project Log: Friday, February 11, 2011
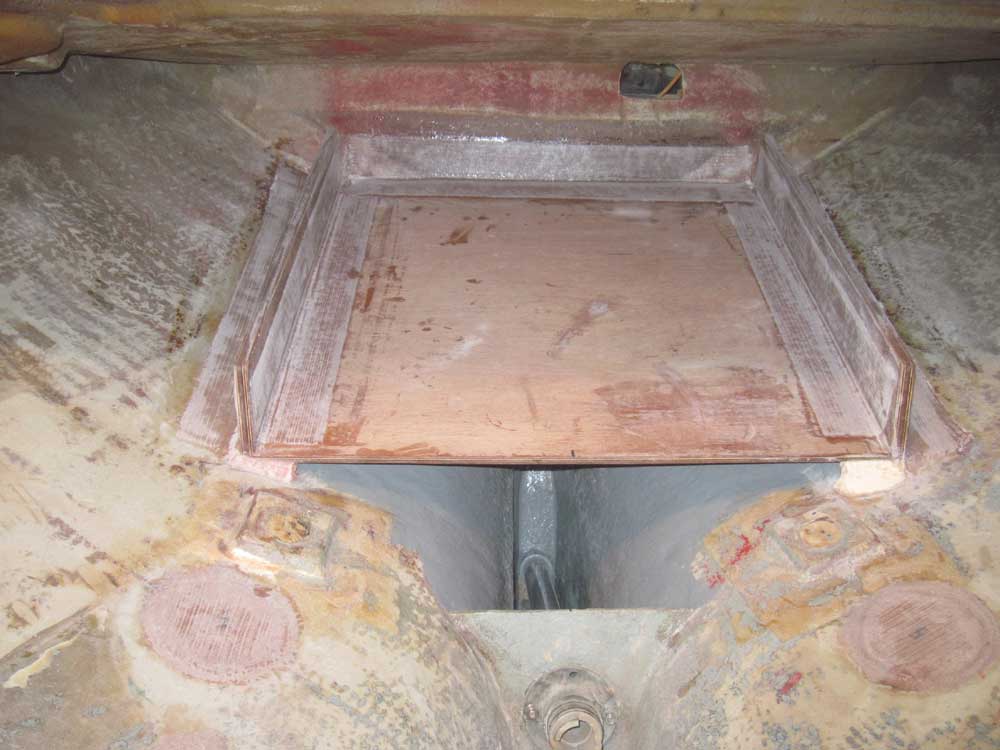
Earlier in the week, I took a few moments to wash and
sand all the new tabbing on the after fuel tank
platform. I'd give the new epoxy as much time as
possible to fully cure before painting out the area (new
epoxy tends to adversely affect the curing of some
paints), after which it'd be ready to accept the tank. |
 |
My next big event was to prepare for and foam in the new
engine room wing tanks. Although I purchased
additional, new 2-part expanding polyurethane foam for
this task, I also had partial containers dating back to
a job about a year ago that I hoped (and planned) to
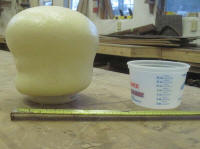
use. Before proceeding, however, I thought it wise
to perform a mixing test of the older product.
I mixed 2 oz. of each part (the smallest practical
amount I could measure in the containers I had) and left
the container to see if the foam still worked.
It did. |
 |
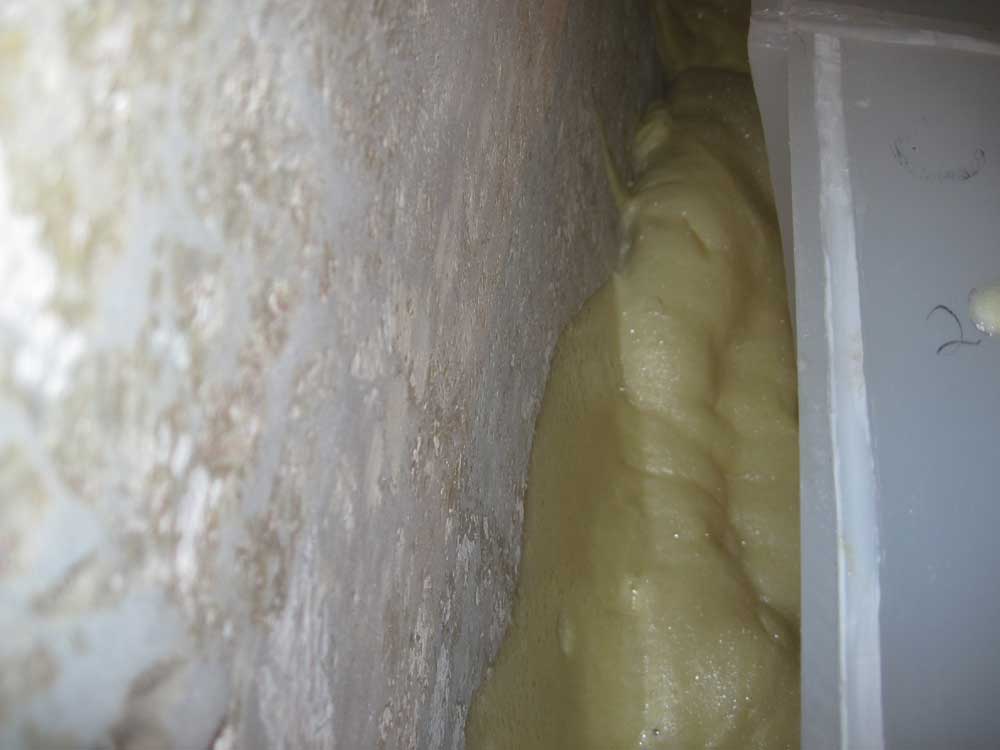
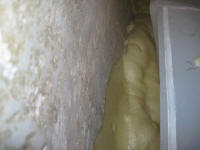
Unfortunately, I miscalculated how much of the product
I'd need, and ran out of foam before I'd finished both
sides. However, I managed to fill the port side up
about as far as the top of the after bulkhead, and part
of the starboard side. I'd have to buy more foam
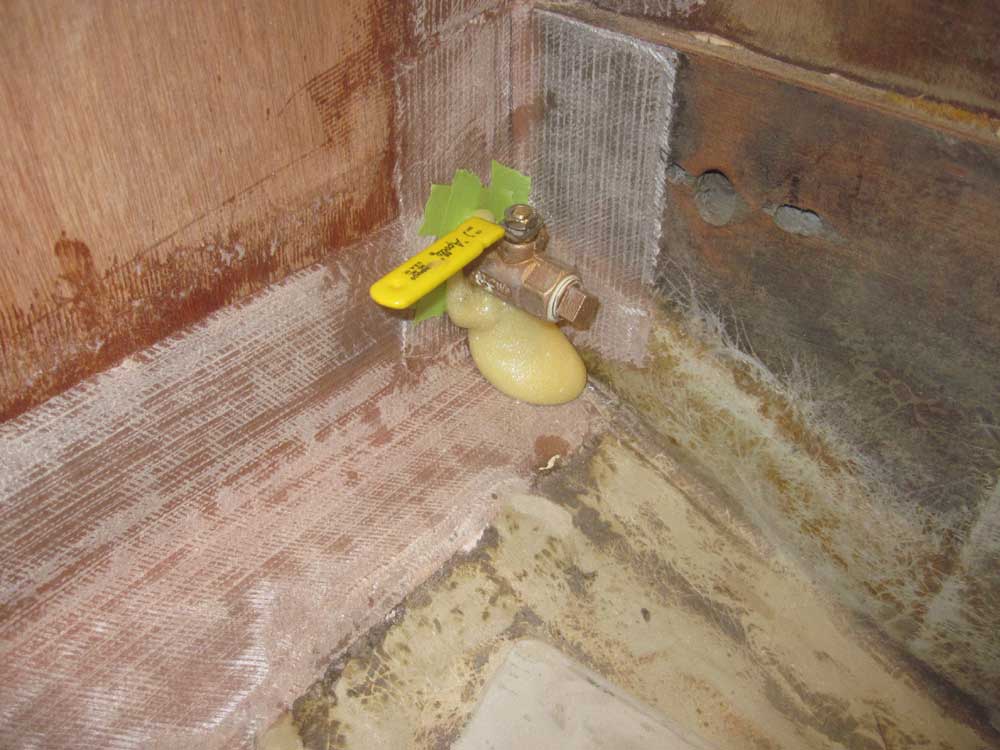
to continue. Even though I'd taped off the
openings around the drain valves, some of the foam still
leaked out through some of the openings. |
 |
Fortunately, the lack of sufficient foam didn't put an
end to the day's work. Though I'd hoped to
complete the job, I could easily finish some other time.
In the meantime, I spent quite a bit of time
contemplating the bulkheads in the engine room and
working out how to proceed from what I had--that
undocumentable sort of rumination that's an important
part of the design and construction process in any job.
Perhaps, dear reader, you may recall that I chose to
build the new tankage support bulkheads somewhat lower
in order to allow the tanks to be installed over their
tops, which allowed me to reinforce the bulkheads inside
and out and make for the soundest installation possible.
This meant that these semi-structural bulkheads were
several inches lower than the minimum level I
required in order to build the pilothouse sole
supports--my immediate construction goal and important
foundation step in the reconstruction of the entire
pilothouse interior.
It was time to face the consequences, for lack of a more
appropriate turn of phrase. This was one of those
situations where describing the plans I eventually
formulated was more difficult than actually building it,
so bear with me through these wordy descriptions and
wait and watch through the next several work sessions,
as needed, for the setup to become clear.
Complicating the situation was the fact that the aft end
of the pilothouse floor was necessarily by design below
the level of the molded aft bulkhead, meaning that
supporting the aft end of the pilothouse sole required
more thought than simply securing a cleat to this
bulkhead.
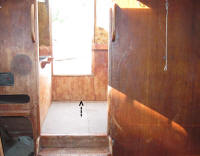
In the original construction, there'd been a 1/2" thick
sheet of plywood bolted through the aft bulkhead that
hung down beneath the edge enough to allow the sole some
means of support there--not an installation I planned to
emulate, as it was awkward, bulky, reduced access to the
spaces behind, and required through bolts from an
exterior finished surface.
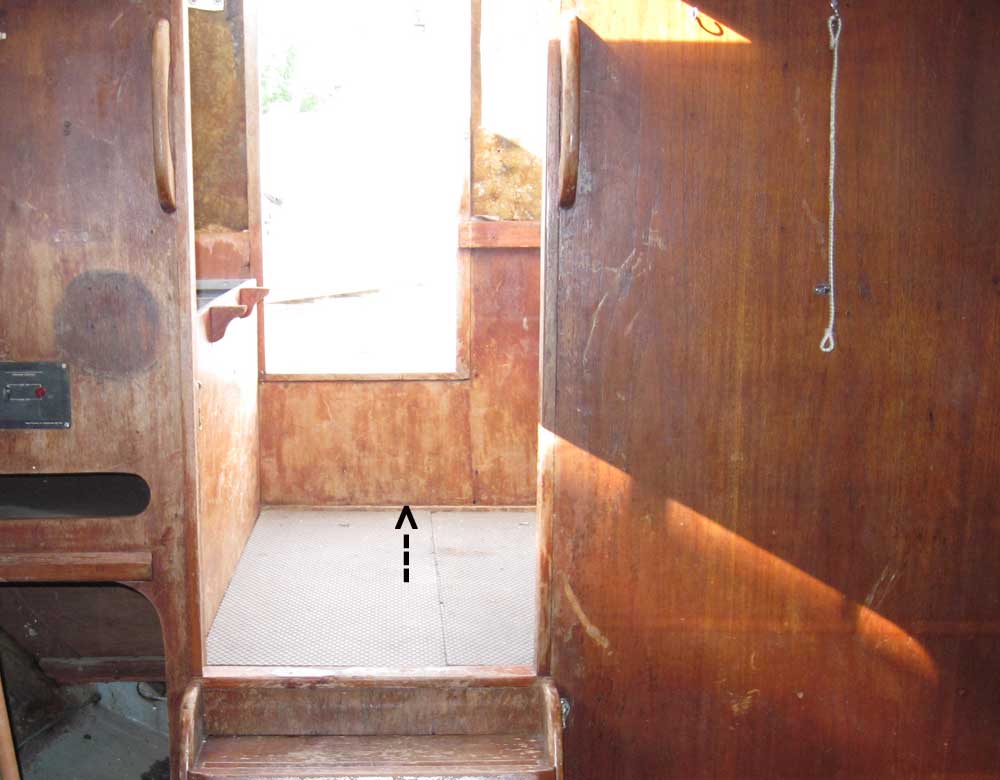
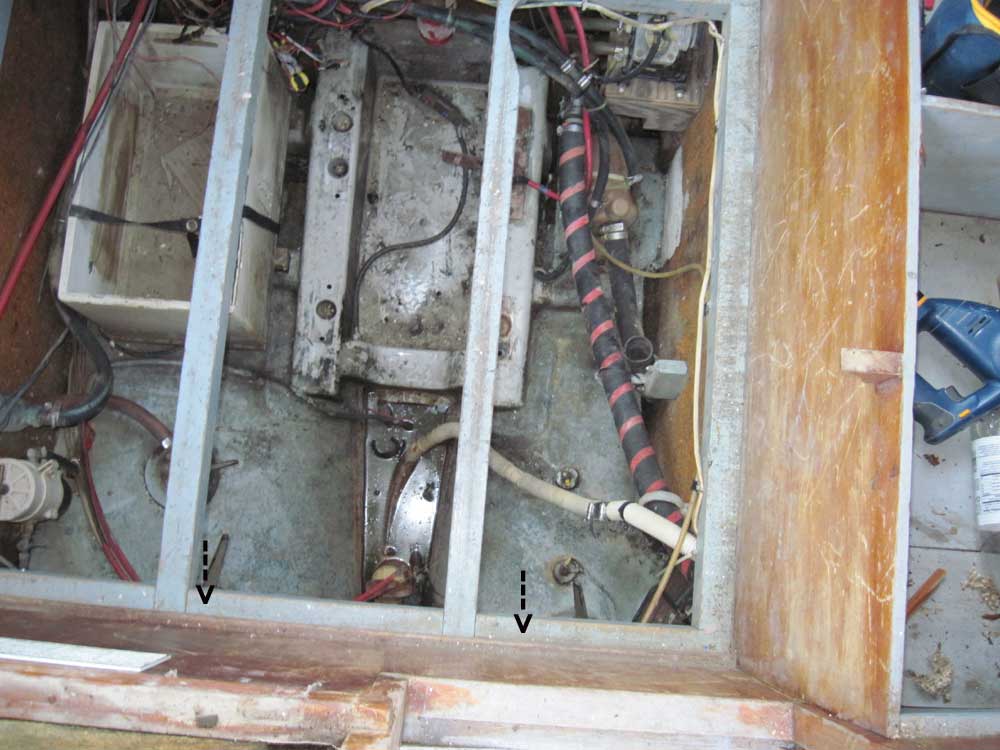
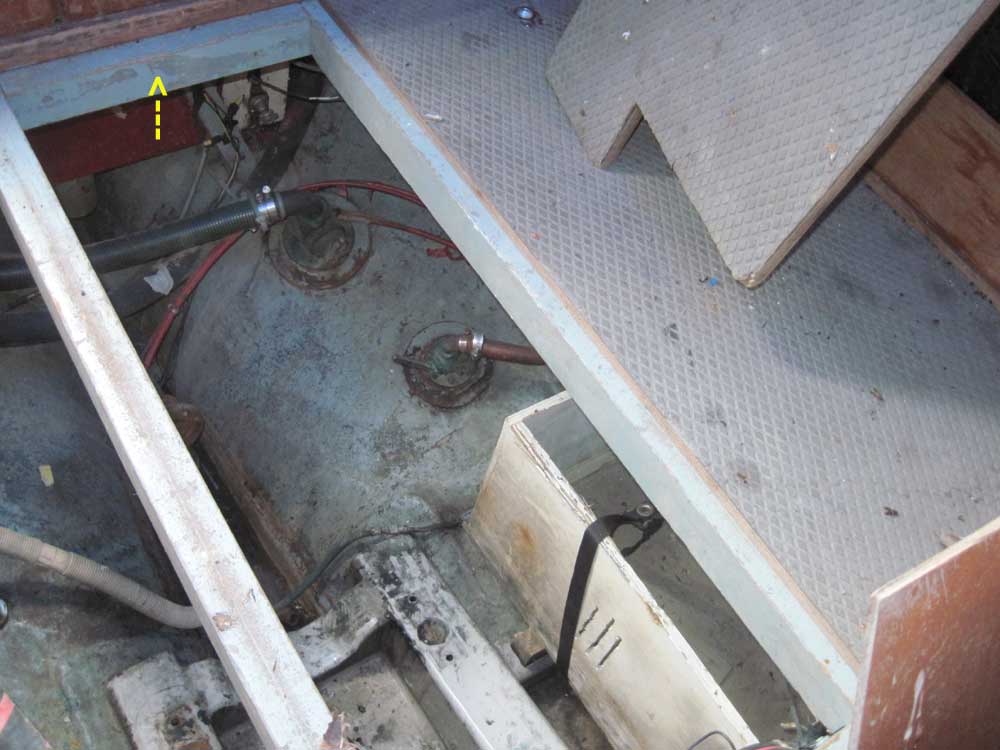
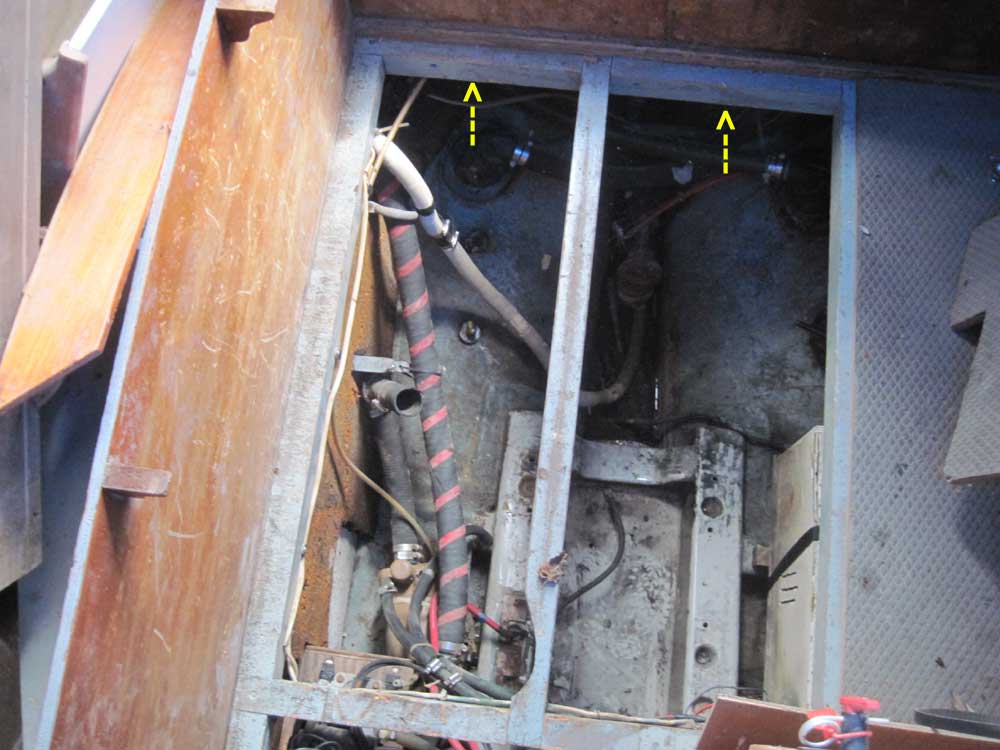
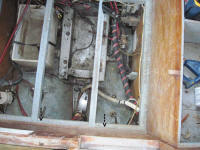
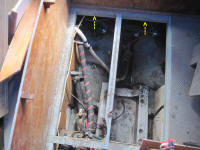
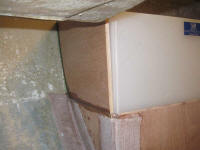
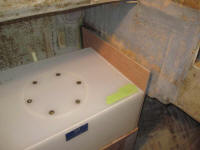
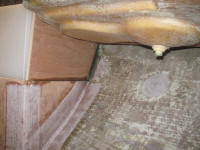
After scouring my photo archives, I couldn't find any
old pictures that truly showed the original setup, so
these four (all taken in July or August 2010) are the
best I can do to attempt to illustrate the previous
installation. |

 |
I wanted to build a removable, strong beam that would
span the width of the pilothouse at the aft end,
obviating the need for the awkward down-hanging plywood
and also providing better access to the spaces behind as
needed. To support the beam at the ends, I'd need
to use one of the longitudinal bulkheads, bringing me
back full circle to the question of how best to arrange
things.
I'd built the fuel tank bulkheads 48" long, plus an
additional 1/2" at the after end where the transverse
bulkhead closed off the space. This was just
slightly short of the distance to the molded fiberglass
aft pilothouse bulkhead, but it had seemed wasteful to
make the bulkheads an inch or two longer, thereby
requiring using the length of a sheet of plywood rather
than the width, so from early on I'd chosen this
particular compromise as it had little overall bearing
on strength or structural integrity--only on
construction convenience.
Therefore my first problem, as it were, was to extend
this length as needed to provide the support not only
for the pilothouse sole beam, but also for the plywood
panels that would form the visible cabinetry inside the
pilothouse.
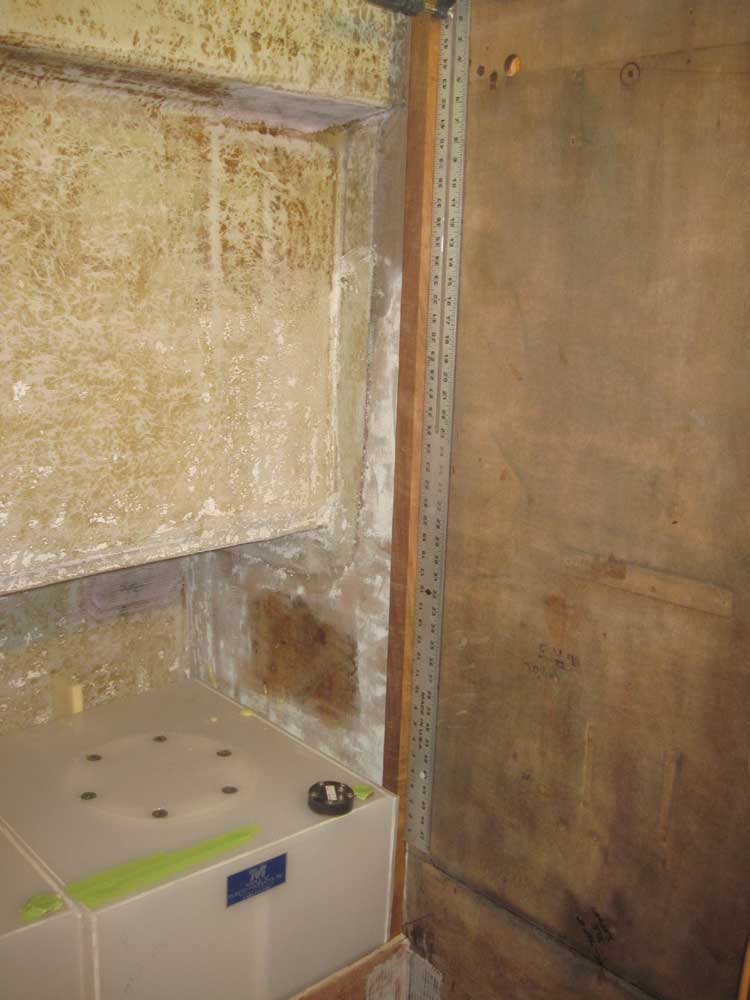
Plywood is, of course, 48" in width, and I planned to
eventually use a full width of cherry plywood for the
top portion of the side bulkheads, so the first thing
for me to determine was where the 48" measurement would
land on the forward bulkhead. I clamped a 48"
metal rule in place at the top of the bulkhead, and
noted where it landed at the lower end. |

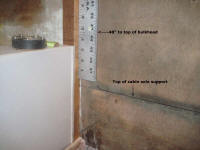 |
This ended up roughly 3/4" above the top of the cabin
sole support, which was fortuitous since the finished
cabin sole would likely be roughly 1" thick (18mm
substrate plus 1/4" finish material), meaning the
plywood seam would be naturally hidden by the cabin sole
once installed. This left roughly 6" between the
end of the cherry plywood and the top of the fuel tank
bulkhead beneath, a gap I'd fill in with a section of
structural plywood and which, when complete, would
(finally) give me the sturdy structure required to
support the cabin sole support cleats.
At the after end, I eventually decided that by
installing an extension of the short transverse bulkhead
(aft end of the fuel tank), I'd create a surface on
which I could install a strong cleat, allowing the
"fill-in" section of plywood to pass by and create the
extra length and support needed for all the remaining
structure. (Perhaps I should have simply built this
bulkhead taller before, but I chose to keep it level
with its longitudinal cousin since I just wasn't sure
what I'd need from there.)
Fear not: all will become clear (assuming it seems muddy
now) as construction progesses.
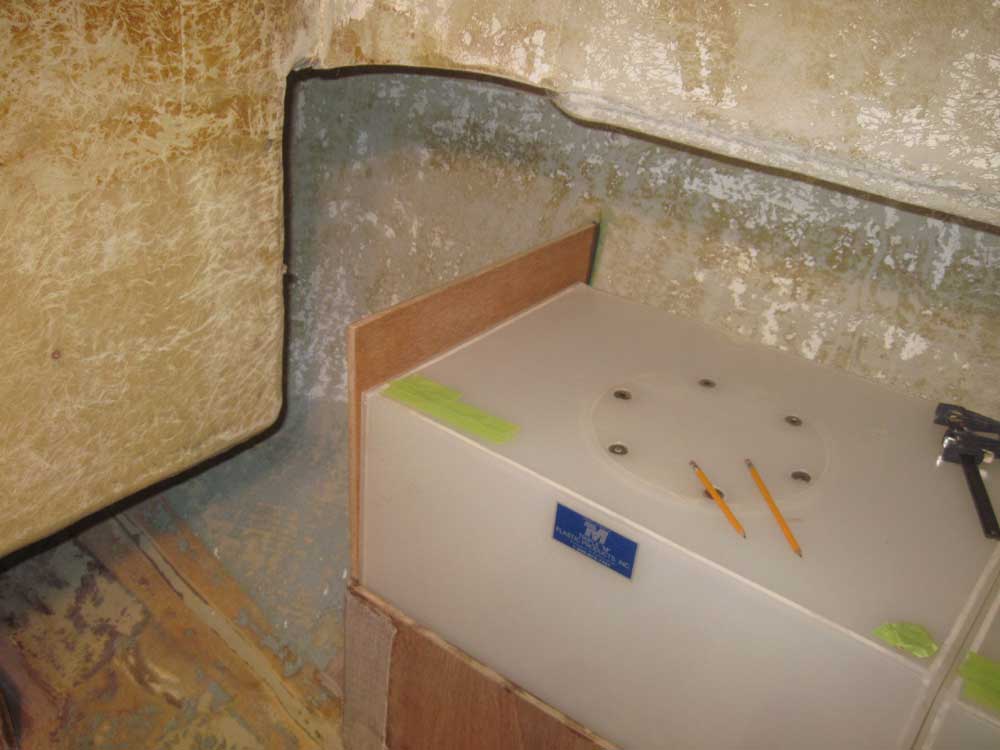
In any event, I templated and cut/fit 12mm Meranti
plywood extensions, which I allowed to extend roughly 3"
above the tank tops to provide a place for support
cleats and tank hold-downs, which I'd install sometime
later. However, this height allowed access to the
space behind (port side only), which I wanted to keep
open for future access and unknown uses.
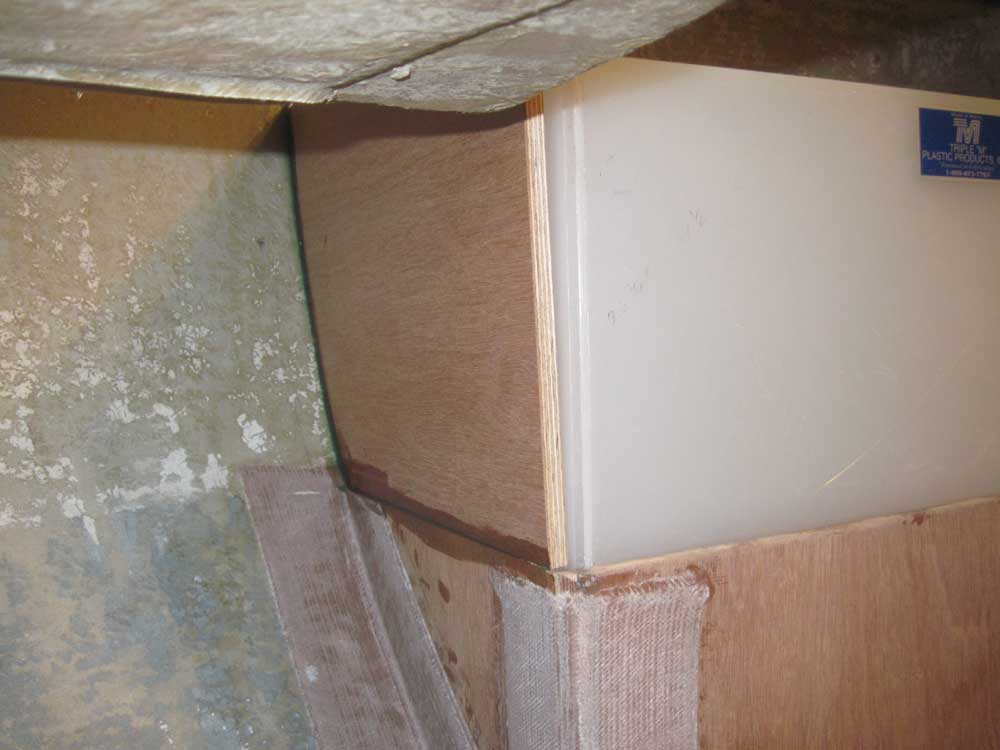
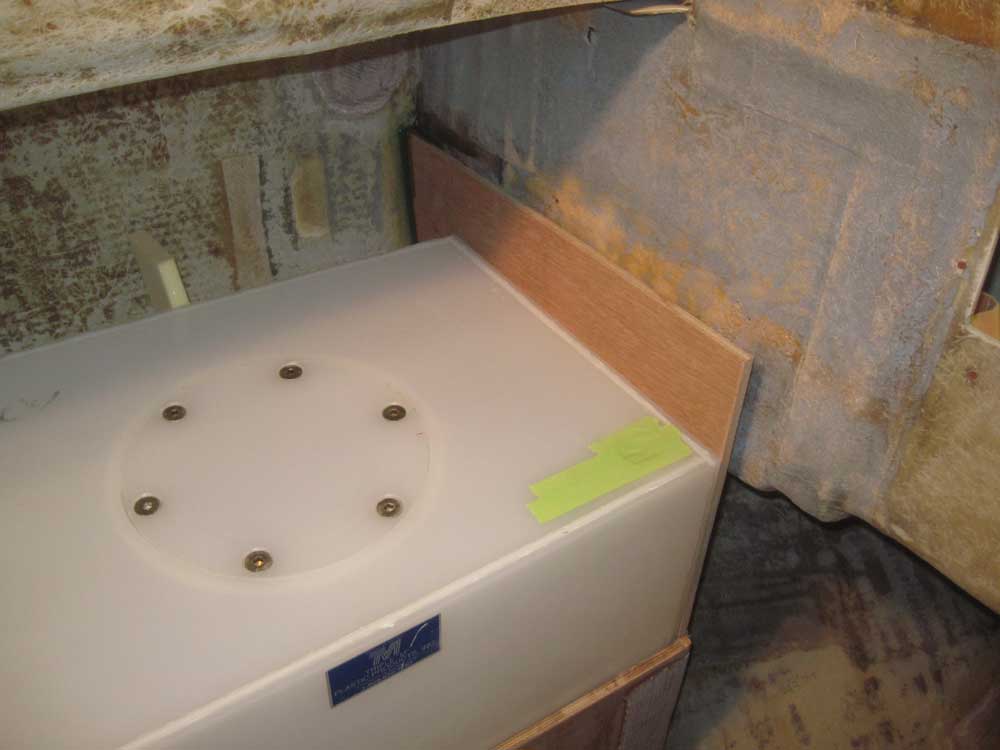
With both bulkheads--port and starboard--cut and fit, I
glued them in place to the bulkhead beneath and against
the hull with epoxy adhesive. The camera angles in
the photos below make the alignment seem off-kilter and
wacky, but the bulkhead extensions were plumb and level
as required (though the starboard water tank was pitched
somewhat inboard--something I'd take care of before
continuing). |

 |
Though I'd reinforce these new installations with
fillets and tabbing later, for the moment I left them to
cure overnight.
|
Total Time Today: 4.25 hours
|
<
Previous | Next > |
|
|