Project Log: Thursday, July 14, 2011
The insulation and sheathing against the hull beneath
the dinette wasn't going to get done unless I did it, so
I gritted my teeth and spent an afternoon completing the
task.
In this instance, the insulation and sheathing was
designed mostly to protect the contents (whatever they
ended up being) of these lockers from any hull moisture
that might be present during normal use. I didn't
plan to truly insulate the boat the way one might if one
expected to live aboard in sub-zero temperatures, so all
insulation I'd install along the way would be mostly
along these lines: to keep hull lockers
sufficiently isolated from the effects of the sun's heat
(from the dark hull) and condensation.
As such, I saw no need for fancy, budget-breaking
materials, though I'd researched the issue and at one
time had thought of purchasing something like Armaflex,
which comes highly recommended and would probably be an
optimal choice if I had a steel boat or if I really
needed insulation performance. The price of this
product was high, and I just didn't see
the cost benefit here. And anyway, I didn't have it
now, and now was when I was doing the job.
Since we planned to use the boat seasonally in temperate
latitudes, high-performance insulation against neither
heat nor cold was required: just a little buffer
zone. I'd good luck with basic 1/2" foam board in
my other boat, where I'd used insulation at all, and I
planned to go this route for most of the upper lockers,
which I'd be building slightly down the line.
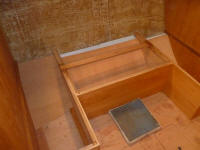
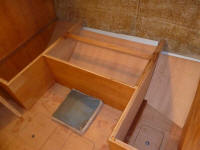
For the dinette, it was a matter of using materials on
hand so I could accomplish the goals and complete the
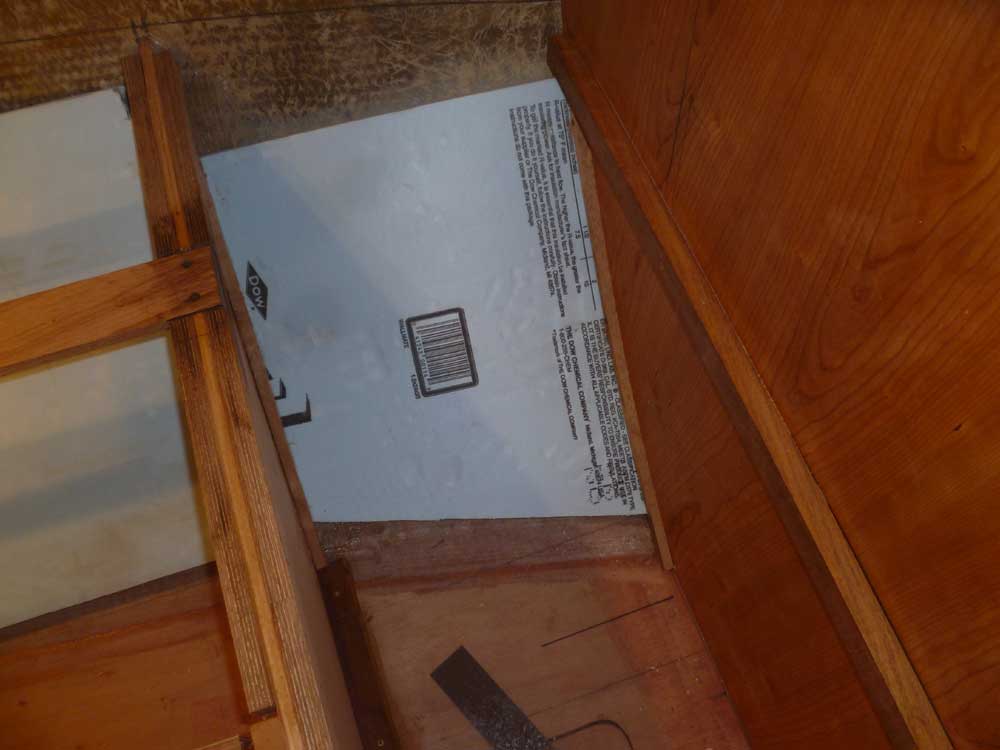
dinette base structure. To that end, I chose basic blue
Styrofoam board, a supply of which I had on hand from
some long-ago forgotten project. While this
closed-cell product offered good performance, its main
benefit was that it was already in the shop. At
least for these lockers, it was the right choice.
The insulation was 1-1/2" thick--thicker than I really
wanted for space considerations, but ultimately I
decided I could afford the minimal space reduction in
this area since the curvature of the hull already
limited the utility of these spaces to some extent.
I'd never really miss the volume lost to the insulation,
and again: it was on hand. To keep this
choice in perspective, one must remember that my shop is
located far from any retailers, and I don't drop things
to run out on errands without true need and planning.
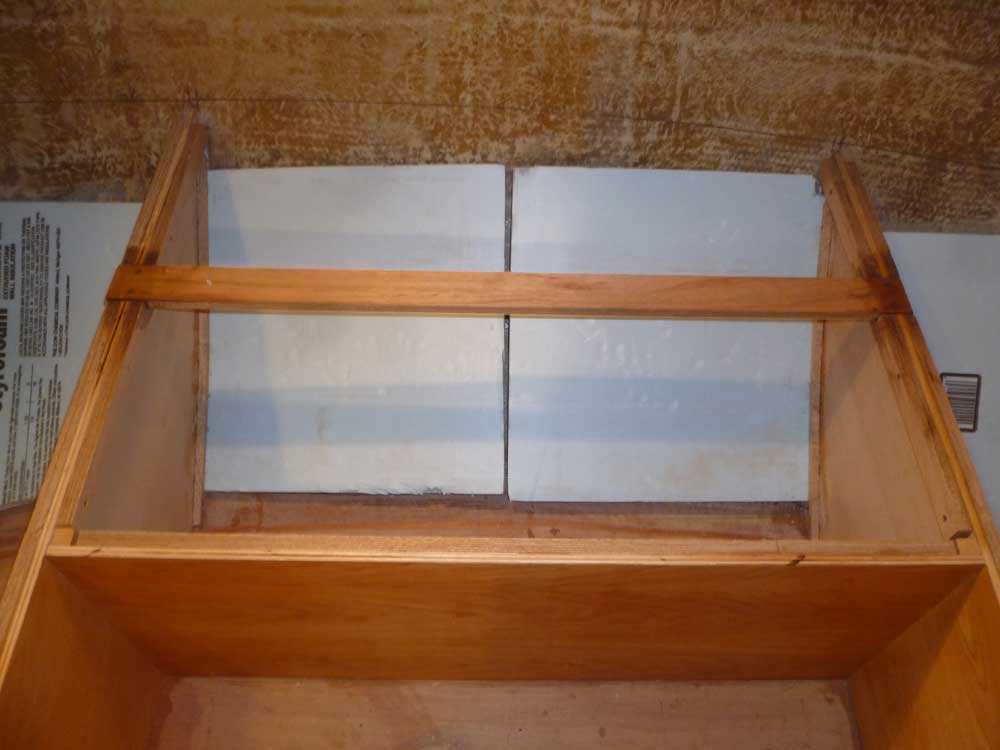
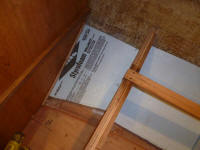
On to the actual work. The hull shape was such
that I could get the insulation to bend more or less to
conform to the curvature without difficulty. I had
to cut the large center piece of insulation into two
pieces in order to get it into its compartment, as
various cleats and obstructions prevented me from
otherwise squeezing it into position.
To secure the insulation, and to provide means of
attaching the plywood sheathing above it, I relied on a
basic friction fit, and milled slim cleats for each side
of each of the three compartments. I installed the
cleats, pressing them--and the insulation beneath--into
the curvature of the hull and securing them to the
bulkheads with small screws and some hot-melt glue.
The two-piece foam section in the center compartment, as
seen the right-hand photo, stuck up proud of the hull in
the center until I installed the plywood panel above it
later in the afternoon, and this is responsible for the
appearance of the gap between the sections. |

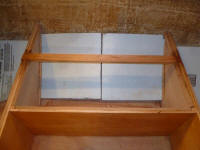 |
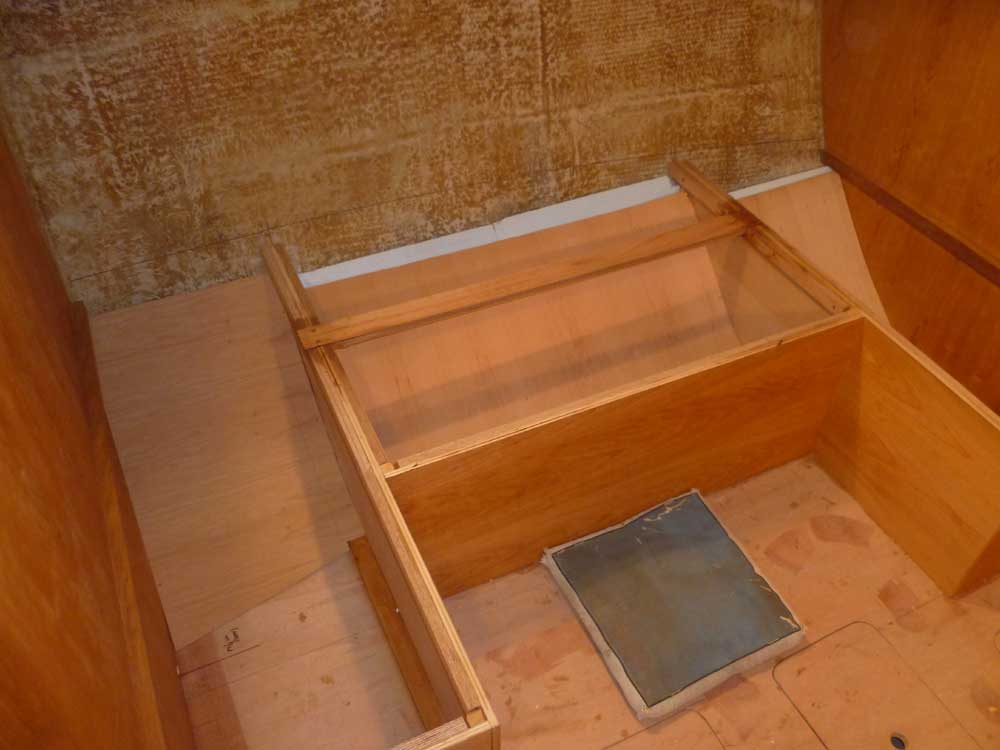
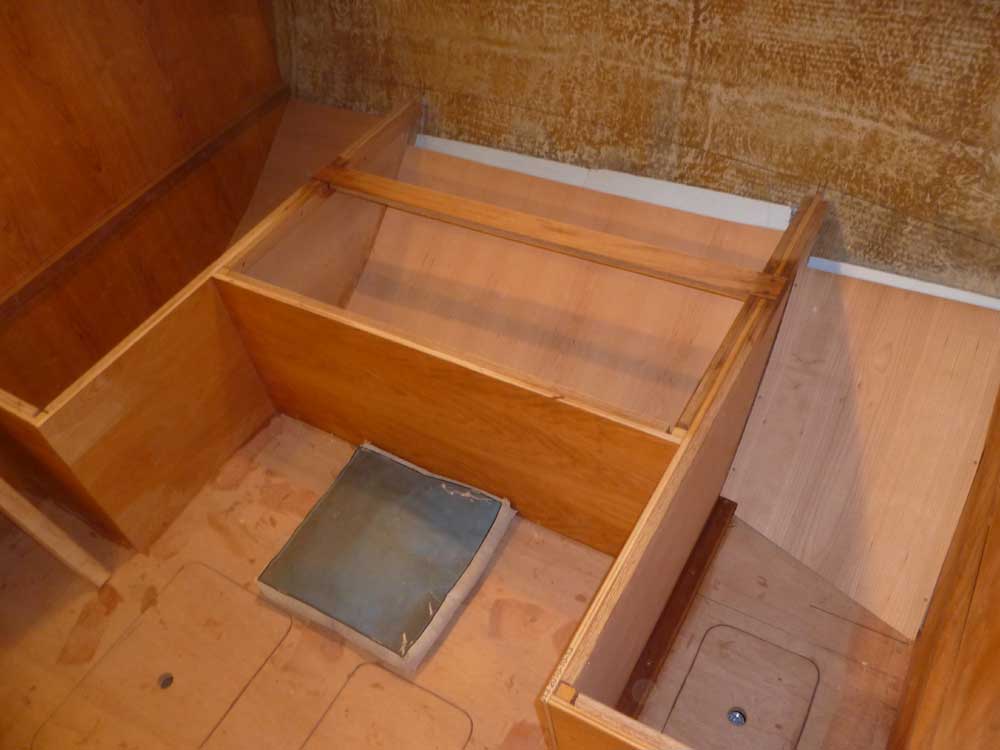
Afterwards, I cut cover panels from leftover 1/4" cherry
plywood. Because the top edges of these
compartments would be invisible and inaccessible once
the top platform was installed, I didn't worry if the
plywood completely covered the foam at that edge (as on
the forward panel), but the center panel ended up
shorter than I would have liked, particularly at the
after end (the forward end extended to its natural end
at the support cleat on the bulkhead), however, as this
was the only suitable piece of plywood I had on hand
that would cover the area. Despite its appearance
now, however, the panel would offer the needed
protection to the foam beneath, and the shortfall would
be out of sight and out of mind soon.
I screwed the plywood with screws to the wooden cleats
that I'd used to secure the foam earlier. |
 |
| |
Total Time Today: 4 hours
|
<
Previous | Next > |
|
|