Project Log: Saturday, July 30, 2011
After a couple weeks of vacation, I was anxious to get
back to work. Picking up where I left off before
vacation, I continued with the dinette platform
installation.
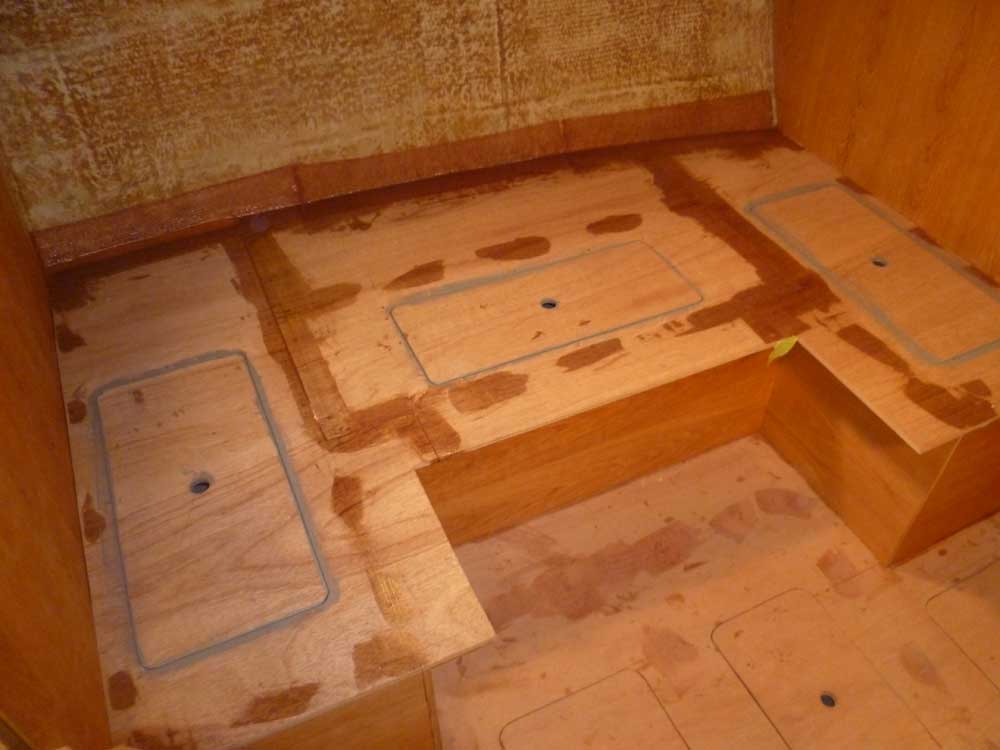
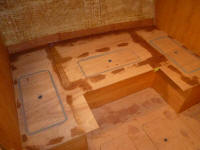
This was a straightforward process. After applying
a bead of adhesive to the cleats and bearing surfaces, I
installed each of the three platform sections with
bronze screws, securing each section tightly into the
adhesive.
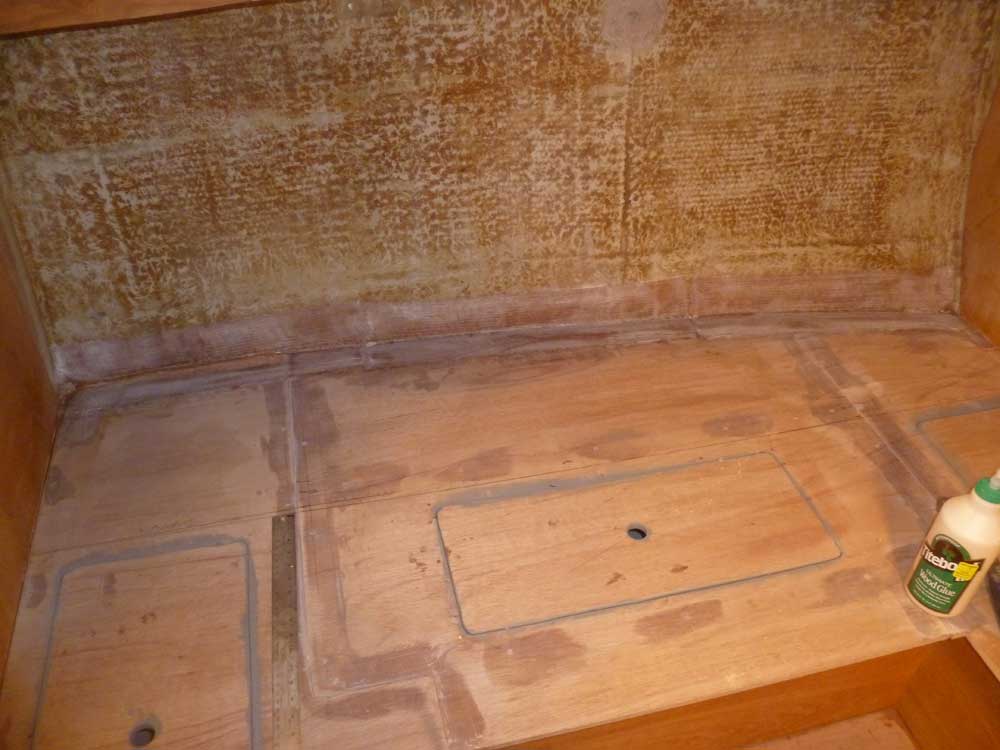
With all sections installed, I applied an epoxy fillet
to the joint between platform and hull, and filled the
screw holes and seams between the plywood sections (more
for final appearance than anything else). Finally,
I installed 6" biaxial tabbing to secure the platform to
the hull along its outer edge. |
 |
Meanwhile, I spent a fair bit of time researching future
aspects of the project, mainly various equipment
choices. This undocumented activity always seemed
to require inordinate amounts of time, but I supposed it
was a necessary evil and all part of the process.
What one would do without the Internet as a research
tool (with all the trials and tribulations thereunto)
for this sort of thing I cannot imagine.
Among the items I spent time researching were galley
stoves (which I planned to purchase shortly so I could
construct the galley side of the cabin); pilothouse
seating (I read on a respected cruiser's website that
they suggest auto-type chairs, rather than "marine"
chairs, because of their comfort, durability, and
significantly lower cost, and I thought this was an
interesting idea, but knew nothing of automotive
equipment, so it took most of an afternoon to acquaint
myself with some of the options); more on the cabin heat
and domestic water heater; and even future navigation
software/hardware options.
In addition, I spent time in the boat envisioning some
of the structures yet to come--particularly the dinette
backrest/locker configuration and the galley layout.
I'd build a mockup, but first needed to get an idea of
what I wanted to do; plus, I had no materials for a
mockup on hand, so that would have to wait till I could
obtain what I needed.
As much as I wanted (and planned) to continue interior
construction, I also had to think about my cockpit
locker construction/modifications. I intended to
close in the open sections of the cockpit seating areas,
creating a proper propane storage locker and other
enclosed storage lockers. To this end, I ordered
some materials I'd need to have on hand to begin this
process, and hoped to get that underway soon.
Later, once the new fiberglass cured, I performed my
habitual light sanding, completing the process. |
 |
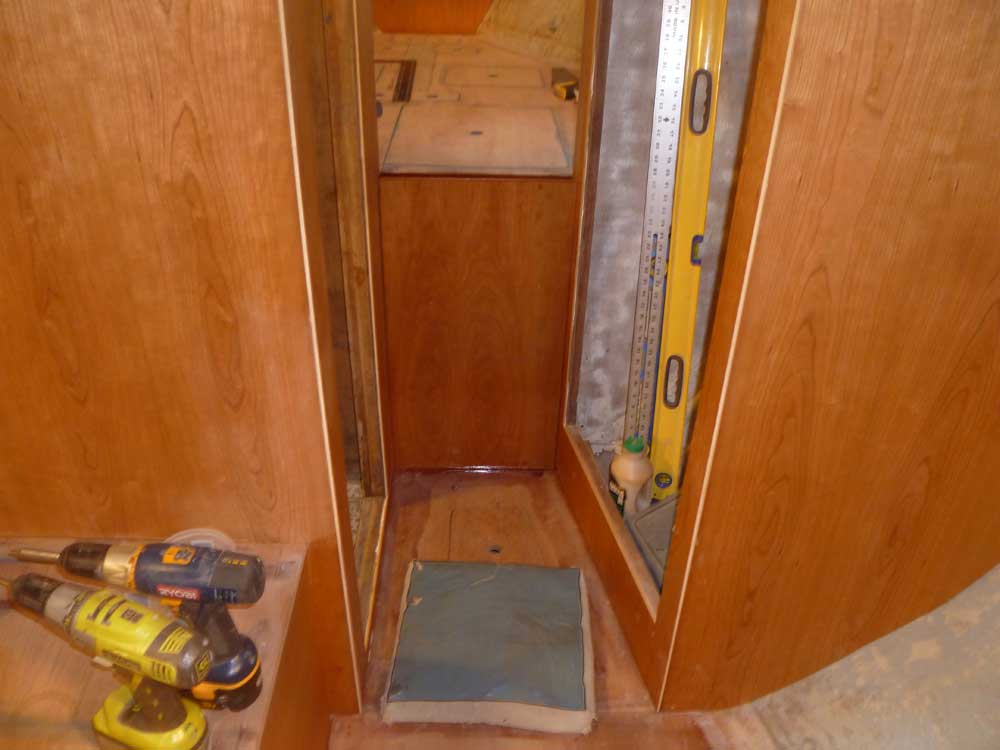
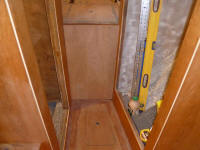
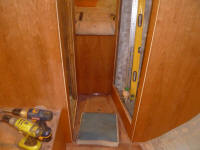
A small paneling loose end remained: closing off
the space beneath the V-berth. This was a
relatively simple operation, though I had to add an
extension cleat at the top end so that the panel could
fit properly in place because of a similarly-sized solid
wood threshold (original) at the bottom.
This done, I cut a 1/2" cherry panel to size and
installed it with glue and screws, bunging the screw
holes as needed. Later on, I trimmed the bungs and
applied a sealer coat of varnish. |
|
Total Time Today: 4 hours
(spread over two work sessions) |
<
Previous |
Next > |
|
|