Project Log: Tuesday, June 14, 2011
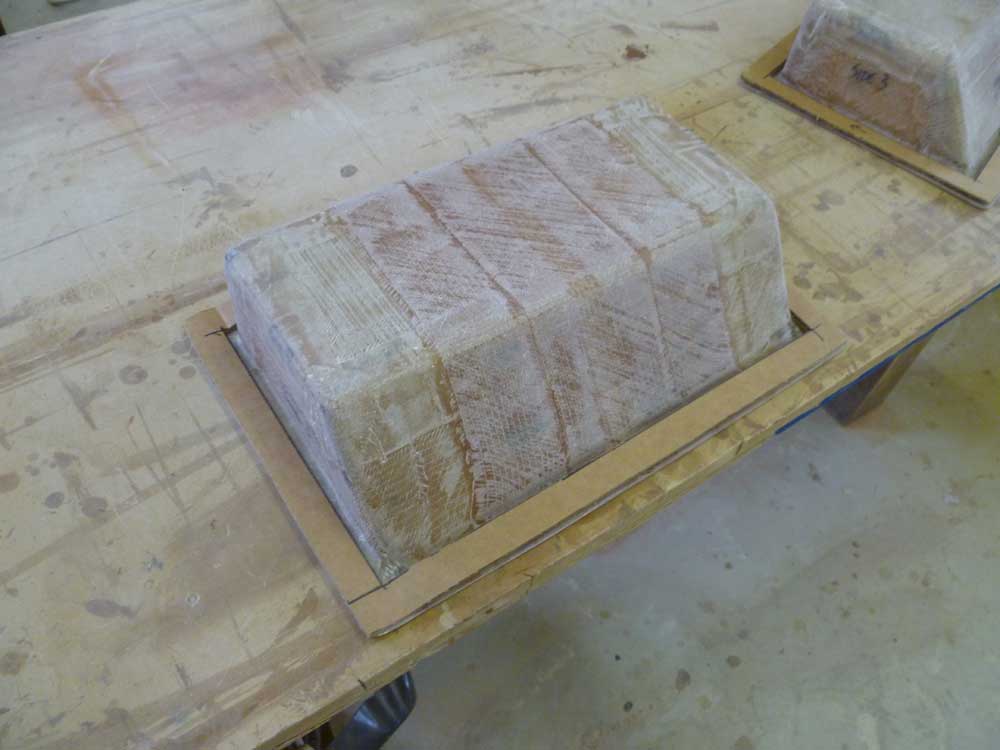
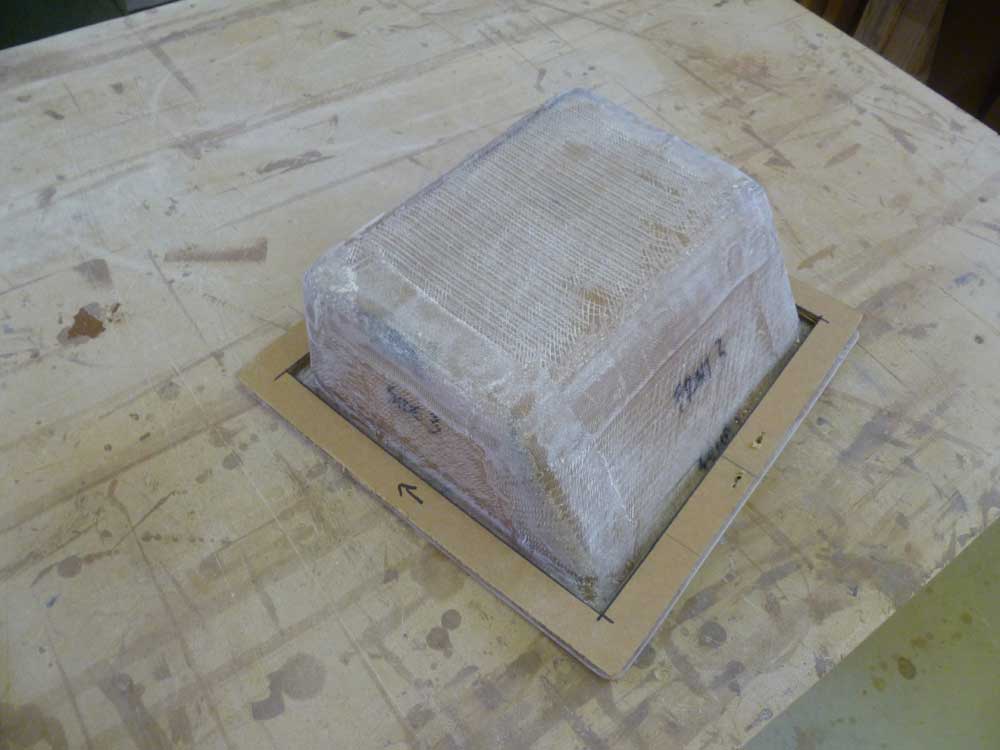
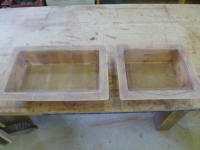
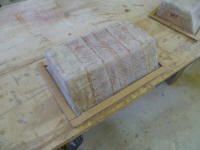
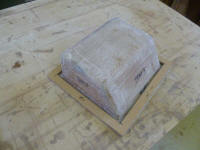
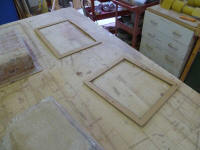
Over the period of a couple days, I had time to continue work on
the molded fuel fill recesses, with one additional round
of sanding and very minor filling to smooth a few places
along the inside corners of the parts and prepare them
for primer and paint. |
 |
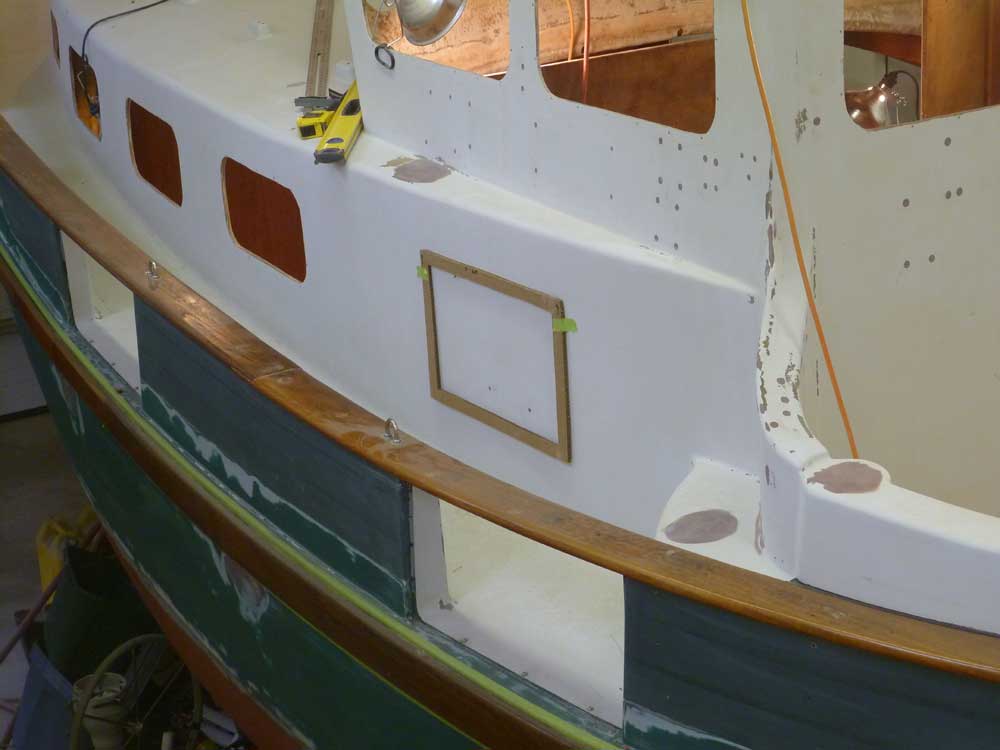
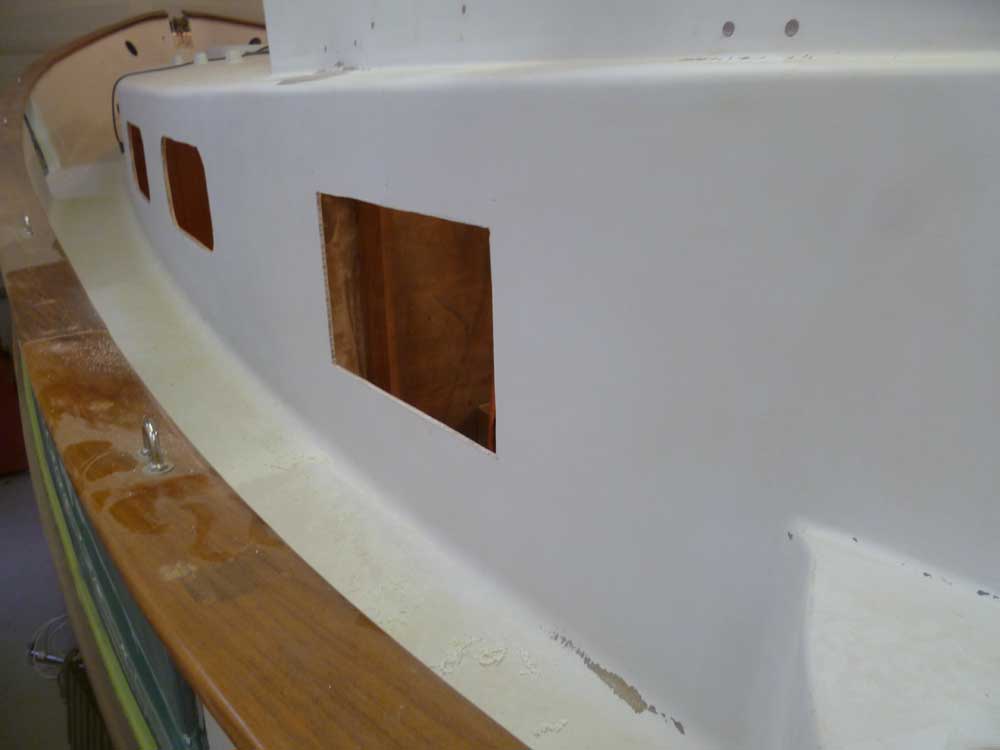
While I wouldn't install the completed pieces till
sometime later in the construction process, it was a
good time to prepare the large holes in the sides of the
pilothouse, into which the new parts would rest. I
made simple cardboard templates reflecting the outside
dimensions of the mounting flange (for alignment
purposes), and the shape of the cutout required for the
recess. |
 |
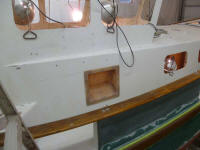
I spent some time on the boat laying out where I wanted
these holes to be. After inspecting the area in
question, and considering various alignment options, I
decided that the top of the mounting flanges should be
more or less in line with the tops of the port frames in
the cabin trunk; this location happily worked out in
other visual ways too.
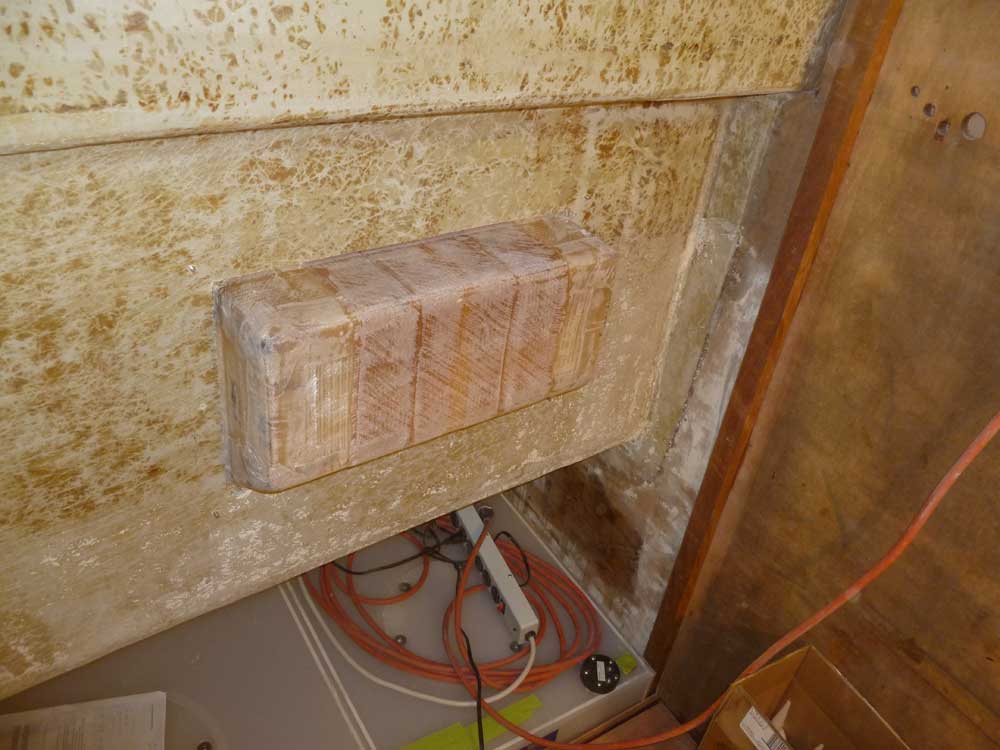
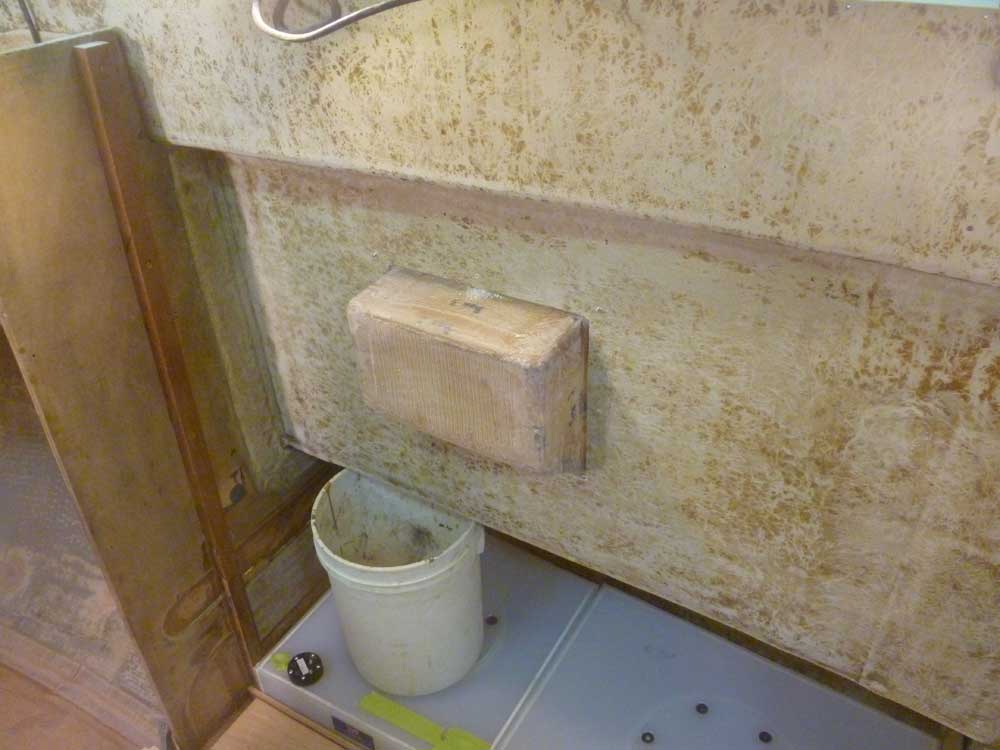
Horizontally, I eventually decided to center each hole
beneath the center stile dividing the two side windows
in the pilothouse. This location also worked well
with the eventual hose routing inside the boat and to
the tanks beneath.
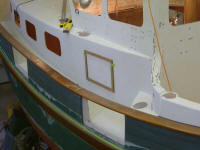
With a few critical layout marks on the boat, I taped
the cardboard templates in place and obsessed about
their positions for quite some time, eyeing both sides
from various angles. |
 |
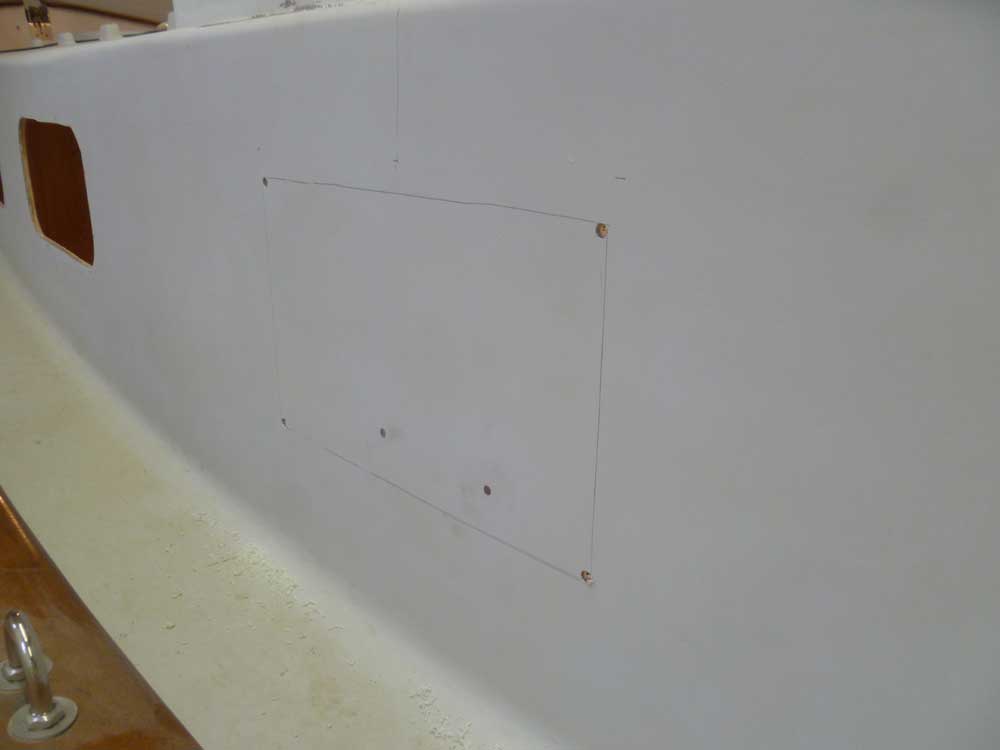
After some minutes of this, I determined that the chosen
positions would work, so I traced the centers of the
templates to mark the cutouts, then drilled holes at
each corner to accept the saw blade and provide the
requisite rounded corner to avoid undue stresses. |

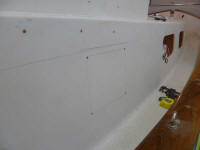 |
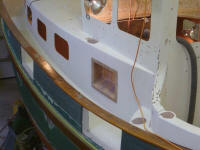
After drawing some lines between the holes on the inside
of the pilothouse, I cut out the openings. It was
easier to operate the saw from inside than from the
narrow confines of the sidedecks; plus, the action of
the saw blade in this direction didn't tend to chip the
gelcoat. |

 |
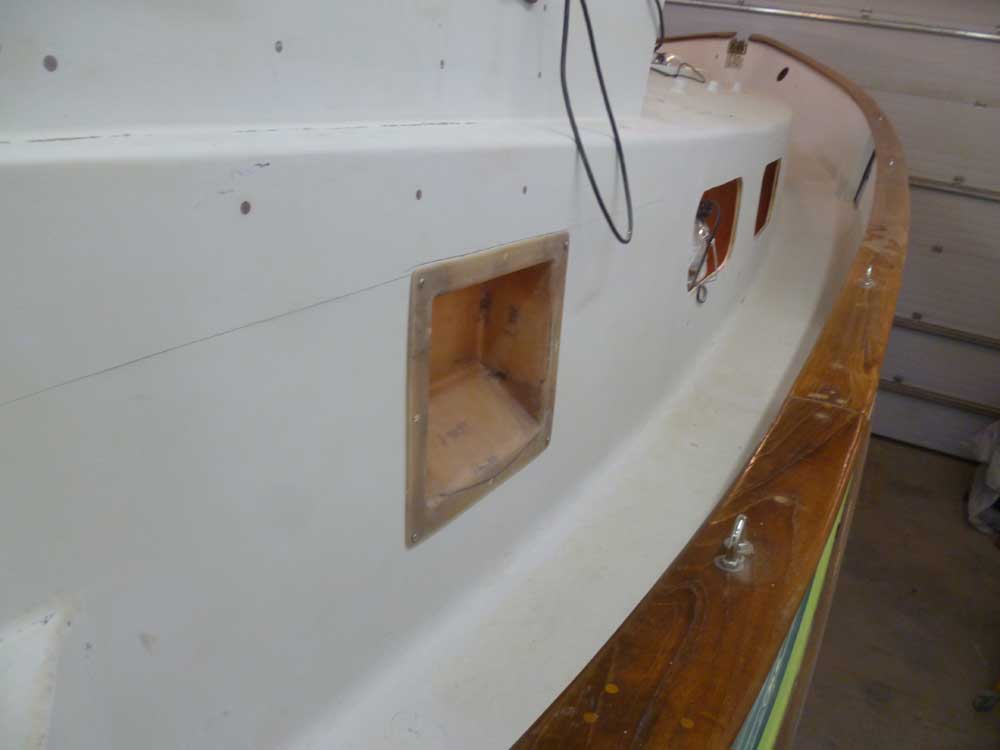
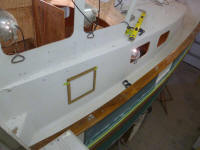
After marking and drilling fastener holes around the
edges of the mounting flanges, I positioned each piece
in turn and drilled and tapped for fasteners,
temporarily securing the pieces in place for inspection. |


 |
Then, I removed the pieces so I could prime and paint
them to await final installation later.
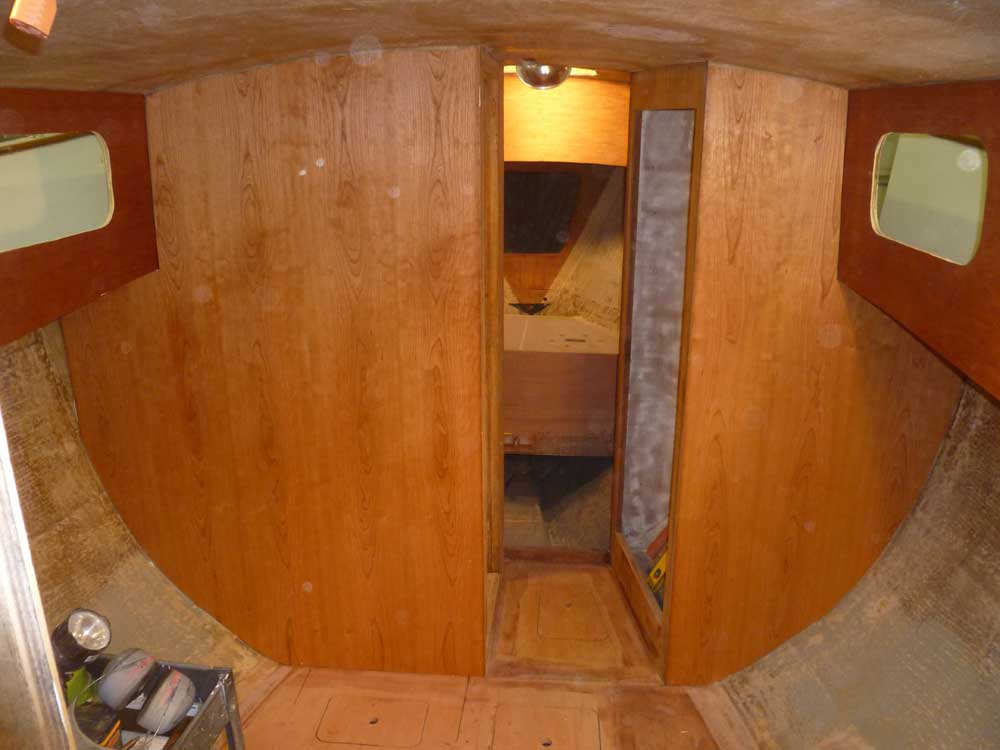
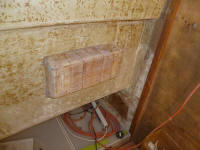
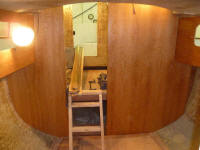
Meanwhile, I removed the clamps and bracing from the new
cherry veneer in the main cabin. |

|
Total Time Today: 4.75 hours
|
<
Previous | Next > |