Project Log: Sunday, March 13, 2011
The epoxy and varnish on the new cabin side panels had
cured overnight. I prepared the epoxied back side
for final installation by washing the new epoxy and
lightly sanding the surface.
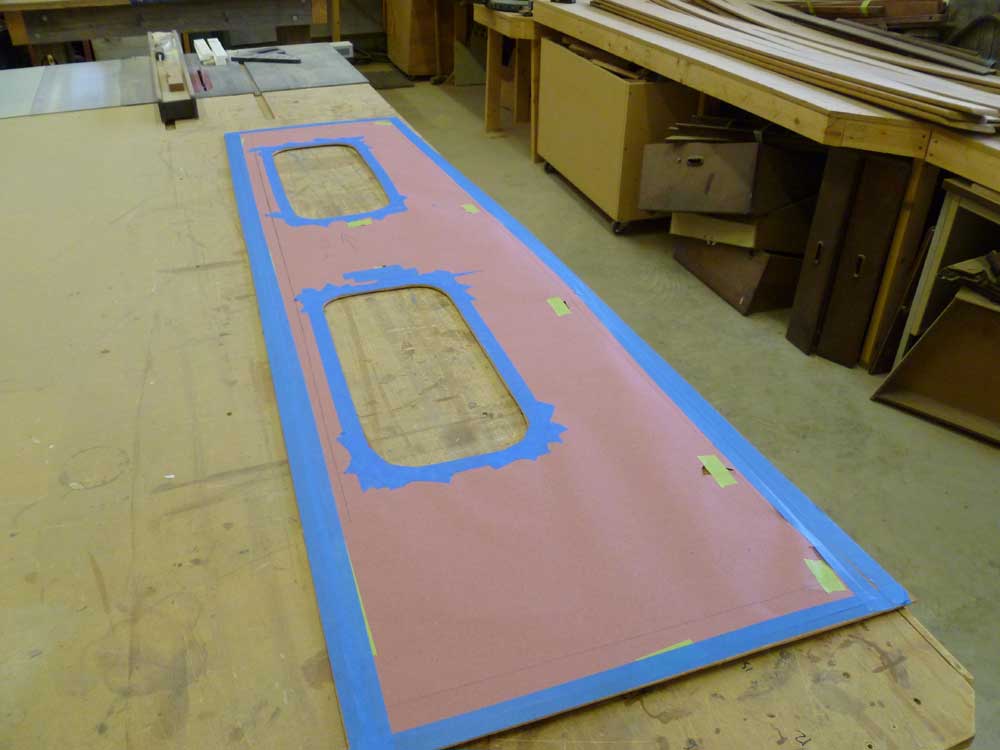
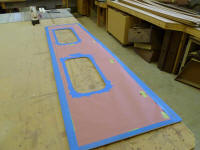
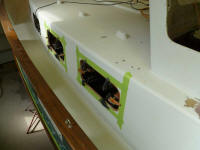
On the exposed side of the panels, I elected to cover
them with some heavy paper, just in case I got adhesive
on my hands or to prevent scratching from clamps or
misplaced bracing. I used the paper patterns from
which the panels had been created, and taped the paper
in place with some low-tack masking tape. |
 |
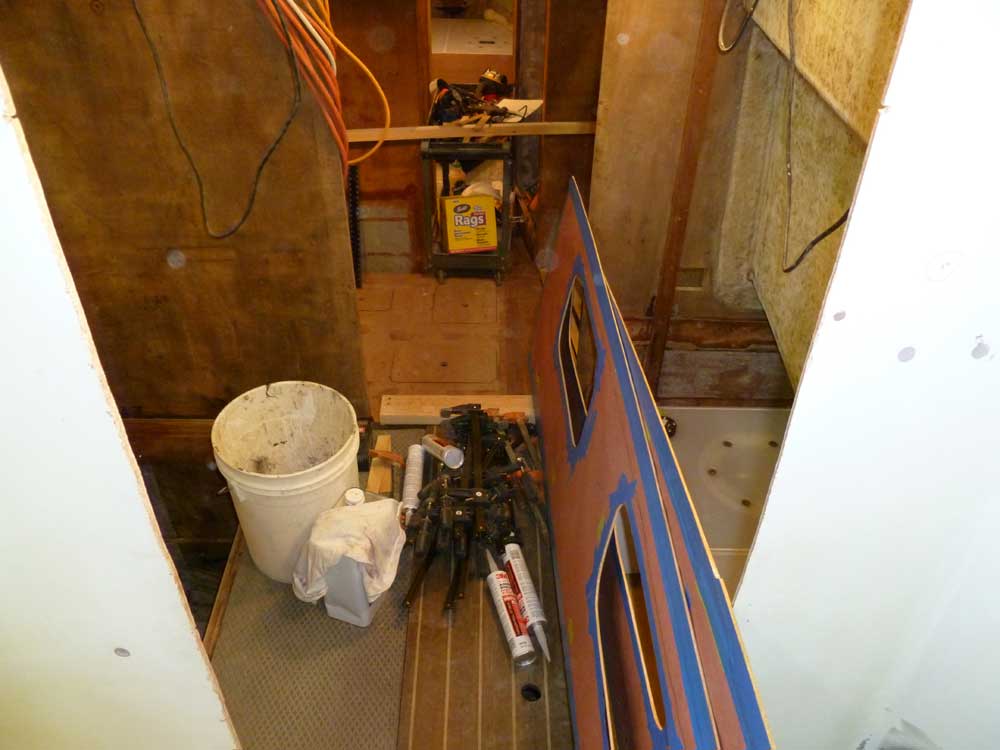
I prepared my materials and tools for the installation
ahead. It seemed like a straightforward job, but
required many clamps, cross braces, tubes of adhesive,
and more. |
 |
Although I'd solvent-washed the cabin sides yesterday
before creating the patterns, I washed the bare
fiberglass once more to ensure that it was clean and
dust-free. Then, with my clamps and adhesive and
tools at the ready, I proceeded with the installation.
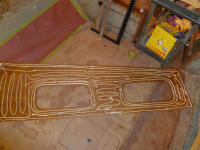
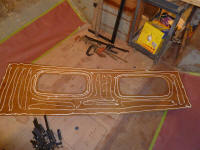
To secure the panels, I chose 3M 5200 quick-set
polyurethane for its ease of application, well-known
durability and bond strength, and its thixotropic,
gap-filling characteristics. Because the bonding
surface was smooth and generally even, I applied a
relatively small bead, as I'd not need much to make up
for surface irregularities, and I didn't want the dense,
stiff adhesive to prevent the 1/4" plywood panels from
adhering to the contours of the cabin side. |
 |
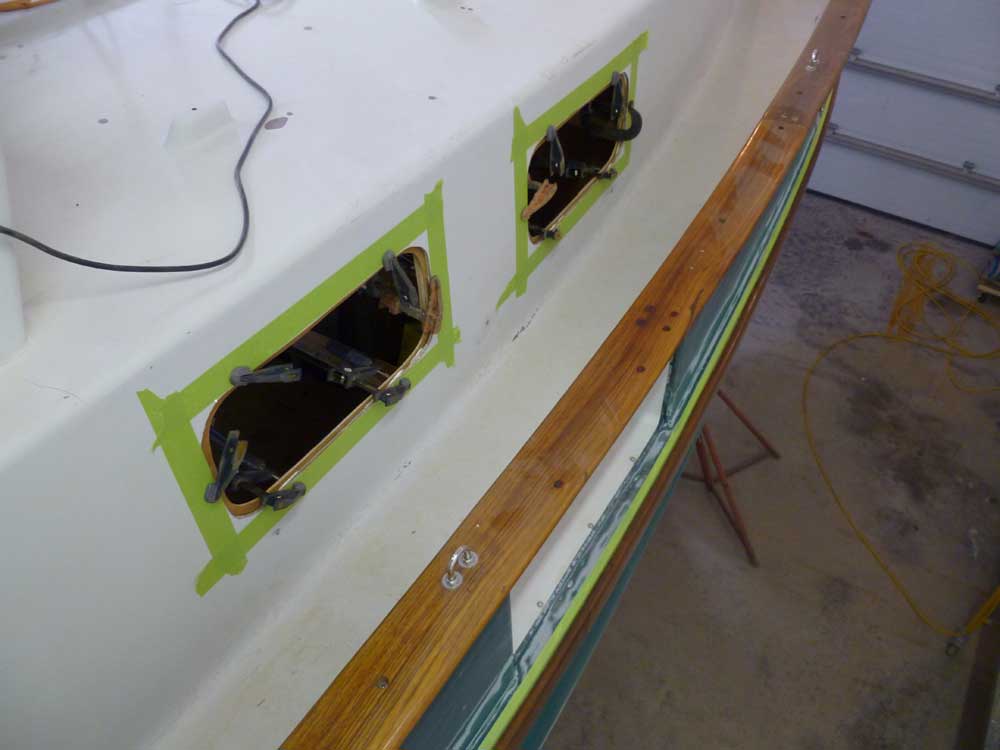
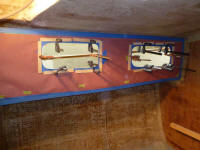
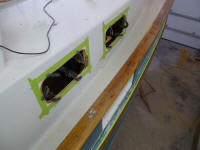
With the adhesive applied, I pressed the panels into
place, sliding them slightly to help spread the adhesive
beneath. The pre-cut porthole openings meant that
I could easily clamp the panels in place, ensuring a
tight fit at the openings and holding the panels
securely till I could install cross-bracing. I
used thin wooden protectors (paint stir sticks, in this
case) beneath the clamps' pads on
the inside surface to avoid marring the cherry panel. |
 |
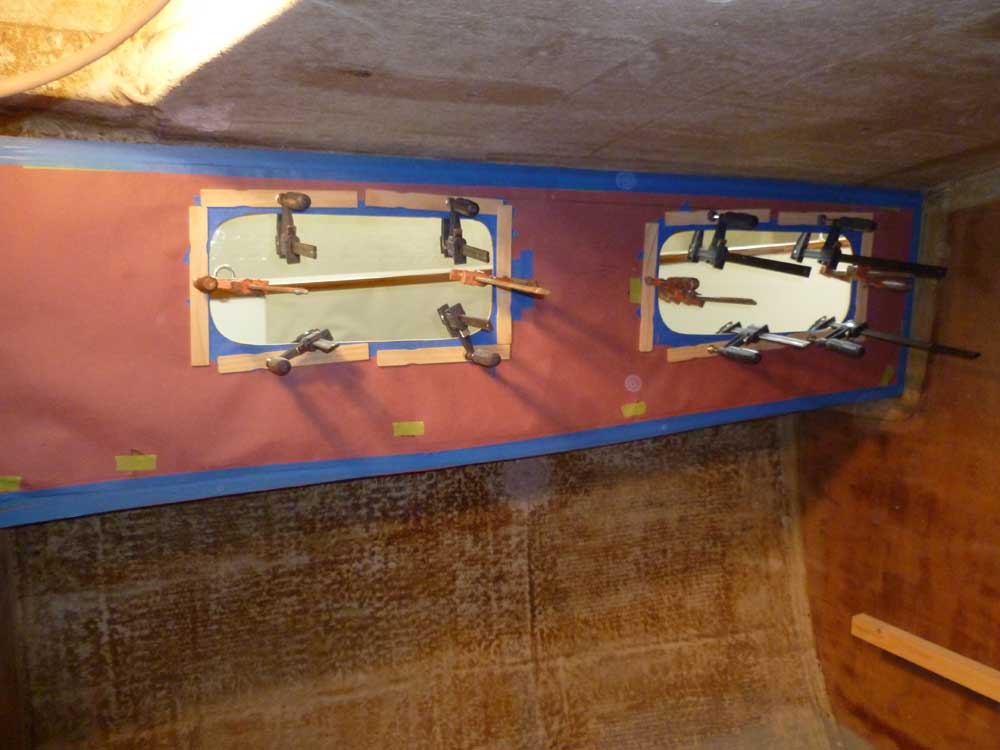
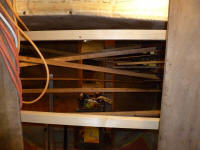
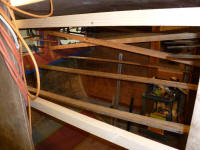
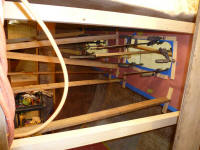
Once both panels were in place, I installed pre-cut
cross bracing at the forward and after ends, and in the
center between the ports. Though I'd thought this
would be enough, closer inspection revealed that I
needed additional bracing near the bottom edges of both
panels, so I cut some strapping to length and installed
it tightly between the panels. |
 |
This was all I'd planned to do this day, and in any
event the complex bracing essentially ended any chance
of doing additional work in the cabin. Even though
the quick-set 5200 purported to cure in approximately 24
hours, my shop was a bit cooler than the 24-hour cure
temperature, so I'd leave the bracing and clamps in
place for as long as I could--which worked out
conveniently since I'd not have a chance to get
back to things for several days anyway.
|
Total Time Today: 2 hours
|
<
Previous | Next > |
|
|