Project Log: Saturday, September 3, 2011
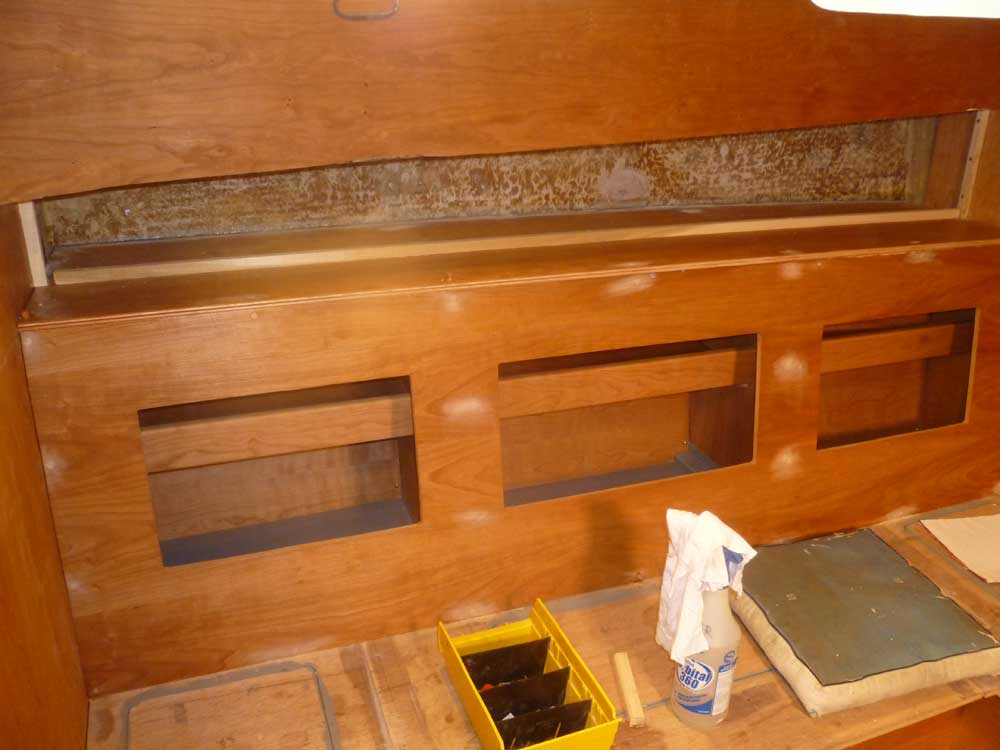
After a couple weeks away from the project, my first
task, using a chisel and sandpaper, was to pare away the
bungs I'd set in the dinette cabinets last time.
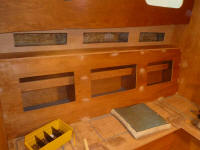
Next, I determined, rather arbitrarily, the location for
the short vertical cabinet face that would extend
between the backrest and the underside of the sidedeck
above. Planning for roughly a 6" wide shelf when
all was said and done, and allowing for the thickness of
the cabinet face and the eventual fiddle on the outside
edge of the shelf, I made some reference marks 7" in
from the edge: vertical lines on the forward and
aft bulkheads, and several check marks on the shelf
itself. Then, I milled and installed hardwood
cleats against these lines. |
 |
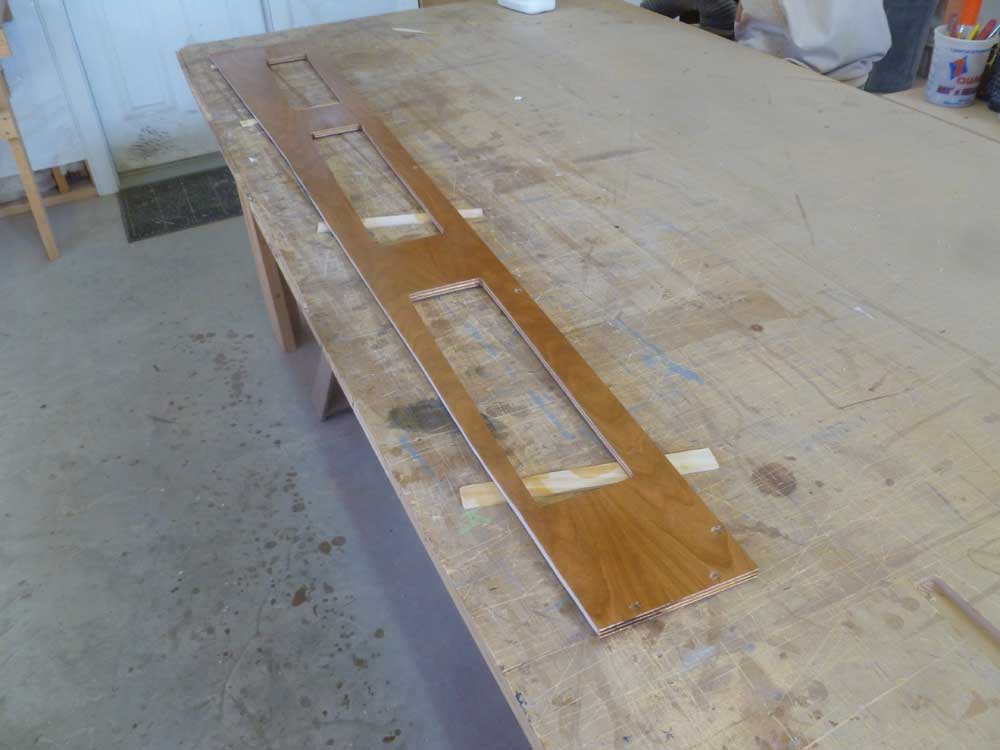
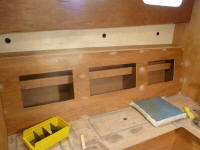
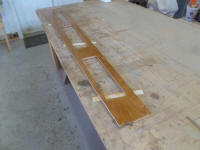
I cut a piece of cardboard to roughly the size of the
opening and used it as a raw template for the locker
face to come. With the cardboard in place against
the cleats, I scribed as necessary along the top edge to
match the shape of the deck, then modified as necessary
so that the cardboard was as accurate a template as
possible. The holes seen in the templates serve
only to provide a finger hold and way to pull the
template in and out of the confined space.
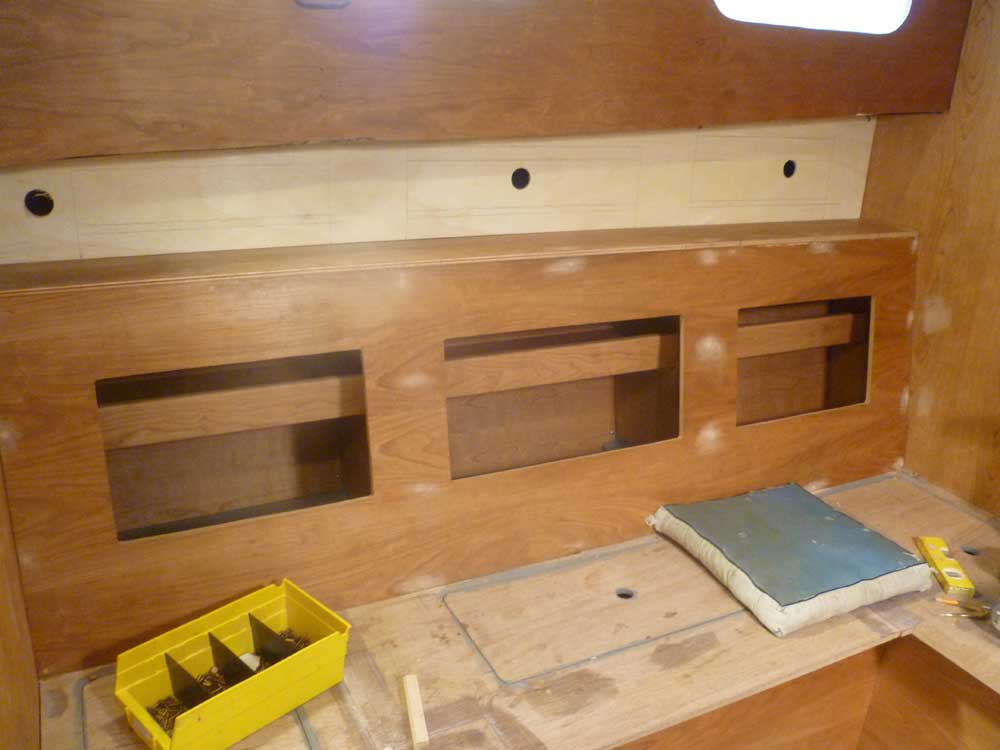
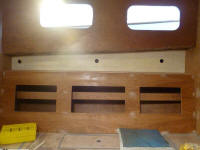
I transferred the cardboard template to a piece of 1/4"
pattern plywood and cut it out, then tested the fit.
While I could bang the wooden template into position,
clearly there were some high spots, so I rescribed the
top edge and made an additional cut.
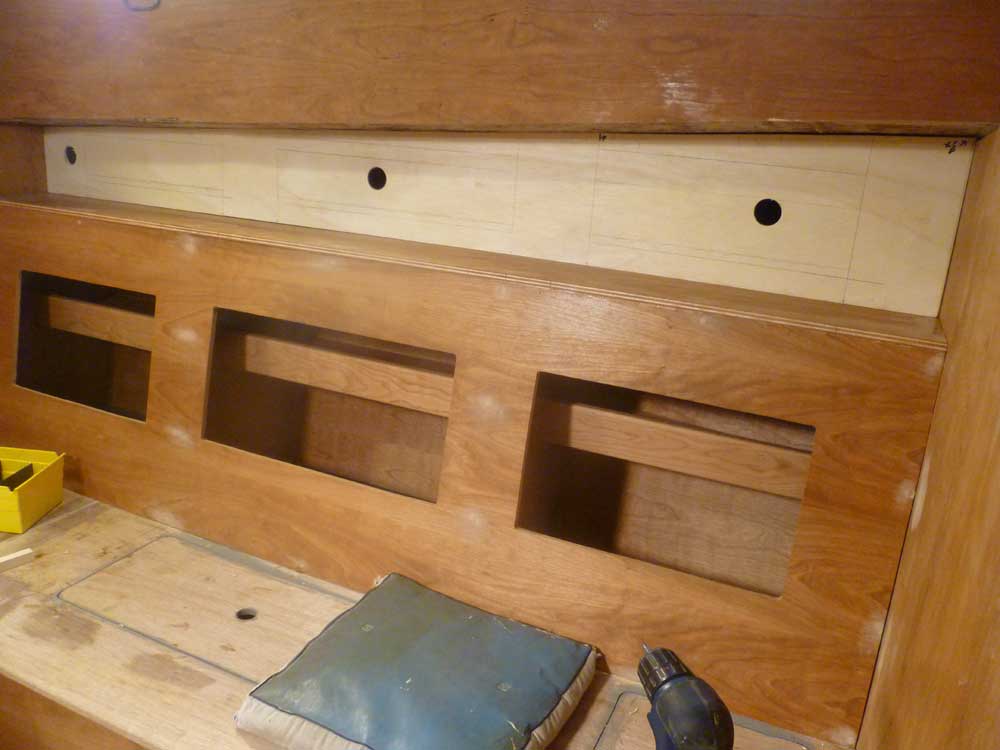
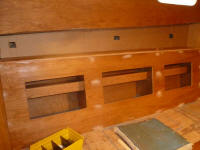
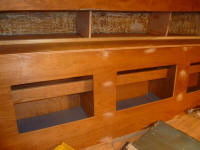
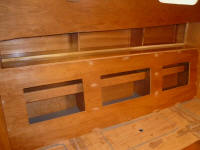
I also used the template to estimate the position of the
locker door openings in the new panel. Using the
lower cabinet as a guide, I transferred the positions of
the three openings to the top panel so that the locker
doors would align, then experimented with overall height
and position of the proposed openings. Because the
deck above formed a fairly severe angle as the sheerline
rose forward, the forward end of the new panel was
substantially taller than the aft end.
I briefly toyed with the idea of making each successive
locker opening 1" taller as the deck rose, but decided
this looked odd, so I stuck with a 4" tall opening,
which was the maximum height I could achieve at the aft
end of the aftermost opening. As it was, I thought
that the aftermost door would require its top corner to
be chopped off once trim and all final details were in
place, but I didn't want the openings to be any shorter
than this. |
 |
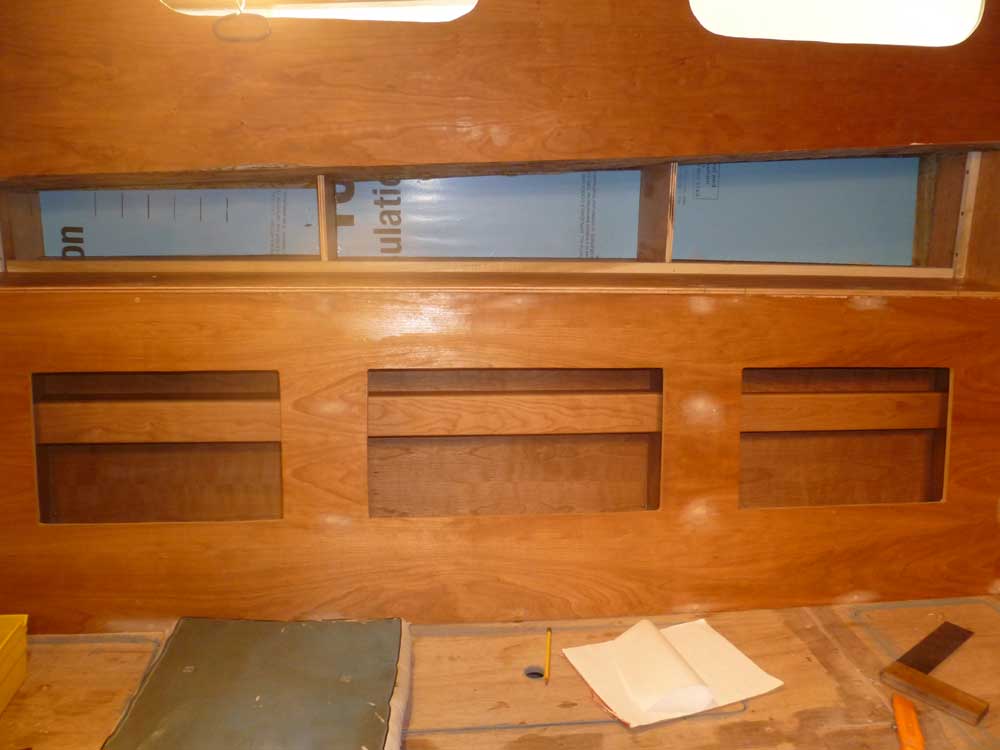
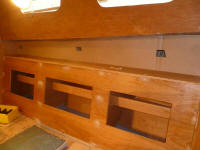
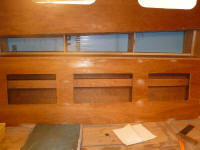
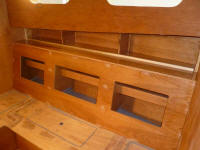
Happy with the template, I used it to mark out the shape
on a section of 1/2" cherry plywood, which I'd saved
from the same sheet I used to build the lower section of
the dinette so the grain patterns would match as much as
possible. After cutting out the basic shape, I
marked and cut the locker door openings and test fit the
panel in the boat. |

 |
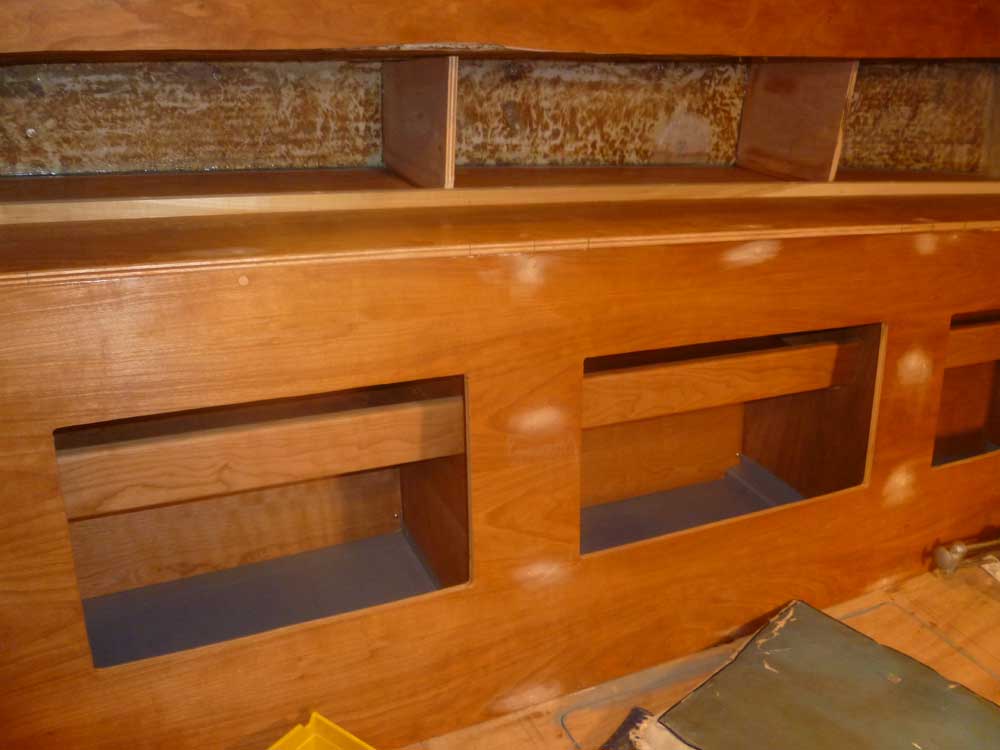
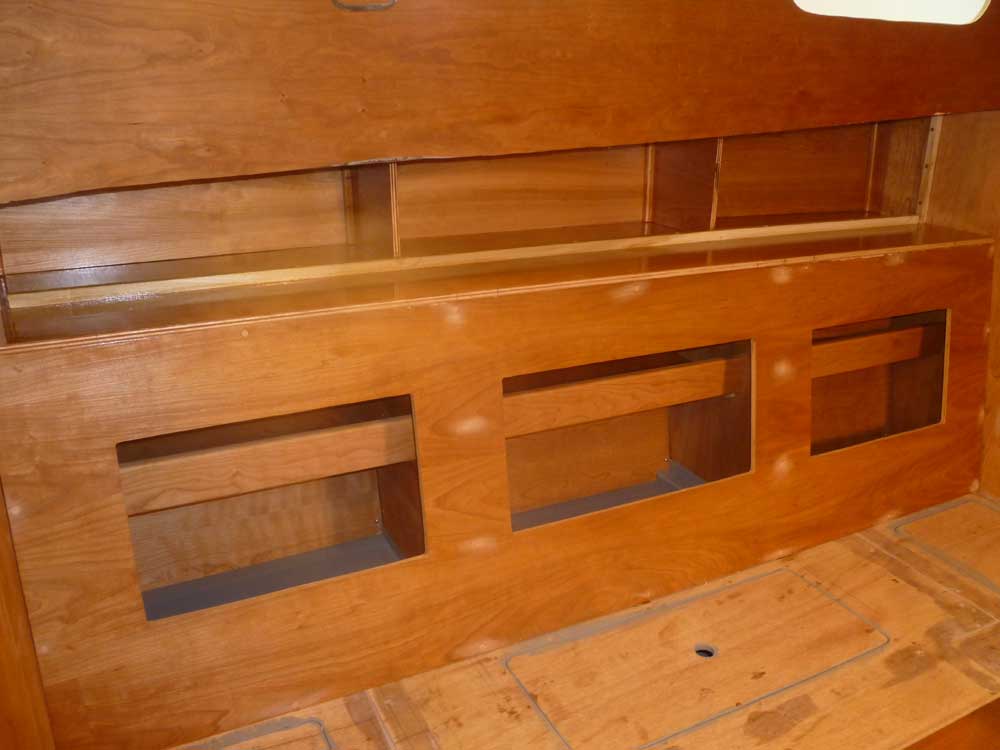
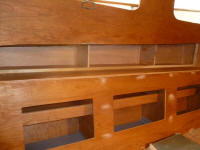
I needed to divide the top locker into sections, much
like those beneath, so next I templated and built two
basic dividers to section off the locker. These
dividers provided no structure, and I made them fairly
tight so they were mostly a friction fit, but for final
installation I applied epoxy adhesive to the three
bonding edges to hold them in place. I held the
dividers just inside of the locker front's support
cleat, as there was no need for the dividers to extend
the extra 3/4" to the locker face. |
 |
I cut sections of 1/2" rigid foam insulation to cover
the exposed hull in each of the three lockers, then
built 1/4" cherry panels to cover the insulation;
I secured these panels (and also the foam behind) in
place with simple cherry moldings that I attached with
stainless steel brads. I wanted to keep these sections
as easy to remove (in theory) as possible, as they
covered the nuts securing the teak rubrail outside. In
the event I ever had to replace a damaged section in
this area, I could still access the nuts without too
much dismantling effort. |
 |
With the construction finally complete, I painted the
exposed section of the underside of the deck inside the
locker, then cleaned up and varnished the exposed cherry
cabinet interior. I also varnished both sides of
the new locker front, leaving final installation till
the varnish cured. |
|
Total Time Today: 6 hours
|
<
Previous |
Next > |
|
|