Project Log: Sunday, February 5, 2012
Throughout my mental engine room planning processes, I'd
reserved the port side for the main components of the
heating system. With the engine now in place, I
felt it was time to lay out and prepare the mounting
board on this side. I was nearing a point in the
project where I'd want to start making various
connections and installations, interspersed with the
continuing trim work and other construction, and
claiming the valuable engine room real estate for the
planned components was the first order of business
towards that end.
The heating system promised to be one of the more
complicated installations on board, and I'd be working
my way through it as logically as I could. I
couldn't know exactly how everything would lay out till
I became involved with it, and this proved true even as
I began the relatively simple process of laying out and
installing a few items on the port engine room bulkhead
panel. To begin, I reviewed various installation
instructions to ensure that I took all necessary
restrictions into account.
I knew the Webasto TSL-17 boiler would be mounted
towards the upper aft end of the panel, as this would
place it close to its fuel supply and, more importantly,
allow for easy and unobstructed passage of the exhaust
and air intake systems. Related components would
revolve around this location, but first I had one large
item to contend with: a heat exchanger that would
allow the engine's cooling system to supply heat to both
the domestic water heater and the vessel heating system,
for use while underway.
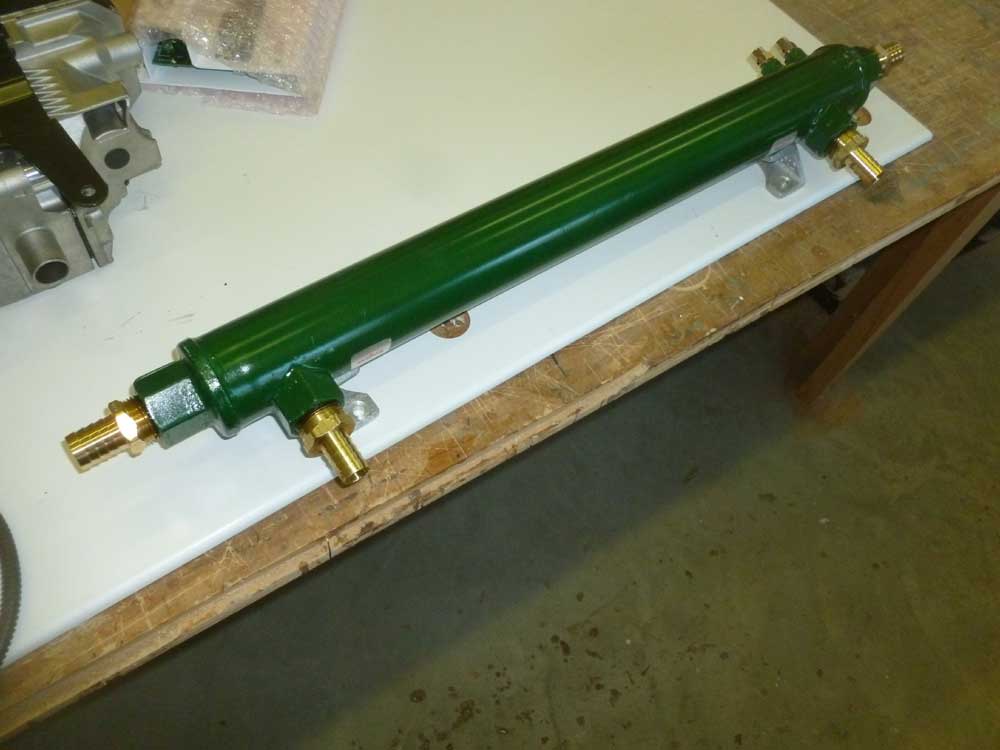
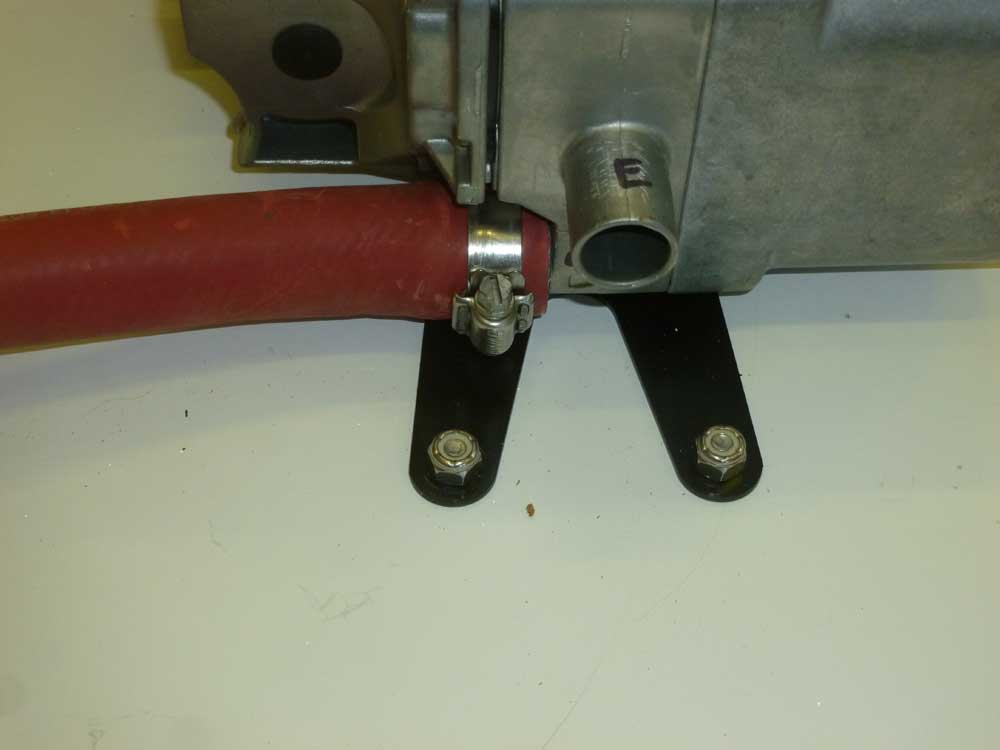
The heat exchanger was a long, slim, cylindrical
arrangement, with two outlets on the bottom for
connection to the engine itself (I'd ordered the engine
with the appropriate fittings installed), and two
additional outlets for connection in the heating system
itself. Eventually, I'd be able to choose, at the
flip of a switch, between using the engine heat or
system heat to supply my water heater and the interior
heat itself.
I could place the heat exchanger just about anywhere in
the overall plumbing scheme, but realistically it needed
to be near the engine for convenient hookup, and to
avoid long hose runs that might unduly tax the engine's
cooling system pumps. It also needed to be below
the level of the coolant reservoir on the engine, which
wasn't a problem since I had a high-mounted remote
coolant tank for the engine; however, since I could, I'd
also mount it below the coolant reservoir on the engine
itself. Logically, these requirements, plus the
limitations of the space available in the engine room,
led to the only place I'd really ever considered, which
was the bottom edge of the port bulkhead panel. |
 |
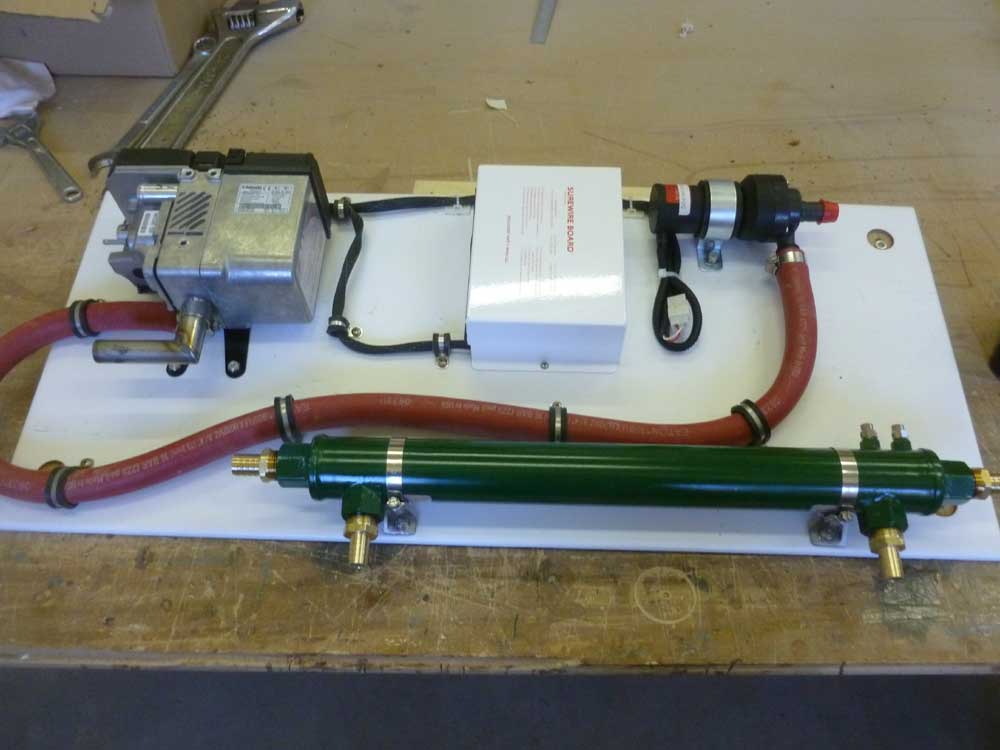
With the heat exchanger dry-fit where I thought it
should go, I got to work on the rest of the panel's
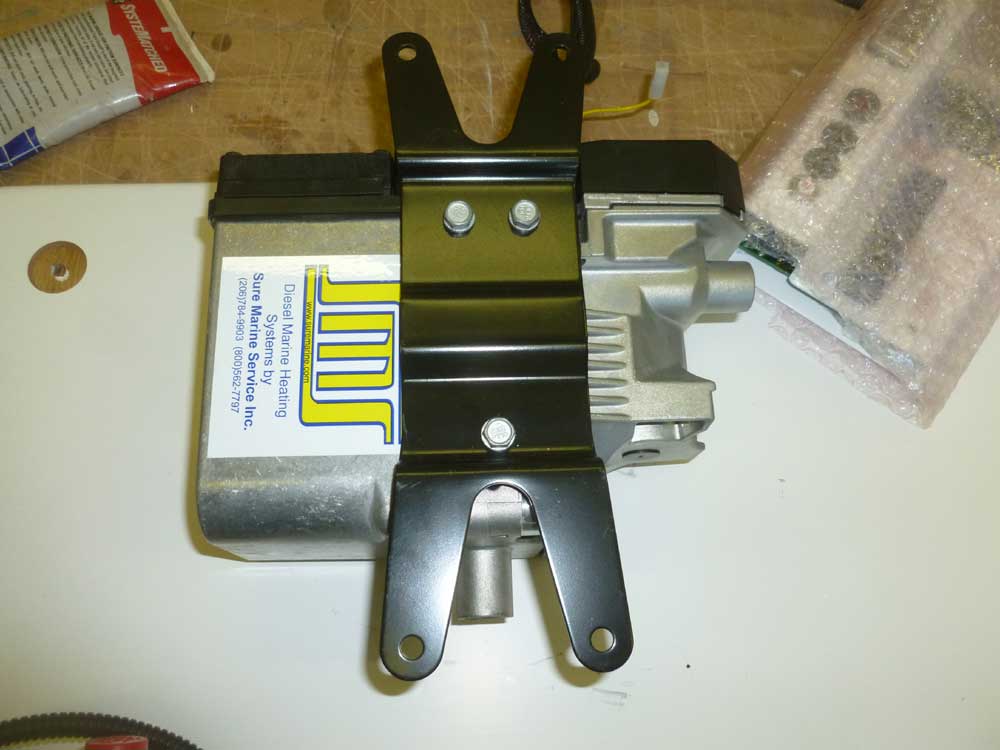
basic layout, beginning with the diesel boiler itself.
To begin, I attached a mounting bracket to the back
side, and then played around with the final location.
Keeping in mind the eventual layout of the hoses,
exhaust, and intake systems, as well as obstructions in
the engine room and required clearances--plus the need
to maintain access to the bolt holes for securing the
bulkhead panel to the studs in the engine room--I
eventually selected the location I'd planned all along,
though I'd been trying to "cheat" it as far aft as
possible to save as much space on the panel as possible
for other things. |
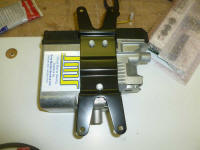 |
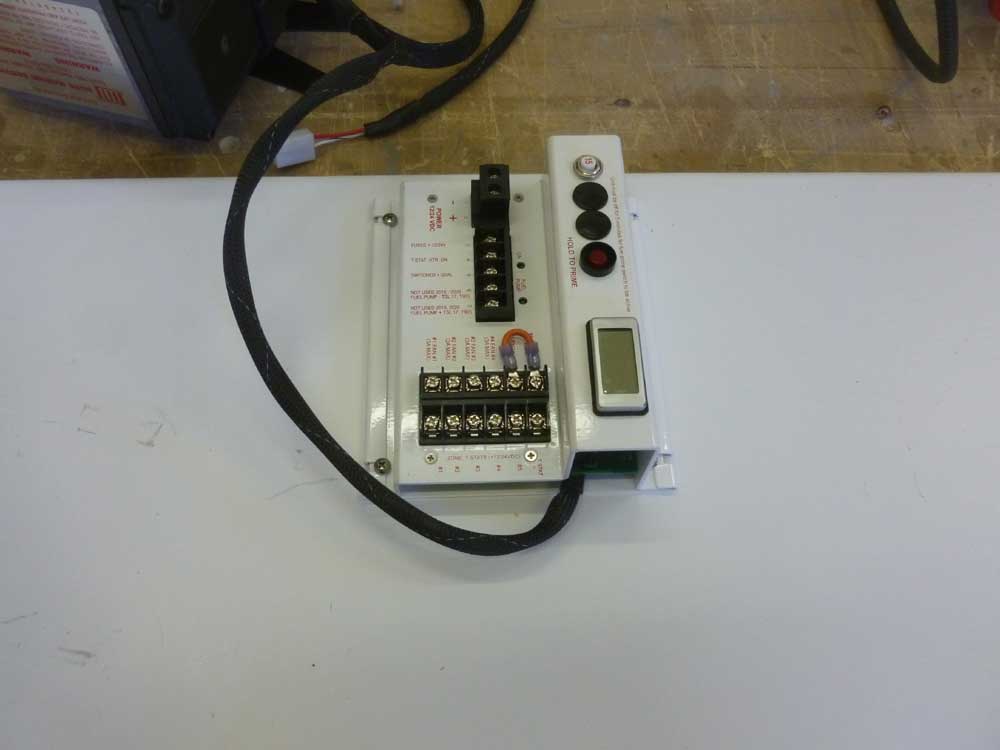
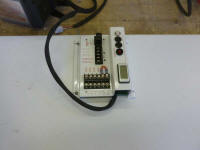
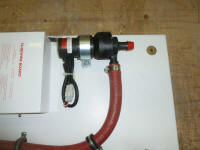
The boiler came with a special Surewire wiring board
attached with a surprisingly short wiring harness.
Because of how the harness attached to the Surewire
board, plus the requirement for the wires to exit
through an opening in the board's cover panel, this
limited, for all practical purposes, the location of the
board to a single location adjacent to the heater, and
turned 90° from horizontal to provide better space for
the eventual wiring runs in and amongst the other
installations on the panel.
|
 |
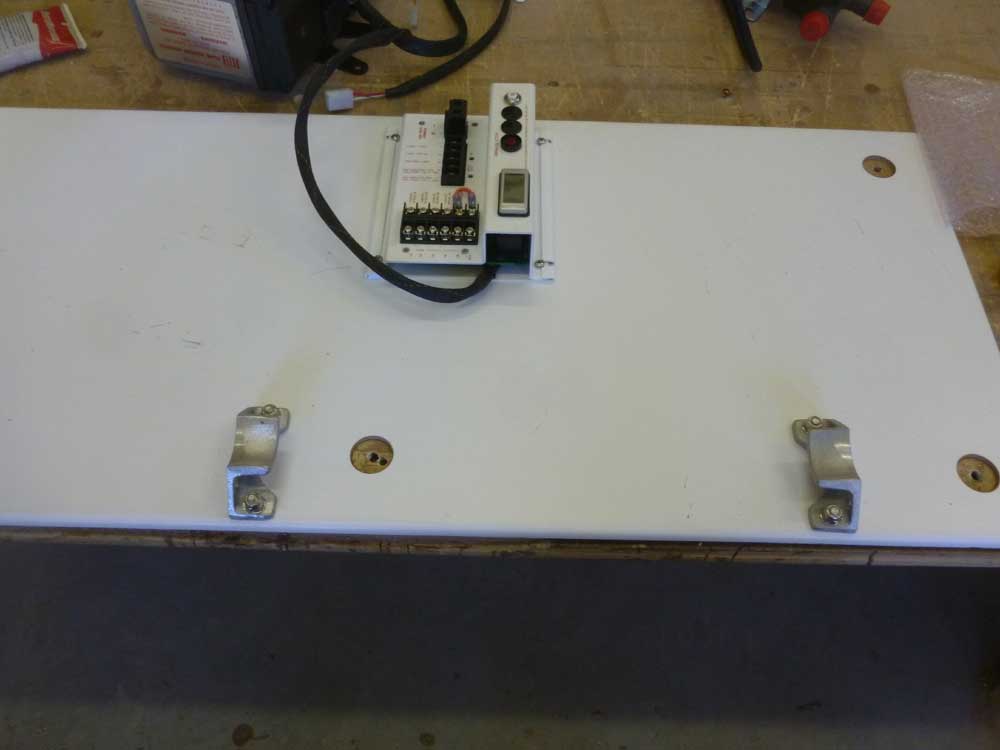
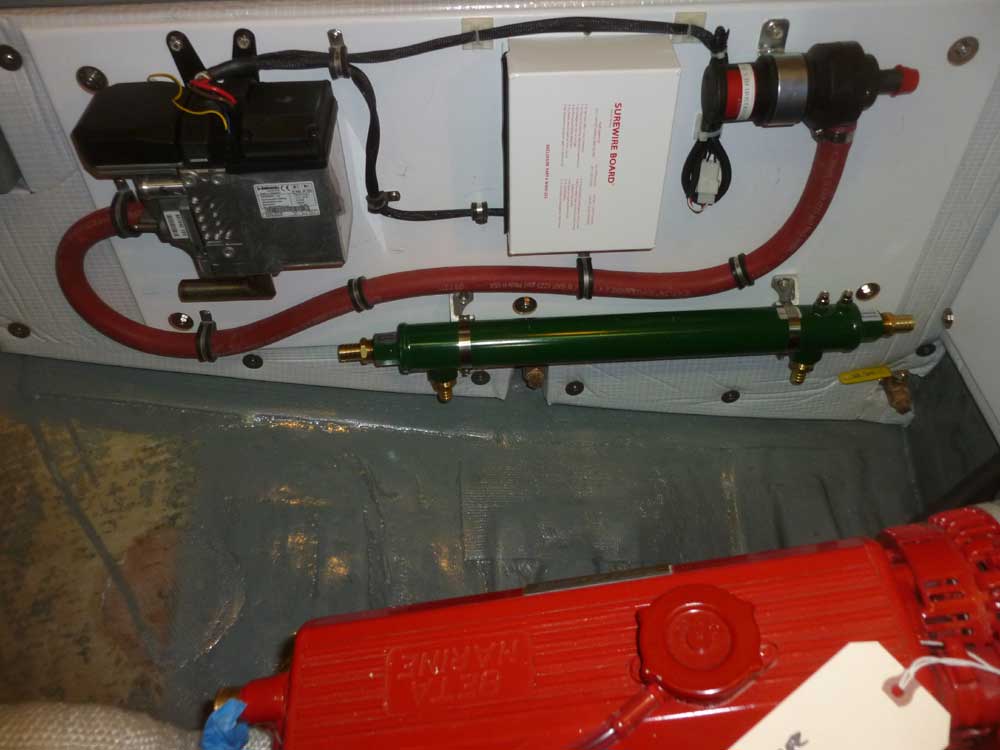
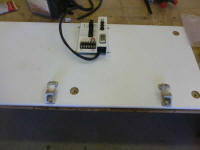
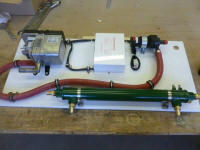
With these basic locations determined, I drilled some
mounting holes and installed the heat exchanger brackets
and Surewire board, followed by the heater itself.
I secured the wiring harness to the panel. I would have
preferred the Surewire board to be mounted in its
"correct" orientation, with the wires exiting the
bottom, but it just didn't work with the length of the
wiring harness and other obstructions. Other than
my sense of order, there was no good reason not to
install it sideways, since that made the arrangement
work given the restrictions of the space. |
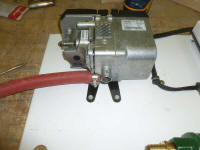 |
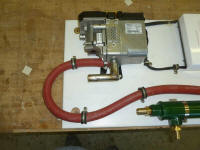
The other significant installation I needed to make on
this board was the circulation pump for the heating
system. This had to be relatively close to the
boiler to keep it within wiring harness range (though
this harness was about twice as long as the Surewire
harness), and for other reasons. The hose run
between the pump and the boiler (the pump was to be on
the return side of the system) also needed to be
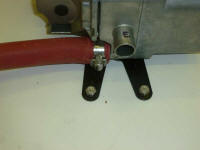
unobstructed, with no elbows or other fittings. To
help lay out where I should mount the pump, I installed
hose onto the return port on the boiler, and allowed the
hose to dictate where it needed to go from there.
The hose was extremely difficult to get onto the boiler
port; I had to temporarily screw the whole panel to the
bench so I could twist the hose on.
By running the hose aft a bit and making a fair curve, I
could redirect it forward, along the board, and to the
empty space where I wanted to locate the pump.
This also kept it well clear of the exhaust elbow below
the boiler, which I temporarily dry-installed to show
its location. The exhaust was the most unforgiving
of the connections to the boiler, and was foremost in my
mind as I made all the other layout and installation
decisions along the way. There was abundant extra
wiring harness for the pump, which I secured beneath the
pump. |
 |
I'd originally hoped to install the fuel pump and filter
somewhere on this board, but as things progressed it
became clear that there'd not be a good spot, and that
these would be better mounted on a separate board just
aft of the boiler. There was space to hang this
board beneath the removable aft cross beam in the engine
room, so I'd work on that in the near future. I
needed some additional fittings for how I wanted to lay
out the filter, valve, and pump anyway. |
 |
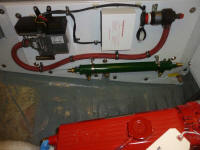
This completed the initial layout of the panel, and
after removing the heat exchanger and Surewire board,
both of which blocked panel fasteners beneath, I
installed the panel back in the engine room. |
 |
I started to gather materials to complete the layout of
the fuel system on the starboard panel, but discovered I
didn't have the screws I needed to install the supply
and return manifolds, which was the whole point of the
exercise. So I postponed that project till later.
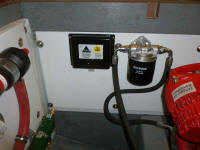
Rounding out my plans to install most of the major
components requiring space on the engine room panels, I
secured the Adverc battery controller, which I'd ordered
along with the engine, to the forward panel just next to
the oil filter. Eventually, I'd connect this, via
a supplied wiring harness, to the engine alternator. |
 |
| |
Total Time Today: 4.5 hours
|
<
Previous | Next > |
|
|