Project Log: Friday, March 2, 2012
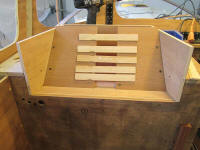
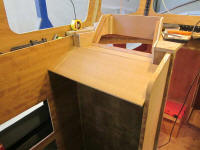
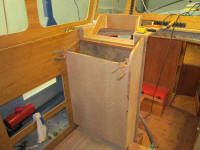
I temporarily secured the two half templates of the
navigation console, then secured the two pieces together
with hot glue and stir sticks, spanning the gap between.
This gave me a full-size template. I marked the
height and angle at the top edge. |
 |
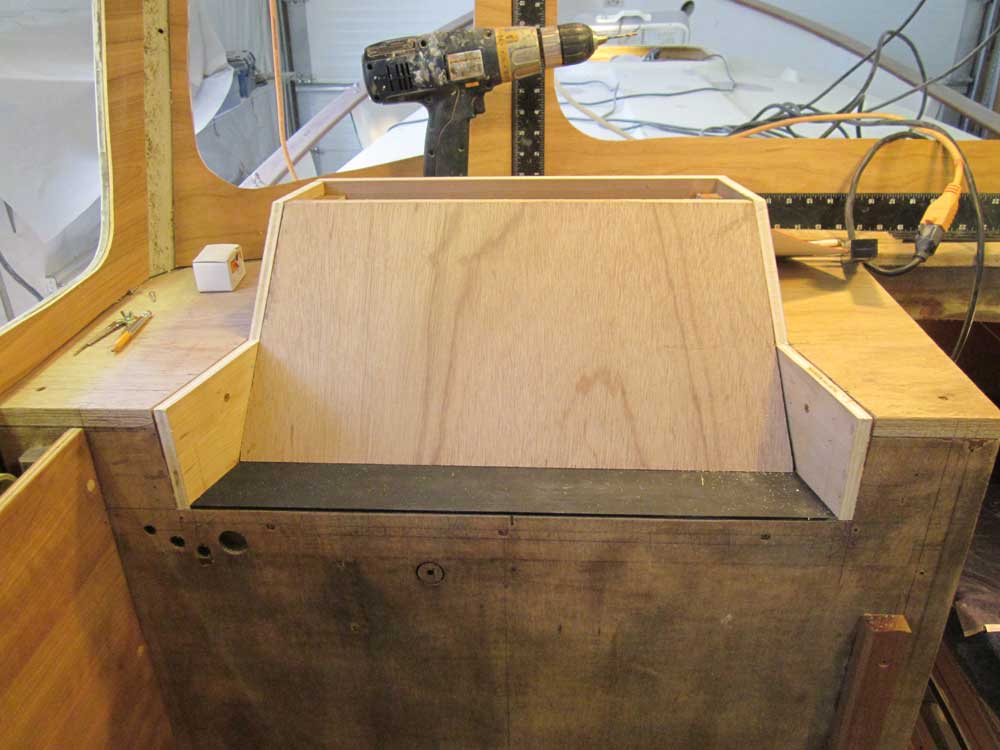
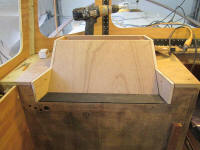
With the template as I guide, I cut the final panel from
12mm plywood, allowing space at the bottom for the 1/8"
textured black plastic material I was using to cover the
short shelf and the various instrument panel surfaces.
With a Japanese-type pull saw, I trimmed the excess
plywood away from the sides of the enclosure, flush with
the dashboard and the face of the angled panel. |
 |
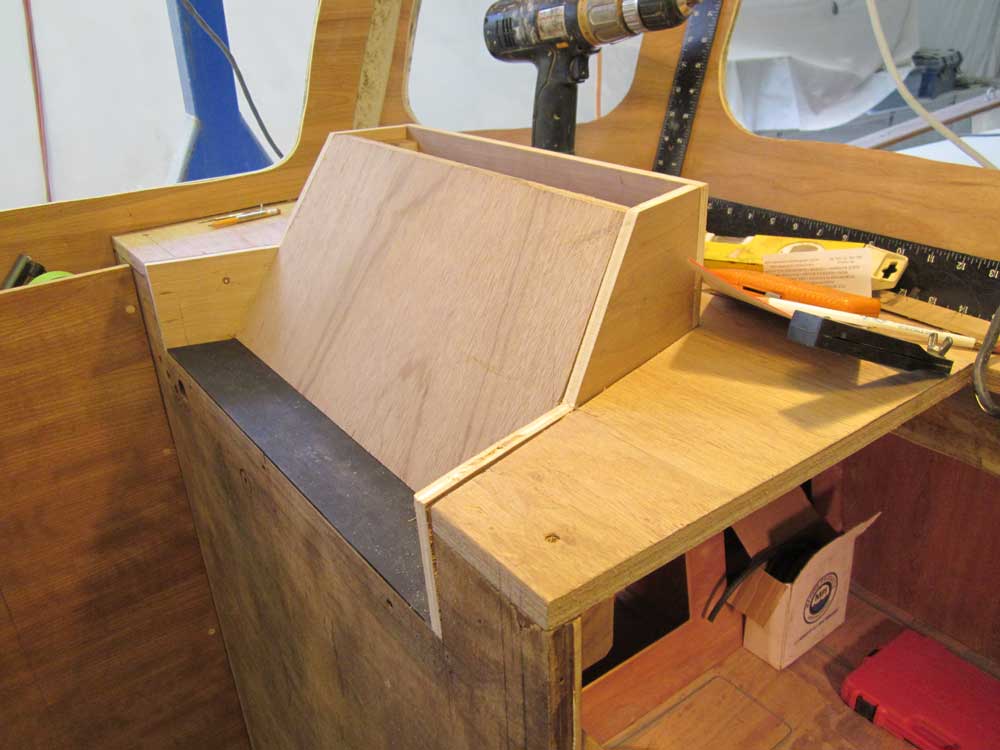
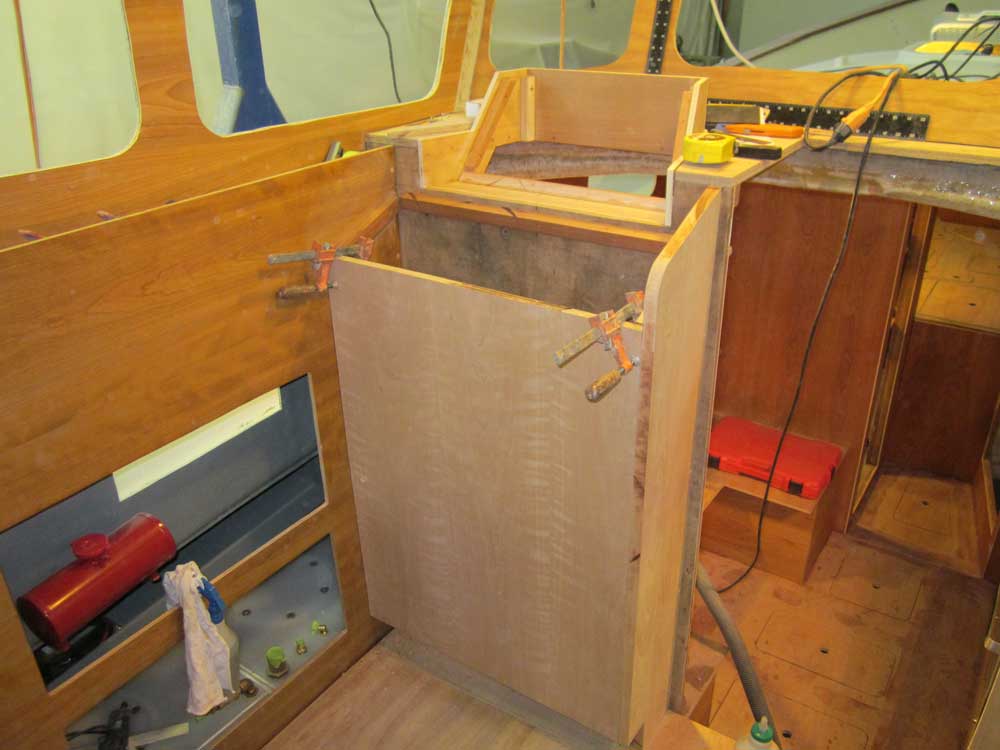
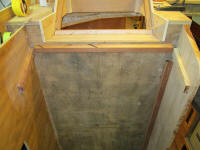
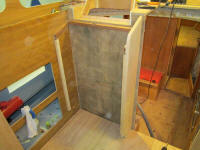
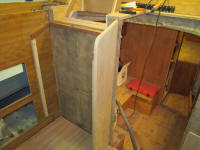
Moving downward, I started the layout for the lower
instrument and control panel and the vertical face of
the console itself, then cut and installed support
cleats accordingly. The top of this panel was to
be flush with the horizontal shelf leading into the nav
console, and angled at 20° downward from there, as
originally laid out in my various mockups. |
 |
Next, I cut a panel blank from leftover scraps cherry
plywood, an abundant supply of which I had on hand.
|
 |
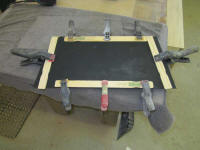
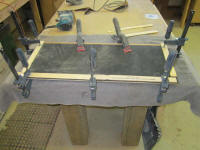
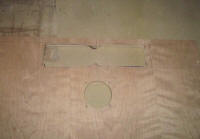
I chose a lightly textured black plastic to cover
portions of the console surfaces; the appearance of this
material was consistent with the overall appearance of
the electronics and instrument panels, and with the
overall look I was going for. I carefully cut
pieces to fit the two large surfaces, abraded and
solvent-washed the bottom side, and glued the plastic to
the wooden substrates with epoxy. I was unsure how
well the adhesive would stick to the plastic, but hoped
it would be enough; in any event, various screws and
other installations would eventually be holding the
material in plate mechanically, so the bond wasn't
critical; I just wanted to avoid having the surface
material seem loose or cheap-feeling when touched, and
thought the bonding would at least be sufficient for
that. I set the glue-ups aside to cure. |
 |
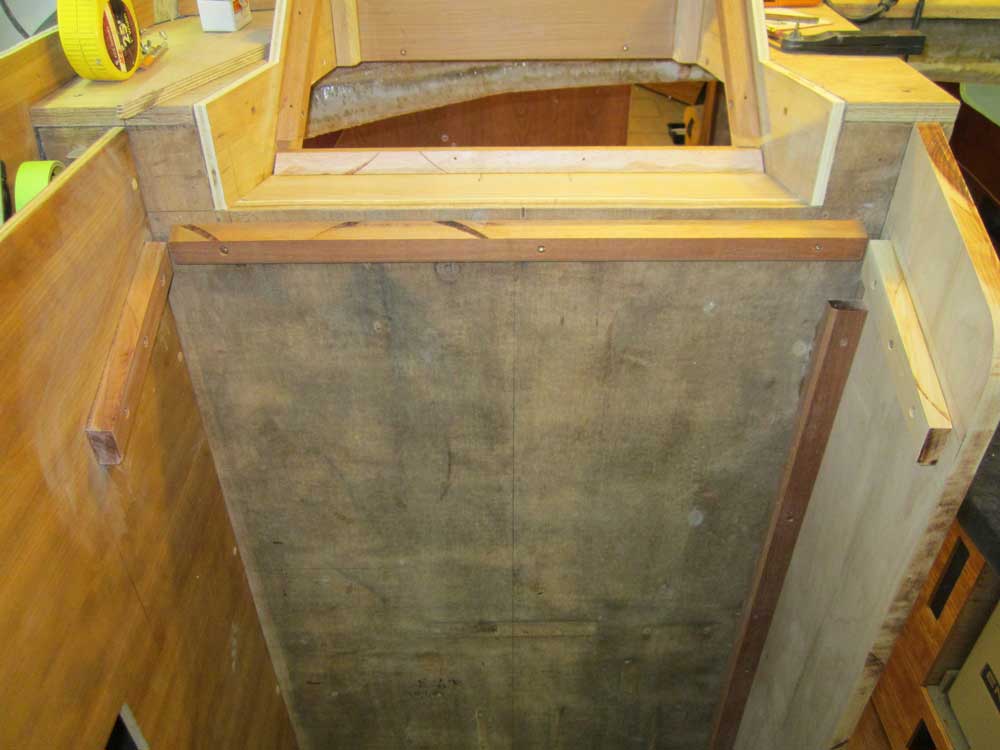
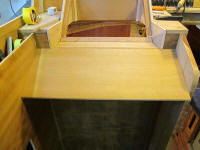
Meanwhile, I got to work on the main vertical face of
the helm console. To begin, I installed hardwood
cleats on the cabinet sides to support the face, using
various layout lines I'd created along the way.
Then, I cut a cherry plywood panel to fit the space as
needed. |
 |
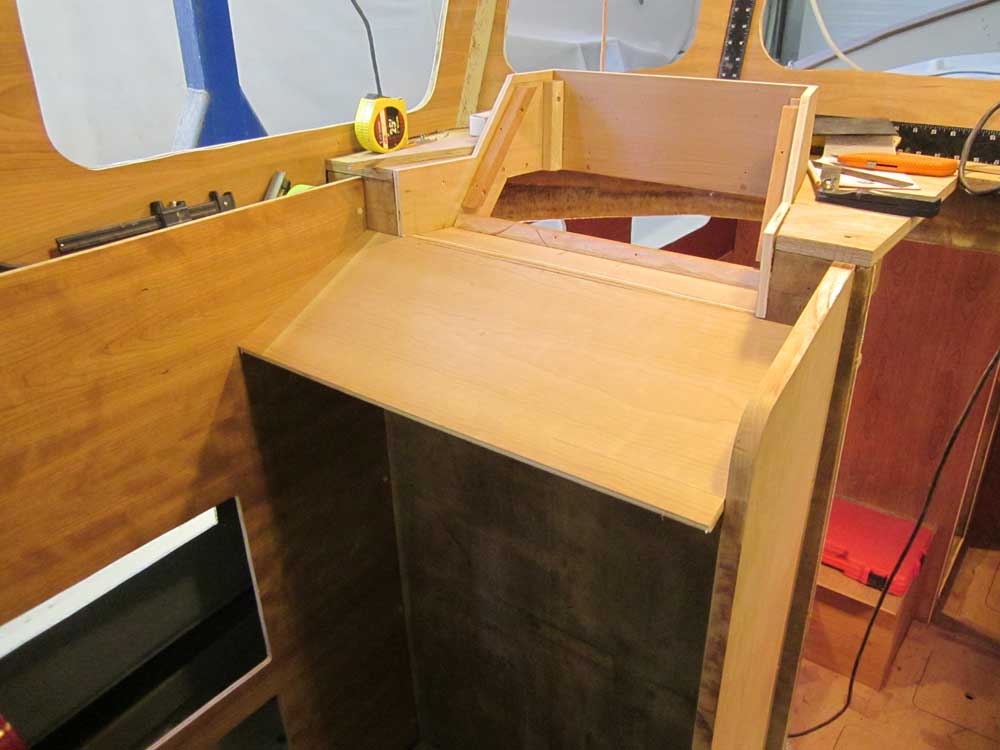
I removed the solid cherry side panel and milled rounded
profiles on the exposed edges as needed, then sanded the
panel smooth and clean before screwing it back into
place. |
 |
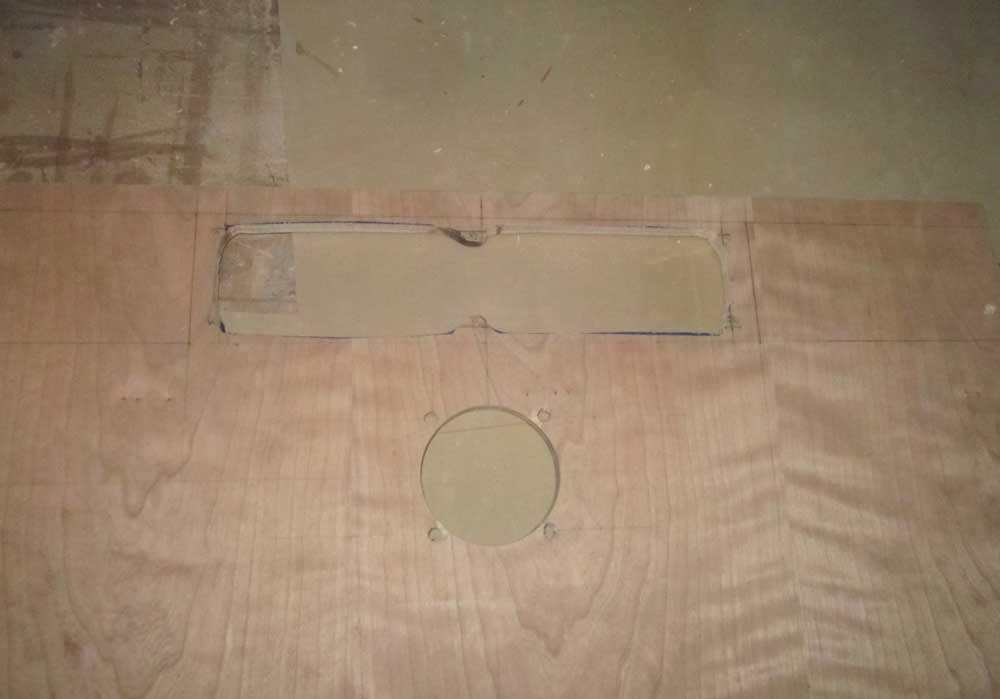
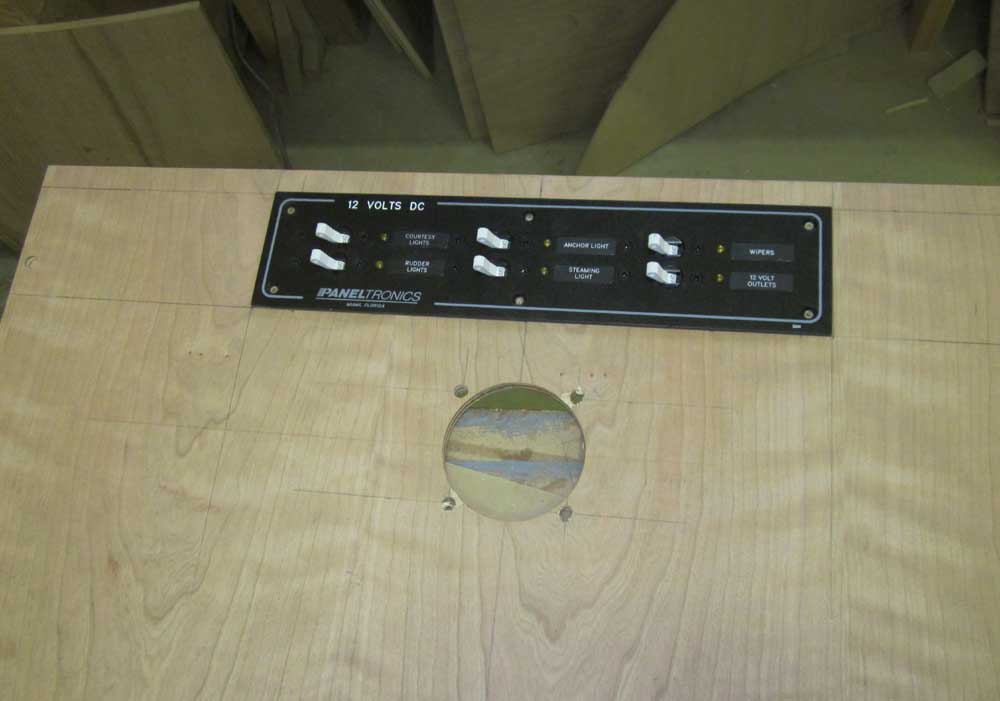
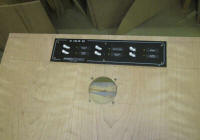
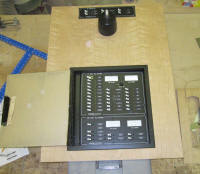
Down on the bench, I laid out the major installations on
the face panel: the helm, and two electrical
panels. I spent an inordinate amount of time
laying out and cutting the opening for the slim upper
panel, as the clearances were very tight and the opening
couldn't be simply rectangular because of the position
of the six screw holes required to secure it.
Eventually, I managed to get the opening cut as needed,
but it was frustrating for something so silly to take so
long.
Around this time I also noticed that the manufacturer
had put on an incorrect label. Instead of "Running
Lights", there was a label for "Rudder Lights" (whatever
those might be; who has rudder lights?). I hadn't
noticed this during my initial inspection of the panels
when they arrived a few weeks ago. There
were a few mis-applied labels on the AC portion of the
main panel, which I'd already noted and for which I'd
already received replacements. |
 |
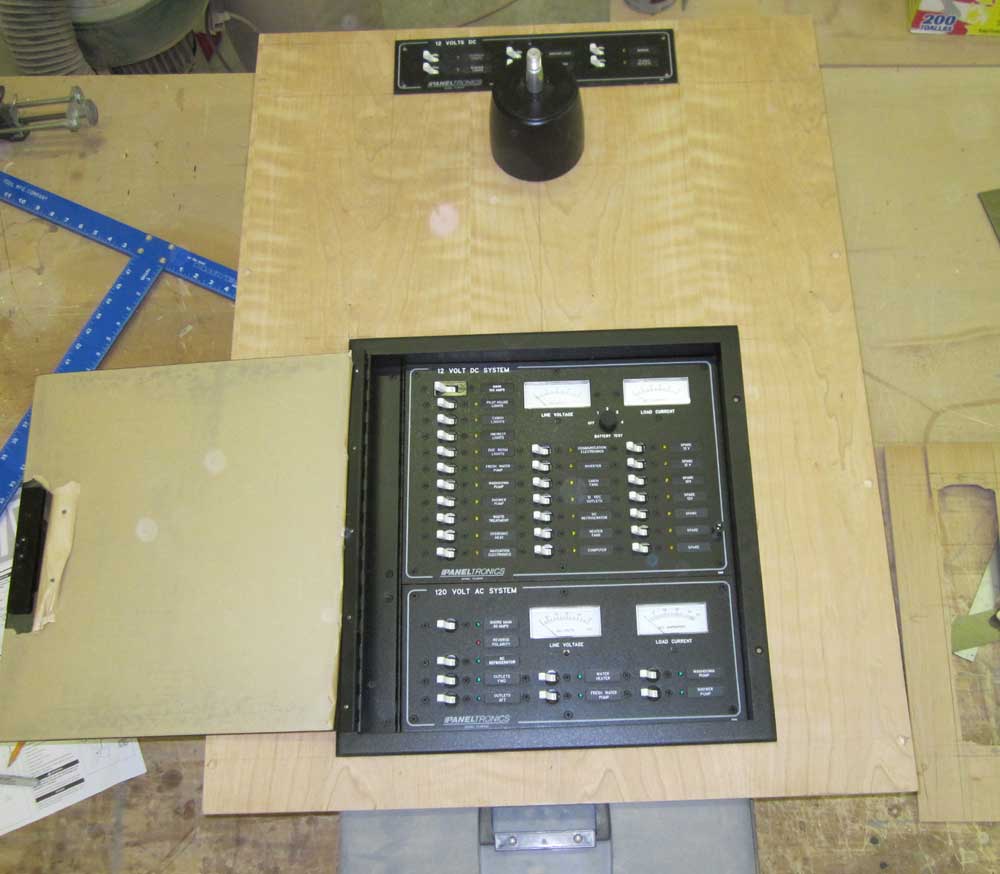
For the main electrical panel, located in the lower
section of the cabinet, I'd ordered the panel in a
recessed enclosure with acrylic hinged door, and this
panel was straightforward to lay out and temporarily
install. |

 |
| |
| |
Total Time Today: 6.75 hours
|
<
Previous |
Next > |
|
|