Project Log: Saturday, November 10, 2012
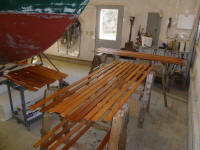
In the couple weeks since I milled the ceiling strips
for the forward cabin, I'd hoped to have a chance to
pre-finish them, but hadn't had time. So to begin,
I laid the strips out on some horses and applied a coat
of natural tung oil, my choice of finish for the strips
since it was easy to apply. I applied a coat to
all surfaces to seal the wood, and left the strips to
dry. I figured at best, I'd be able to work with
the strips in a day. |
 |
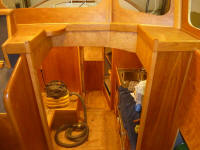
Over the past several days I had had time to complete
the varnish work on the companionway trim and
companionway ladder. |
 |
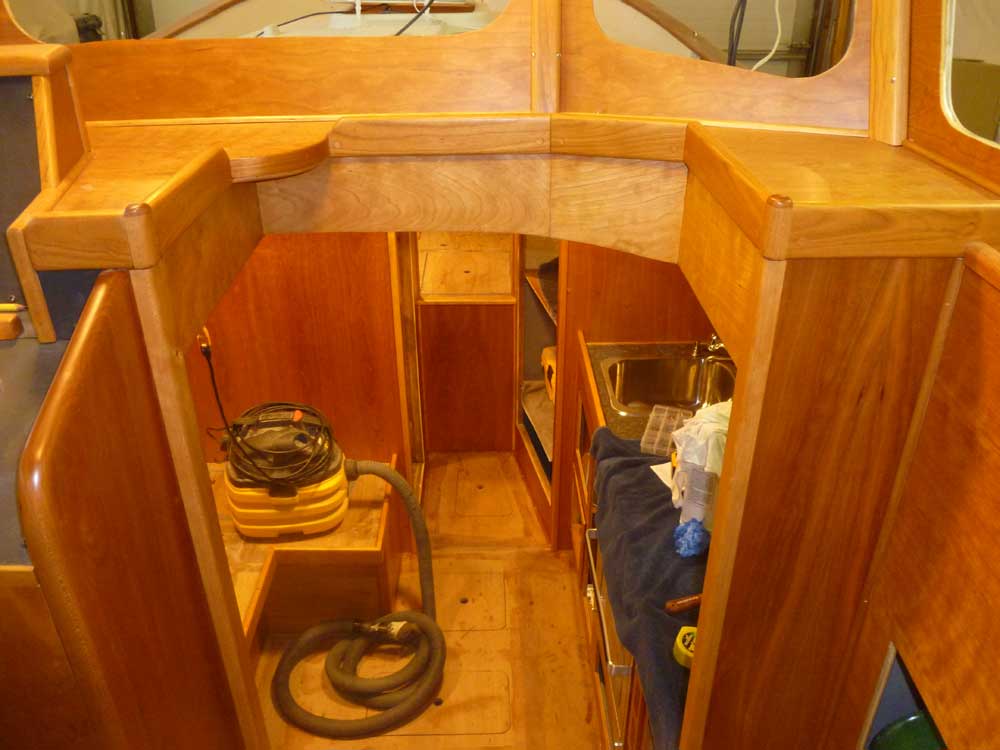
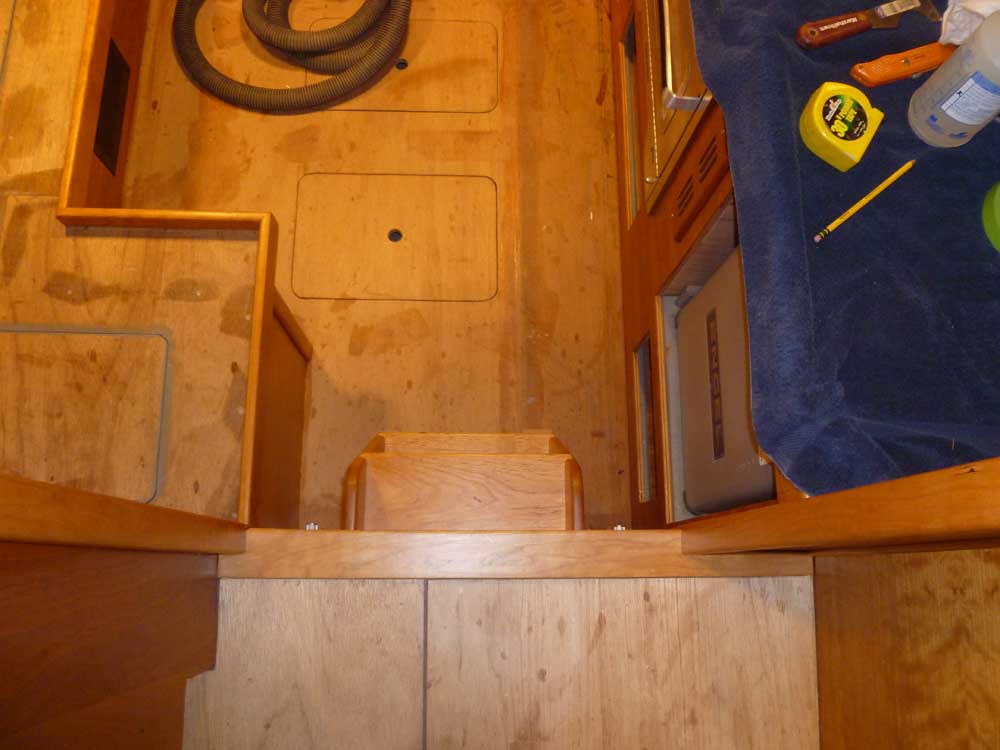
To install the companionway ladder, I first covered the
face of the access hatch with tape so I could make
reference marks, then installed the hatch in the boat
and, using two scraps of material the same thickness as
my finished cabin sole would be, aligned the new ladder
against the hatch to which it'd be attached, and traced
the outline on the tape for reference. |
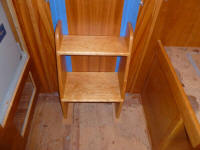 |
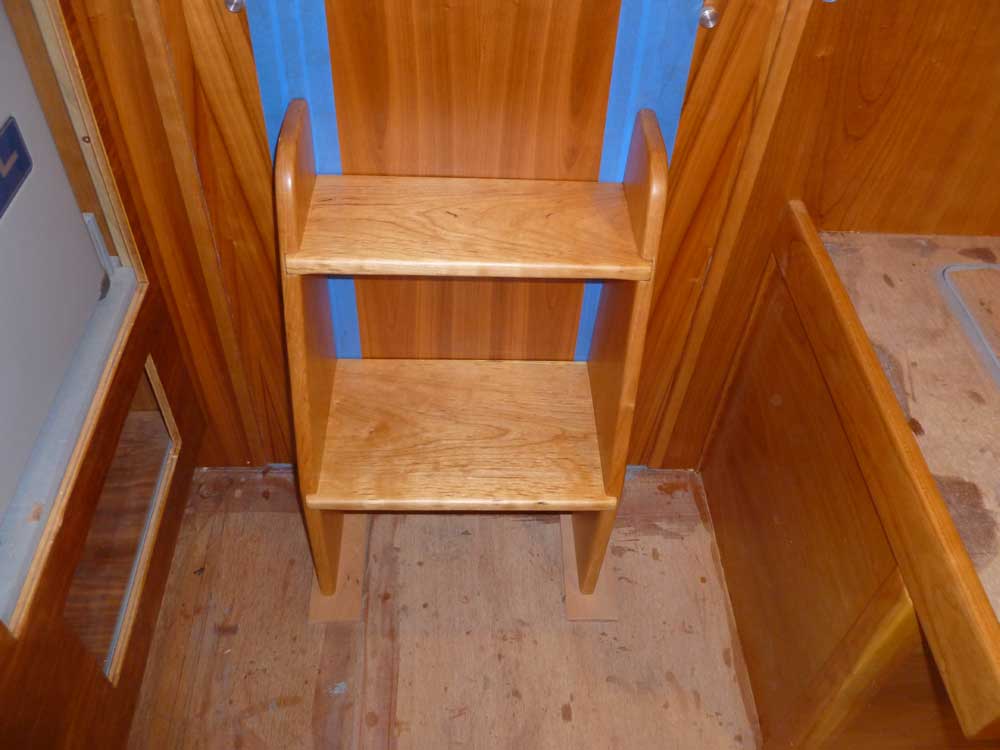
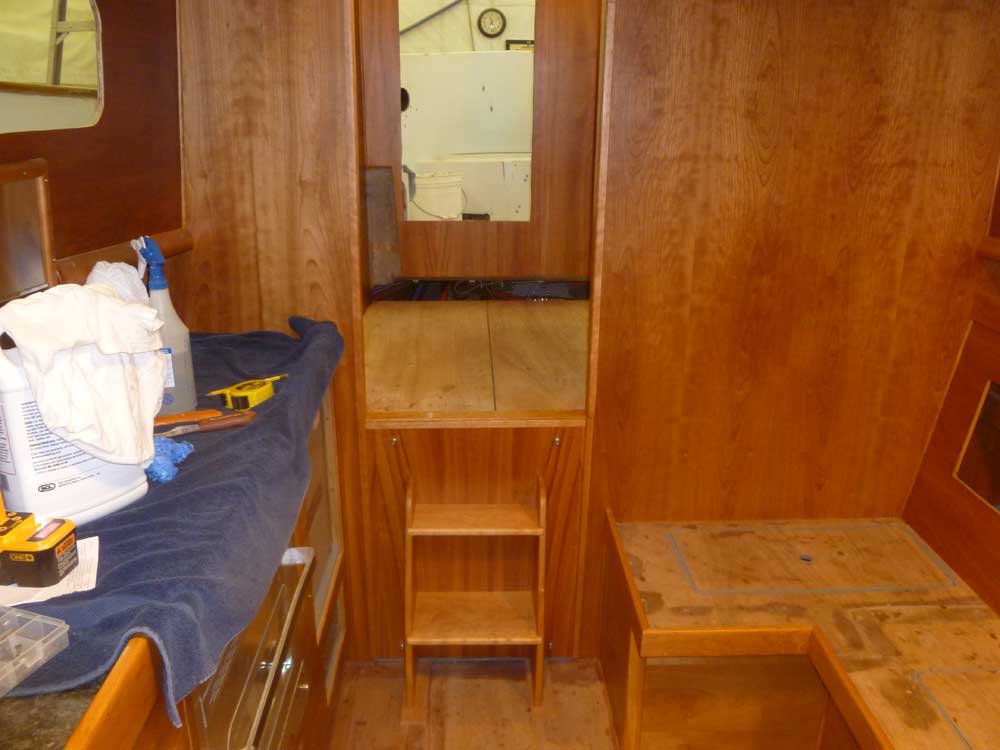
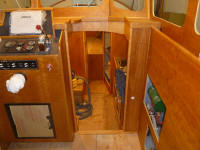
Down on the bench, I realigned the ladder according to
my marks and, from the back side, drilled pilot holes
through the plywood and into the cherry ladder, then
secured it with screws after removing the tape. I
reinstalled the sound insulation on the back of the
panel, which I'd removed in order to secure the ladder.
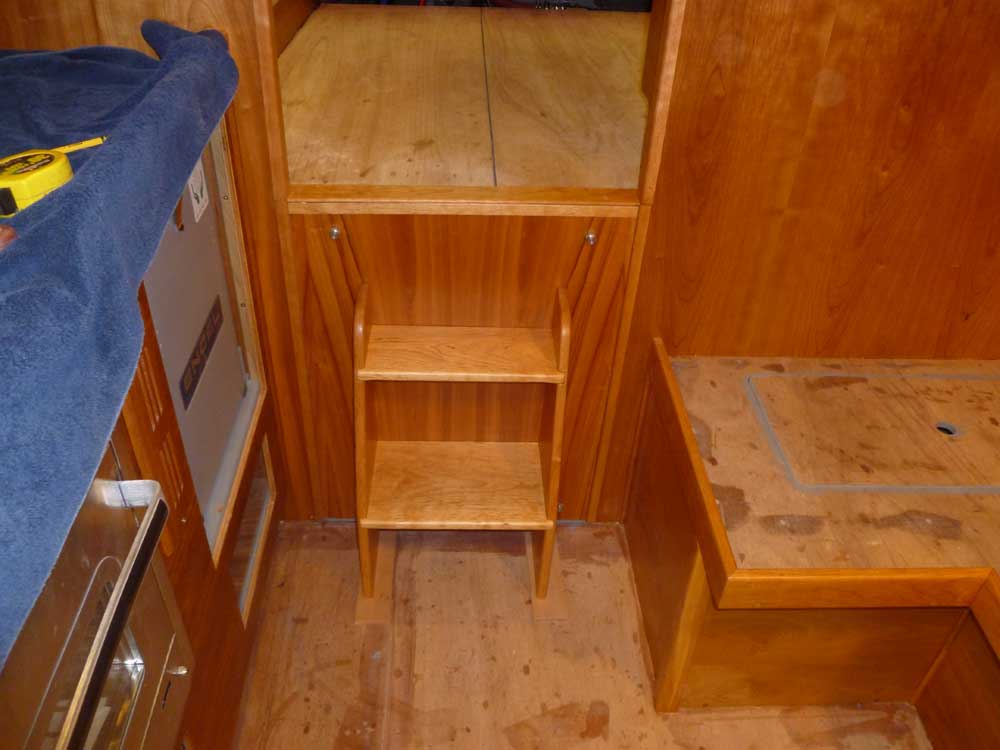
Keeping the sole scraps in place, I reinstalled the
panel in the boat. The ladder worked great. |


 |
At this point, I discovered to my pleasure that the
ceiling strips had dried much faster than I'd expected,
and were dry enough to handle. I'd apply most of
the finish once they were in place, and only had needed
the sealer coat on the back side first, so I decided to
continue with the installation. Later, once the
whole ceiling was installed, I'd apply several more
coats to achieve a finish similar to the satin varnish
elsewhere in the cabin.
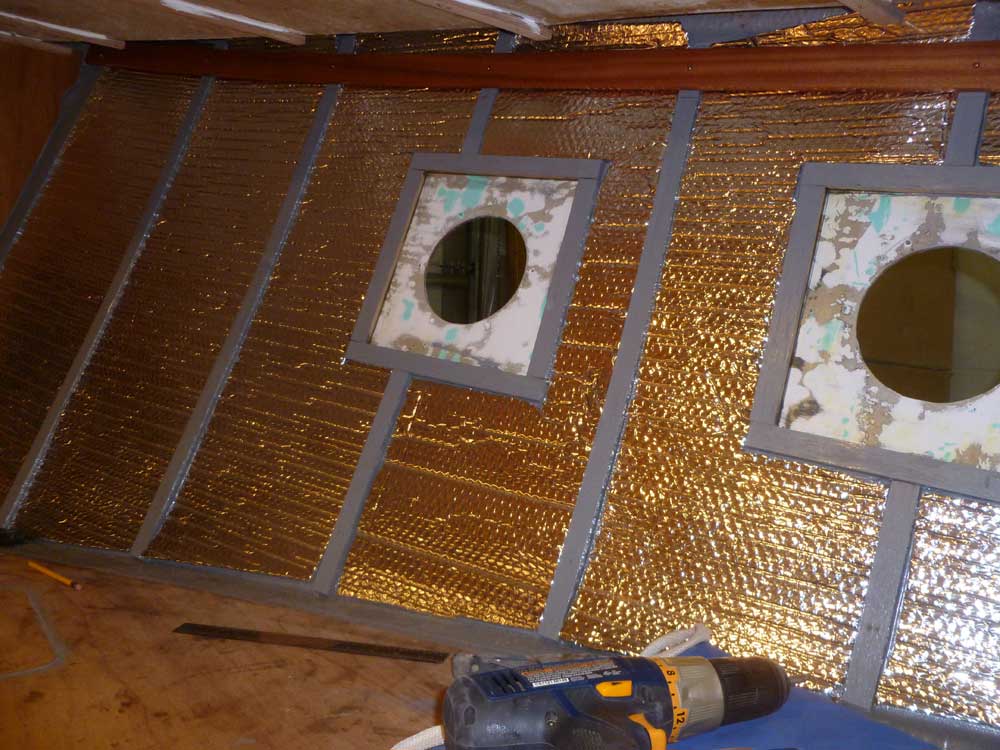
Installation was slow going thanks to the tight working
quarters and the need to custom-cut each piece.
Starting at the top, the first strip on each side was
the most difficult. I used two overlapping
sections of scrap plywood, cut to the same dimensions as
the ceiling strips, to determine the overall length and
angles at each end, and cut the first strip for each
side.
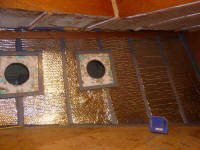
Allowing the board to fall naturally into position, I
found that the forward ends angled upwards more than the
curve of the deck would suggest, thanks to the compound
curvature of the hull and the increasing flare as I went
forward, but after attempting to keep the strip in line
with the angle I'd determined for my deadlight frames
(I'd expected the ceiling strips to be parallel to these
frames), I discovered a number of problems with that
approach, mainly that the strips ended up below the line
of the overhead panel frames in the middle section; I
planned for the overhead to hide the top seam of the
ceiling. If I'd continued in this way, I would
have had to make a custom piece for the top to
completely hide the hull and insulation, and this didn't
seem worth the effort.
So I decided to allow the strips to fall where they
wanted to, in the most natural way. I installed
the strips with bronze round-head screws, one at each
support location.
|
 |
I'd decided to work on both sides at once to keep the
materials as consistent as possible, in case I ran out
of milled material before the end and had to use another
board. The boards I'd previously milled varied in
color, so I chose pieces entirely at random to avoid any
patterns. With the top boards installed, it was
easier to work on the next ones, as I had a natural
alignment point.
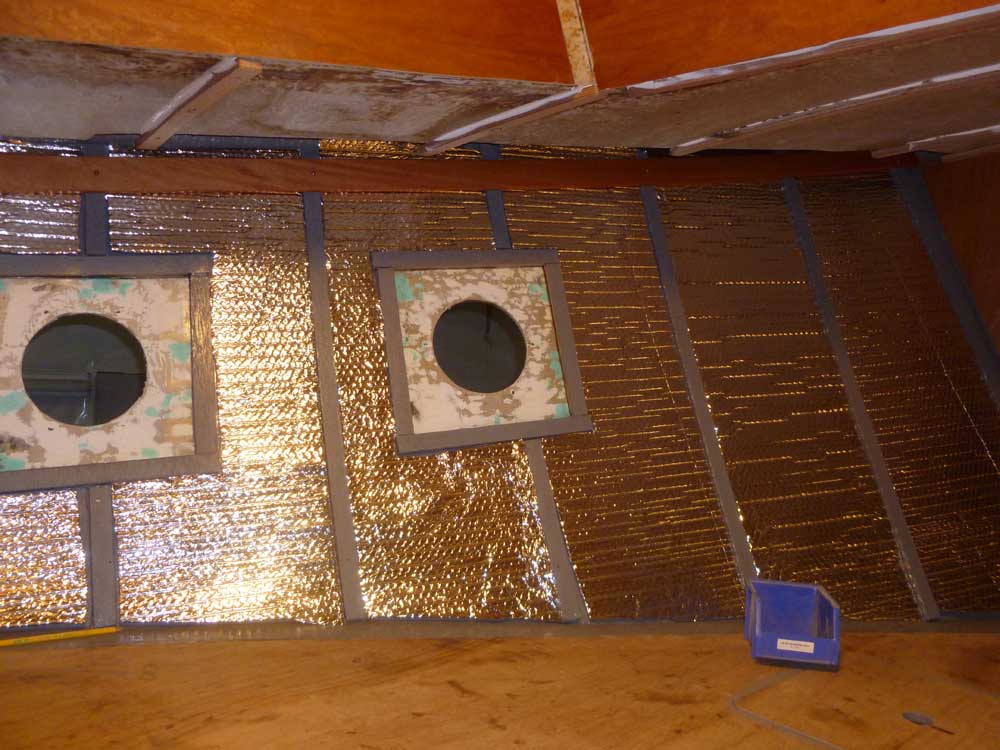
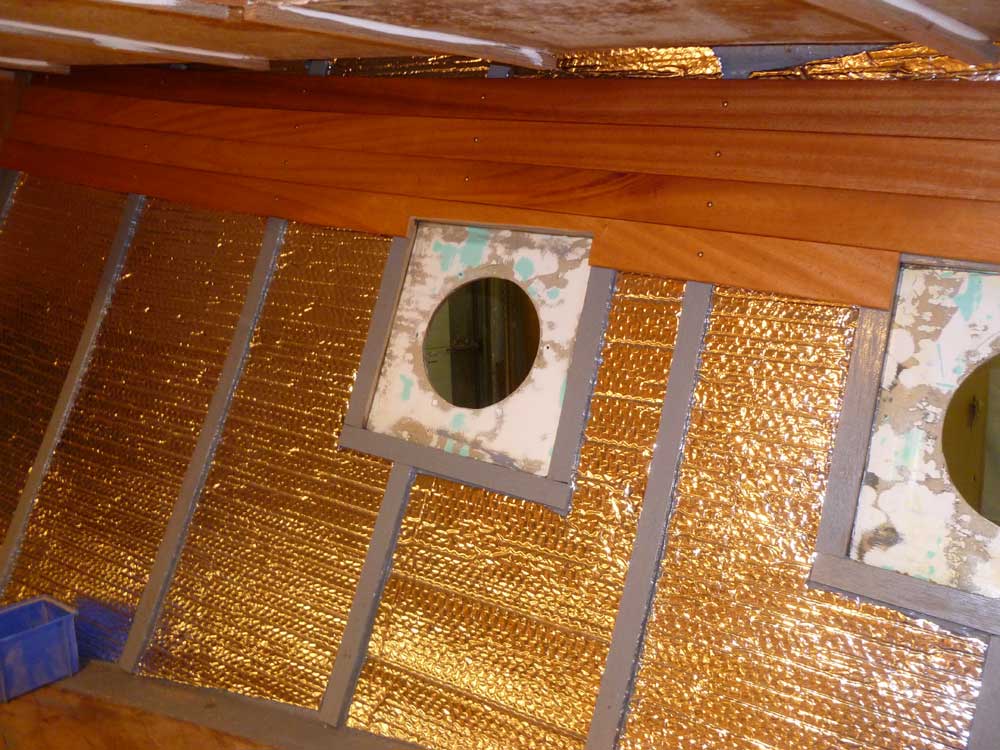
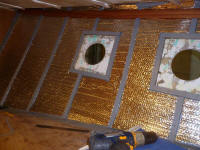
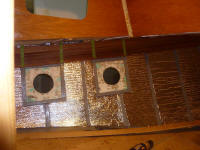
One board at a time, I worked down from the top till I
reached the deadlight cutouts, where I had to start
cutting little wedges out of the strip to fit around the
opening. (Later, there'd be trim to hide the raw
edges of the openings.) I measured and
marked the fourth board on the port side, but didn't
install it as I was running out of steam. But on
the starboard side, I completed the last long board, so
the next set of planks would be shorter and fit between
the deadlight openings. |
 |
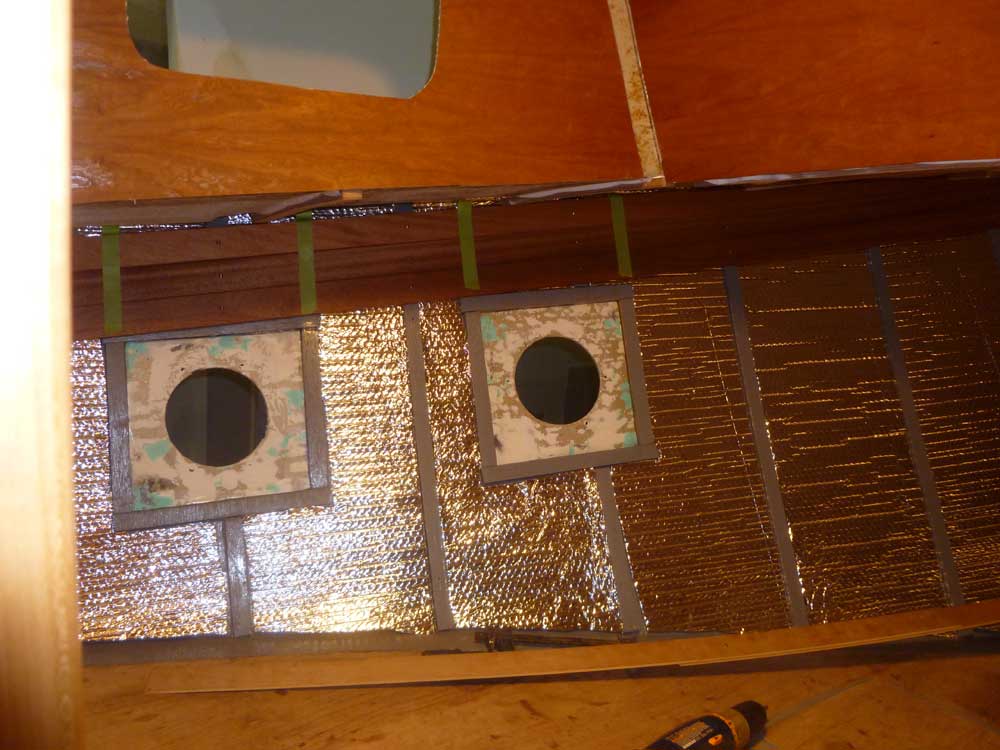
The bad angles looking into the space meant that
photographing the work was difficult. |
|
Total Time Today: 6.25 hours
(plus 2.25 hours spread over several preceding days) |
<
Previous |
Next > |
|
|