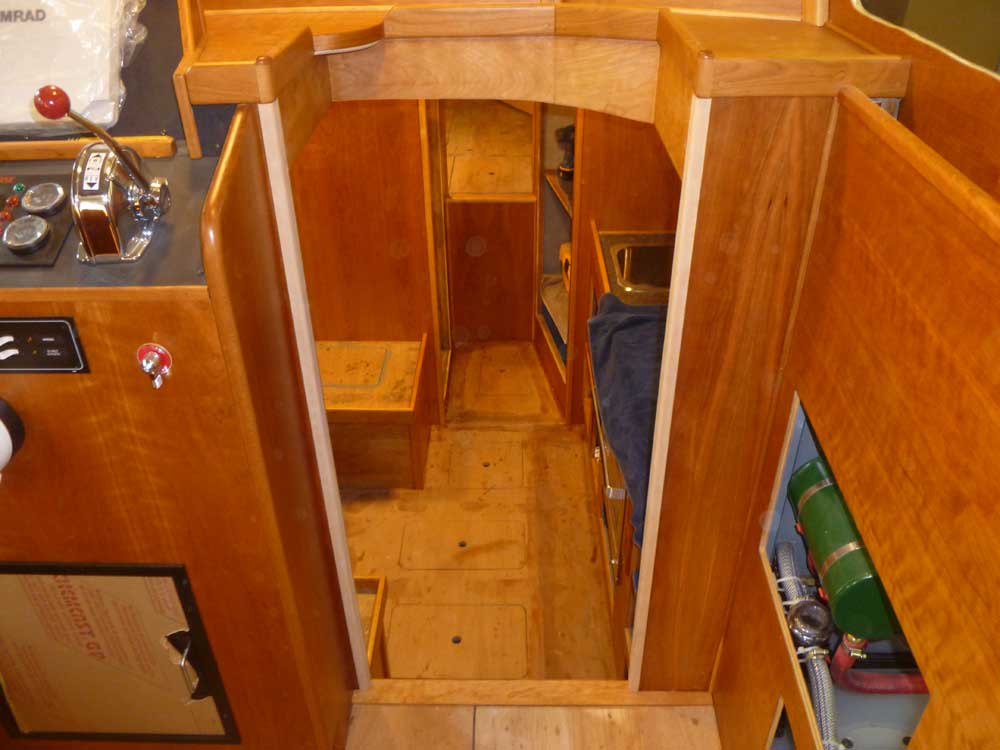
Project Log: Saturday, October 27, 2012
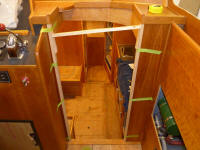
With a new supply of solid cherry stock on hand, I
continued work on some of the areas still requiring trim
inside, starting with the companionway. The edges
of the opening from the pilothouse to the main cabin
were still raw plywood end grain, so to cover these
areas I milled a U-channel trim that could wrap around
the sides and cover the area neatly.
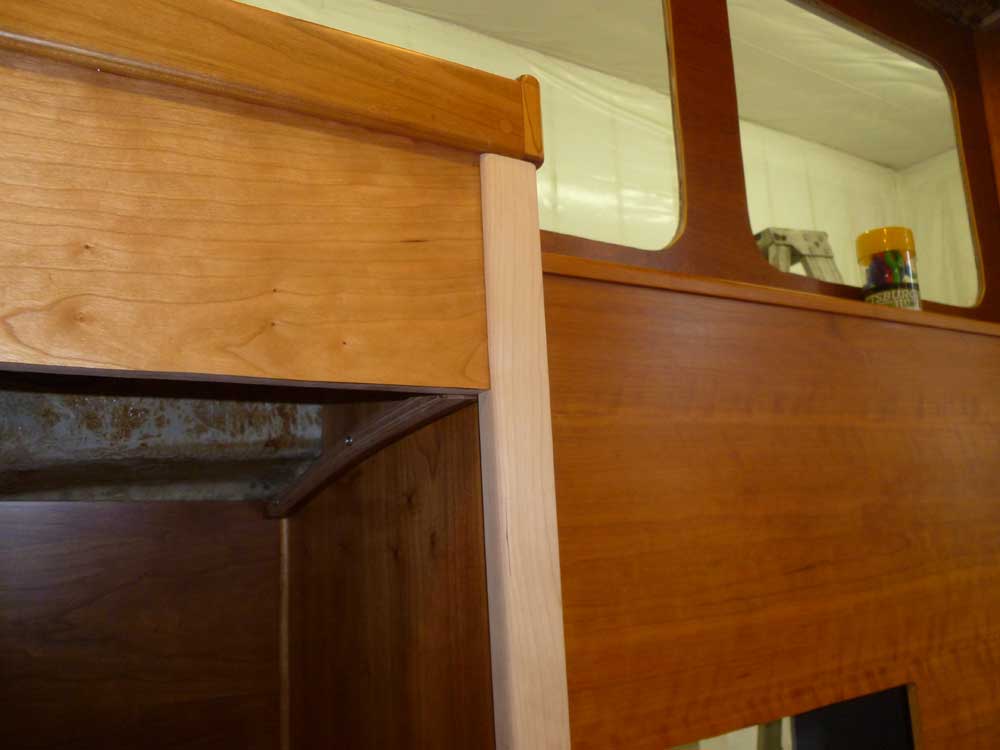
At the top ends, the trim overlapped the companionway
surround trim that I'd installed earlier, finishing off
that aft edge. |


 |
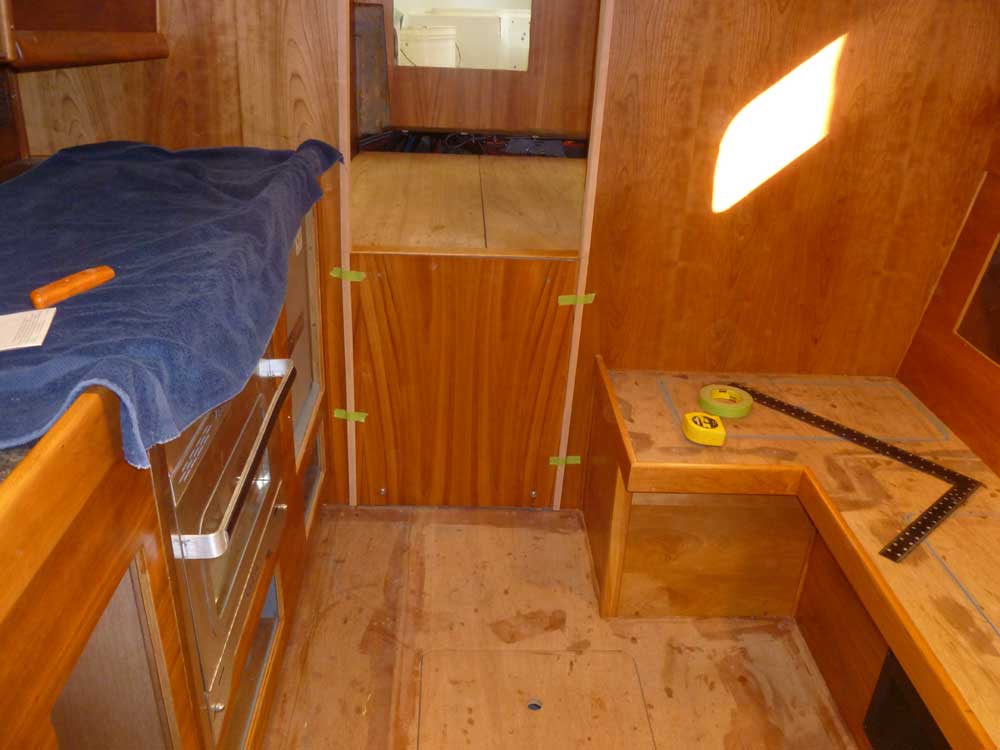
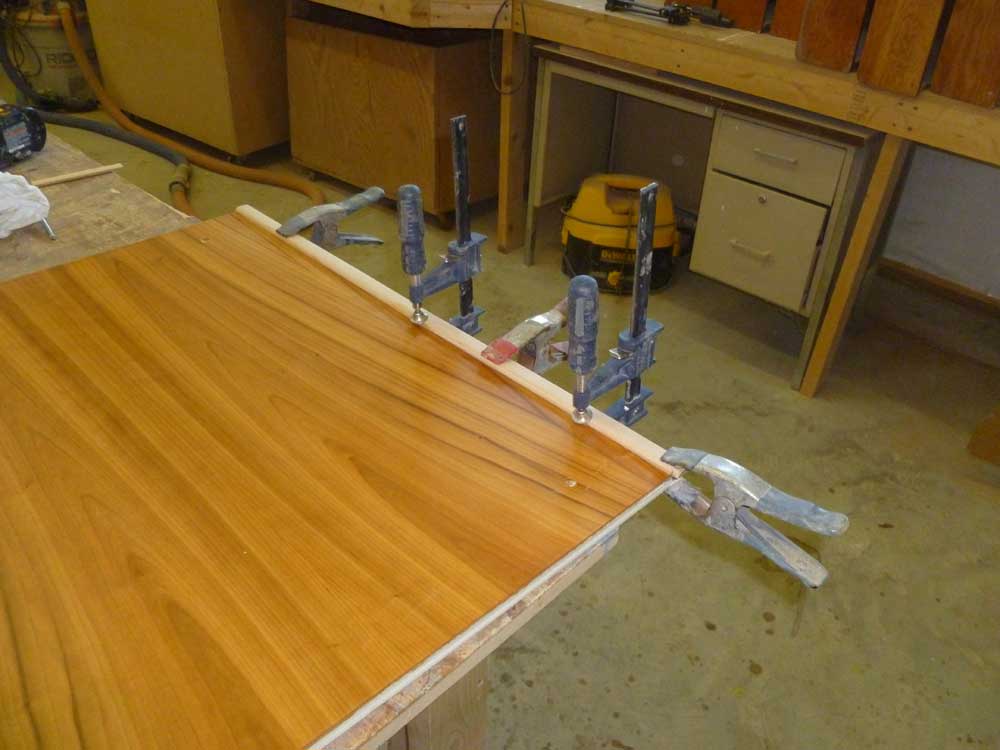
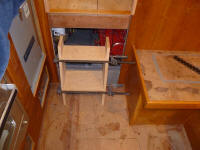
The removable hatch leading from the main cabin to the
engine room also required trim at its edges. For
this area, I chose to more or less continue the upper
trim's appearance for a relatively seamless look, so
from the same raw trim pieces I prepared short sections
that I could attach to the removable panel, taping them
temporarily in place to check the fit and alignment. |
 |
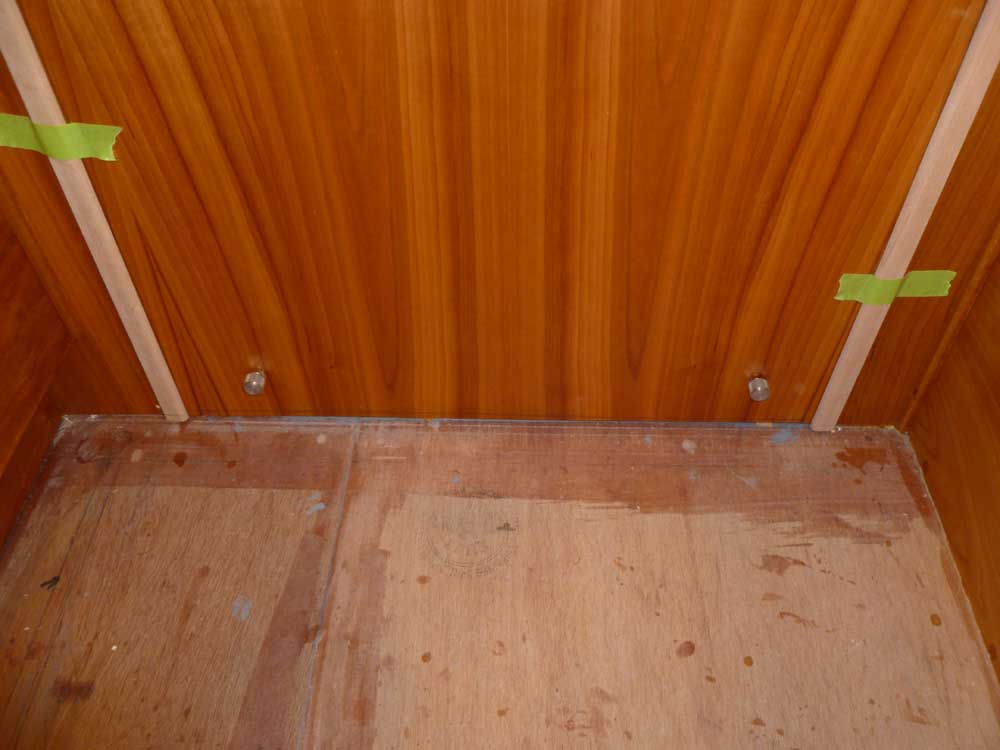
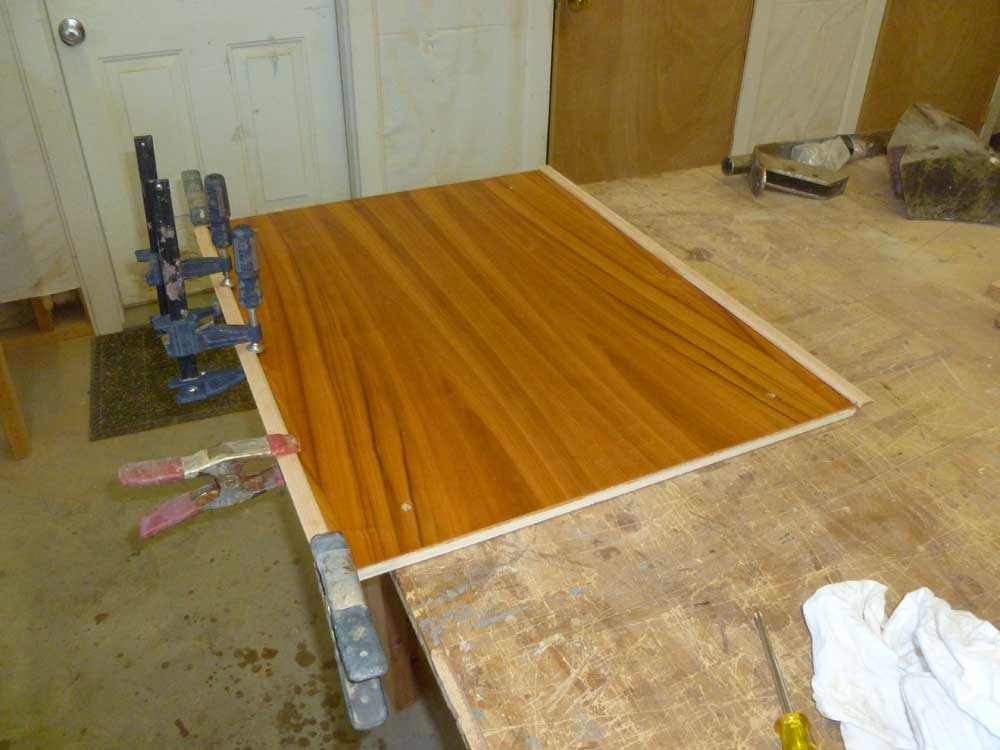
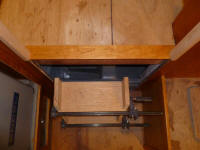
I made some reference marks for later use in realigning
the trim for gluing, but before I removed the panel and
its trim I used a scrap of wood trimmed to 5/16" in
thickness, which simulated the final cabin sole, to mark
the lower edge of the panel so that later, the panel
wouldn't be trapped behind the sole; the sole would
extend beneath. |
 |
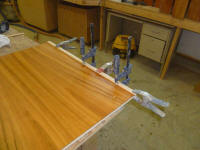
With the panel and its trim down on the bench, I glued
the edge trim on, one side at a time. There wasn't
a lot of overlap in some areas, while in others there
was more, since the opening in the original bulkhead was
not plumb. I'd long ago decided to live with the
anti-plumb arrangement of the companionway rather than
take steps to "fix" it. Too much effort for not
enough (or no) gain.
|
 |
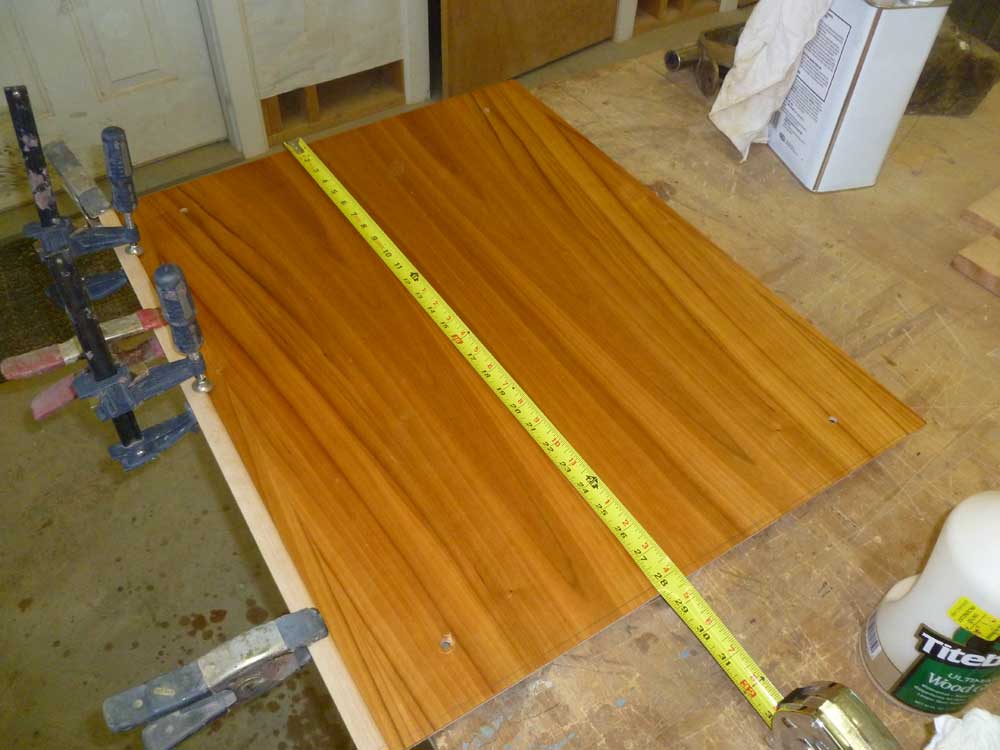
Meanwhile, I glued the upper sections of trim in place,
holding it with tape and a brace at the top edge as
needed. I'd varnish these in place since then I
could also complete the varnish on the companionway
surround. |
 |
The next project was related: build a companionway
ladder. Over the months and years I'd been
clambering in and out of the main cabin without a
ladder, its eventual form had morphed from nothingness
into something more generally clear, if not precise,
some time ago. I wanted the ladder to be
simple, effective, and as unobtrusive as possible.
The whole design of the companionway was less than ideal
from the getgo, so this would never be a grand
staircase. The very shape of the opening in the
dash above, while far larger and more comfortable than
it had been originally, was essentially limiting to the
ingress and egress, so ultimately the ladder just needed
to get us up and down without fuss, if not with the ease
of a comfortable household stair.
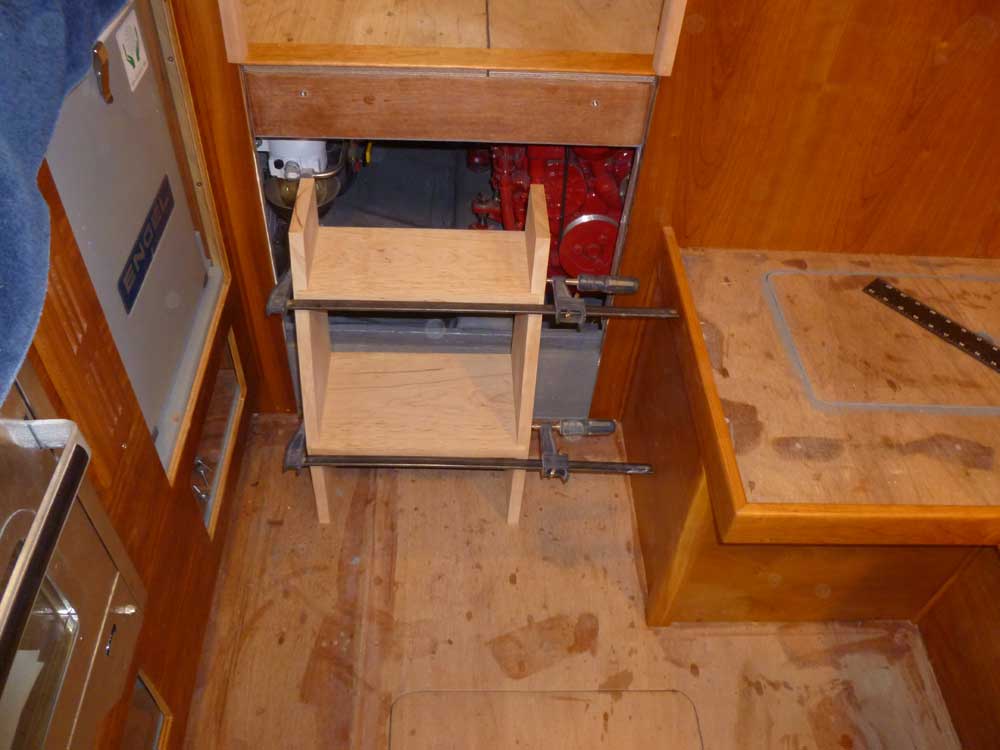
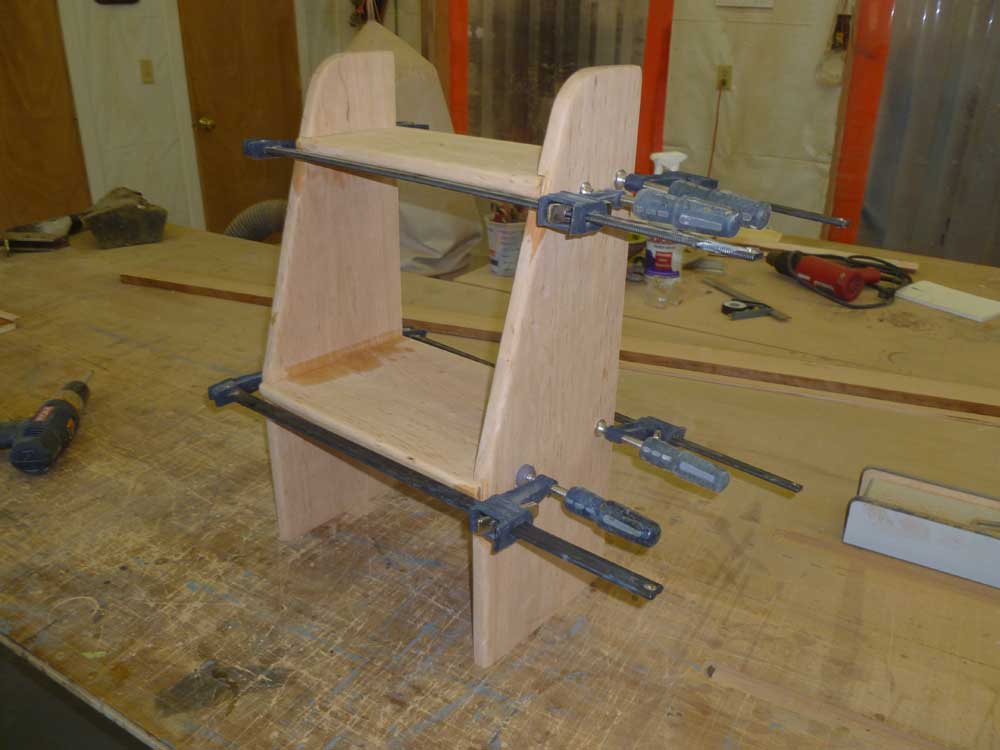
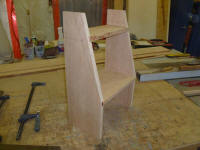
My plan was to build a traditional ladder with solid
sides supporting the treads as necessary. Once
complete, I'd secure the ladder directly to the face of
the removable panel, so that removing the panel would
also remove the ladder. I needed the ladder to be
narrow enough to still provide the hope of access to a
storage locker in the lower part of the galley, but wide
enough to be usable and comfortable.
The distance between pilothouse and main cabins soles
was just over 28", so divided evenly, this required
about a 9" step spacing, with two steps required on the
ladder itself (the pilothouse sole was the third step).
Allowing for the sides of the ladder to extend beyond
the top step for appearance and footing security, I cut
two pieces of 8" wide cherry stock--the widest I had--to
22" in length. Then, after marking the step
interval, I milled 3/4" wide dados in the sides to
accept the two steps. I ended up changing the
position slightly from my original layout, which I'd
discovered had failed to account for the thickness of
the stair treads, so the layout marks were still visible
after milling the grooves. |

 |
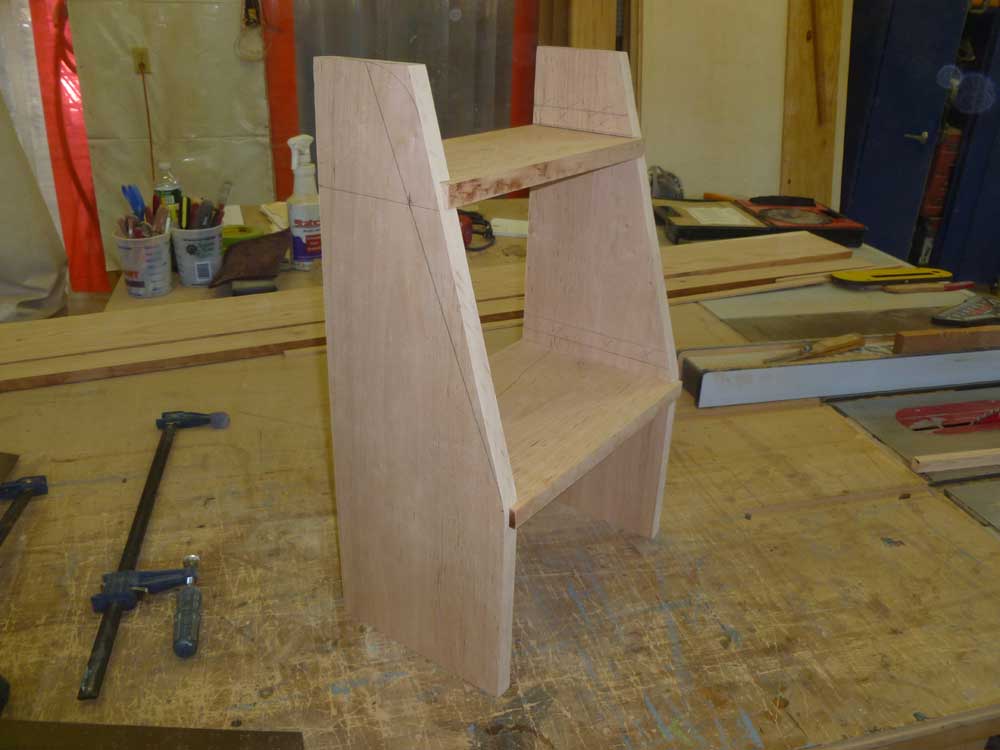
The lower step would be full-width, or just over 8"; the
upper step necessarily needed to be somewhat narrower,
both for utility and appearance, so I began with a 6"
wide tread. With this measurement, I cut an angle
on the forward edge of the sides, running from the lower
step up to the top, to match the position of the upper
step, then temporarily clamped the pieces together to
make a semi-workable ladder that I could test out.
With the ladder in place, I determined that the top step
was too wide--it limited the exposure of the step
beneath, making descending the ladder awkward.
While I wanted both steps to be as wide as possible, I
thought it would be better to reduce the width of the
top step by one or two inches to allow a more natural
motion in descending like a stair, without necessarily
needing to turn around and descend backwards, like a
ladder. |
 |
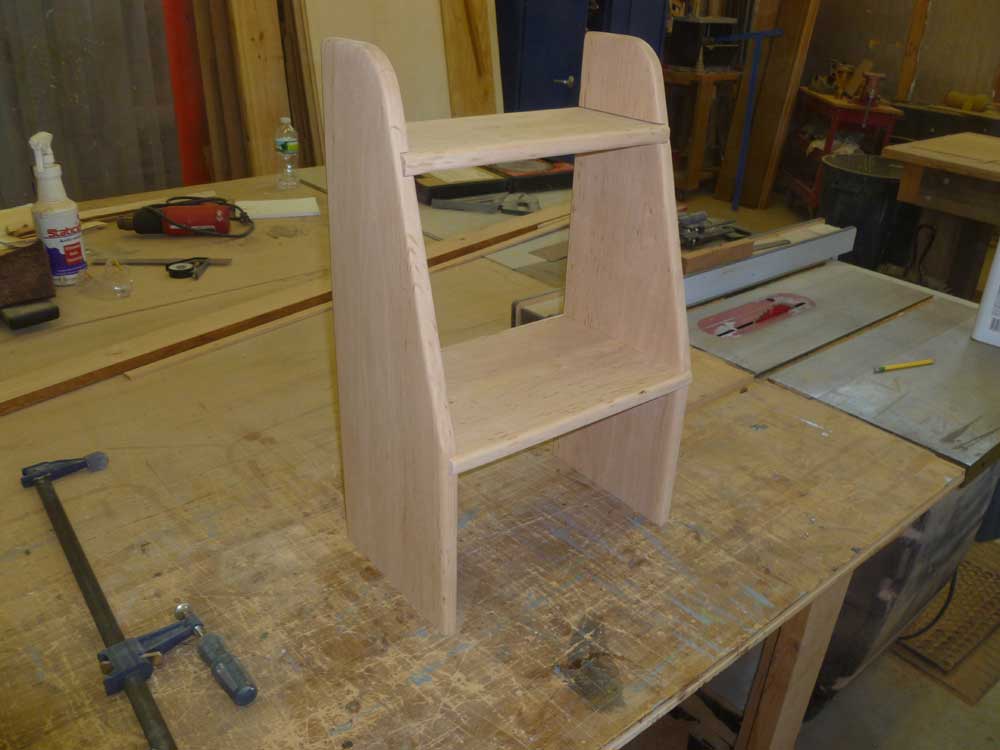
Back at the bench, I drew angled lines to suggest the
width of either a 4" or 5" top tread; eventually the 5"
tread won out as a reasonable compromise between the
comfort of the top step, the exposure of the lower step,
and the overall appearance of the ladder itself. I
made the new cut and trimmed the top tread
accordingly. I allowed both treads to extend
slightly beyond the side frames for added width and
better appearance. |
 |
Next, I rounded the edges of the various pieces as
required, and cut a nice curve in the top corner of the
side pieces where they returned to the vertical aft
side, and sanded all the wood smooth to prepare for
assembly and, ultimately, final finish. |

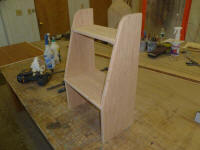 |
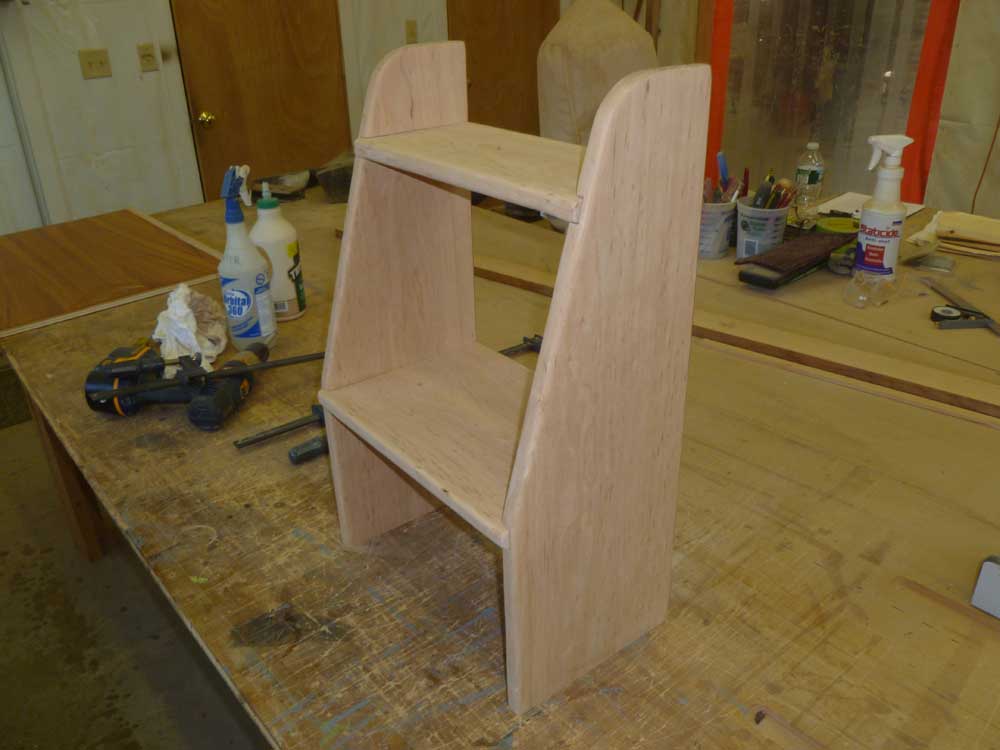
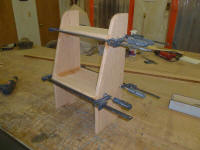
Finally, I secured the ladder together with glue and
clamped it securely. I debated using screws to also
secure the treads, but the thickness of the wood outside
of the grooves was such that I'd not be able to bury and
bung the screws, meaning they'd have to be exposed, so
for now I held off. |
 |
| |
Total Time Today: 5.25 hours
|
<
Previous |
Next > |
|
|