Project Log: Saturday, August 17, 2013
My little collection of varnished door frames had sat in a
dusty pile in the shop for too long, victim of other
priorities and a lack of available time. But these
doorframes offered me a way to ease back into the
project after an unwanted but necessary hiatus.
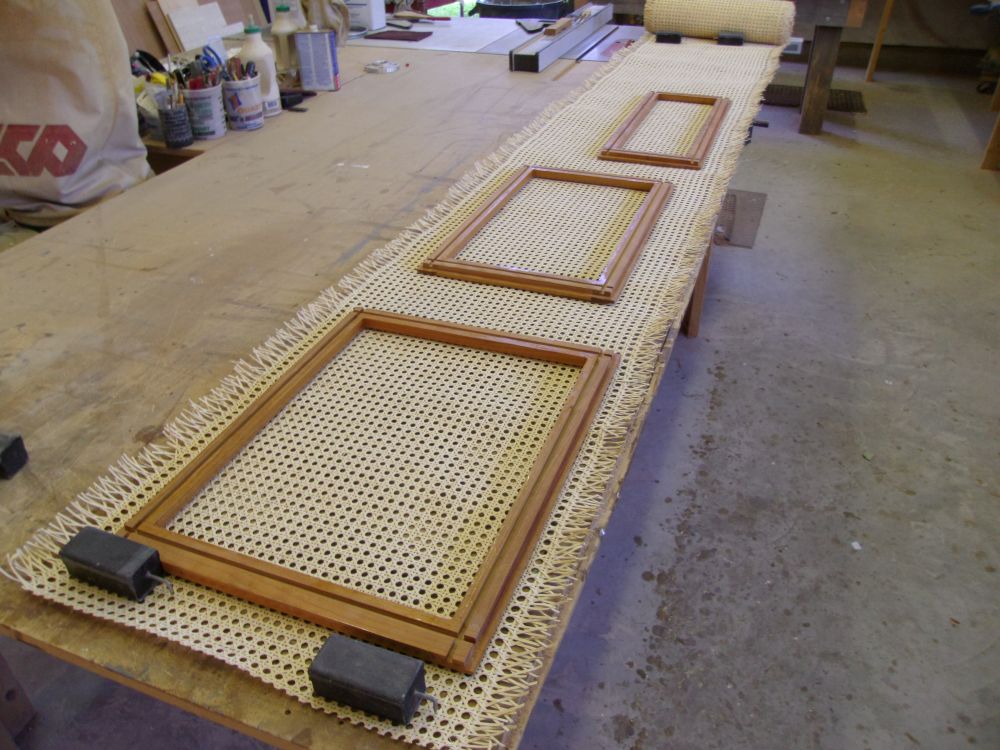
As I was wont to do, I planned to use prewoven caning to
fill the fields of these door frames. I'd found
caning to be a relatively simple and effective way of
building doors, and liked how the caning lightened up
what could otherwise be heavy wooden interiors.
Plus, the caning provided excellent ventilation to the
lockers.
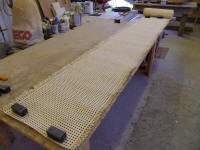
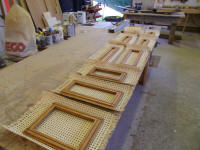
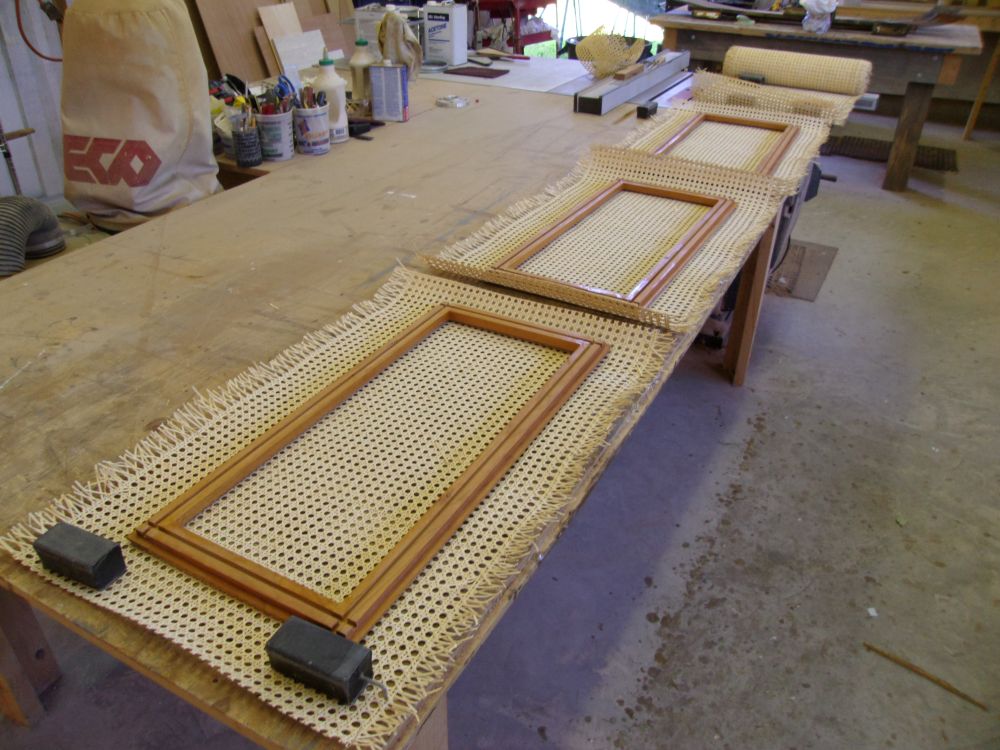
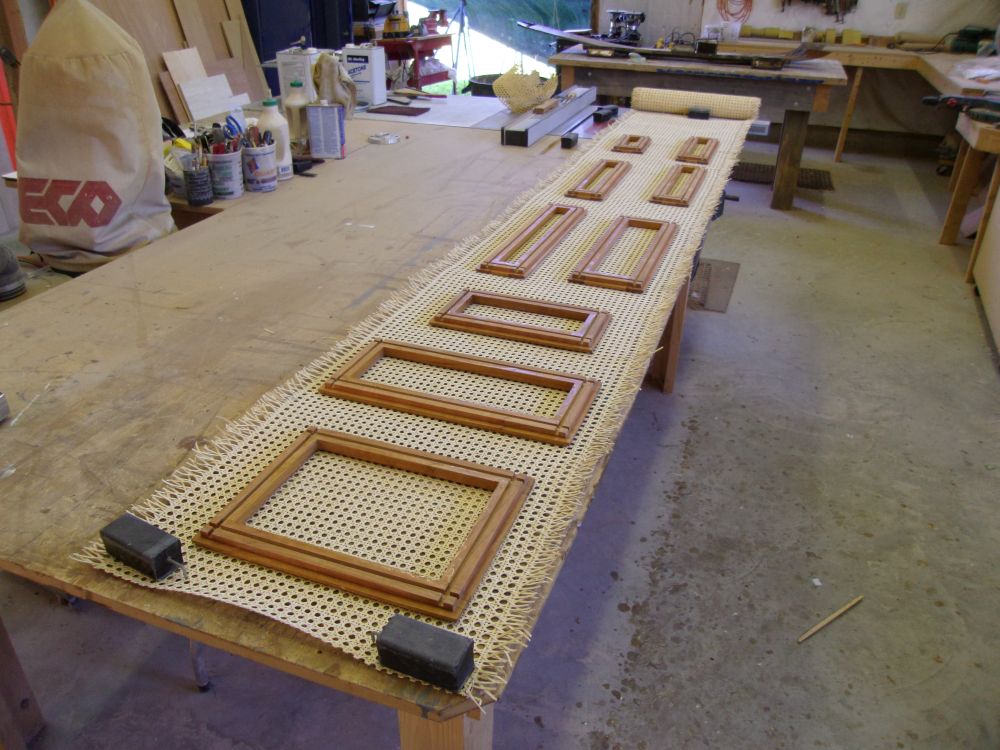
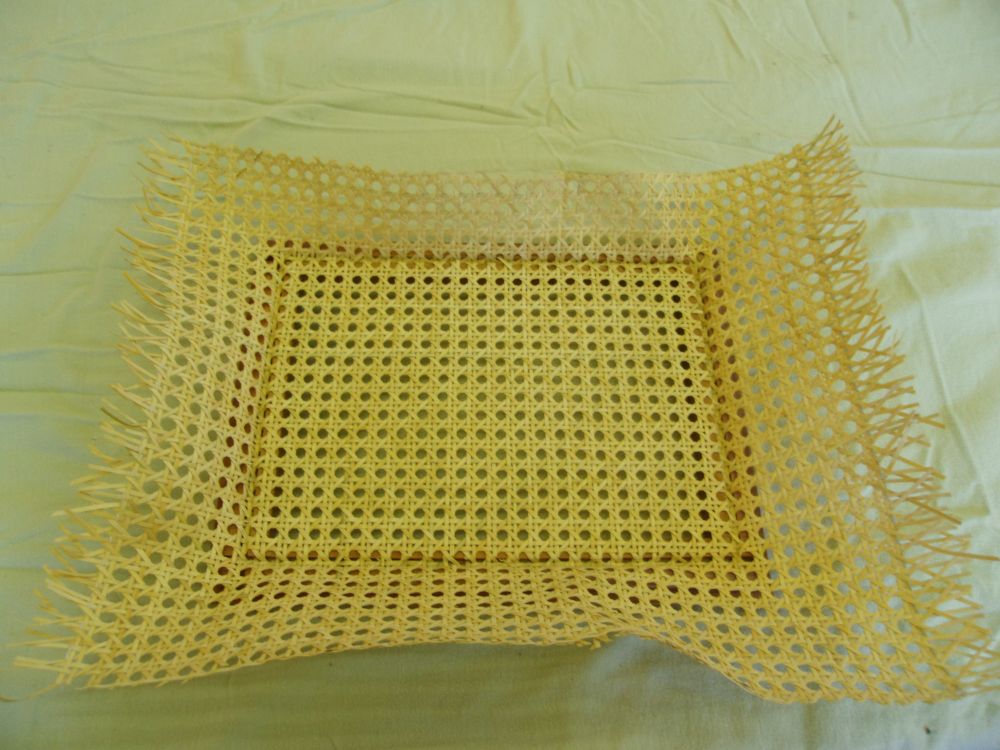
To begin, I laid out the various door frames on a roll
of caning material and cut pieces to fit, leaving them
well oversized. There were 15 door frames--six
larger ones, and nine small-to-medium ones (plus the
as-yet built door for the chainlocker).
|

 |
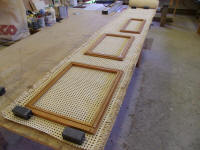
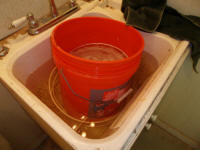
Beginning with the nine smaller doors, I placed the
caning pieces and several segments of reed spline in a
sink full of warm water and allowed the material to soak
for a time before beginning the installation process.
To hold the material below the surface, I used a bucket
full of water on top. Soaking made the material
pliable, and also expanded it slightly so that once
installed, it would shrink tightly into place. |
 |
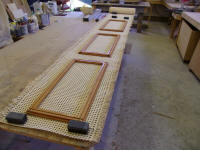
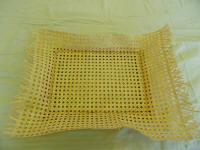
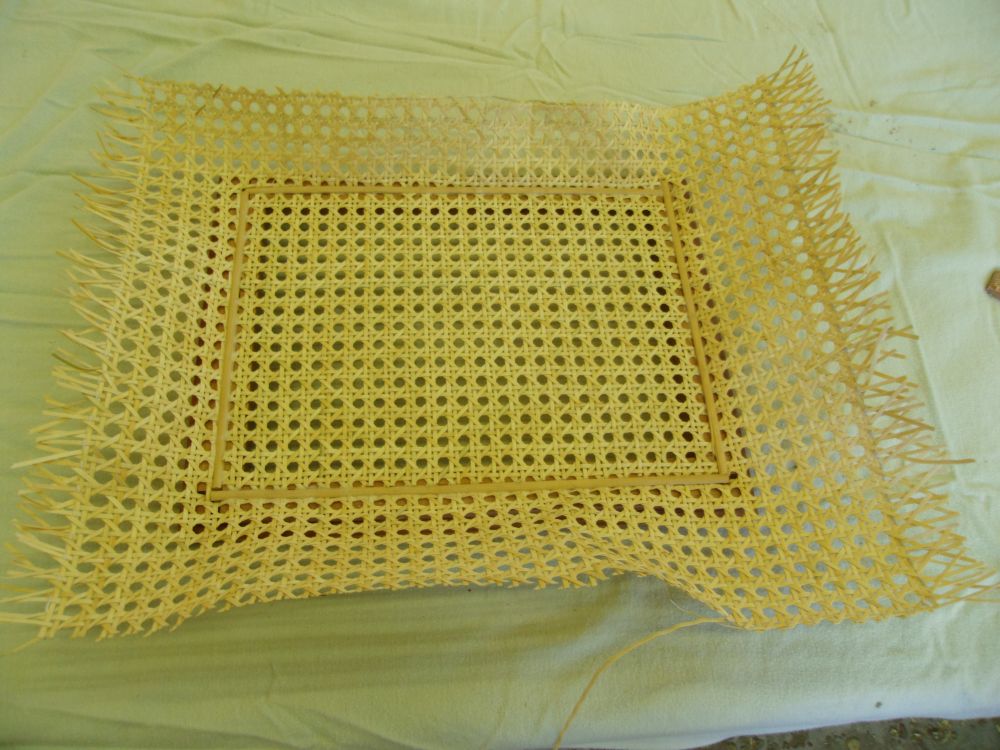
The installation process was this: with the soaked
cane in place above the door frame (grooves in which I'd
previously milled to accept the caning and splines), I
used a wooden wedge to ease the caning down into the
grooves along all four sides, working it in stages to
avoid breaking the caning. This could be tedious
at times. |
 |
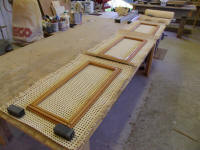
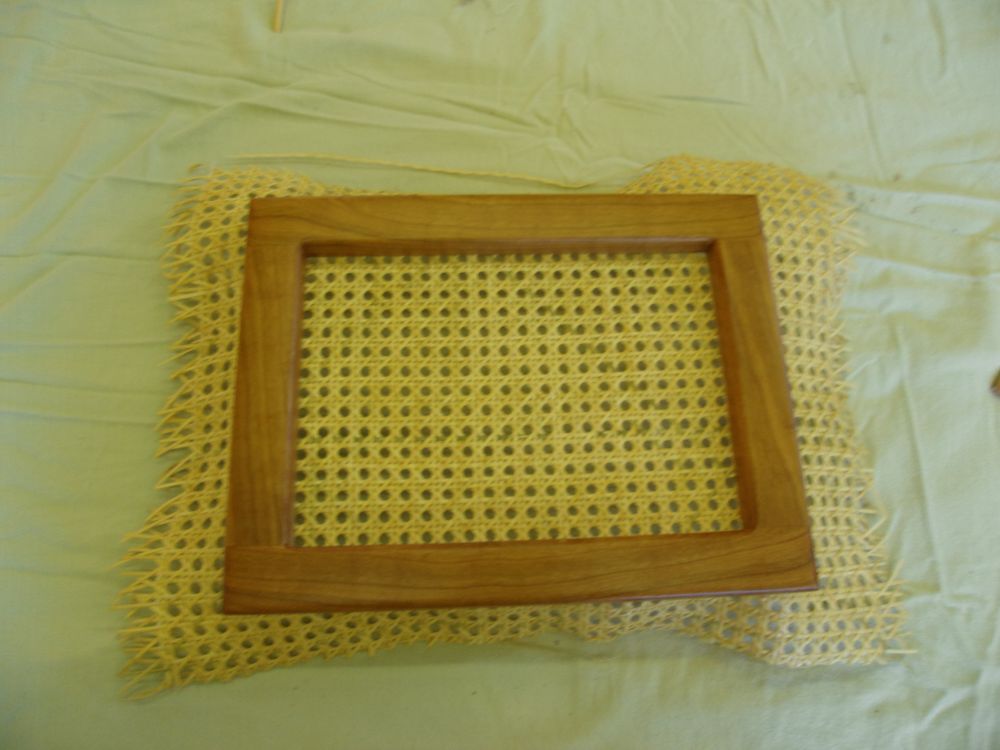
Next, I cut sections of the spline to the appropriate
length and, after installing a bead of glue in the
grooves, installed the spline with a mallet.
|

 |
In this way, I continued through the first set of doors,
setting them aside for the caning to dry and shrink. |
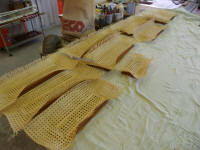 |
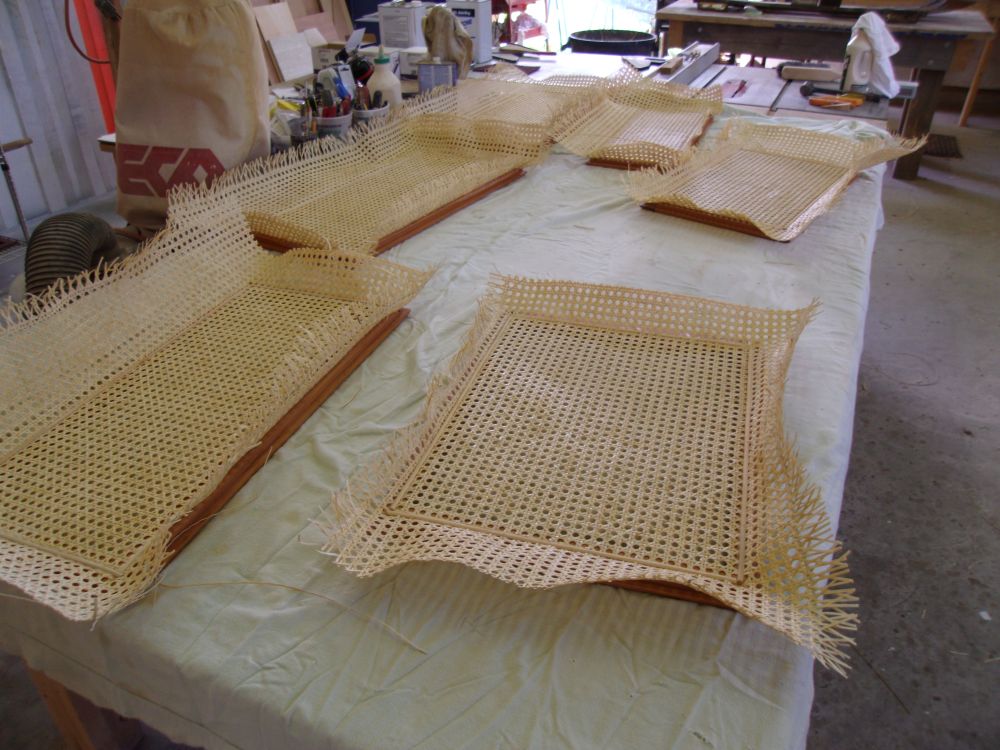
Then I soaked the larger pieces for the next set of
doors, and, after a time, completed the additional six
doors. |
 |
This was a good check mark on my list, as the unfinished
pile of door frames had been irritating me with their
un-doneness. And the doors would start to make the
interior seem really finished, despite whatever else
remained to be done (overhead trim, cabin sole, and the
entire head, for starters).
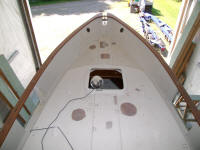
That said, the Big Thing on the list, and what I really
needed to get to work on, remained the exterior
painting. I'd had lots of--too much--time to think
this over, and as you gentle readers may recall, I'd
been fretting about and postponing this task
indefinitely. With fall rapidly approaching--and
with it the inevitability of spring all too closely--I
felt I needed to get this done essentially now--or as
now-like as scheduling over the next few months would
allow, anyway.
I didn't want to have the boat in bay 1 any longer than
necessary; by moving her over earlier in the summer I'd
hoped to have time and motivation to get started sooner,
but it hadn't been possible. But I wanted that bay
back for work sooner than later, so to knuckle down on
the job, I came up with a compromise plan that would get
as much done as quickly as possible.
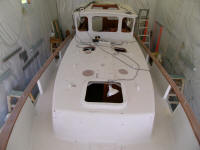
At issue was the challenge in painting the decks, which
would require multiple stages of work given the
impossibility of reaching all areas in one fell swoop.
Given this requirement, and the need for parting lines
between sections of the paint, my plan was to avoid the
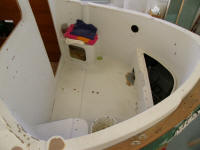
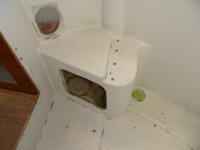
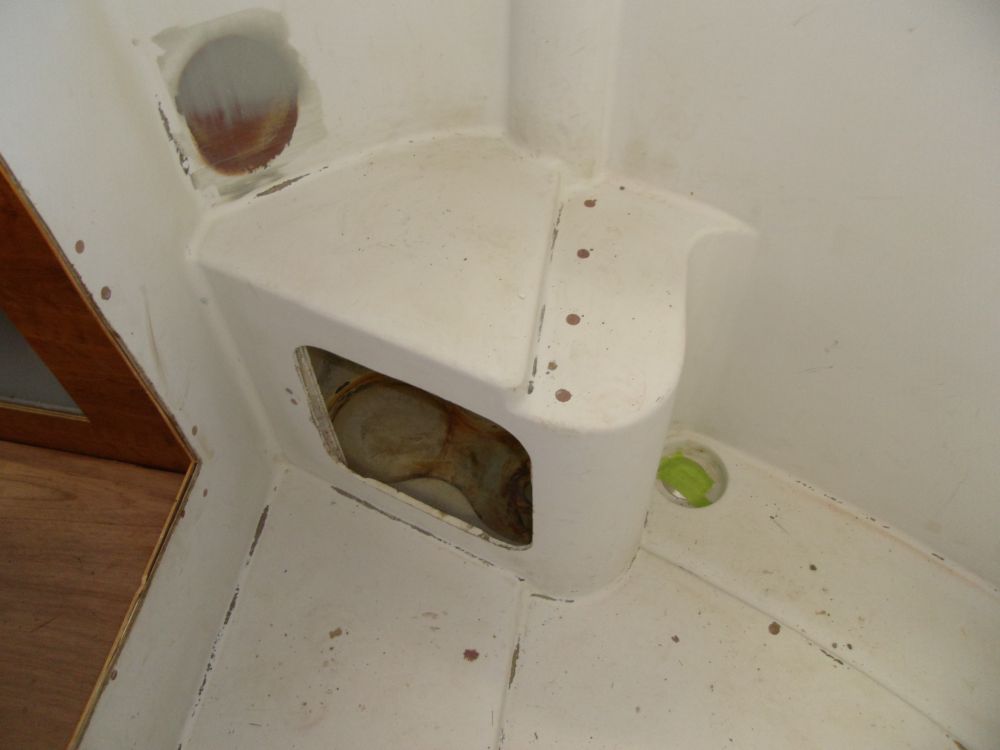
cockpit area completely for now. The cockpit posed
an issue because I needed--or at least wanted--to redo
the propane locker, the current version of which failed
even the most jaded test of realistic suitability. |
 |
Throwing a wrench into these works was the recent recall
of composite propane tanks made by the Lite Cylinder
Company, a couple versions of which (including rebranded
tanks made by the same company and sold under another
name) had been under consideration for use here.
And this work would take me a while to complete.
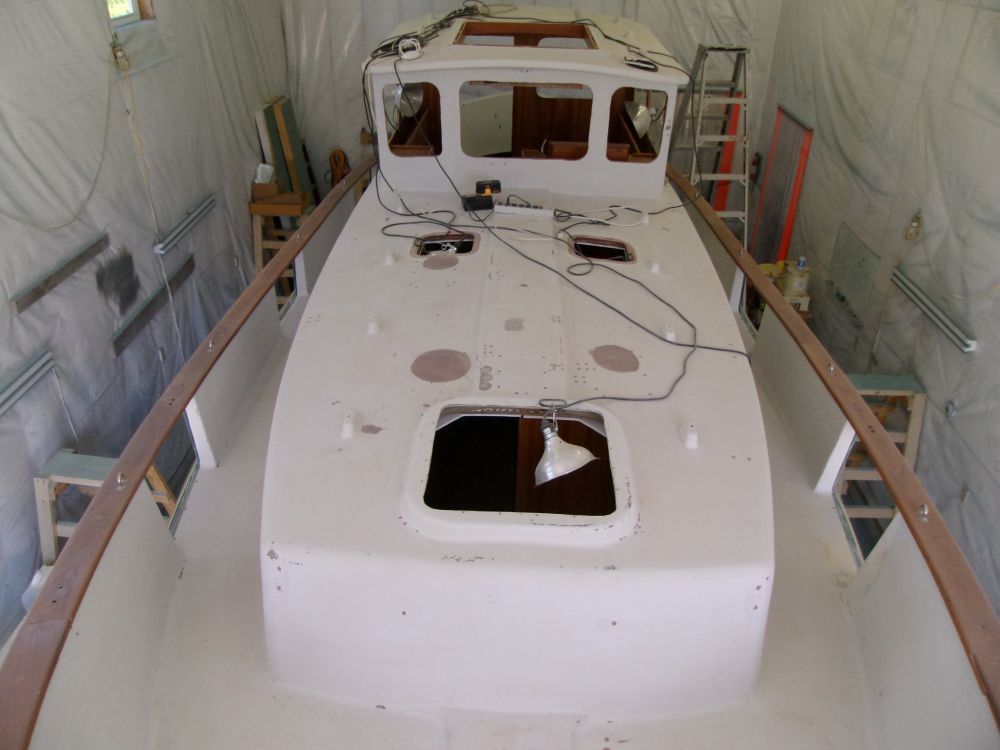
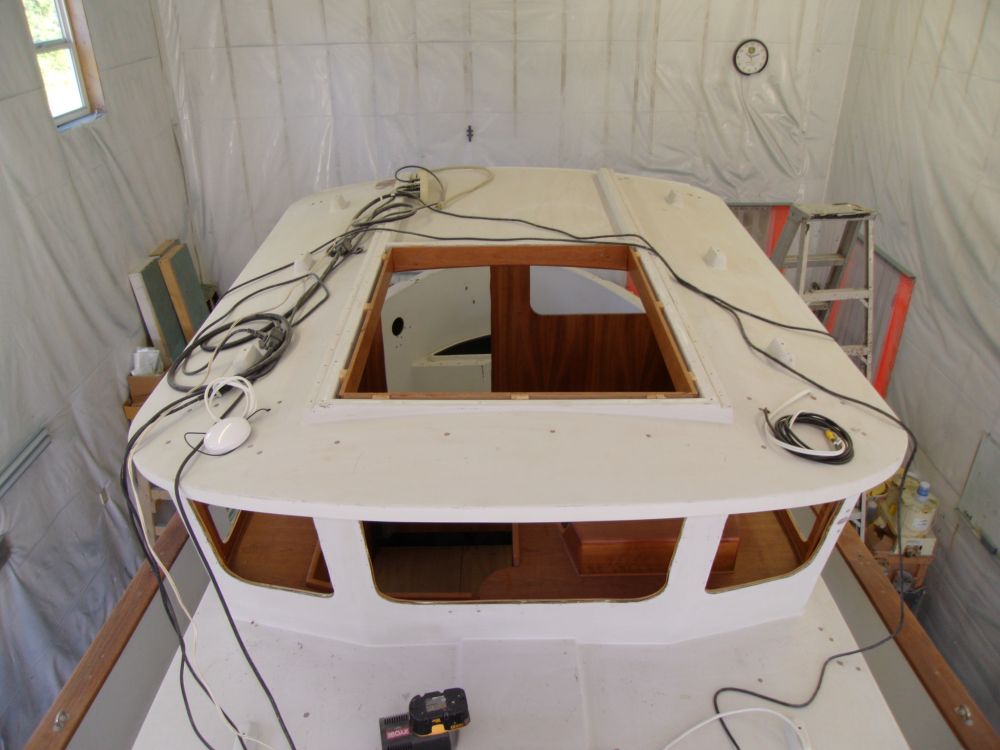
Therefore, I decided to ignore the cockpit and paint the
rest of the decks (and the hull) in as expeditious a
manner as possible, then move the boat back over to the
other bay for the rest of the winter. Getting the
other painting done sooner would be a boon to overall
productivity (not to mention morale), and I could then
work on the cockpit area separately while still moving
other parts of the job forward (such as reinstalling
ports and deck hardware, rather critical items before
launching). Painting the other deck areas and the
bulwarks would be challenging enough and take plenty of
elapsed time, so I thought I'd better get started. |
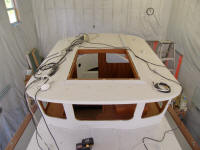
 |
The major prep work of these areas had been long
completed, so my next tasks looked to be cleanup, minor
detailing, and then masking and other prep.
|
Total Time Today: 4 hours
|
<
Previous |
Next > |
|
|


