Project Log: Tuesday,
February 25, 2014
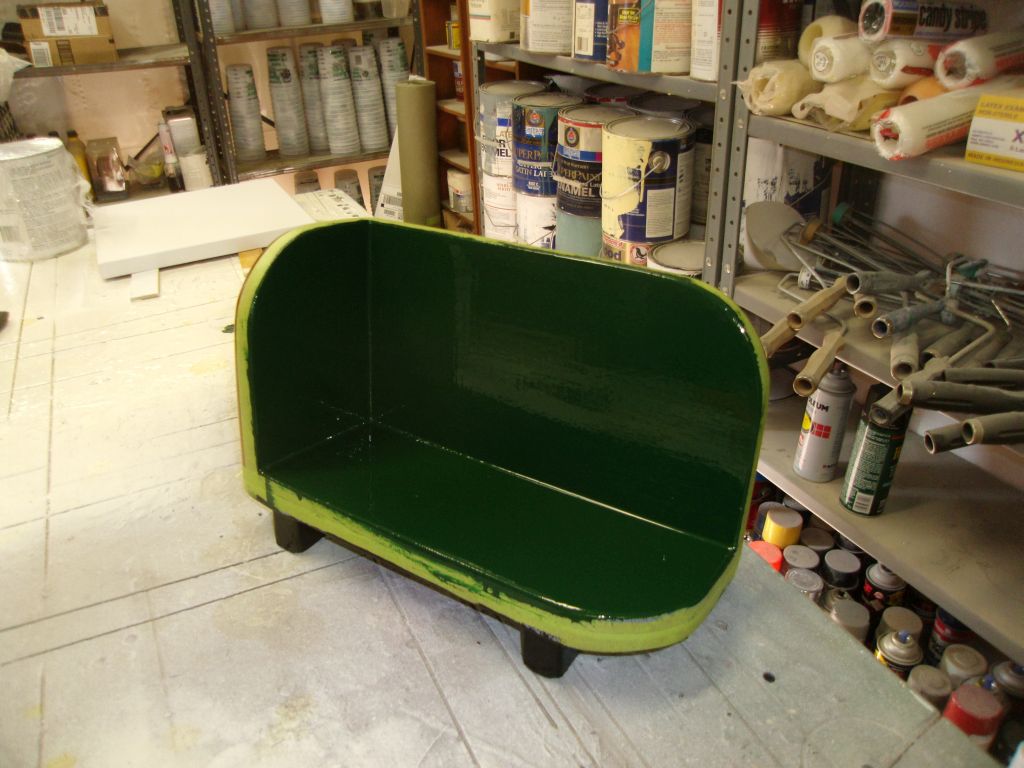
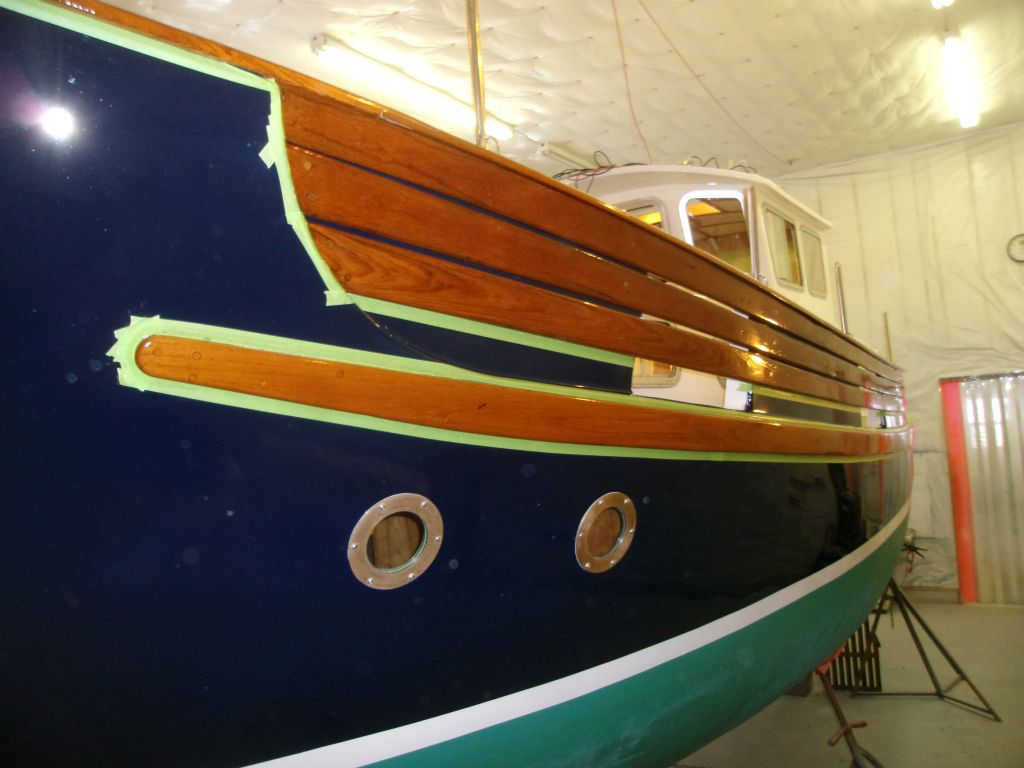
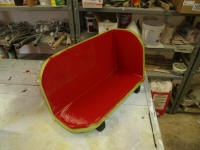
After two additional coats of paint, it looked like I
was closing in on the running light boards.
Time-consuming little things, but one of those fun
little side projects that would just look cool.
(They were also functional, of course.)
|
 |
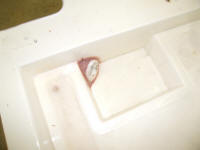
Up in the head, I test-fit the shower pan once more on
the new support cleats, and started a little layout for
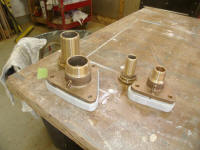
the head platform. I was awaiting some parts for
the through hulls that would dictate the
placement/height of the platform, so I didn't get far in
the layout. To save space, and hopefully allow the
fittings to be hidden--yet accessible--beneath the head
platform, I needed a bronze elbow to realign the shutoff
valve for the large 1-1/2" fitting. Constant
readers may remember that I installed a waste
storage/treatment system beneath the V-berth; all
overboard discharge would be treated.
For a time, I considered installing the discharge
through hull forward, near the treatment unit, but
eventually I discounted this idea as being too difficult
to access the through hull. I like to close all
through hulls possible when not in use, and having this
critical one buried beneath the berth, with access only
from the top (inconvenient at best) simply wouldn't be a
practicable idea. So I'd keep both intake and
discharge fittings in the head space itself, where
they'd be easily accessible for regular operation.
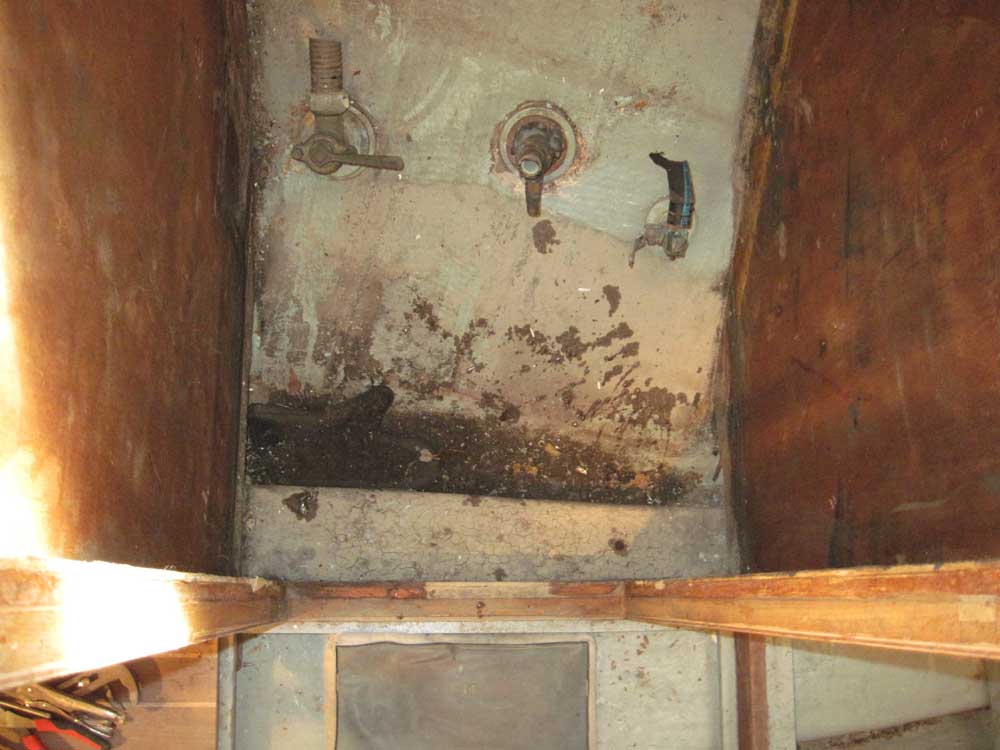
I reviewed old photos of the space to bring back the
memories of how it'd been originally laid out, for
general reference purposes only. What a mess. |
Photo from August 26, 2010
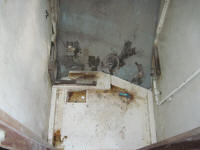 |
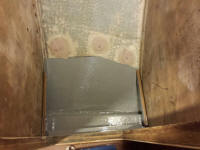
Photo from September 10, 2010
 |
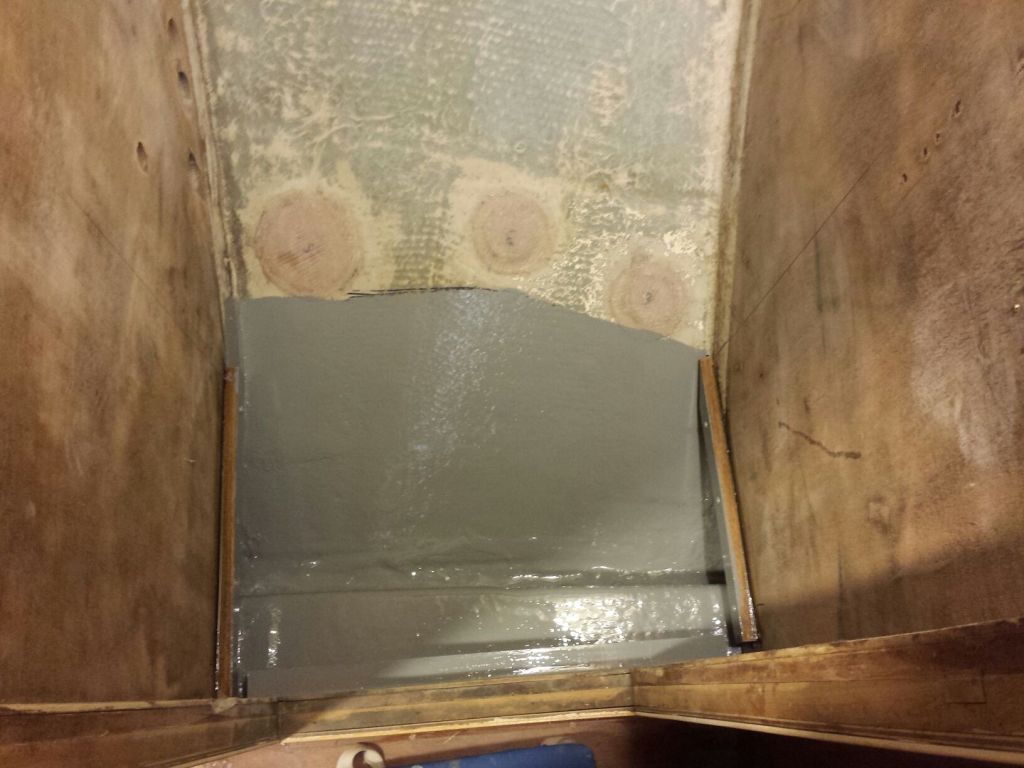
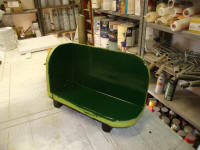
To prepare for the final installation of the shower pan,
I painted out the space beneath, which would help keep
it cleaner in the future, even though the space would be
completely hidden. |
 |
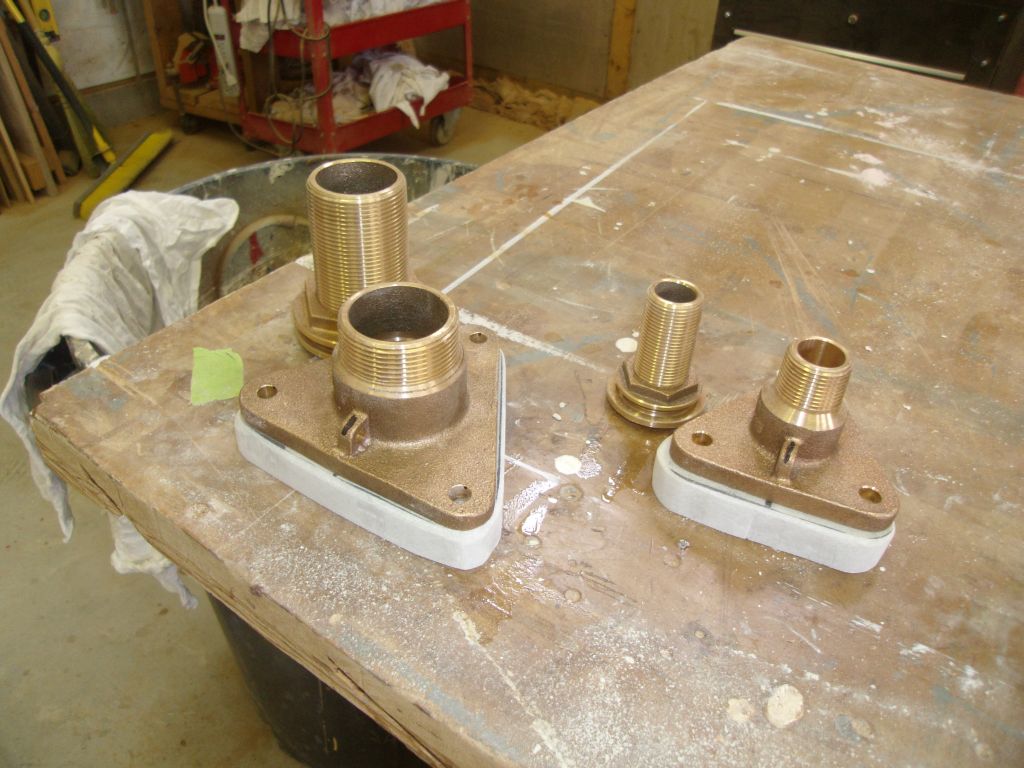
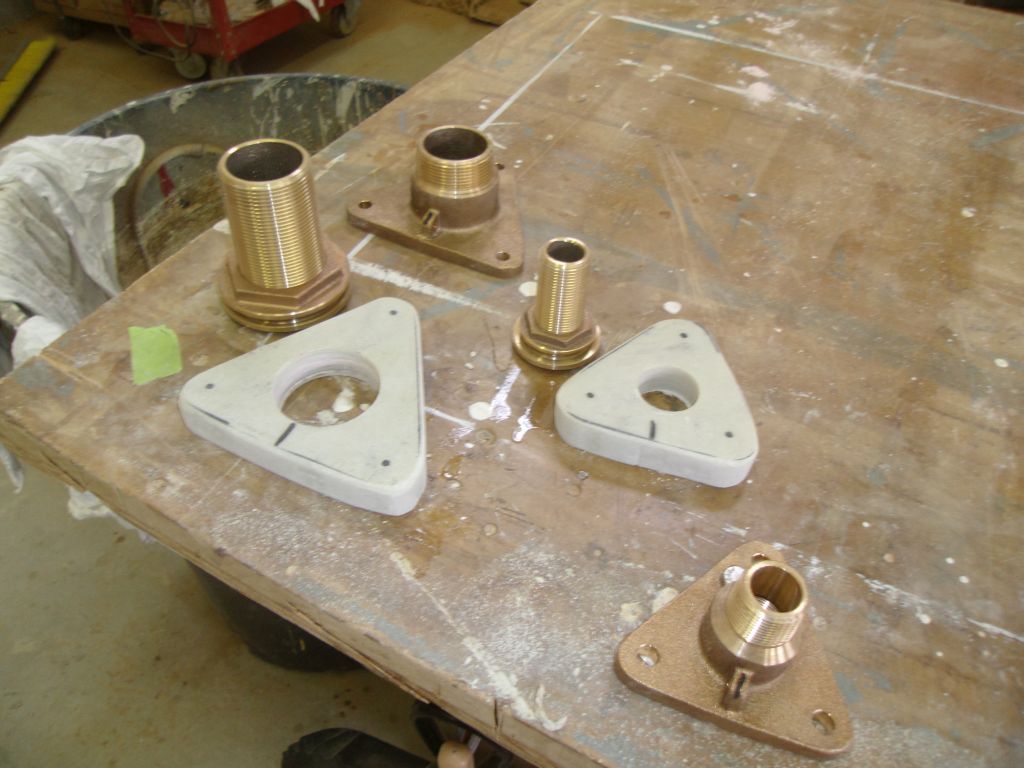
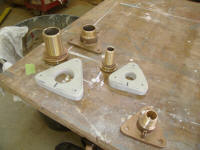
Meanwhile, I prepared 3/4" thick backing plates for the
head through hulls from some scraps of G-10 fiberglass.
I barely had enough to do the larger backing plate. |
 |
I also milled up several pieces of cleat stock from some
mahogany scrap; I'd use these to support the head
platform and small vertical panel beneath. Other
aspects of the head space were still coming together. |
 |
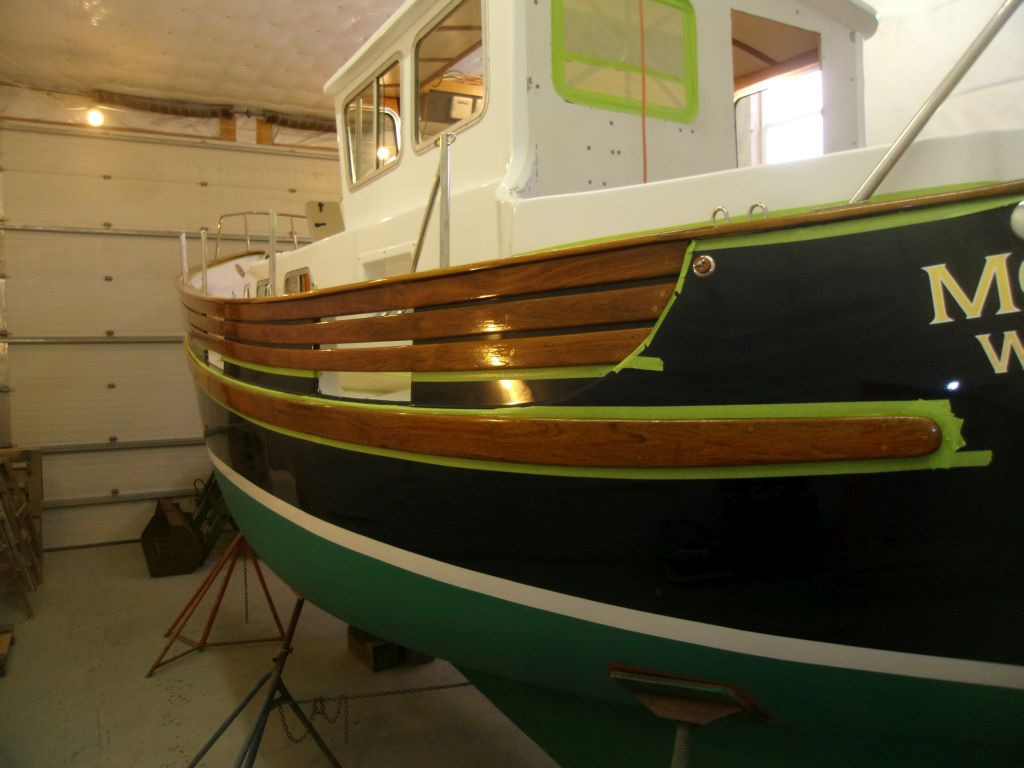
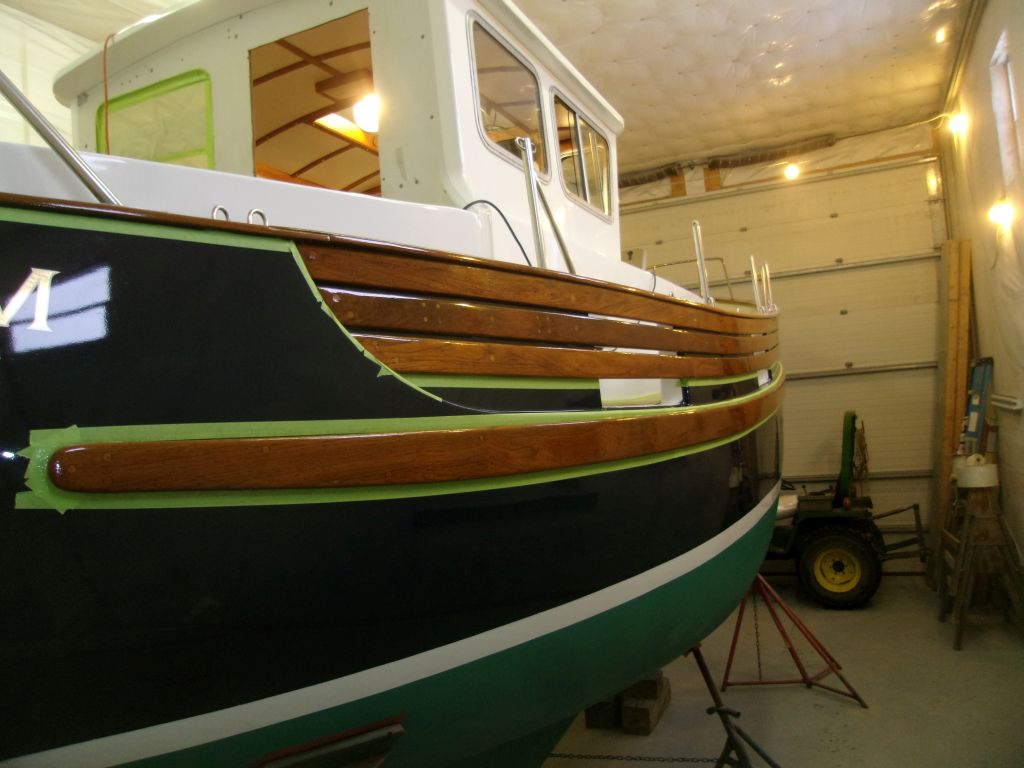
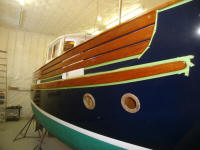
Since my delivery had not yet arrived, I switched gears
and returned to exterior varnish work, with another coat
on the bulwarks and rubrail. |


 |
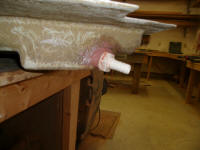
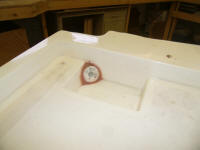
By the time I finished the varnish, I'd received the new
parts I awaited, one of which was a 1/2" Marelon through
hull/drain fitting for the shower sump.
Whatever fitting had originally been there was long
gone, but the hole remained. After final
preparations, I installed the new fitting in the corner
of the sump, packing it into a bed of thickened epoxy to
seal the hole and hole the fitting in place. |
 |
| |
Total Time Today: 3.75 hours
|
<
Previous | Next > |
|
|