Project Log:
Friday, January 24, 2014
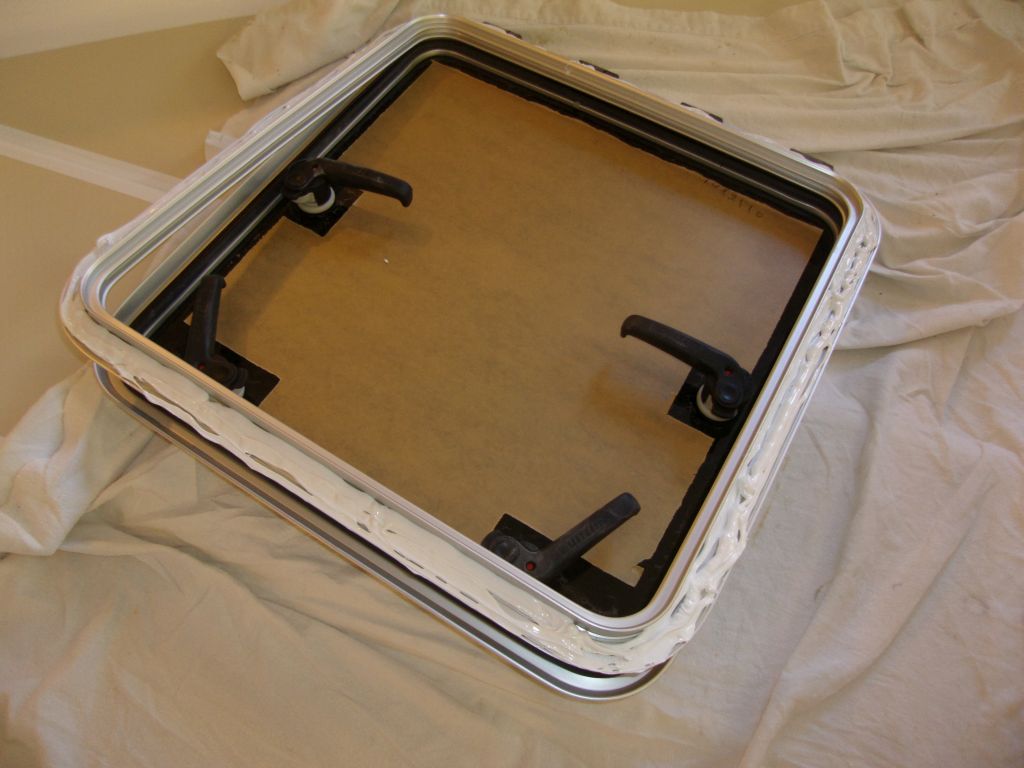
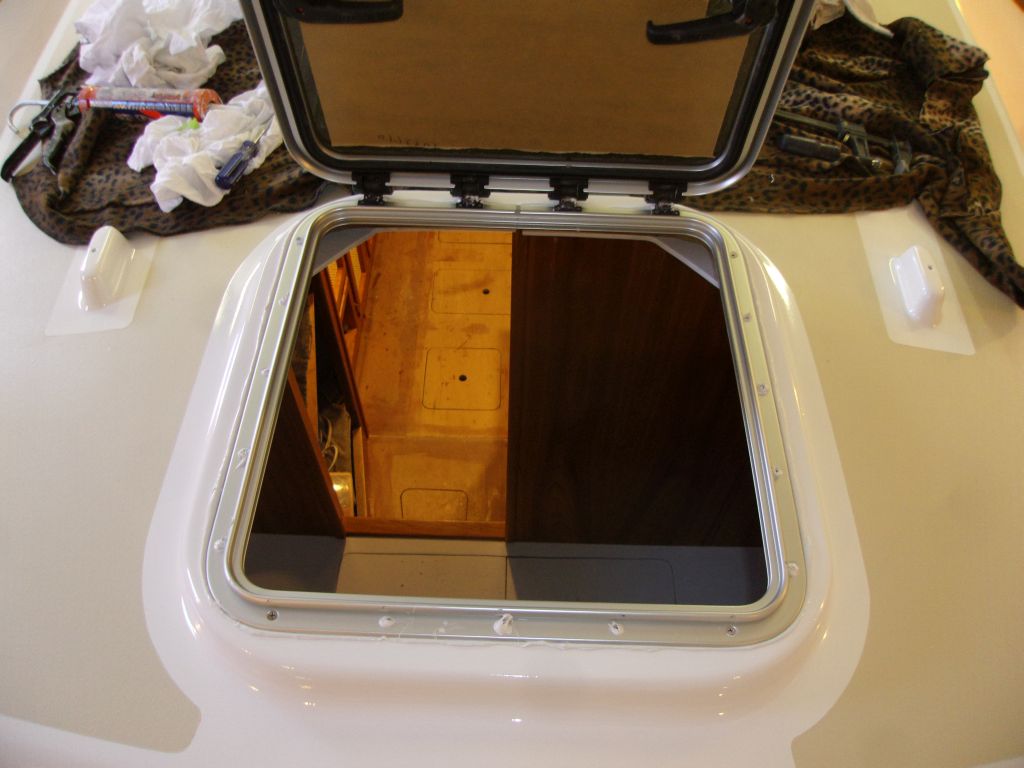
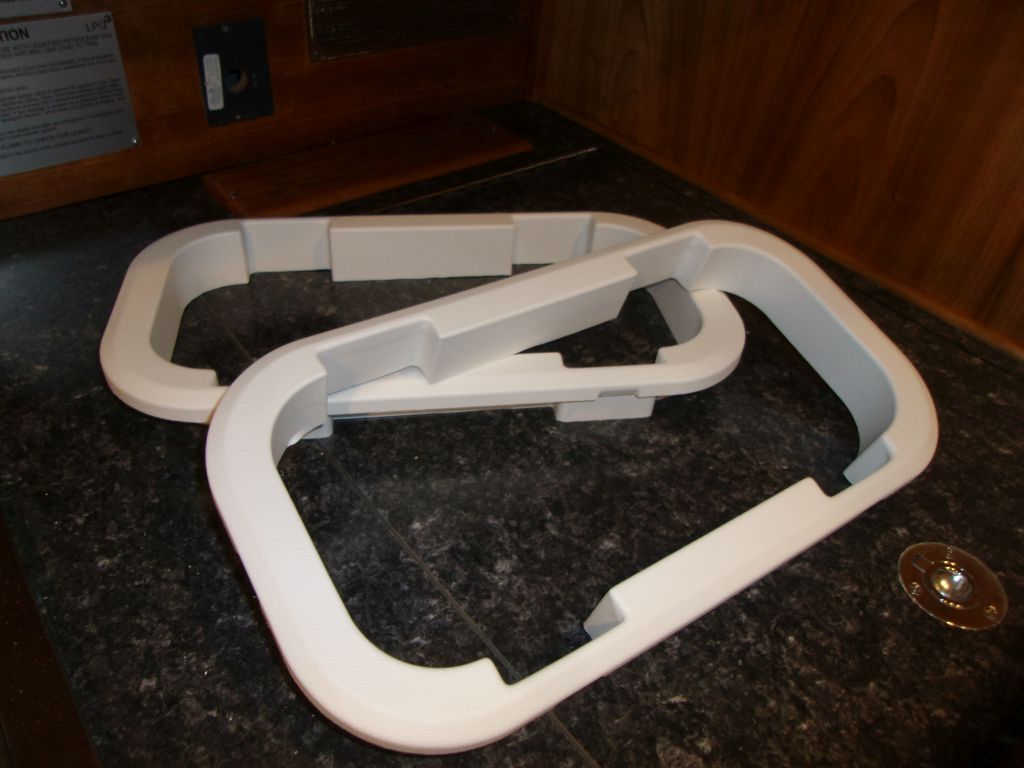
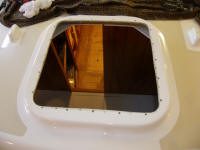
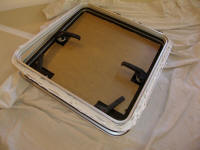
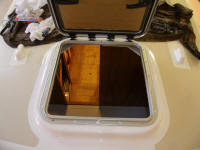
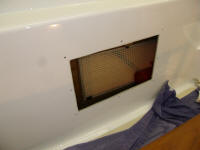
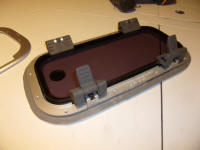
The forward hatch was ready to install; I'd prepared the
fastener holes earlier in the week. So I applied
sealant to the hatch flange and installed the hatch with
new fasteners, cleaning up the excess sealant
afterwards.
|
 |
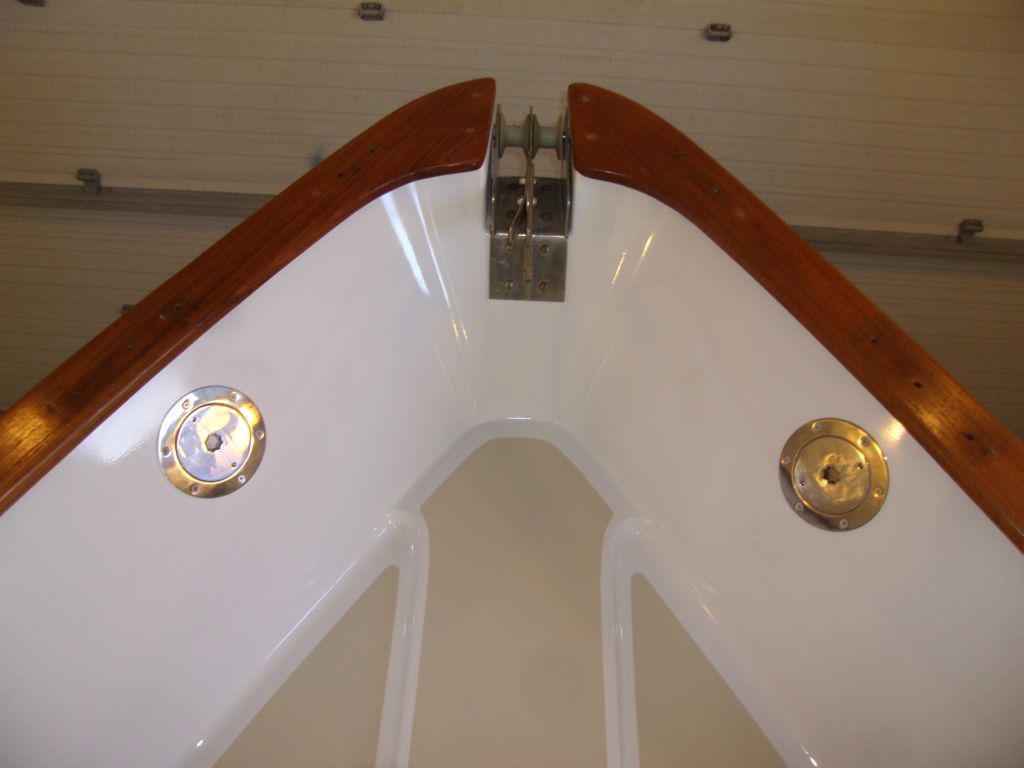
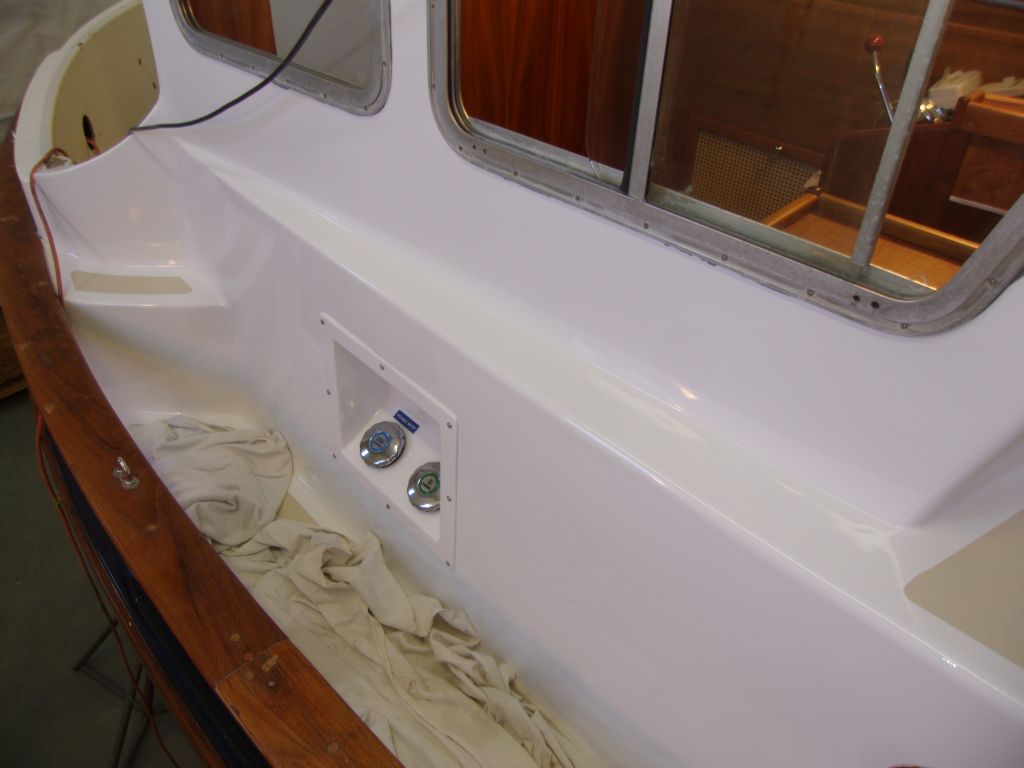
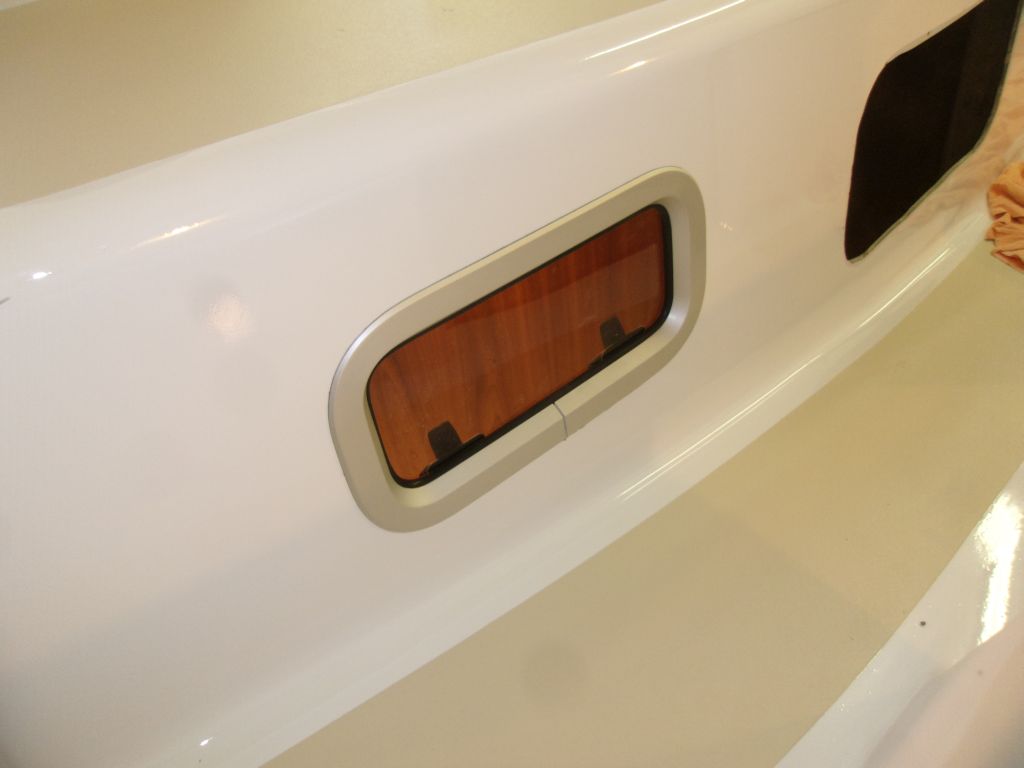
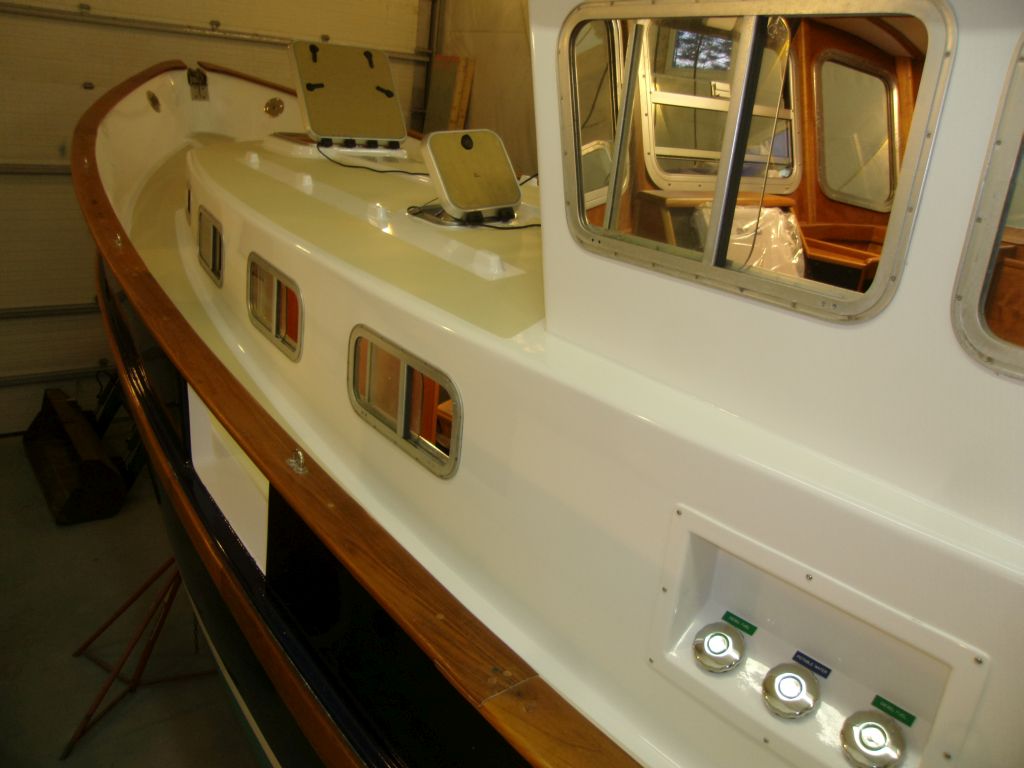
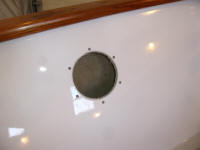
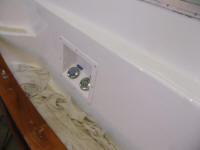
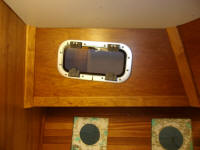
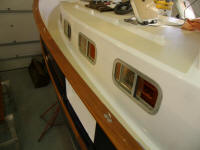
While I was in the area, I went ahead and installed the
two inspection ports in the forward bulwarks. For
each one, I drilled and tapped for #10 fasteners,
applied sealant, and secured the ports in place. |


 |
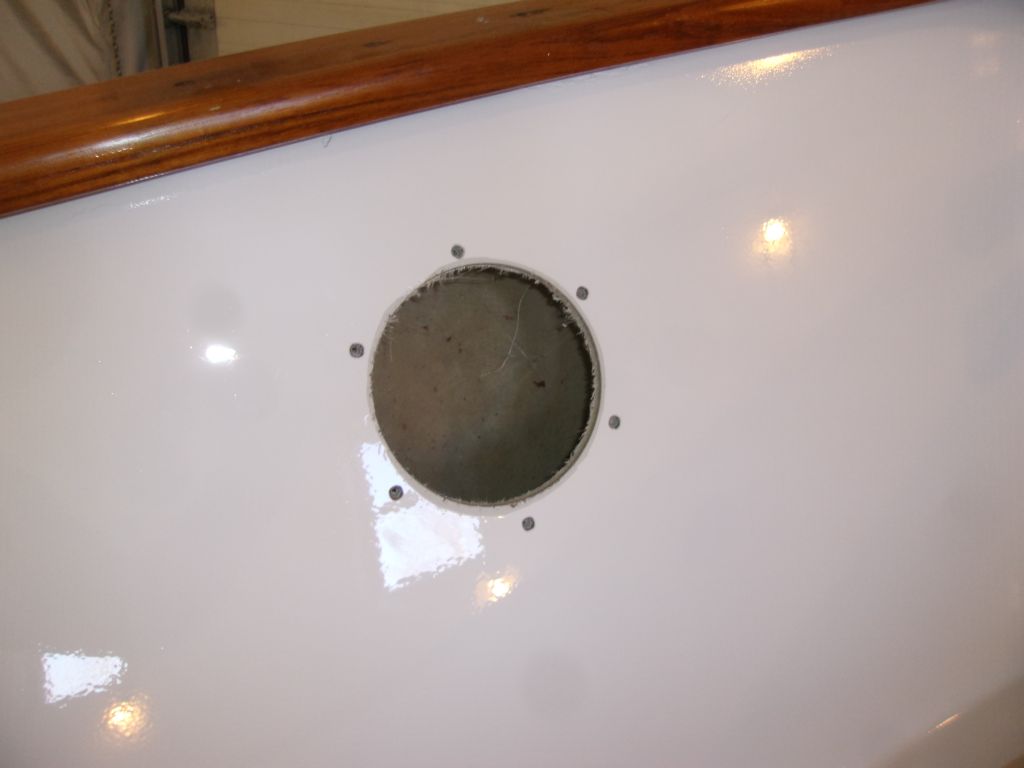
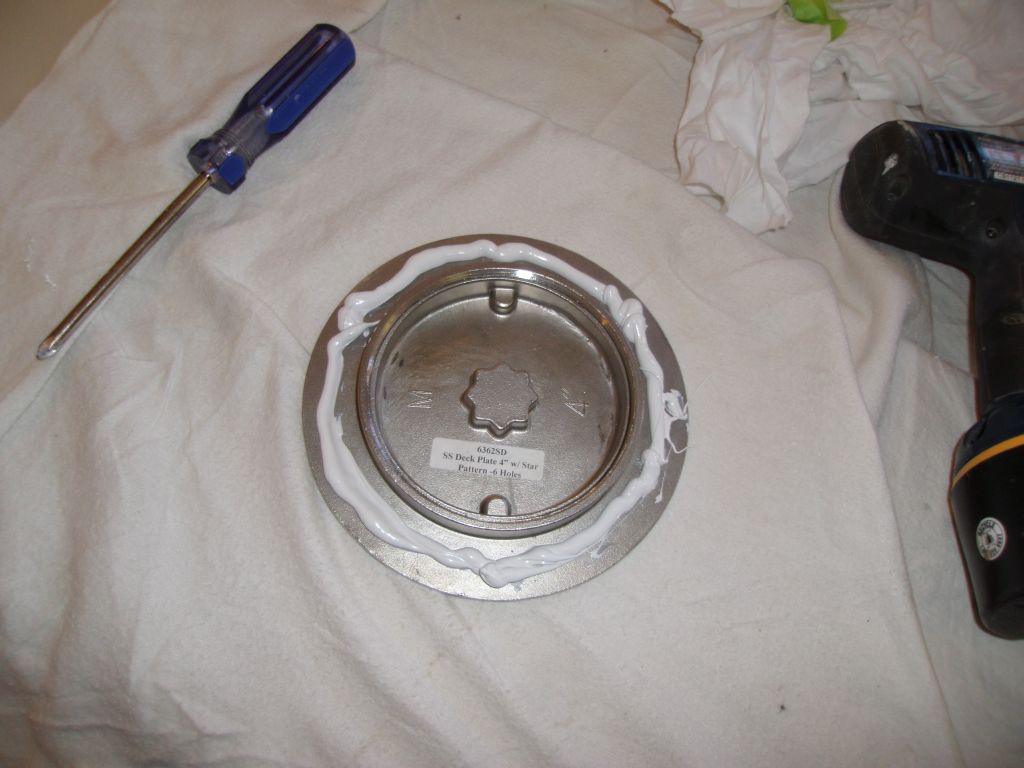
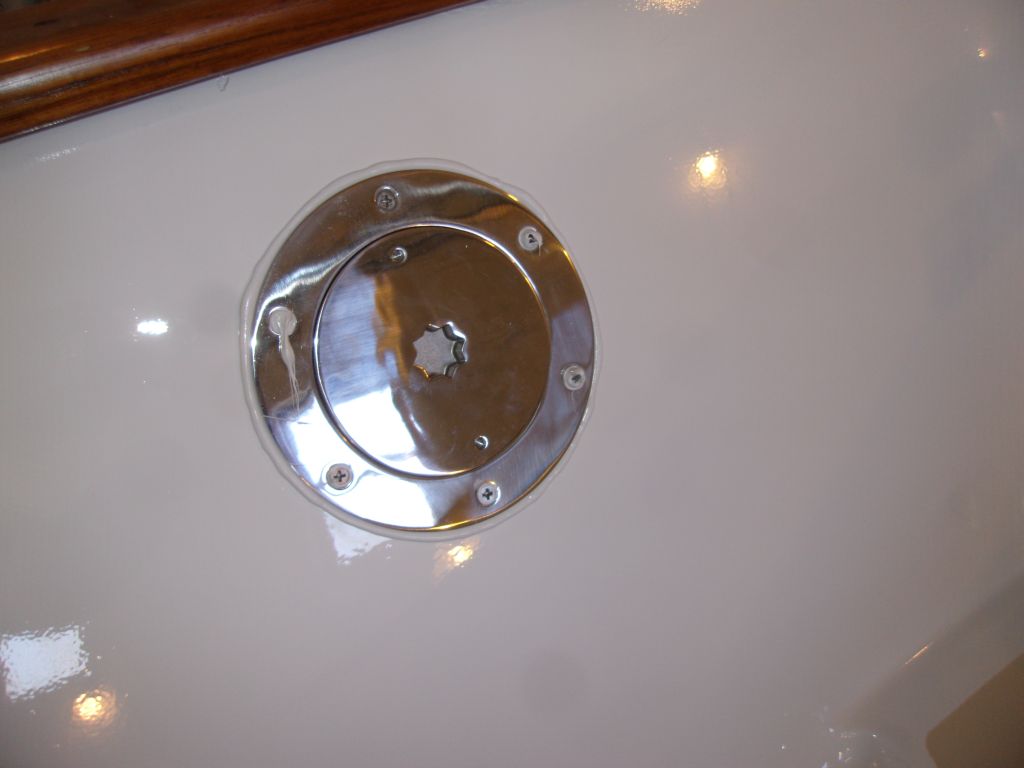
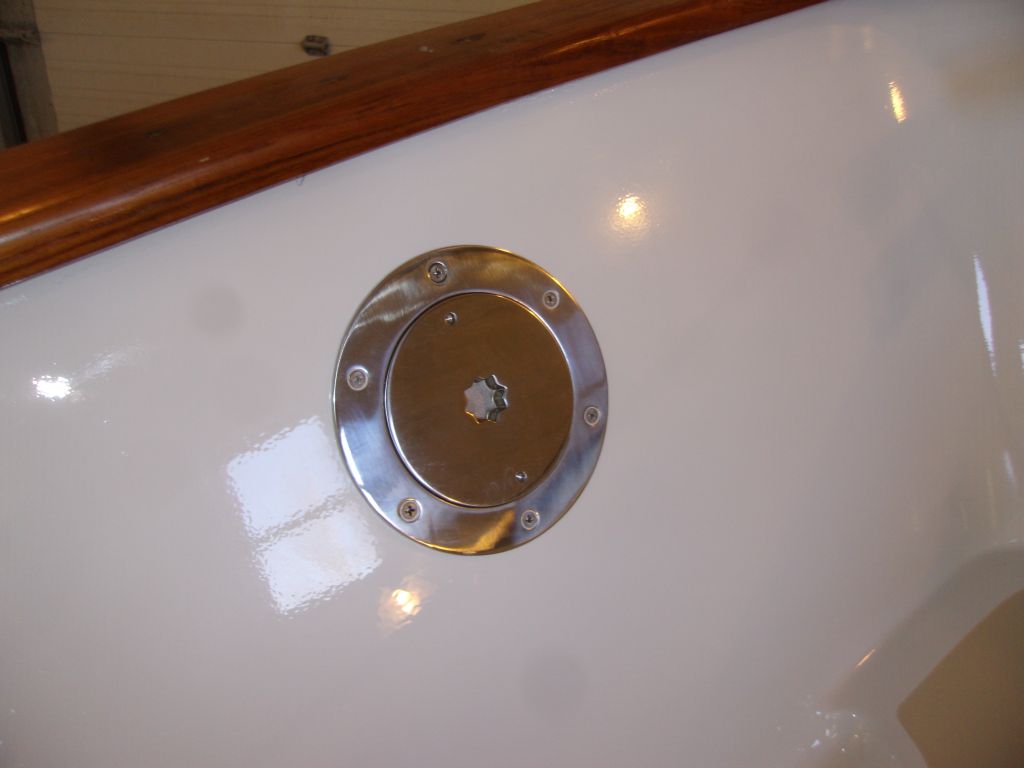
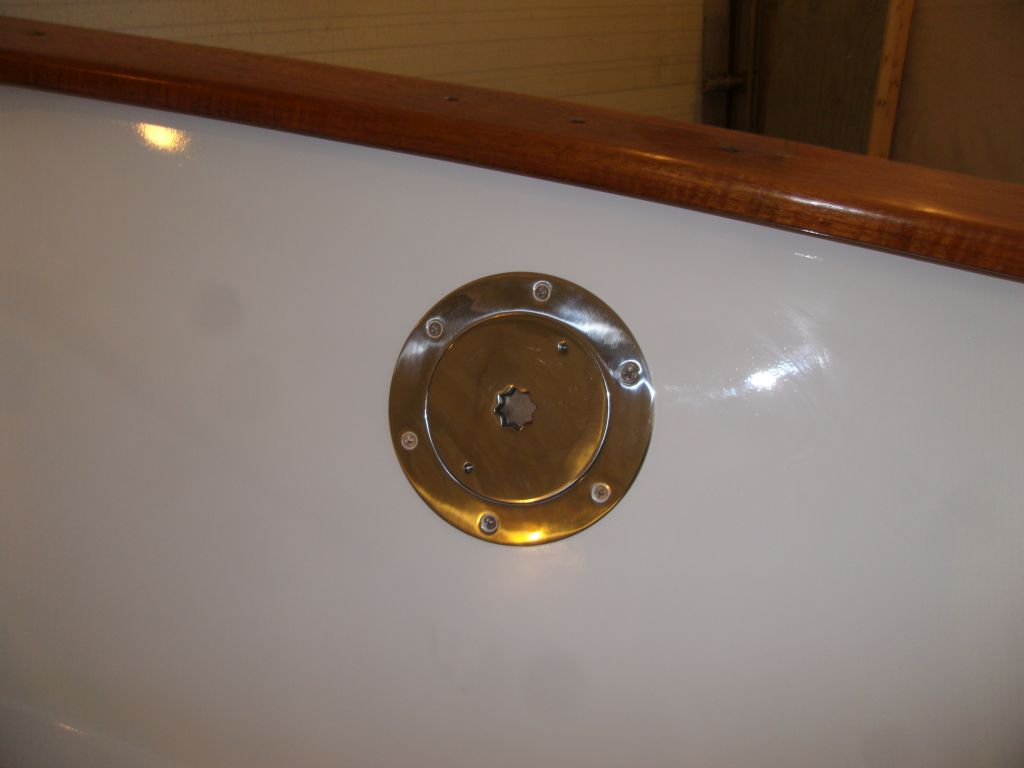
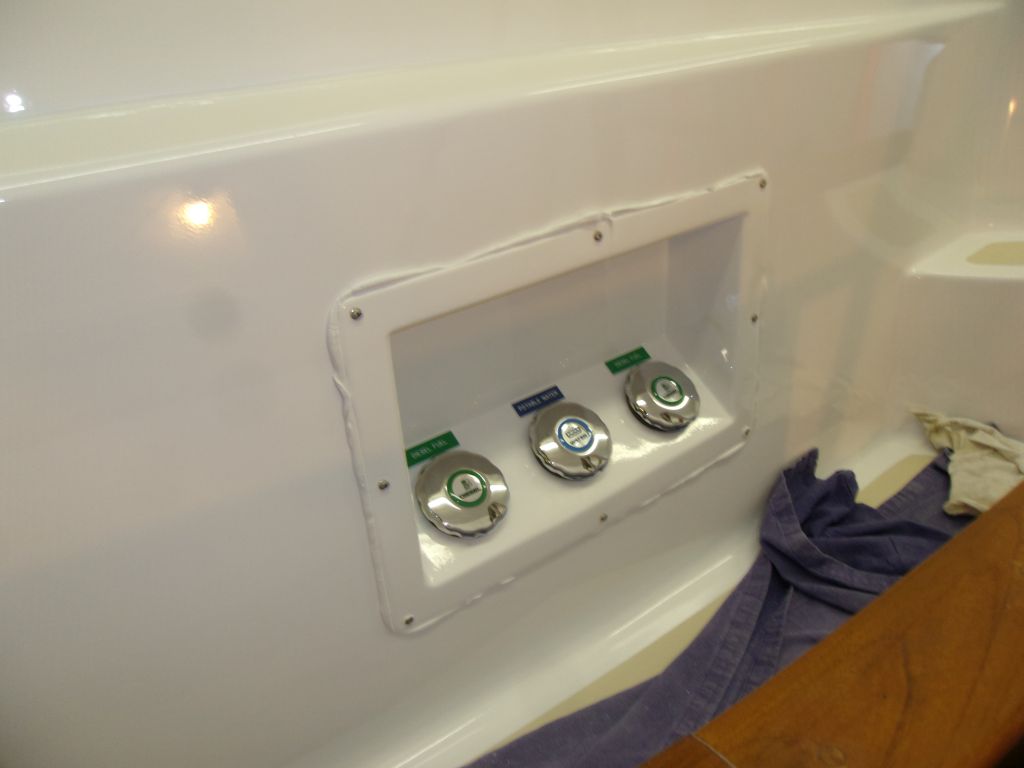
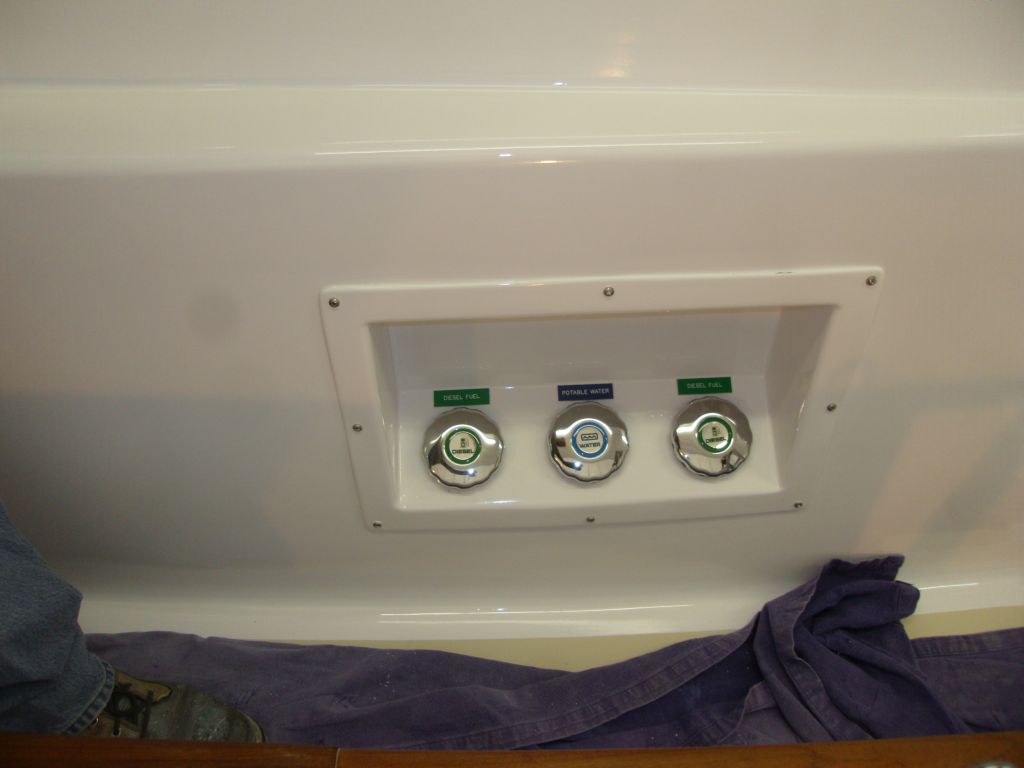
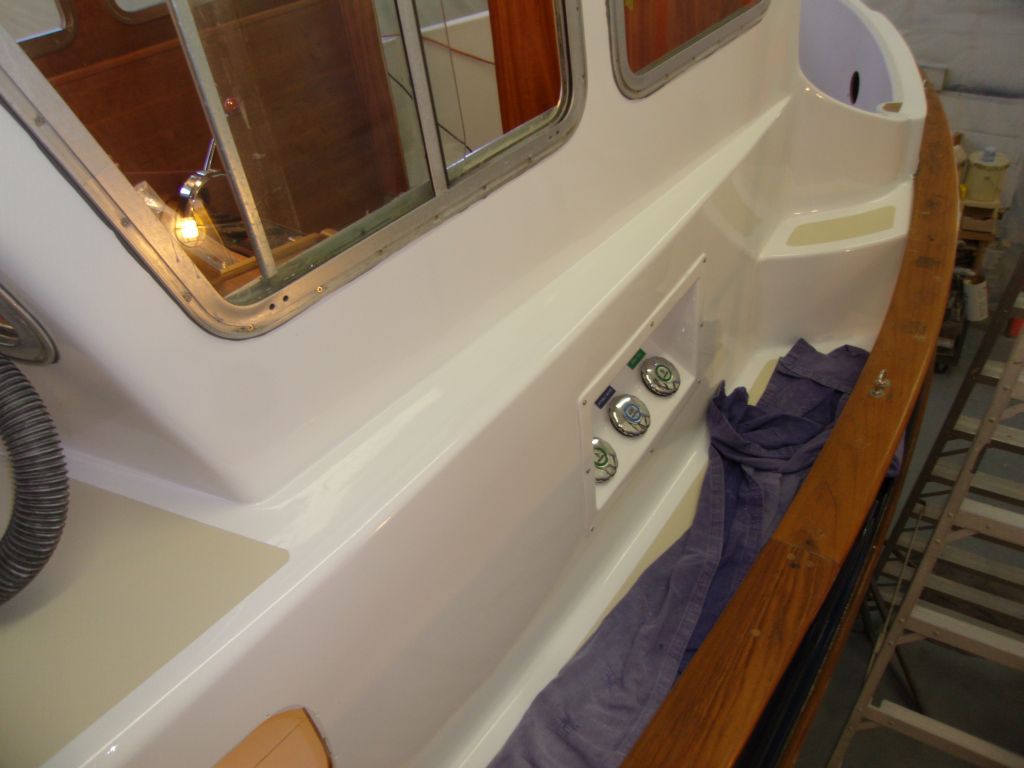
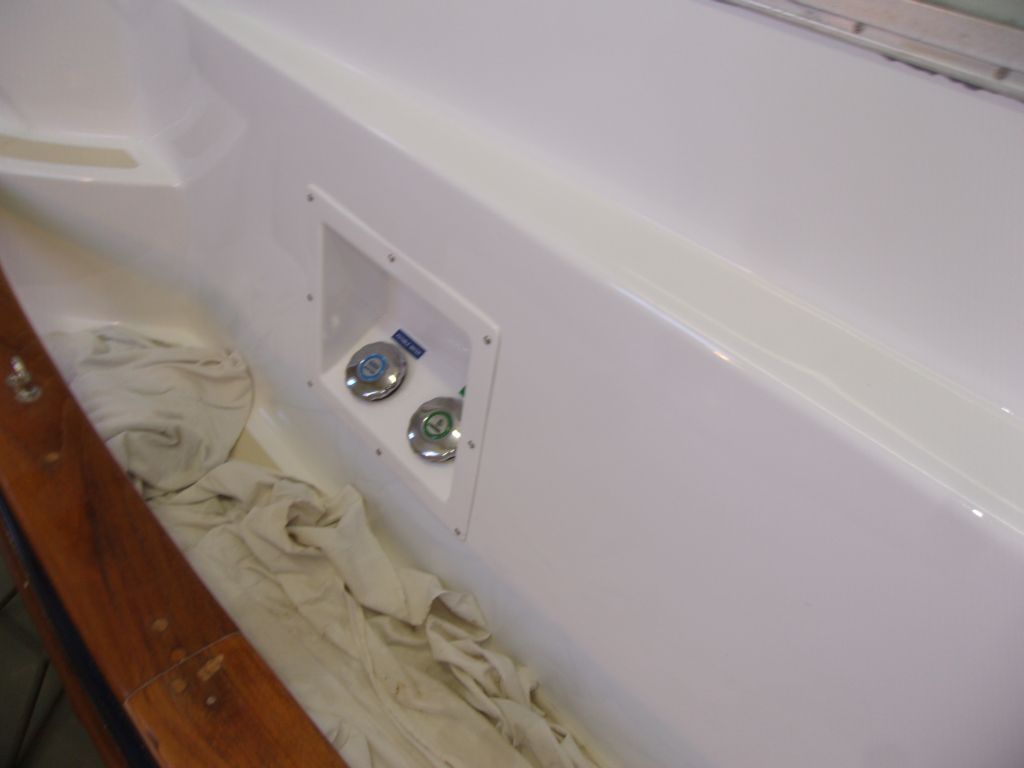
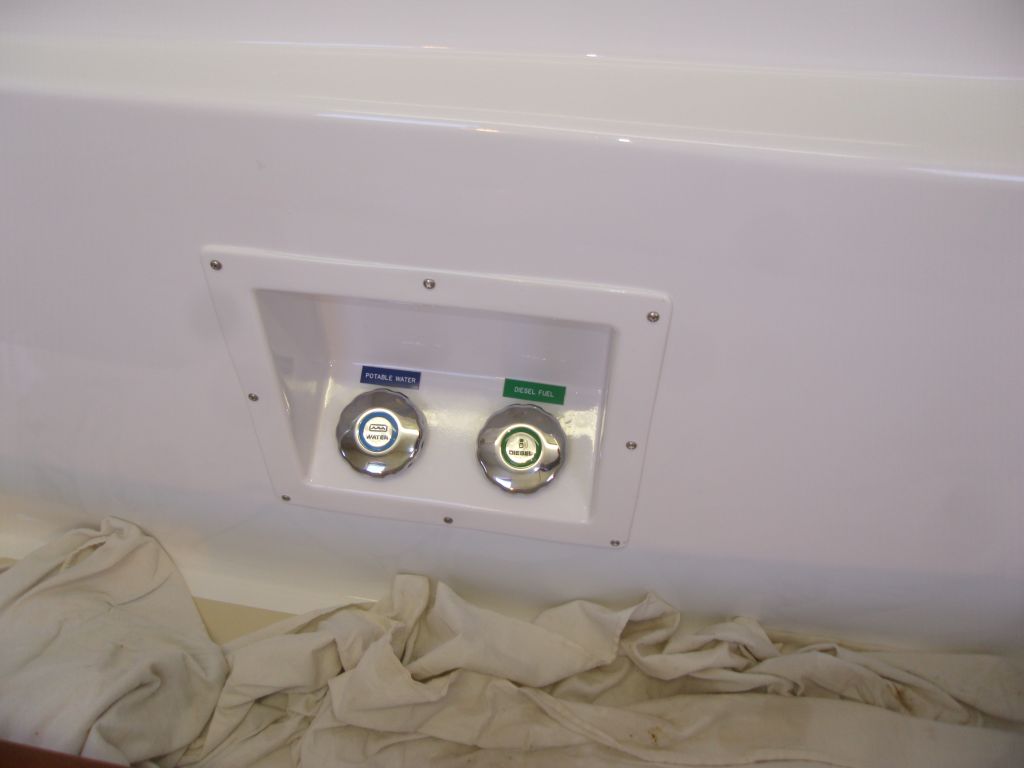
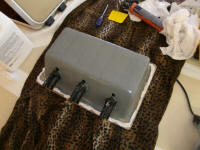
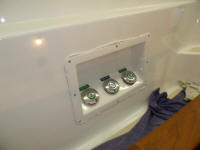
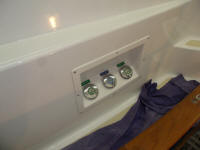
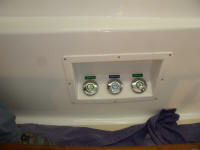
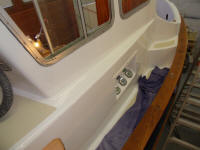
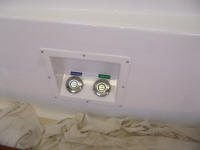
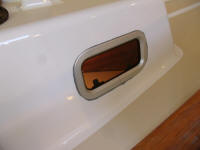
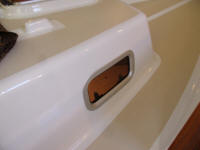
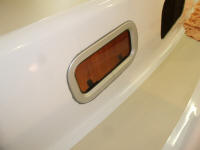
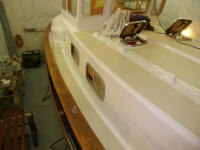
Moving aft, I prepared to install my custom tank fill
enclosures. I ran a tap through the fastener holes
in the pilothouse to clean out any primer and paint that
might have gotten into the existing threads, then
applied sealant to the mounting flanges of the
enclosures and secured them in place with screws. |
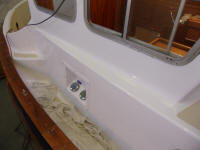 |
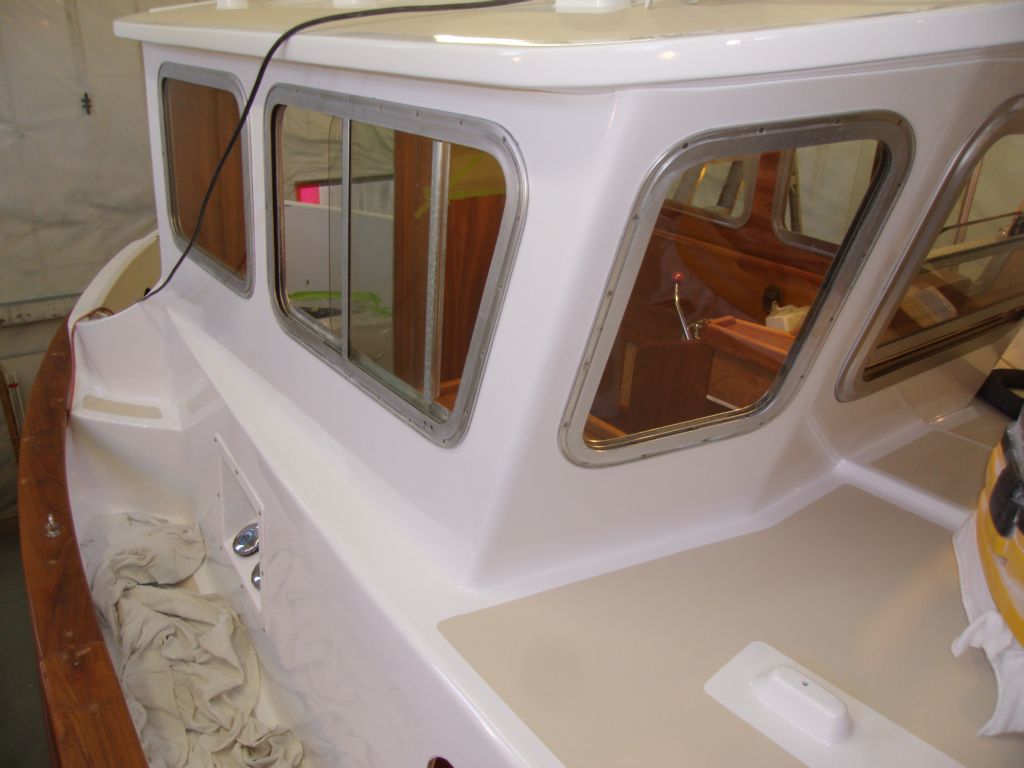
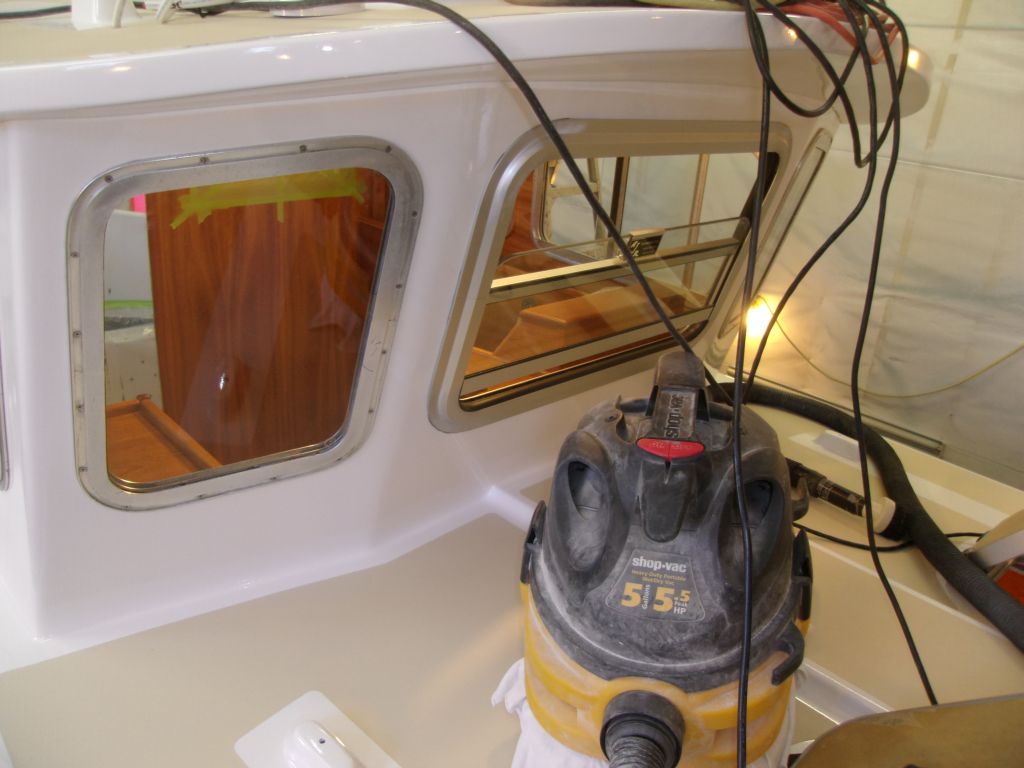
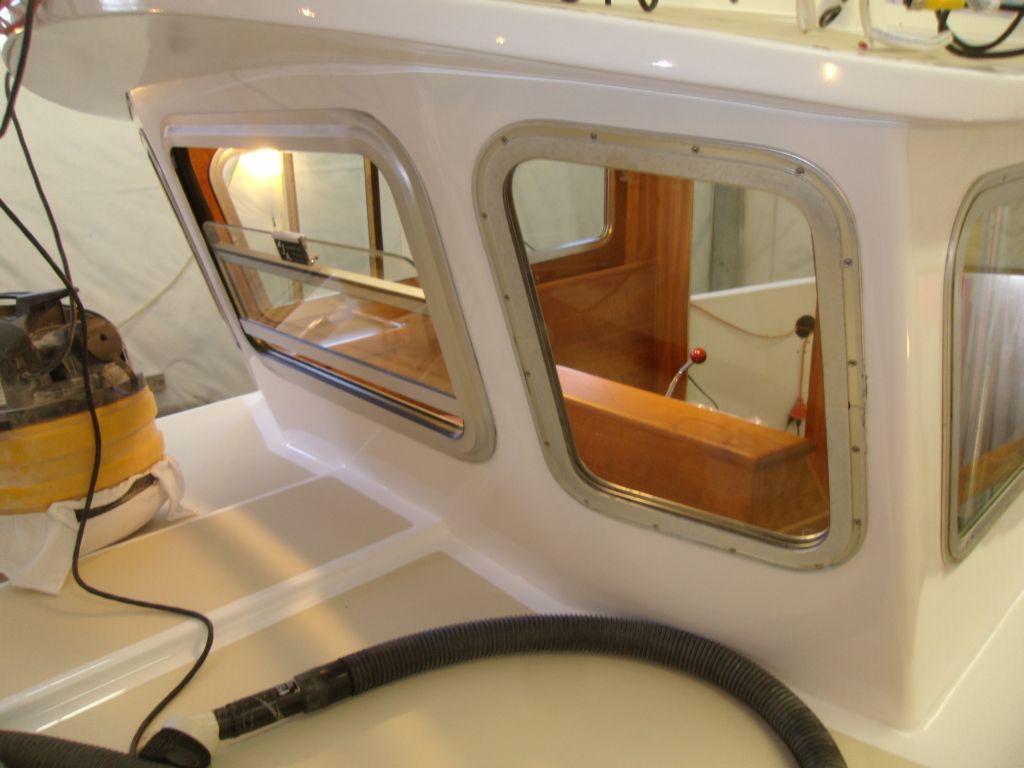
I cleaned away the excess sealant from the pilothouse
windows by scoring along the edge and peeling away the
excess butyl. |


 |
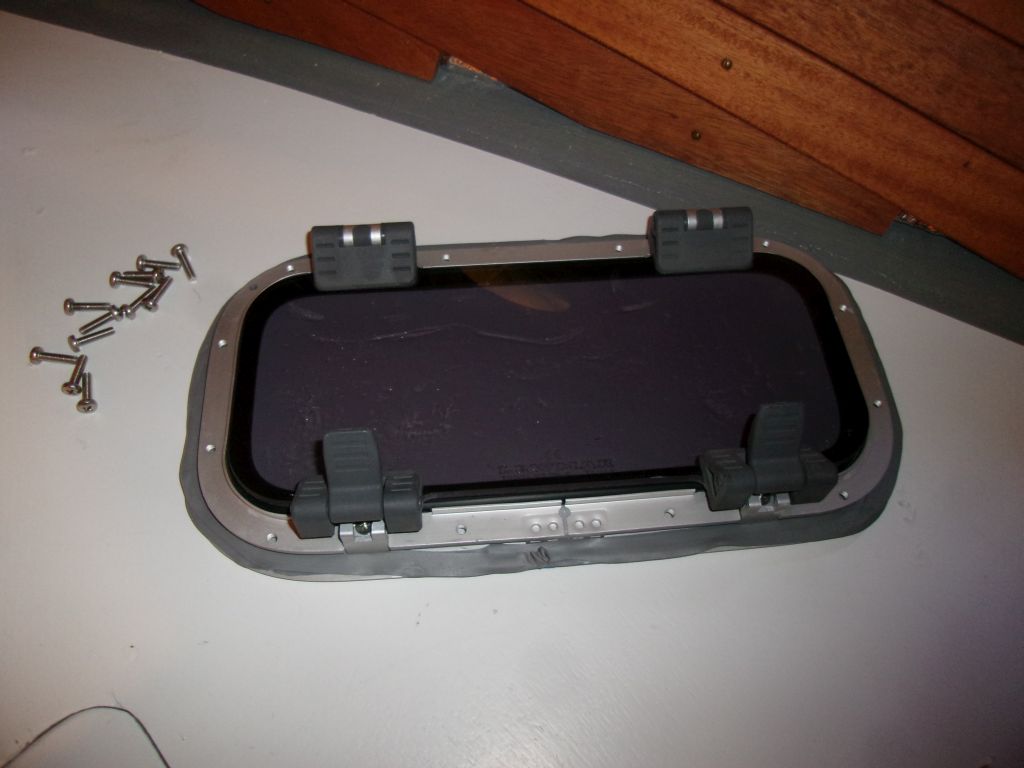
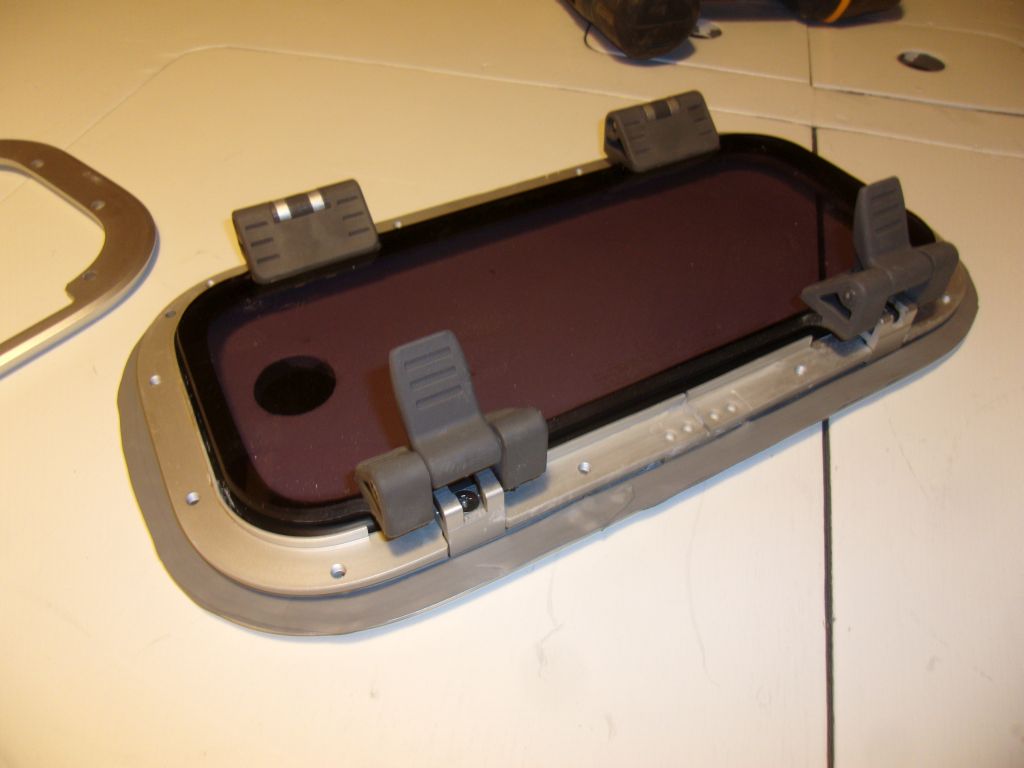
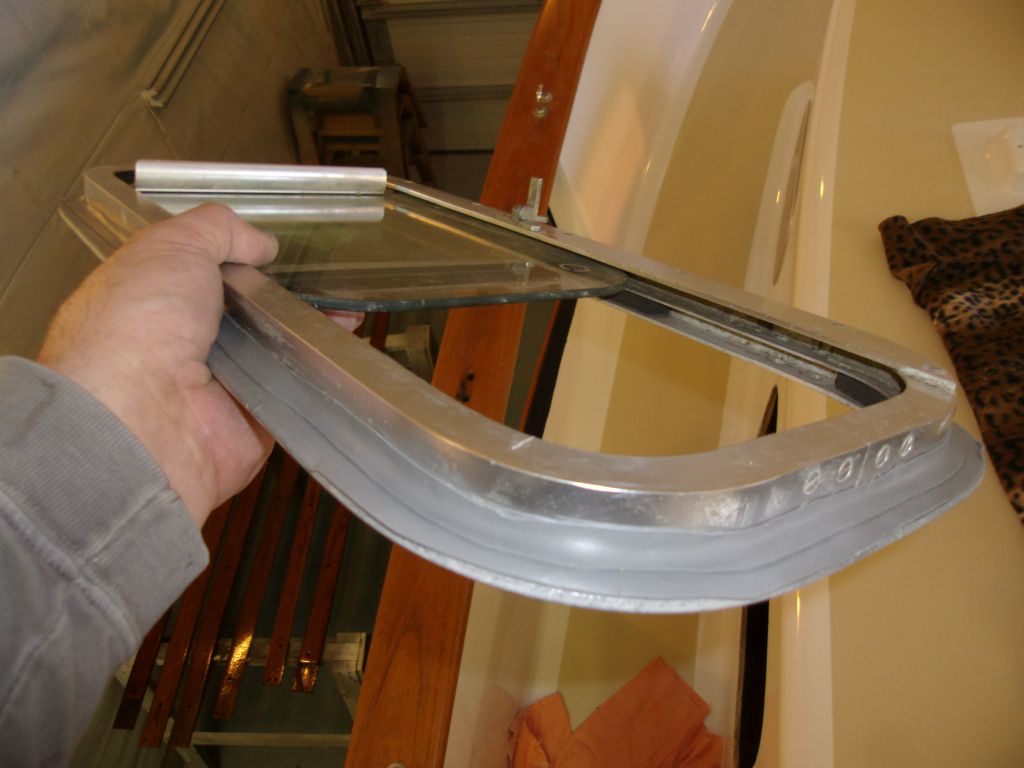
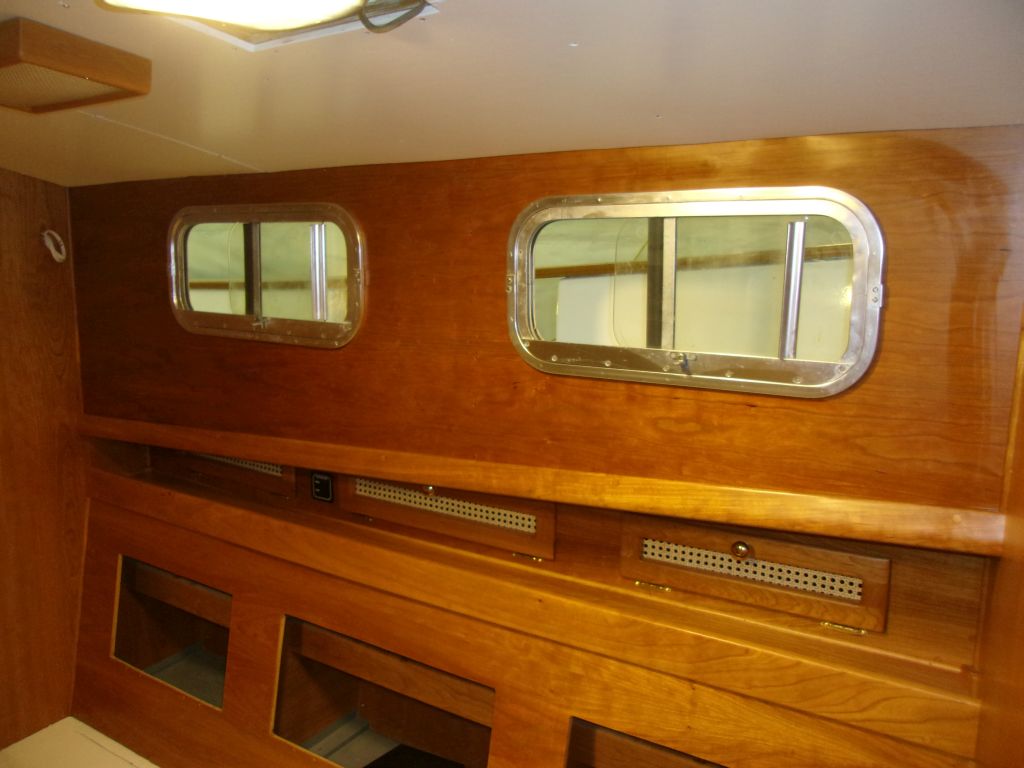
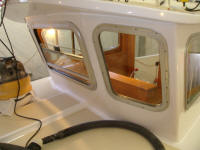
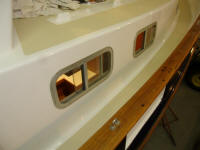
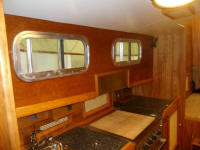
Long ago in the project, I made the decision to stay
with the port style that had been installed in the
forward cabin. The ones I'd removed were, I
think, something that had been added to the boat later
in its life rather than a stock installation:
basic Lewmar aluminum opening ports--nothing special and
not my favorite, but functional. The same type of
unit was still available, and I elected to purchase new
versions of the ones I removed to keep the installation
simple. As I turned to the installation of the
replacements, I experienced some regret over this
long-ago decision, but that particular ship had long
since sailed and I pressed onwards.
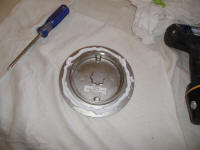
I had to ream out the existing openings just slightly to
fit the new ports; I used a drum sander for this.
Then, after a dry-fit, I installed the new ports
with butyl sealant on their mounting flanges, tightening
down the ports securely with screws through the inside
mounting flange that pulled the unit tightly into place.
The screws supplied with the ports were too long for my
installation (based on cabin wall thickness), so I'd
ordered shorter replacements earlier in the week. |


 |
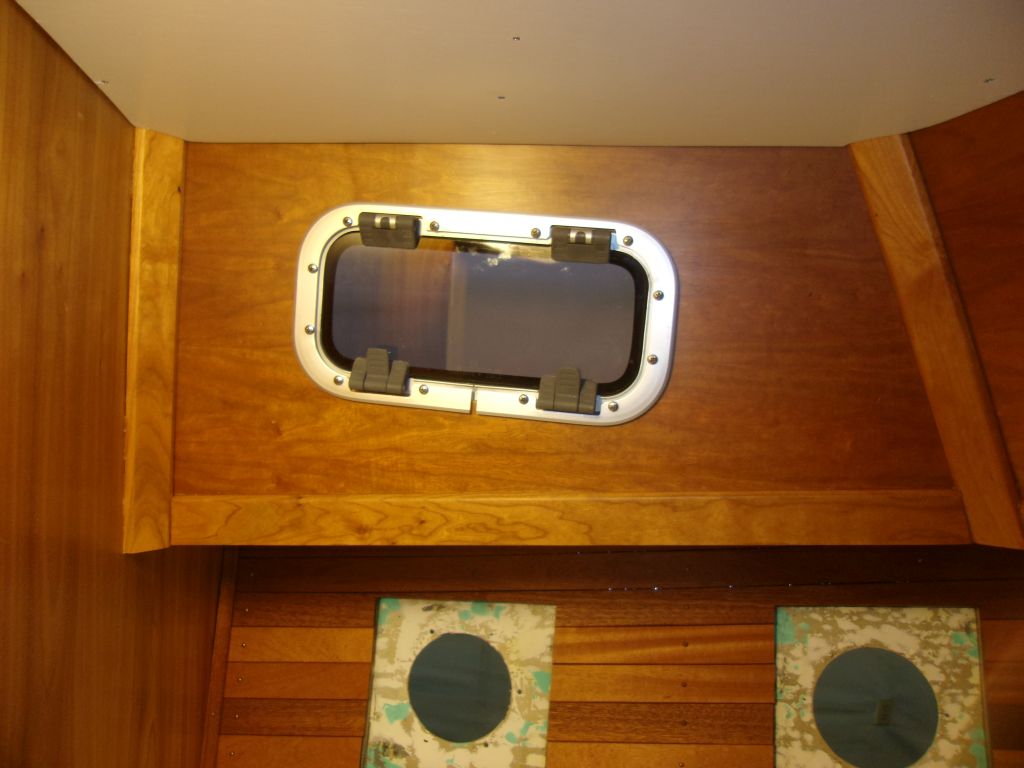
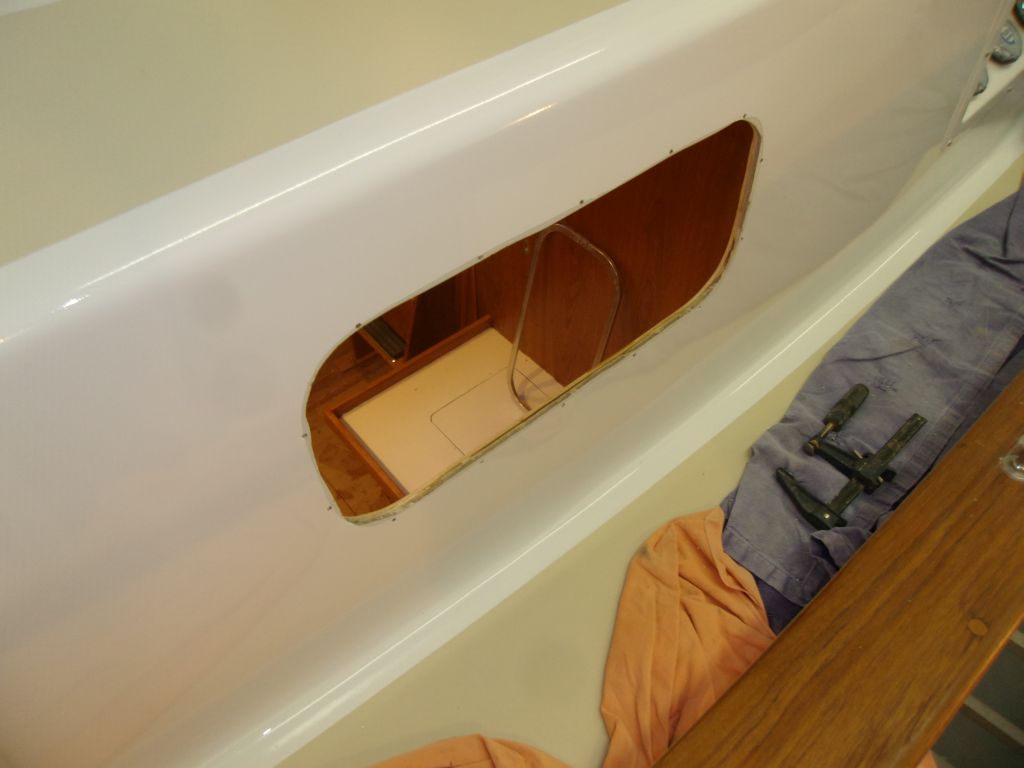
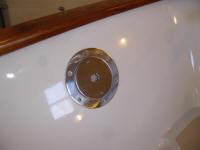
I hated the rather haphazard, careless positioning of
the ports in their respective places, but there you are.
There was nothing I could do about it now.
Outside, I cleaned up the squeezed-out sealant,
completing the installation. |
 |
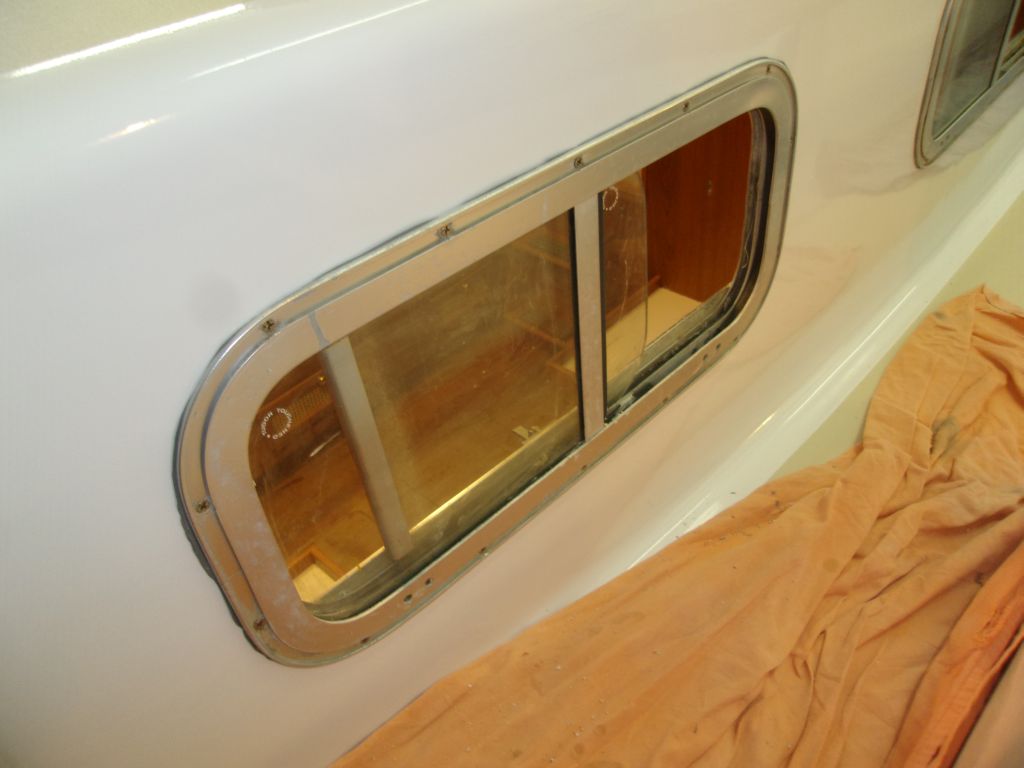
The ports came with cheesy plastic interior trim rings
to cover the mounting flange, but I thought the aluminum
and exposed screws looked just fine--in keeping with the
rest of the boat's windows--and was a better look than
these plastic things. |
 |
There were bug screens too, but I left those in
safekeeping for now.
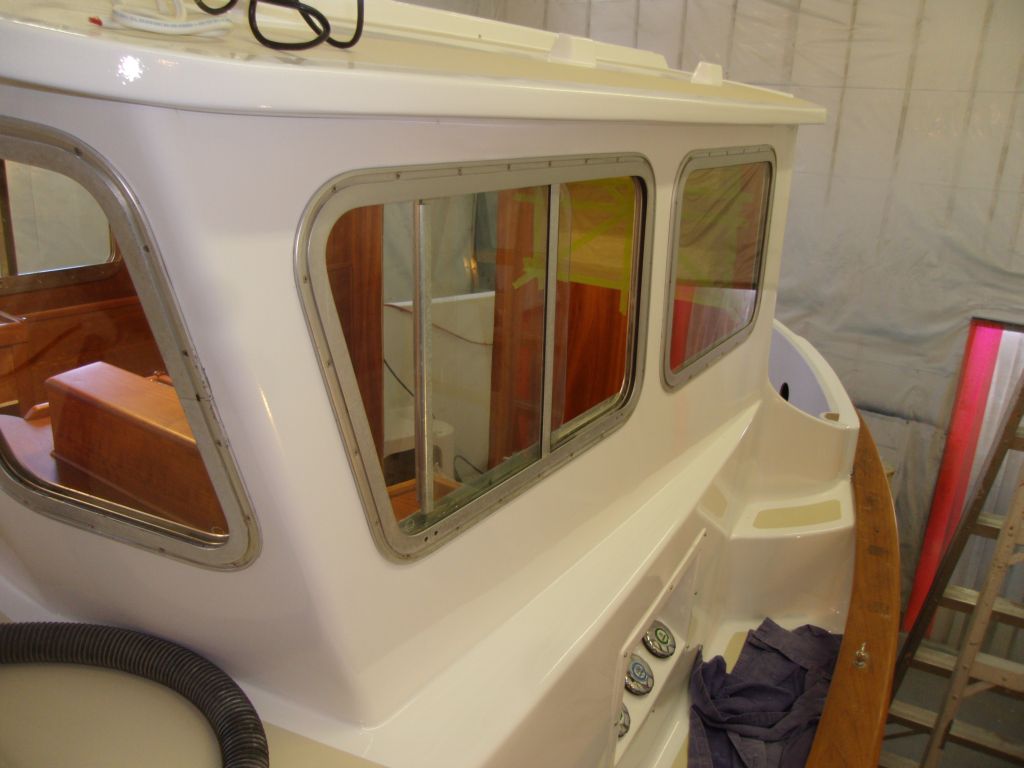
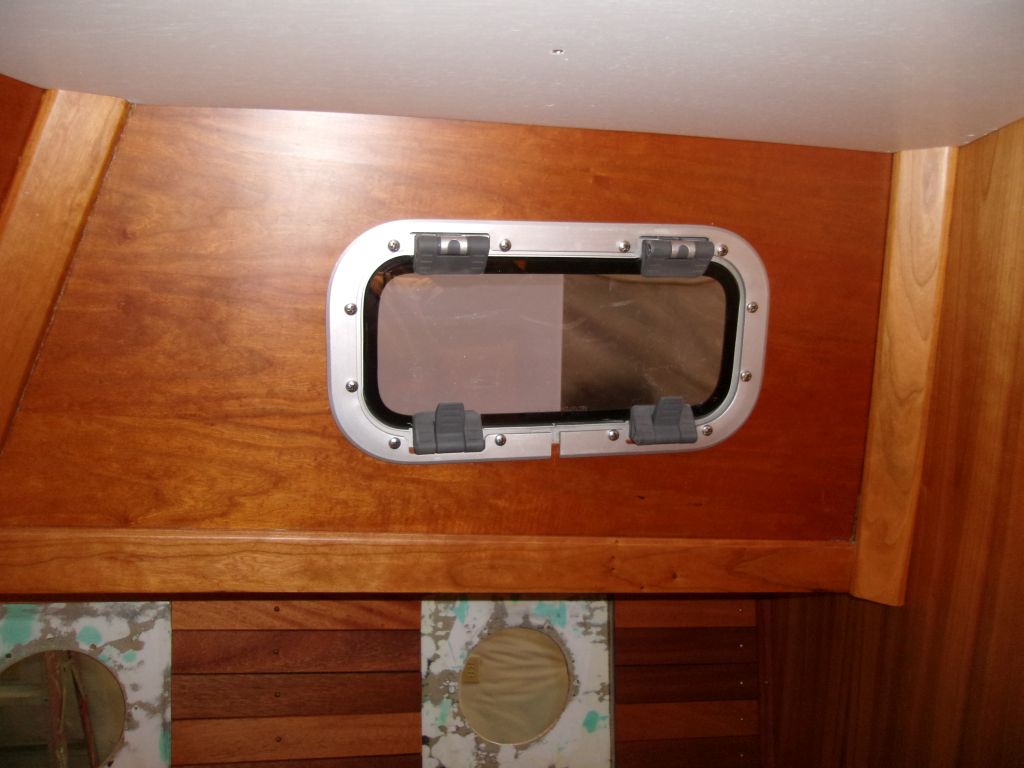
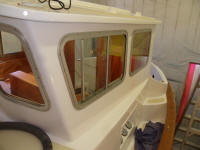
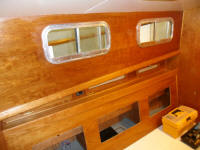
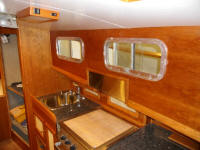
I spent the rest of the day installing all the remaining
aluminum ports/windows, the rectangular ones in the
saloon and head. These were basically smaller
versions of the pilothouse windows, so my procedure was
the same. For each one, I cleaned the frame of old
sealant and debris, test-fit, drilled screw holes, and
finally installed with butyl sealant. When all was
said and done I removed the excess sealant from around
the perimeters of the windows. |


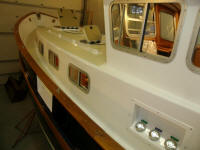 |
Just before I took these photos I'd vacuumed up dust and
lightly solvent-washed the wood, resulting in the wet,
streaky look to the woodwork around the ports. I was too
impatient to take my photos and be done for the day to
wait for the solvent to evaporate. Sorry.
But regardless, it was sure nice to fill the gaping, raw
holes after over three years of emptiness. |

 |
| |
Total Time Today: 7.75 hours
|
<
Previous | Next > |
|
|