Project Log: Saturday, January 24, 2015
One day during the week, with a little time on hand, I
unclamped the lazarette hatch and cleaned up the edges
as needed. Then, I laminated on a second 1/8"
strip, glued directly to the first and overlapping the
seams as needed. I kept the ends of the pieces set
in just a bit at those two unbanded rounded forward
corners, which would later help me tie in these areas.
|
 |
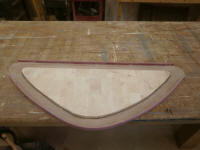
With that glue-up complete, I could continue work on the
hatch. After unclamping, I sanded the hatch as
needed, removing any excess epoxy from the lamination
and slightly rounding the exposed top edges of the
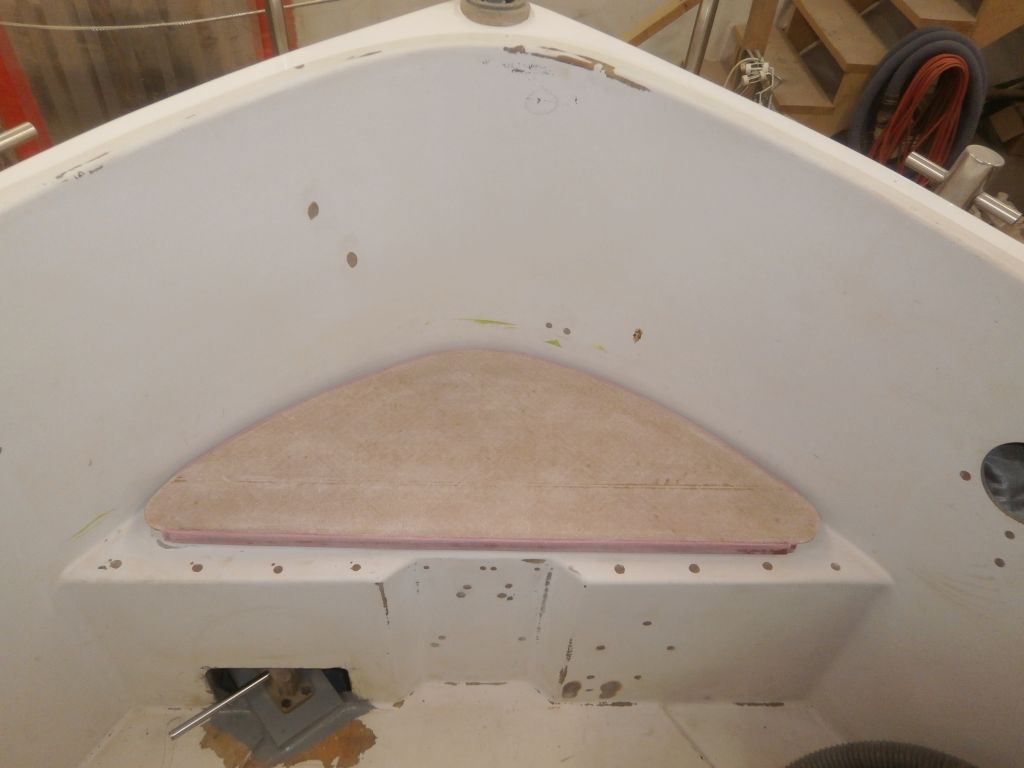
newly-banded hatch. I test-fit it in the cockpit
to check the fit. |

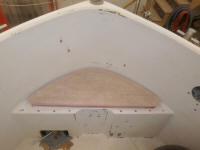 |
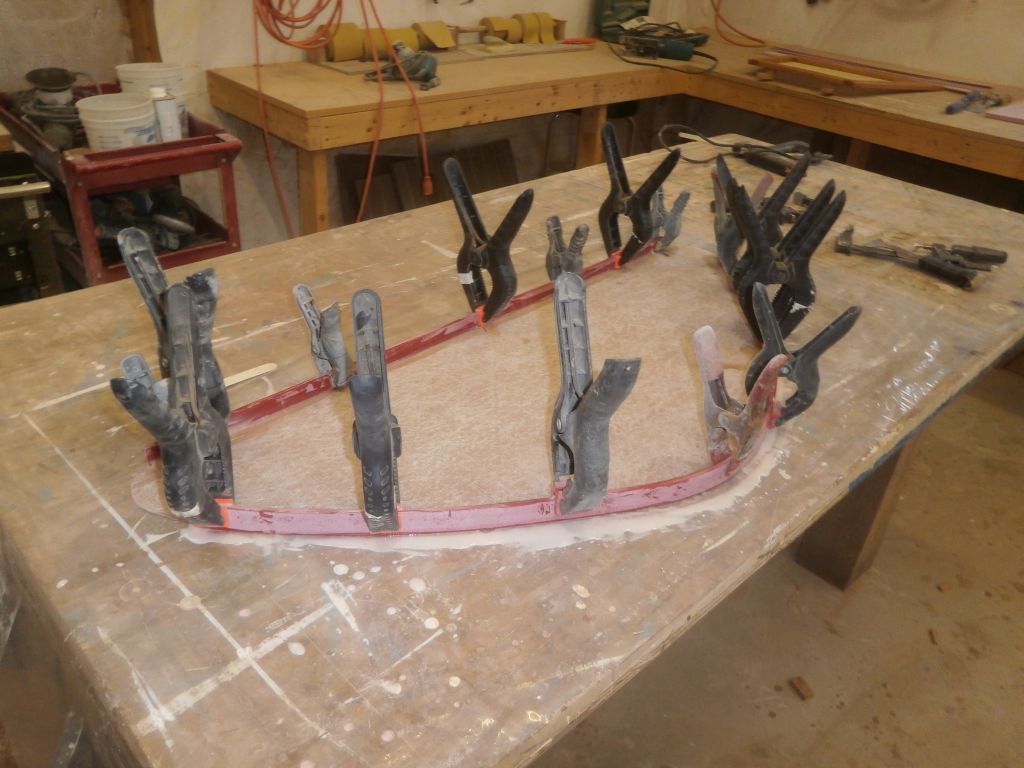
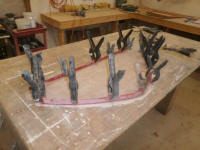
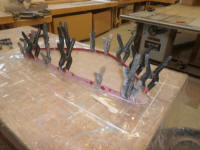
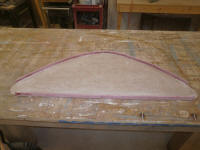
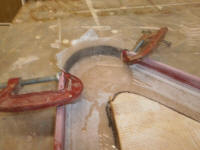
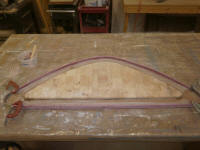
Keeping its edges well inside of where the hatch bore on
the raised molding, I prepared a piece of balsa core to
strengthen the hatch. But before installing the
core, I wanted to take care of the sharply-rounded front
corner details. |
 |
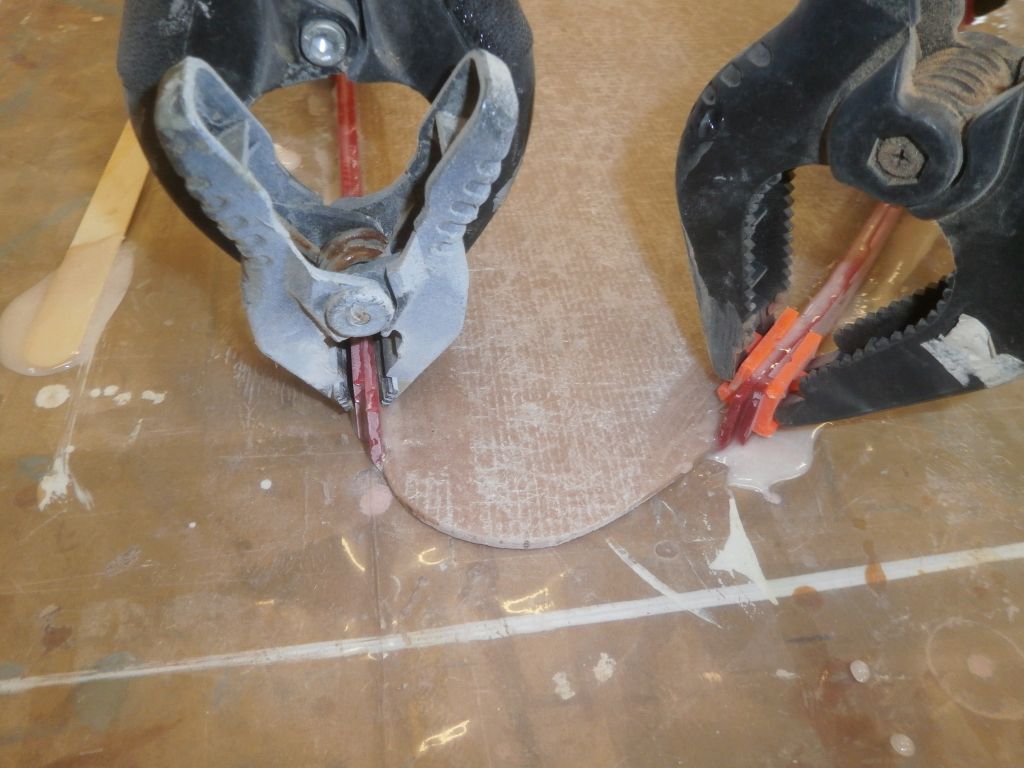
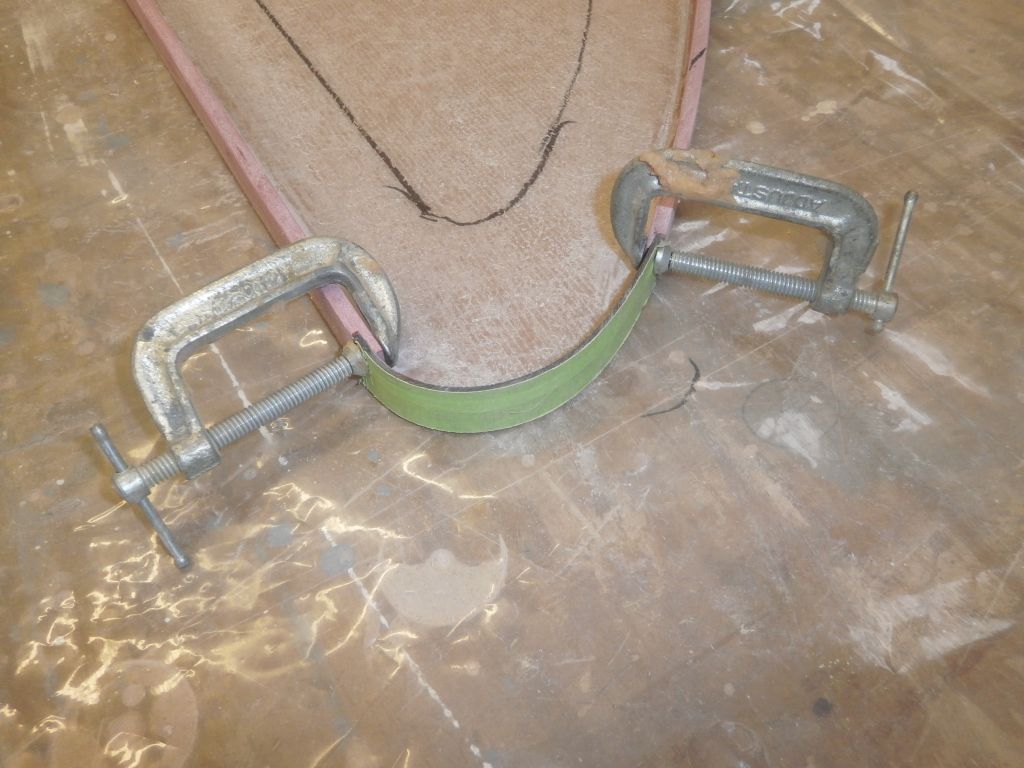
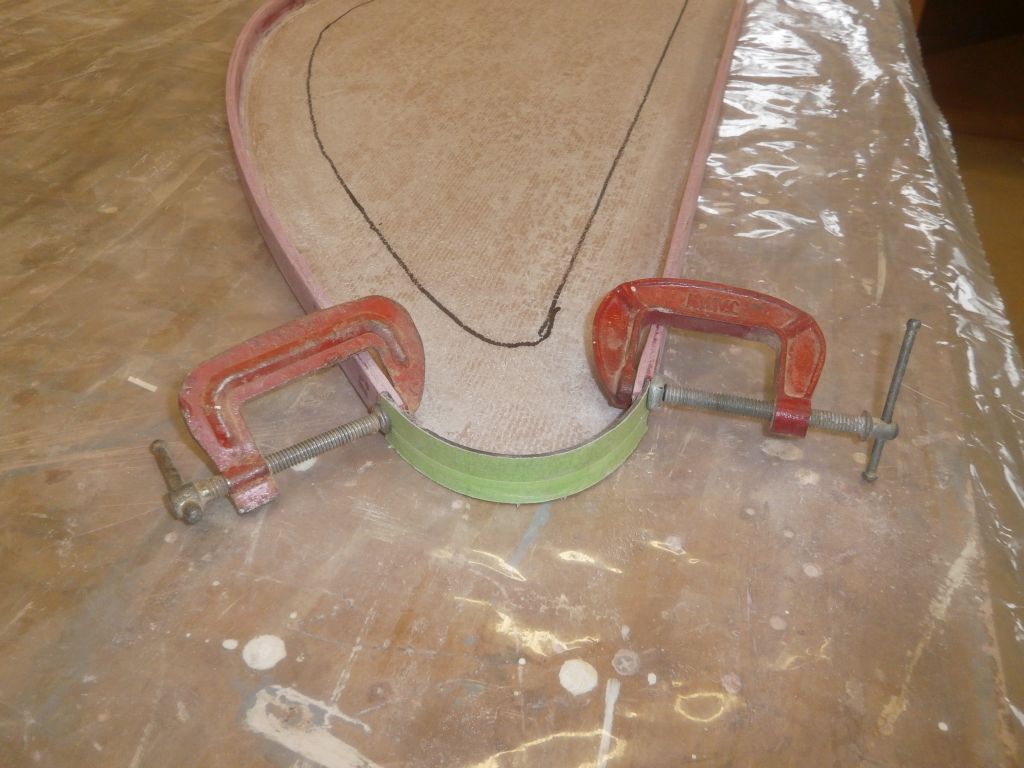
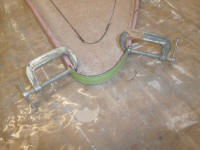
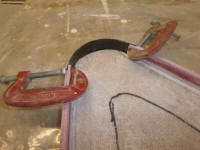
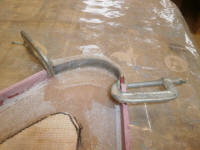
I found some thin acrylic material left over from some
project or another, and was able to bend strips of it
around the corners of the hatch, clamping it in place to
the stepped edges of the fiberglass banding I'd
installed earlier. This would act as a mold to
finish up the edge banding on these corners in a
two-step process.
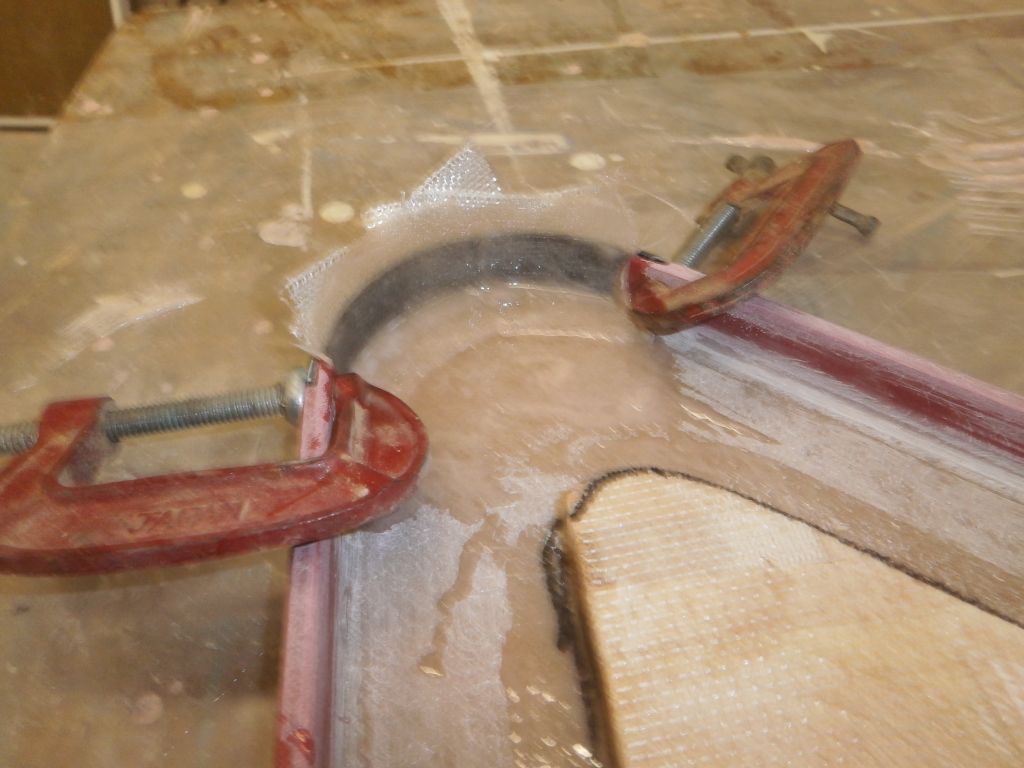
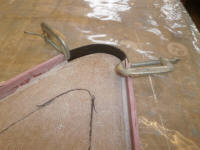
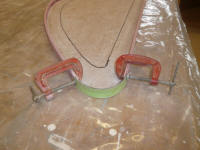
Starting with a little thickened epoxy, I filled any
gaps between the mold and the hatch itself, then
installed a few layers of light fiberglass cloth against
the mold and overlapping onto the inside hatch surface.
I didn't worry about running the material wild over the
top of the mold strip; I'd deal with that easily later.
With enough fiberglass in place, I'd later be able to
remove the mold strip and finish off the edge banding
from the outside, but that would come on another day. |
 |
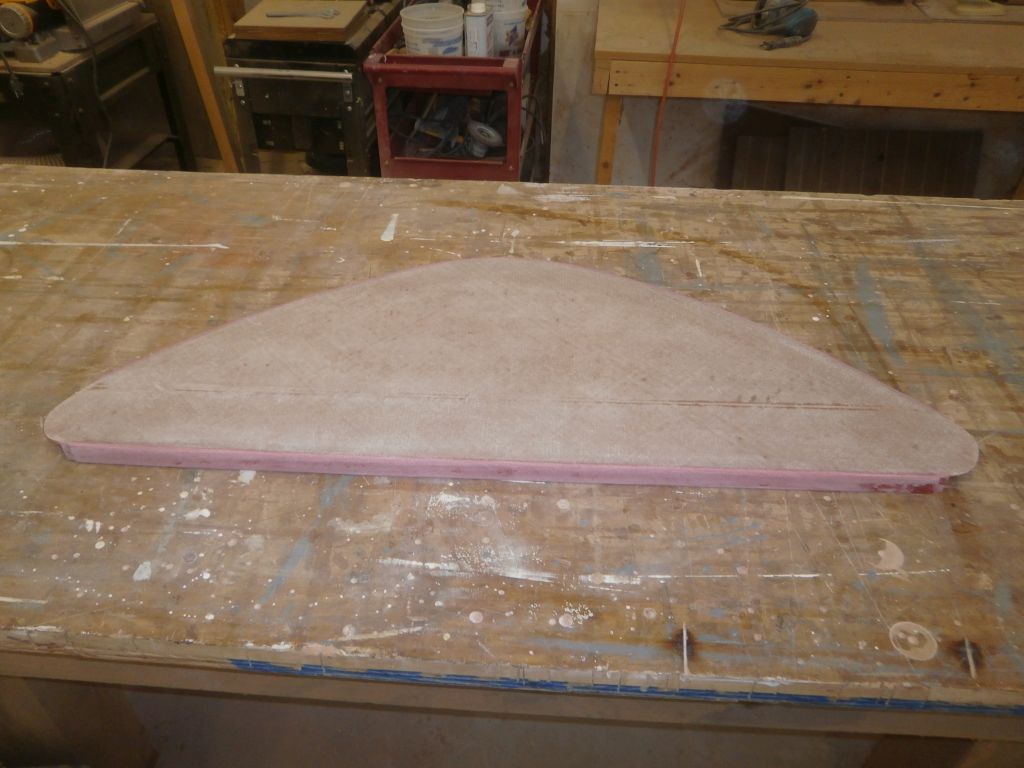
With the corners underway and complete for now, I
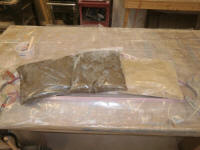
installed the balsa core in a bed of epoxy adhesive,
after first wetting out the core on both sides. I
weighted it down to cure. |
 |
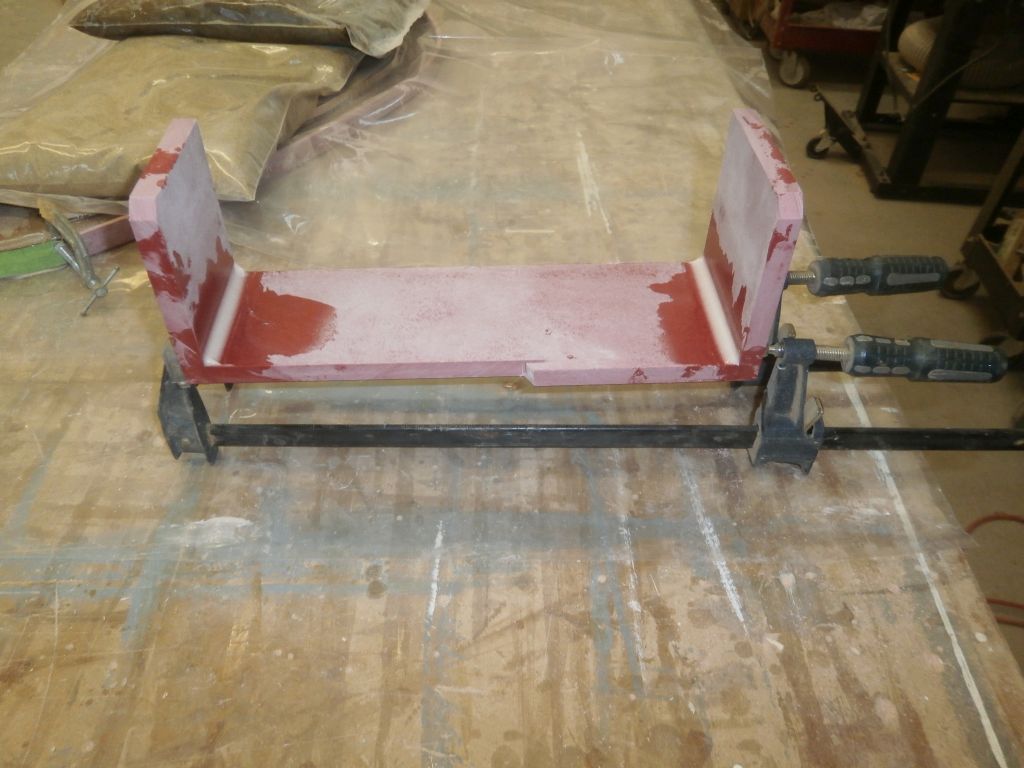
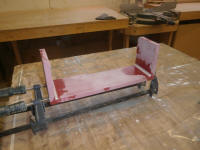
Meanwhile, I prepared the beginnings of a simple,
sturdy, removable box cover for the exposed steering
cylinder end in the cockpit. From 1/2" thick
prefab fiberglass, I cut the first three pieces to fit
as needed, allowing plenty of room for the steering
cylinder to extend its fullest, and glued them together
with epoxy, leaving it be till it cured. |

 |
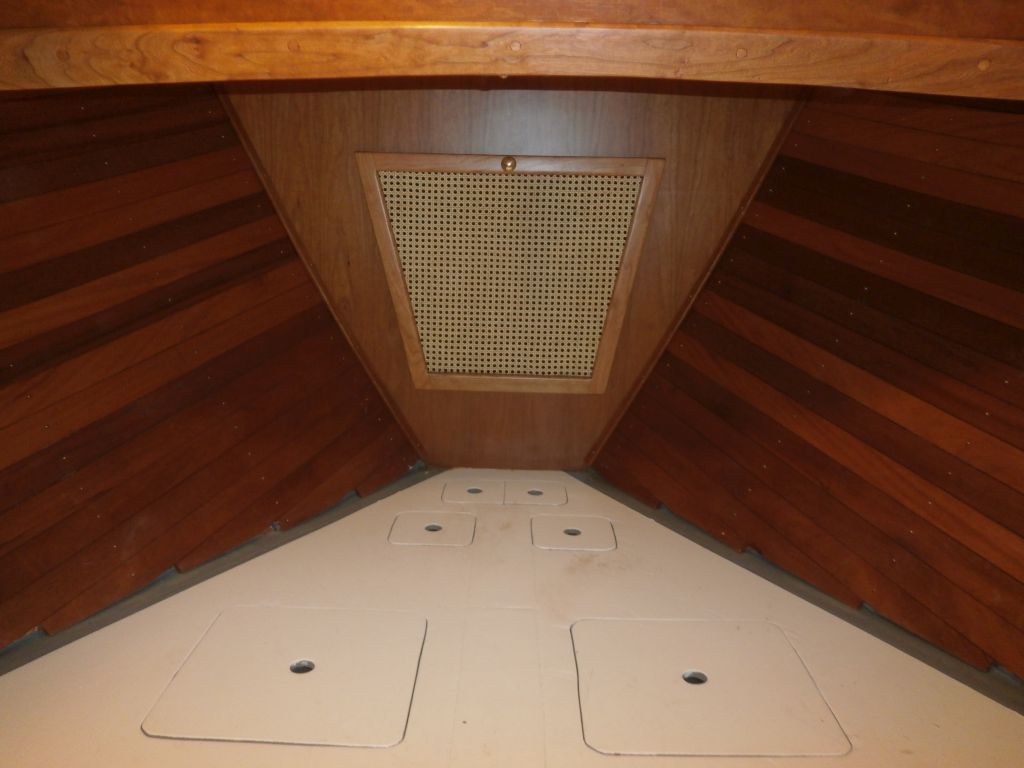
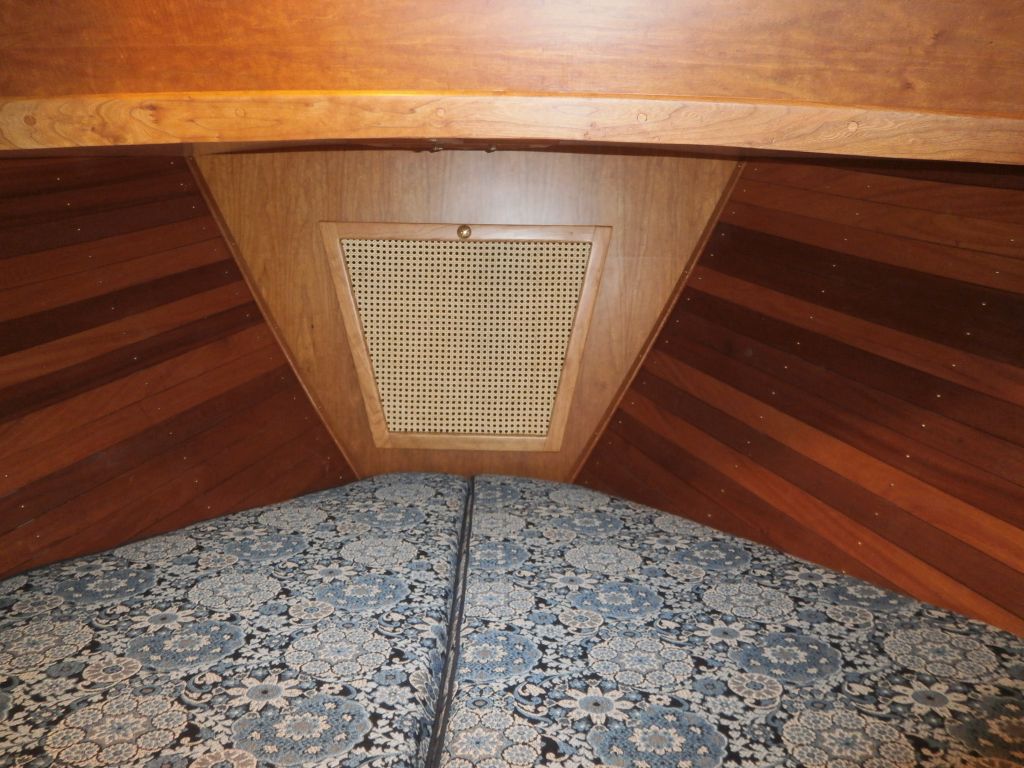
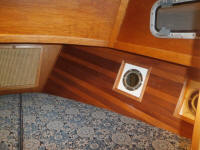
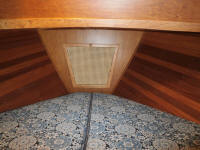
Back inside the boat, I wrapped up the installation of
the chainlocker door with a knob and two catches at the
top side to secure it, along with the L-shaped brackets
I'd installed earlier on the lower edge to position and
hold the hatch in place. |
 |
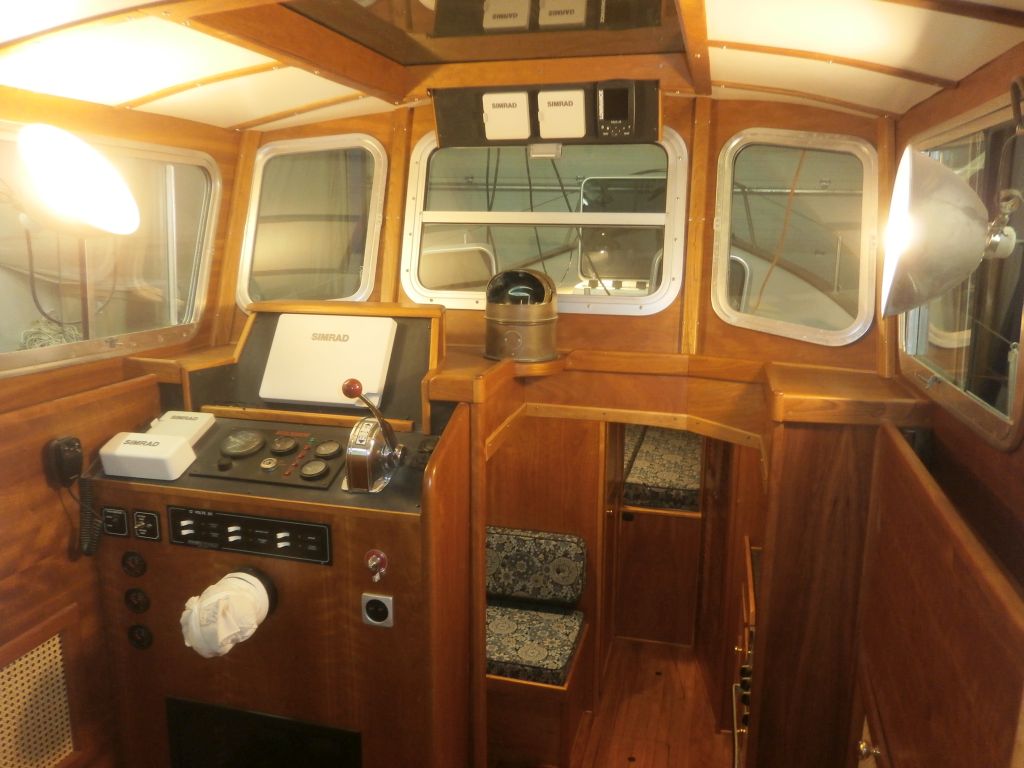
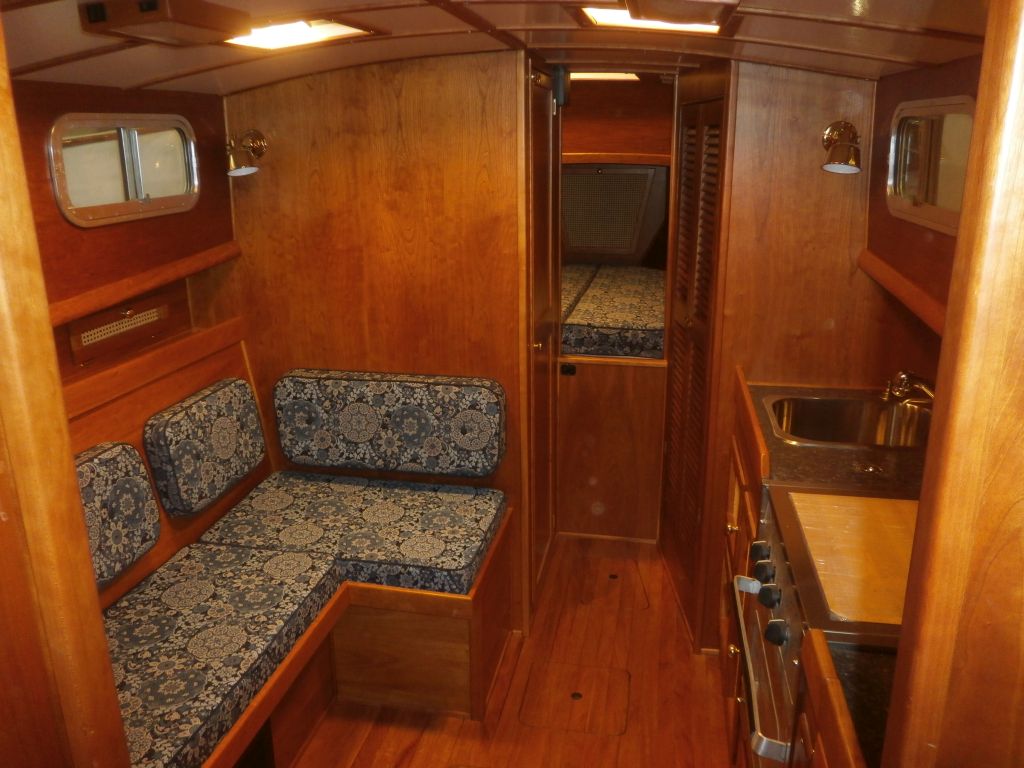
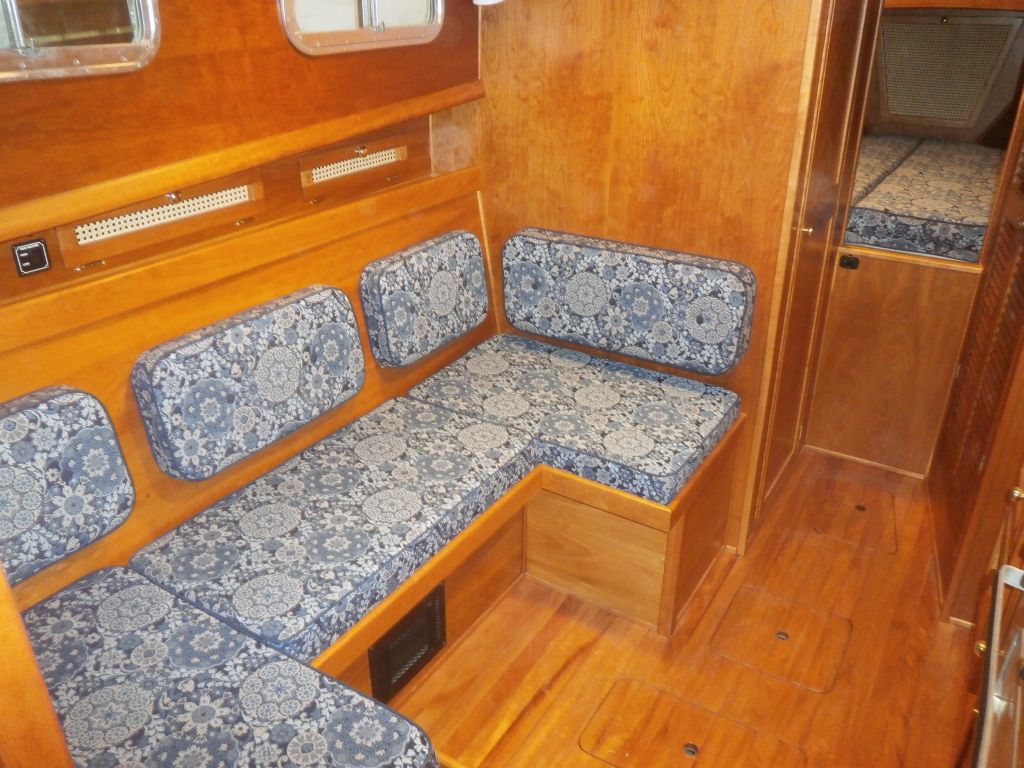
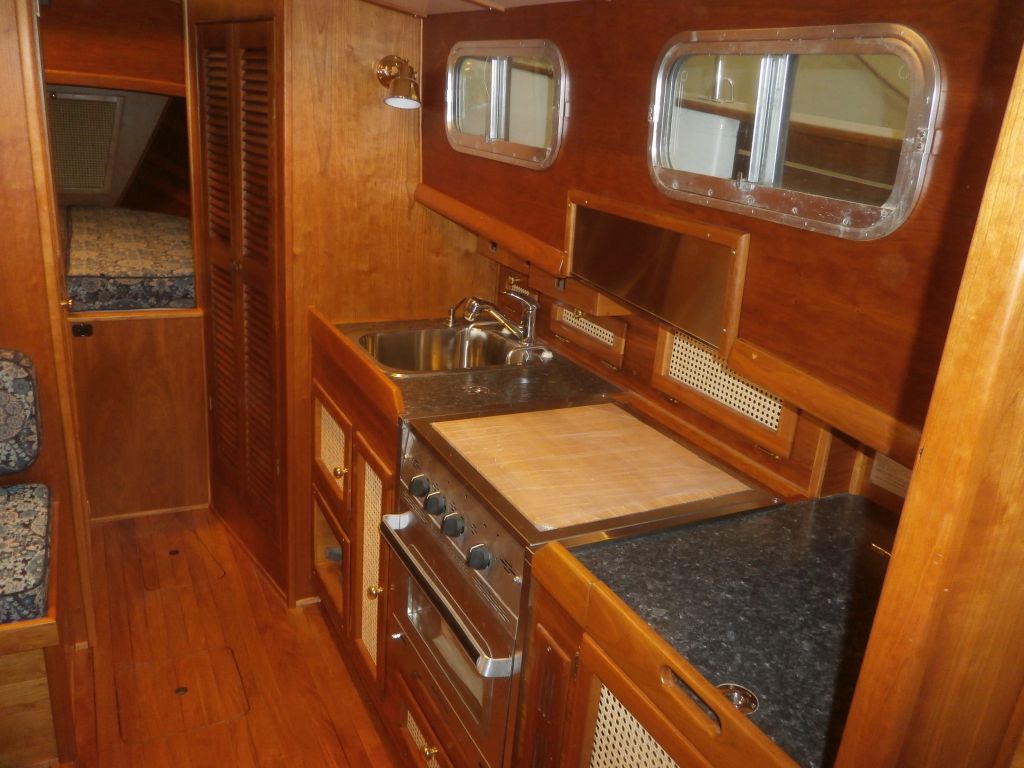
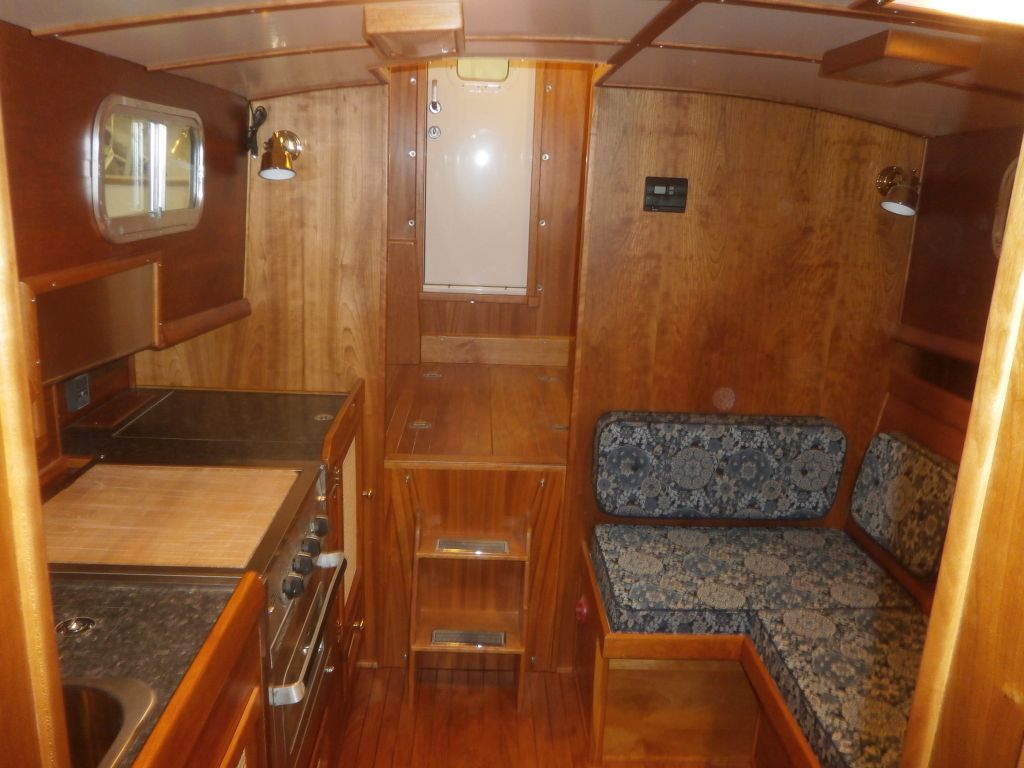
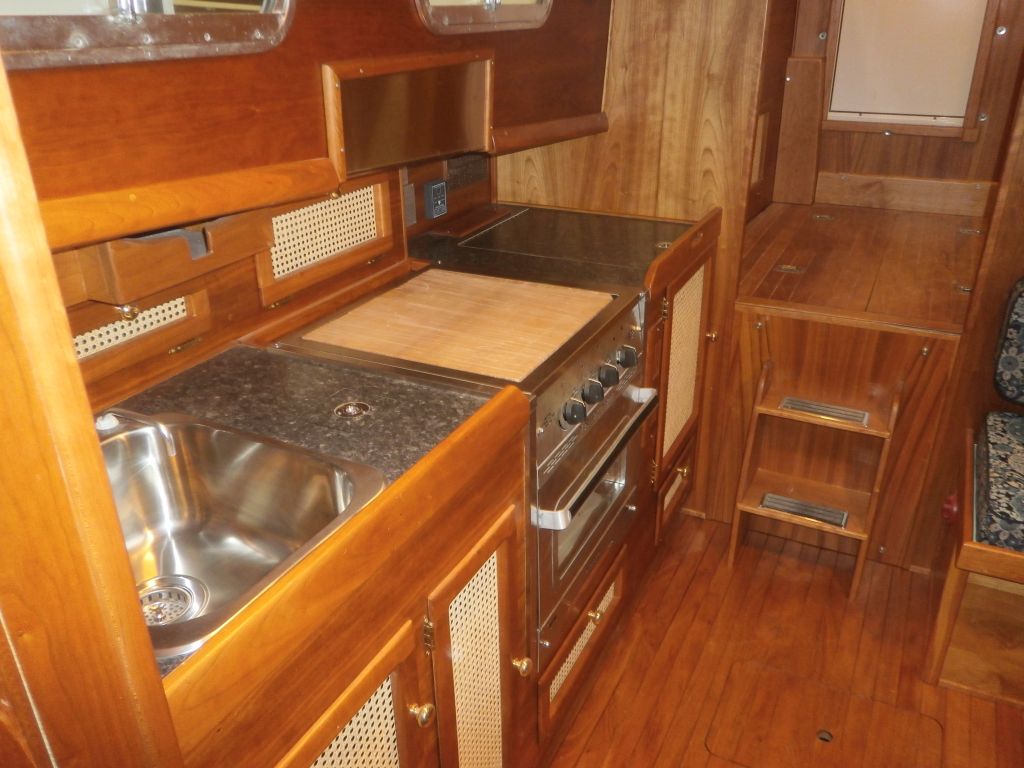
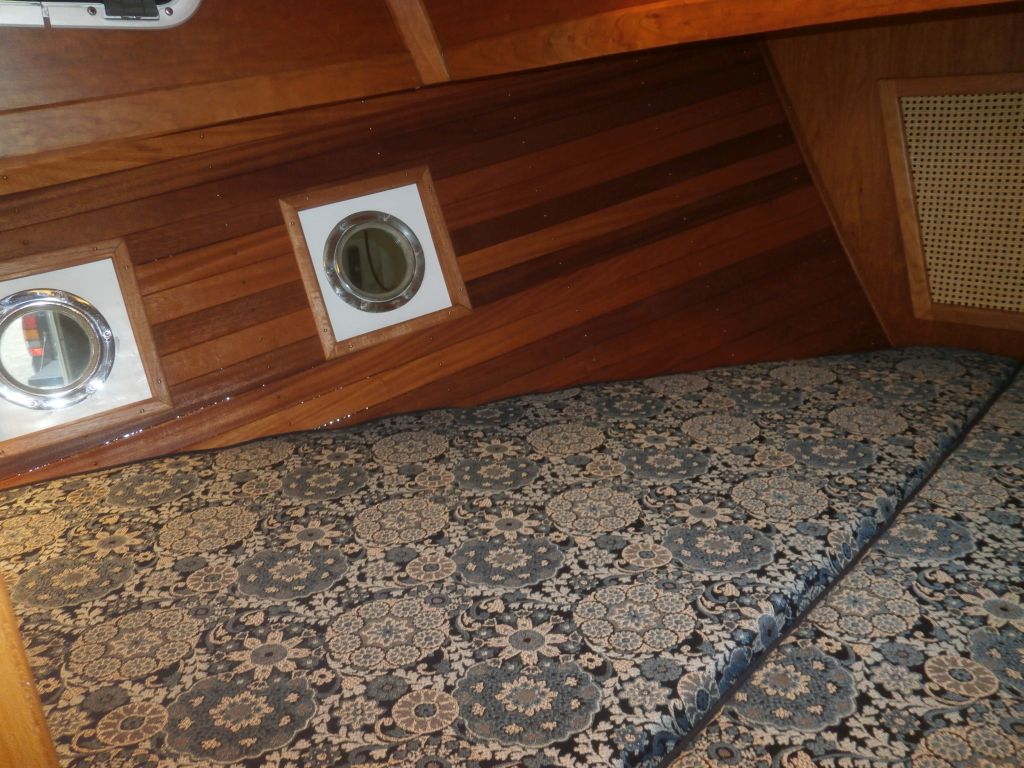
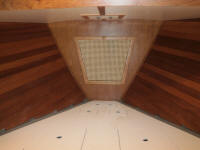
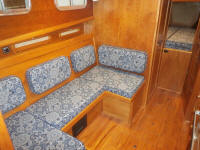
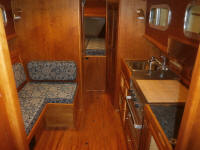
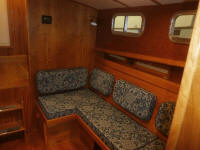
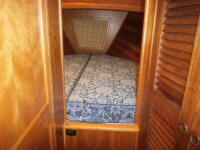
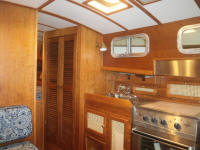
With that, I deemed the interior work basically
complete, and decided to celebrate by installing all the
interior cushions, which I'd had stored elsewhere for
the period since I'd originally had them made. It
was nice to see, finally, the full effect of the
completed interior for the first time. |


 |
| |
Total Time Today: 4.5 Hours |
<
Previous | Next > |
|
|