Project Log: Monday, May 4, 2015
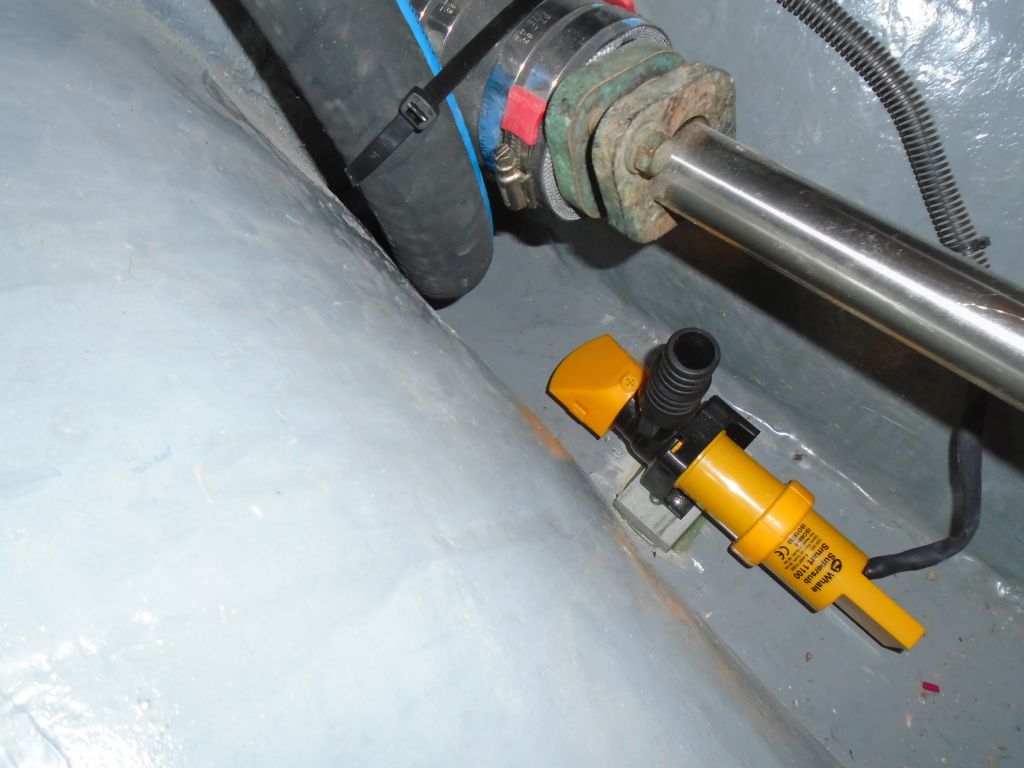
Next on the agenda was finishing up the bilge pump
installations. I'd already installed an electric
pump, and wired it, but it needed its discharge hose; I
hadn't even started the manual pump installation.
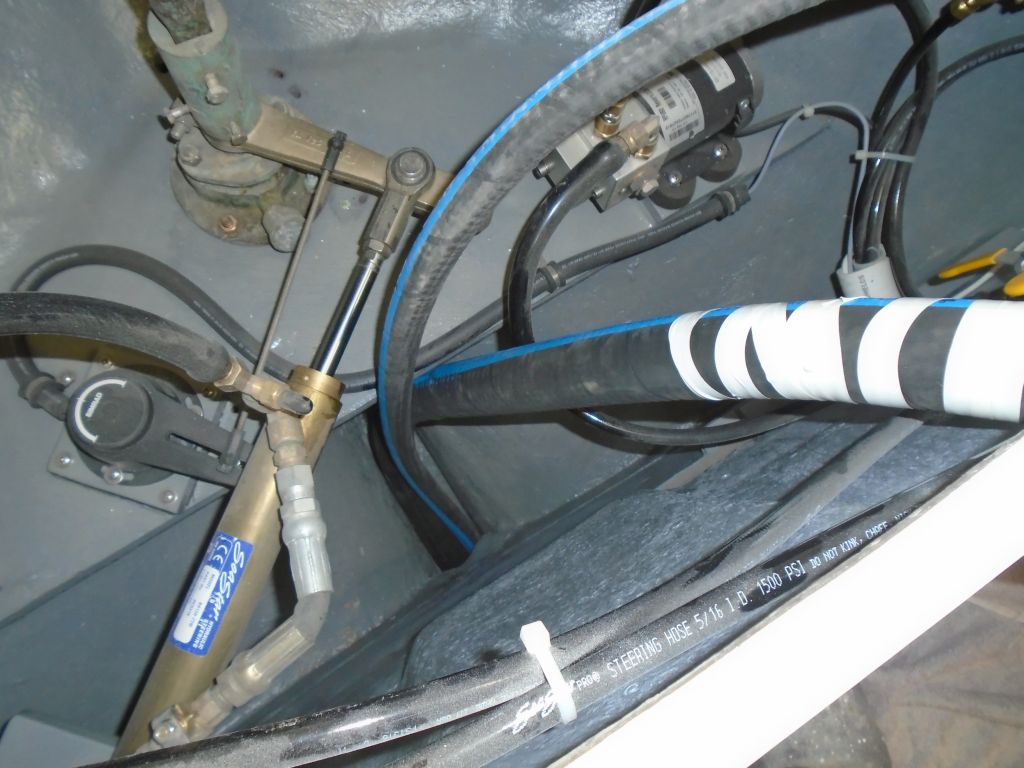
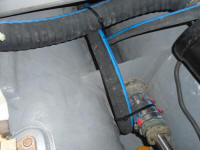
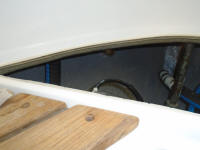
To begin, I led two hoses from the steering room
(lazarette) into the engine room through the bilge space
running beneath the fuel tank. Friction and the
non-controllability of the hose meant that I couldn't
push the hoses through on their own, but I knew this was
a good conduit for the hoses, and a simpler path than
any other I could conceive. So I led a wire snake
through, and used it to pull the hoses: a 1-1/2"
hose for the manual pump, and 3/4" hose for the electric
pump. I'd long given up on so-called "bilge pump"
hose types, and instead chose good reinforced engine
exhaust/water hose, which was strong, non-collapsible,
and bendable.
|
 |
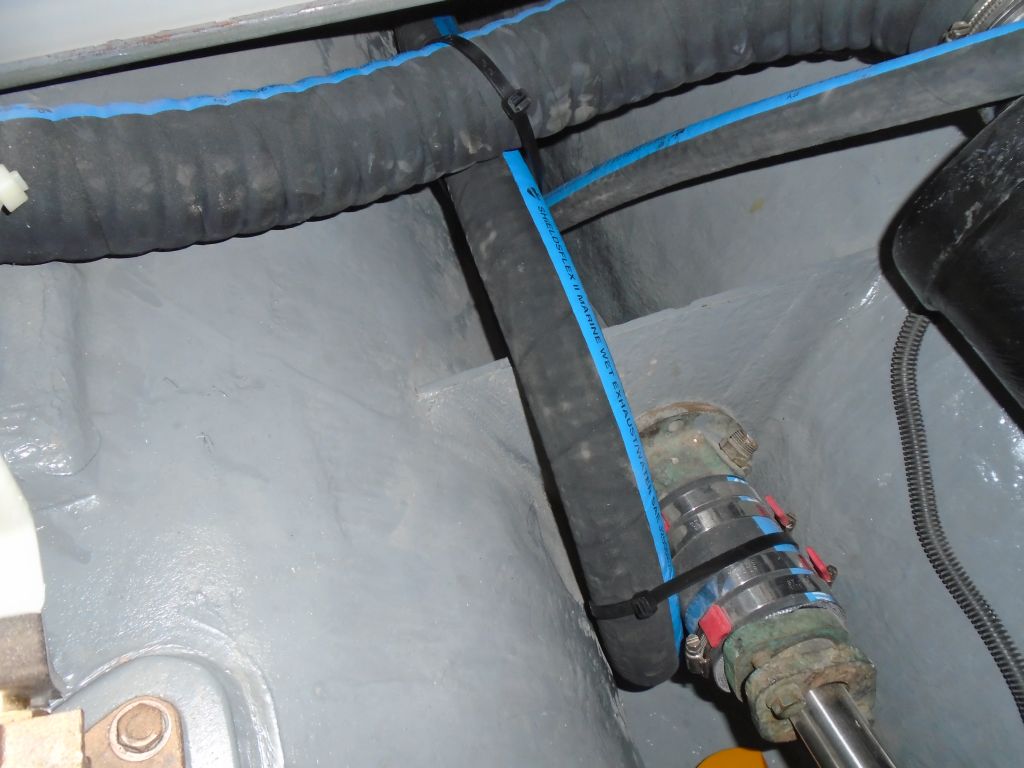
With limited space in the bilge for the large suction
hose, I cut notches in its end to prevent it from ever
sucking itself against a hard surface, and led it into
the narrow space of shaft alley, securing it in place
with some large cable ties. I'd make up the after
end in the lazarette later, once I'd finalized some
additional plumbing and installations there. |
 |
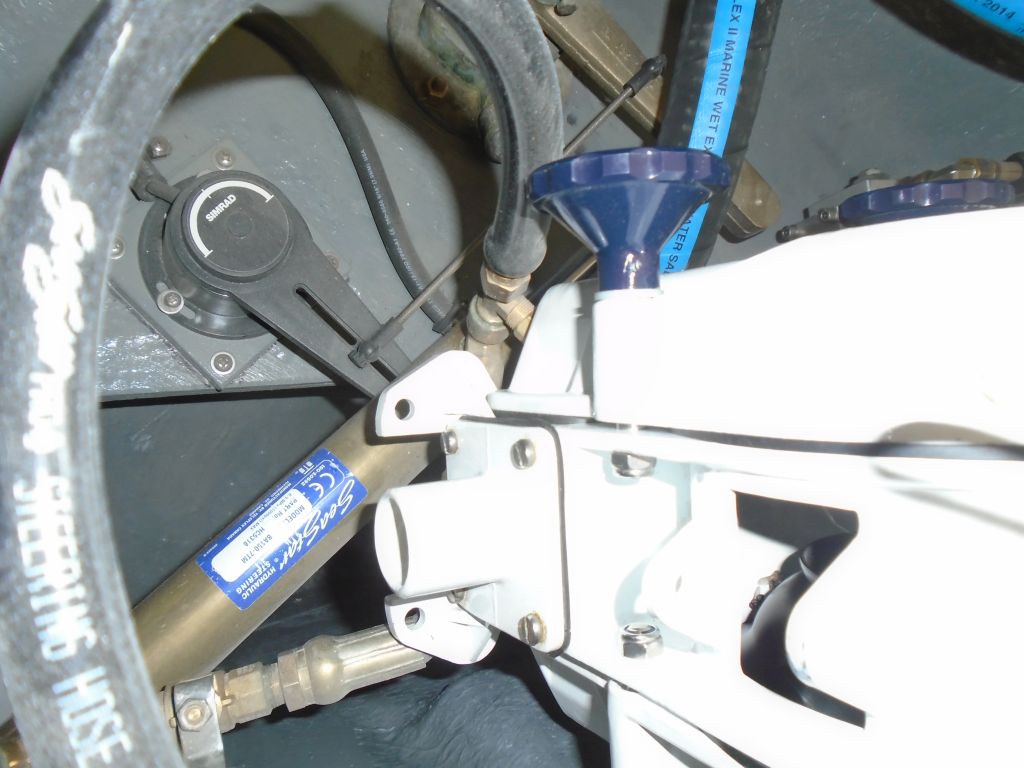
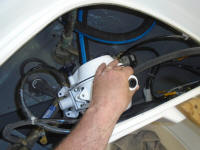
The owner had a large double-action manual pump that he
hoped to use, and it would have been nice, but the
realities of the lazarette (pretty much the only
practicable location for a manual pump) and the
steering/autopilot installation meant that there was
insufficient room for the bulky pump: it
interfered with the steering arm, cylinder, and hoses,
and if I tried to keep it higher and away from these
installations, it extended too far above the locker lip.
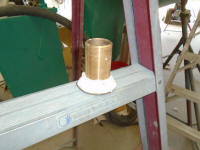
Instead, I planned to proceed with the pump I'd been
planning on using, a manual Henderson pump with a more
compact housing. |

 |
Turning back to the electric pump, I prepared to install
the hose at the pump end and wrap up the work there.
However, I discovered to my dismay that the pump
required 1-1/8" hose, not 3/4"; somehow I'd been sure it
was a 3/4" pump, but alas. I didn't have 1-1/8"
hose on hand, which meant a frustrating delay on
finishing the bilge work while I awaited the new order. |
 |
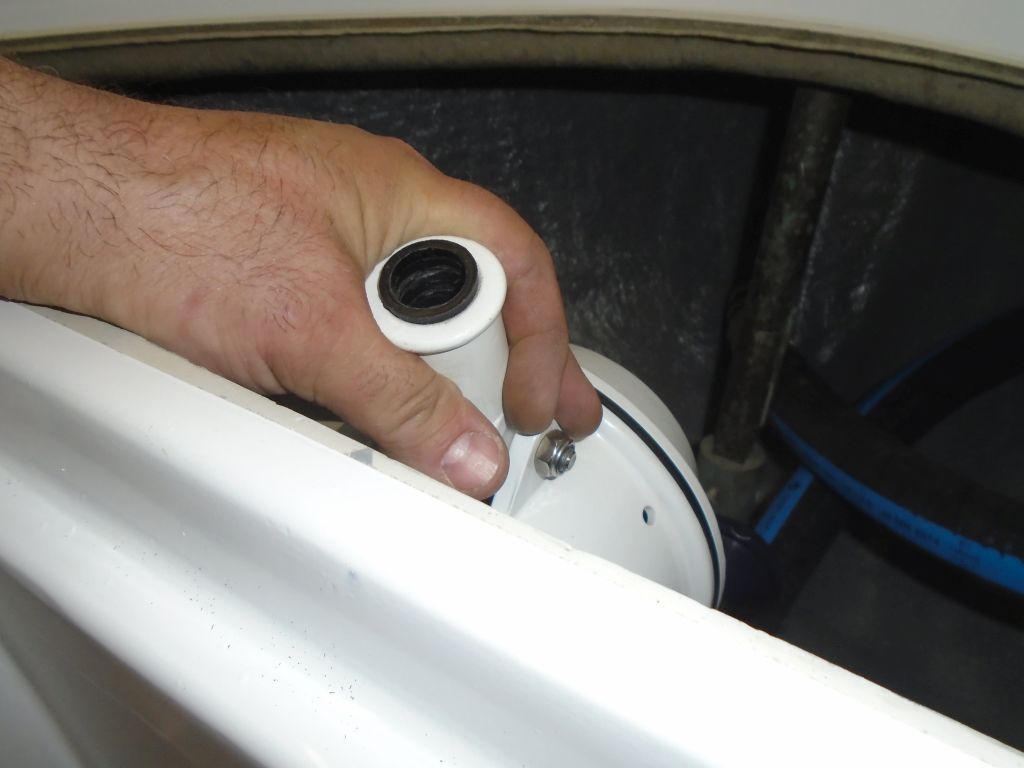
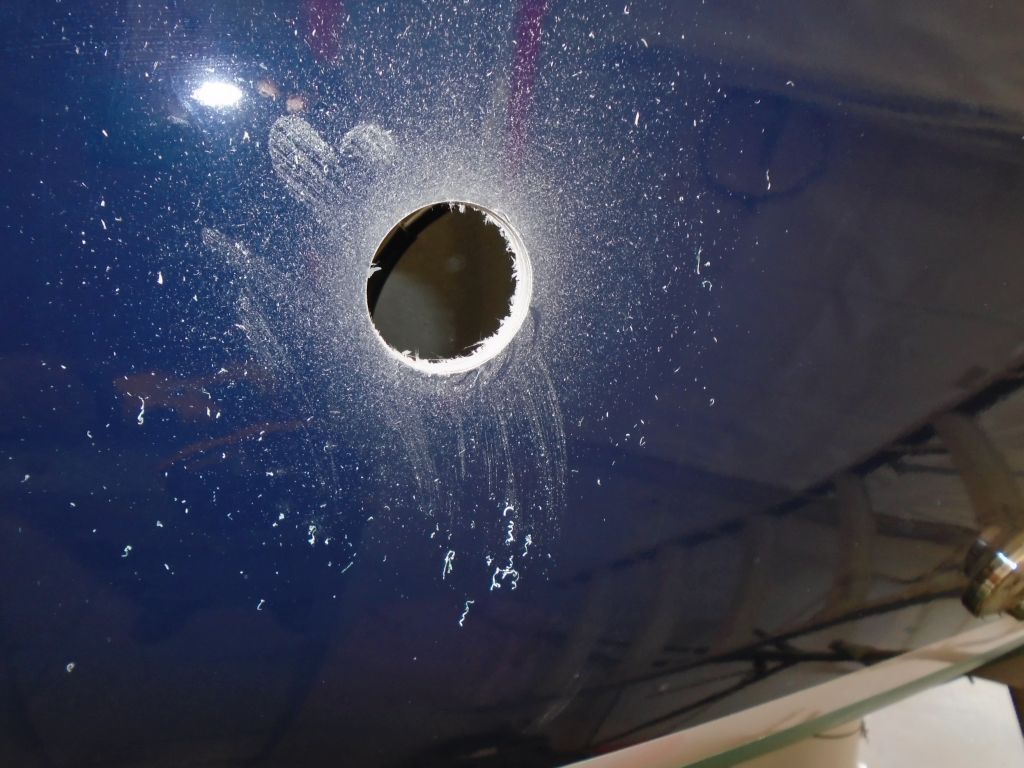
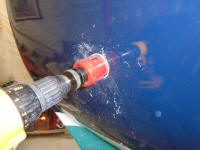
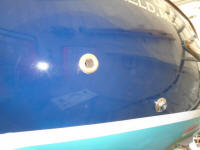
Moving on, I prepared to install the outlet (through
hull) for the bilge pumps. I planned to connect
both discharges at a bronze tee at the outlet, so I
chose the location based on the requirements of the
internal plumbing and general access for installation
and maintenance. Without a real transom on this
boat, options were limited, and eventually I chose a
location aft and above the engine exhaust; I wanted the
bilge outlet to be substantially higher to keep it away
from submersion.
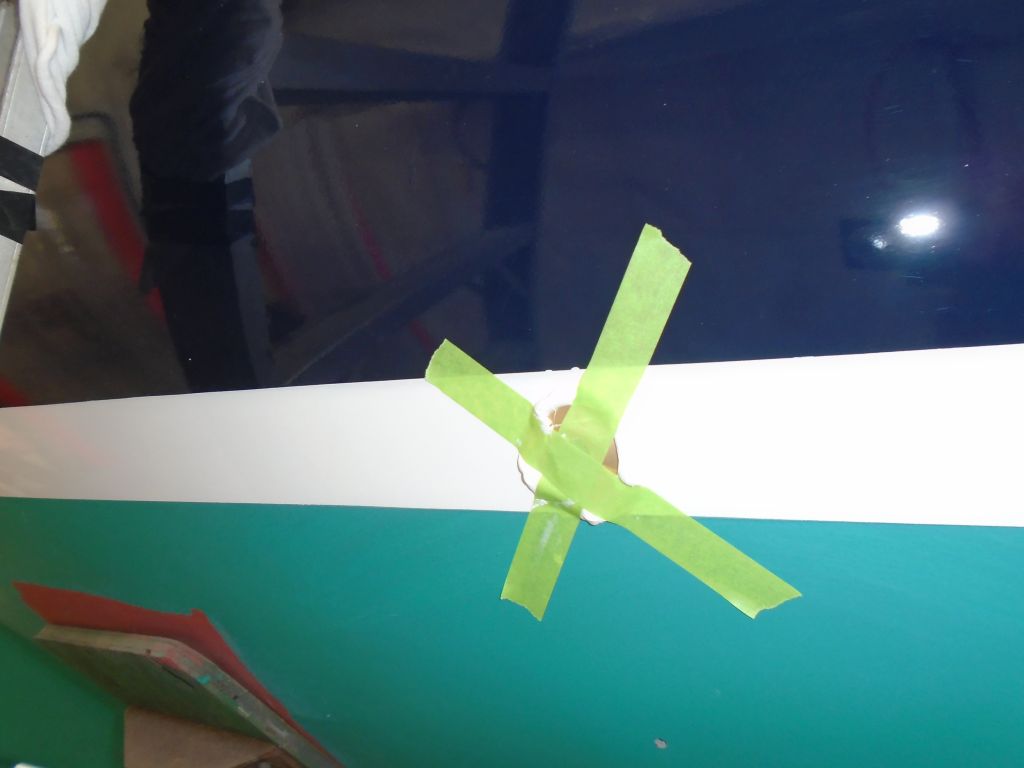
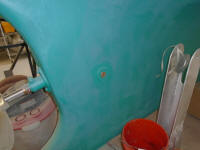
From inside the lazarette, I drilled a small pilot hole
to mark the location, then drilled the required hole to
accommodate the 1-1/2" through hull from outside. |
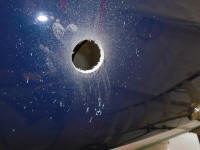 |
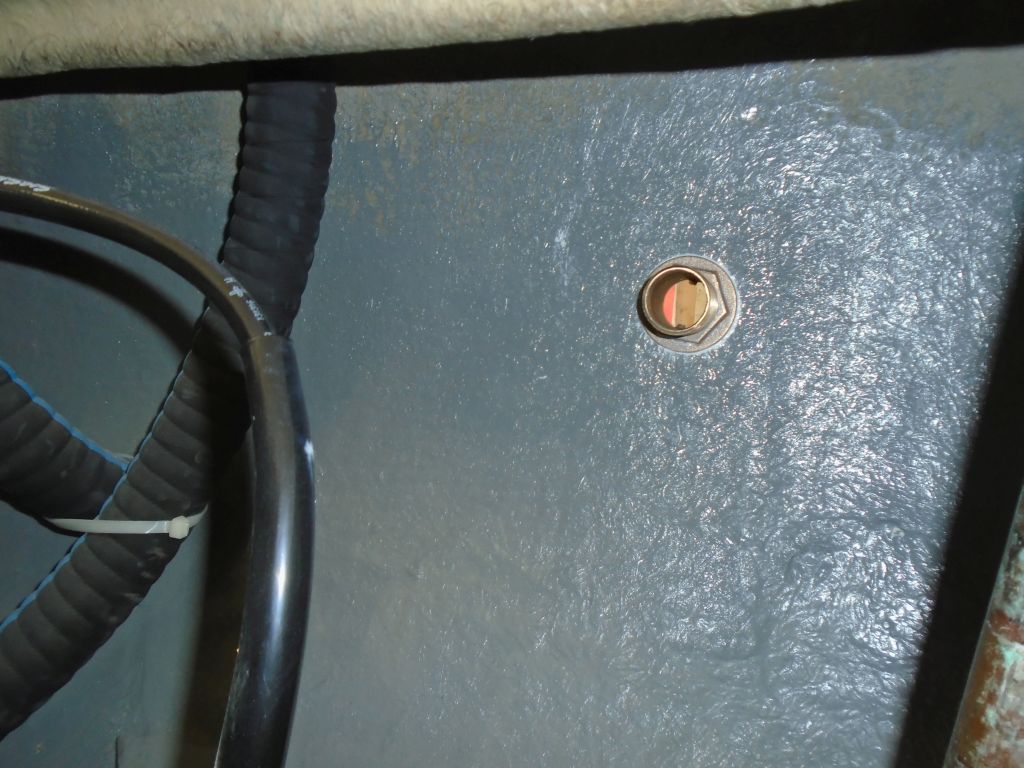
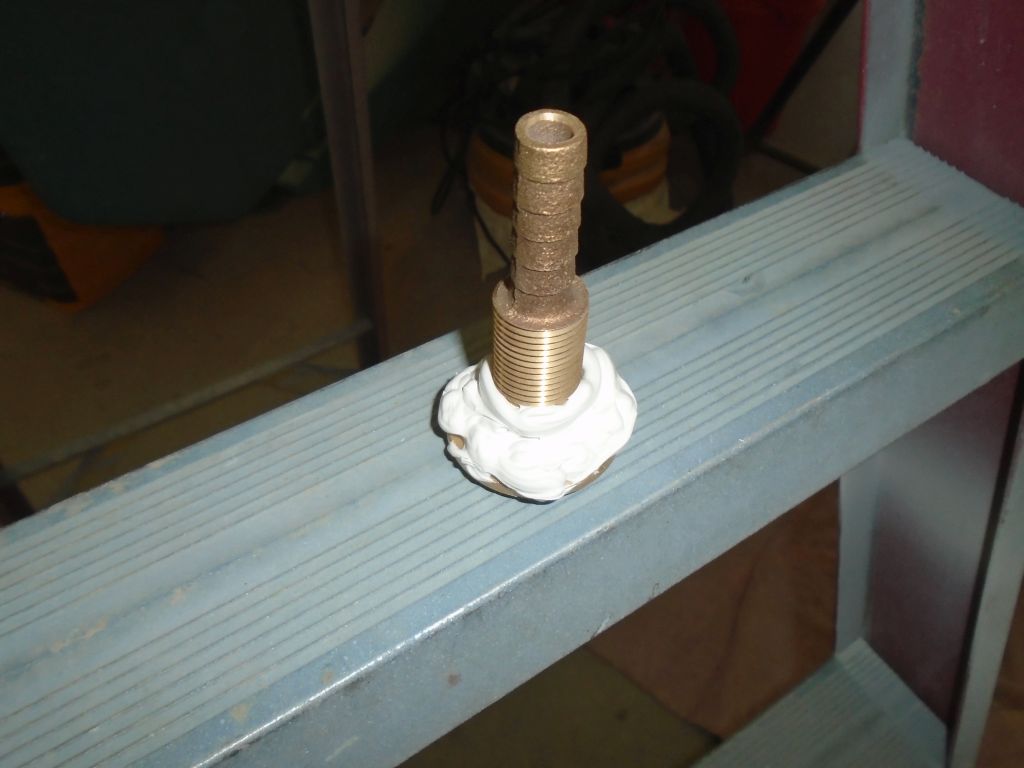
I installed the fitting with lots of sealant, holding it
in place from outside with some tape. Inside, I
threaded on the nut about an inch, and then found I
could no longer turn the nut by hand: the threads
were too tight. With over 2" of thread remaining,
this could pose a problem, working alone. Hoping I
could improve the situation, I removed the fitting--a
messy proposition--and threaded the nut on and off a
number of times while holding the fitting in a vice.
This didn't help much, but at least I proved I could
thread the nut on, and that the threads weren't
unusable.
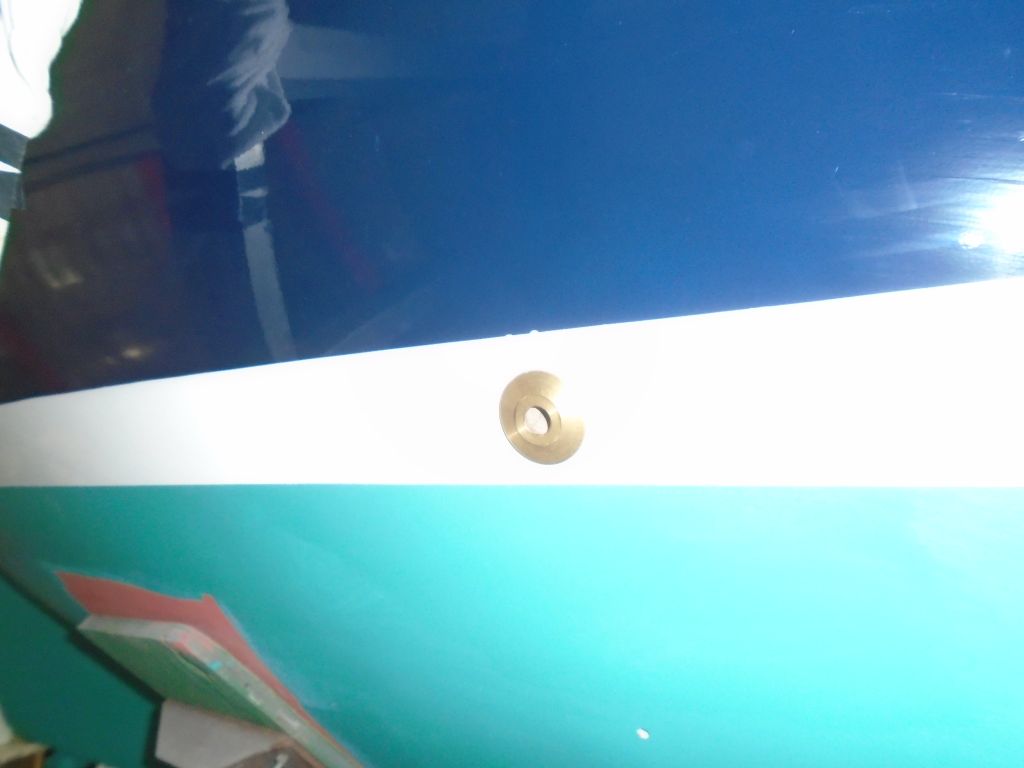
With this complication, installation of the fitting,
normally a straightforward task, was much more
challenging. With no easy way to hold the stem
against spinning while working the nut with a wrench,
and difficult access from within (I was glad I'd kept
the access as good as I had), eventually I managed to
use my through hull tool--a stepped casting that catches
the ears within the through hull fitting--to hold the
stem from within, as I could grip the top end of it with
Vice Grips and turn (barely) the nut with a wrench.
Eventually, and not without some inappropriate language,
I got the nut past the tight section of threads, and
could with great relief thread it tightly against the
hull by hand. Afterwards, I cleaned up the excess
sealant, completing the job for now. |
 |
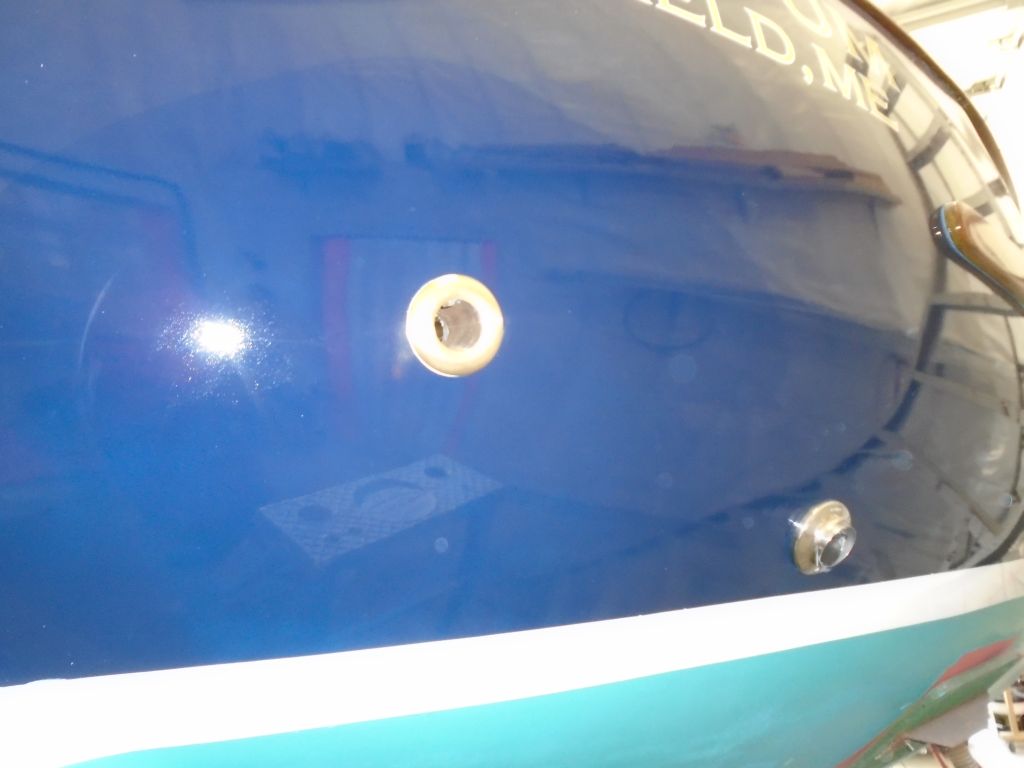
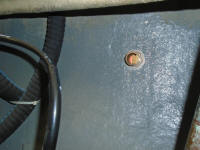
The propane storage locker that I'd soon be installing
in the cockpit required (as do they all) a drain to the
outside. There were limited options for the
placement of the through hull fitting for this drain,
between various access limitations, standards-based
requirements for its location, and the minimal amount of
space available between the cockpit sole and the
waterline. Eventually, I chose a location as high
as I could, and near the patched hole left over from the
original drain, which seemed too far down. I
drilled the hole for the 1/2" fitting, and with much
contorting got the nut secured from within (no picture
of that since I didn't feel like crawling back in there
later). |


 |
After cleaning up, and with the end of the afternoon in
sight, I decided to go ahead and install the drain plug,
since there was no reason to leave it out any longer.
Though I'd not been able to remember specifically where
I put the plug itself for storage, I quickly found it
along with all the other boat items I'd stored nearby,
and threaded it in with a bit of sealant to hold it
securely. |
 |
| |
Total Time Today: 4.5 Hours |
<
Previous | Next > |
|
|