Project Log: Friday, January 7, 2011
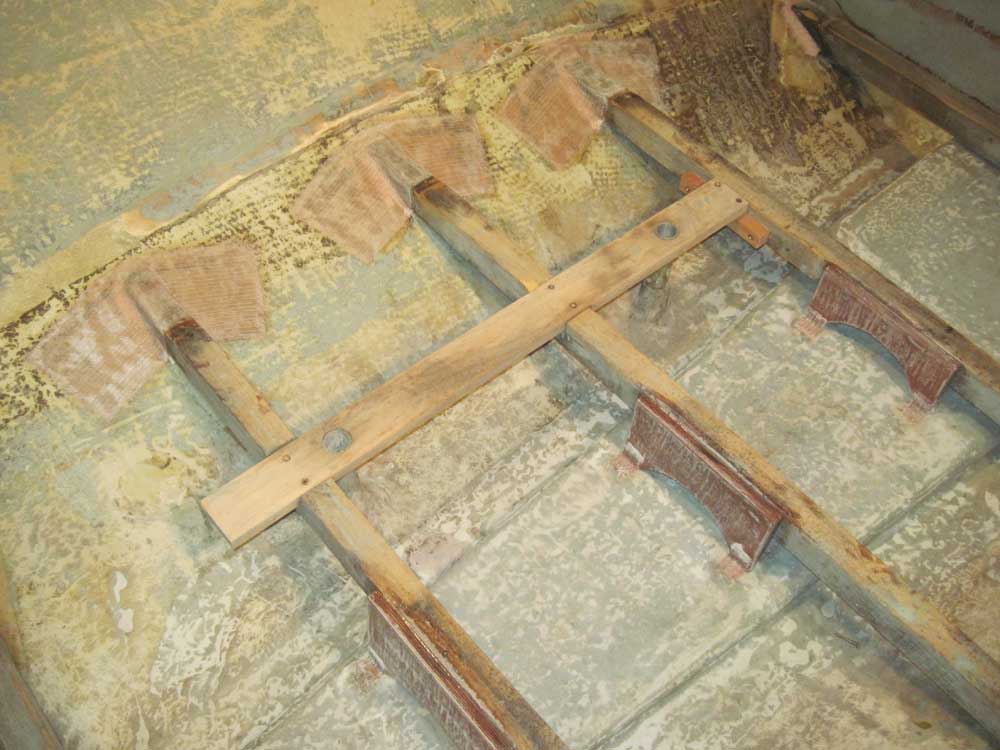
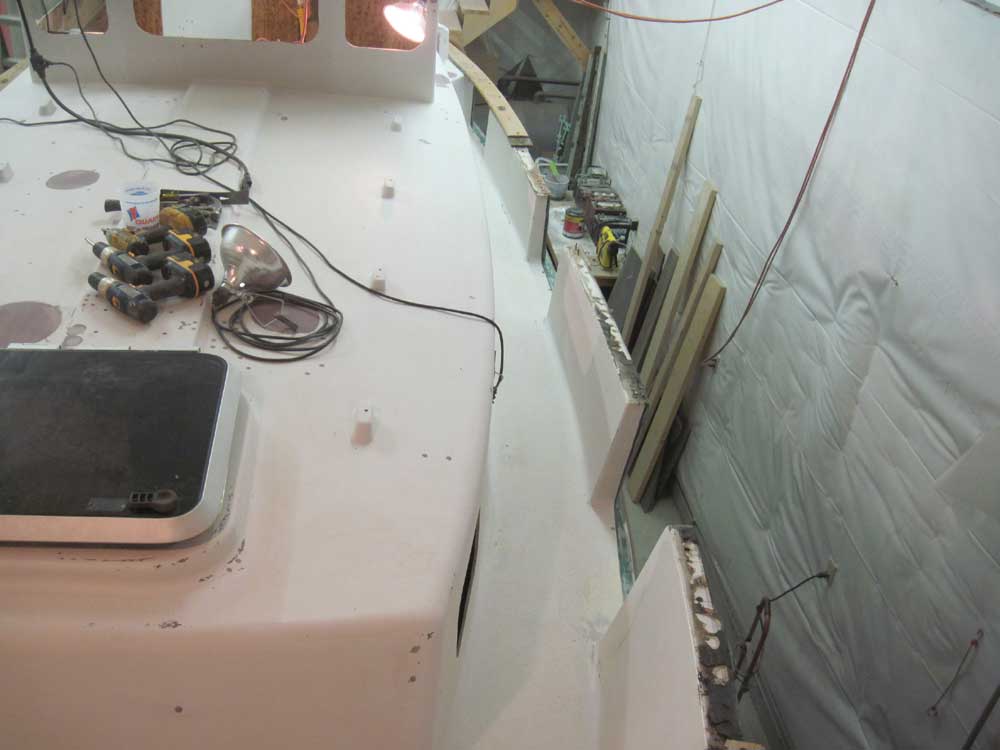
The main cabin sole support system was nearly complete.
To wrap up the work there were a couple small steps
remaining, beginning with reinstalling a small section
of longitudinal board that fit over the two vertical
pipes that formed the table leg bases. I cleaned
up the original board that I'd removed long ago and
reinstalled it with glue and new screws, along with a
new support cleat at the forward end where the board
butted against the cabin sole beam.
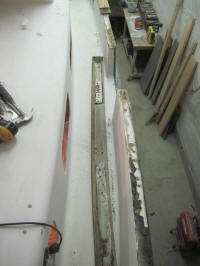
The board's overhang at the aft end looked sloppy and
bothered me, even though this was something that would
never been seen once the cabin sole was in place, so
later, after I took this photo, I cut it off flush with
the transverse beam. |
 |
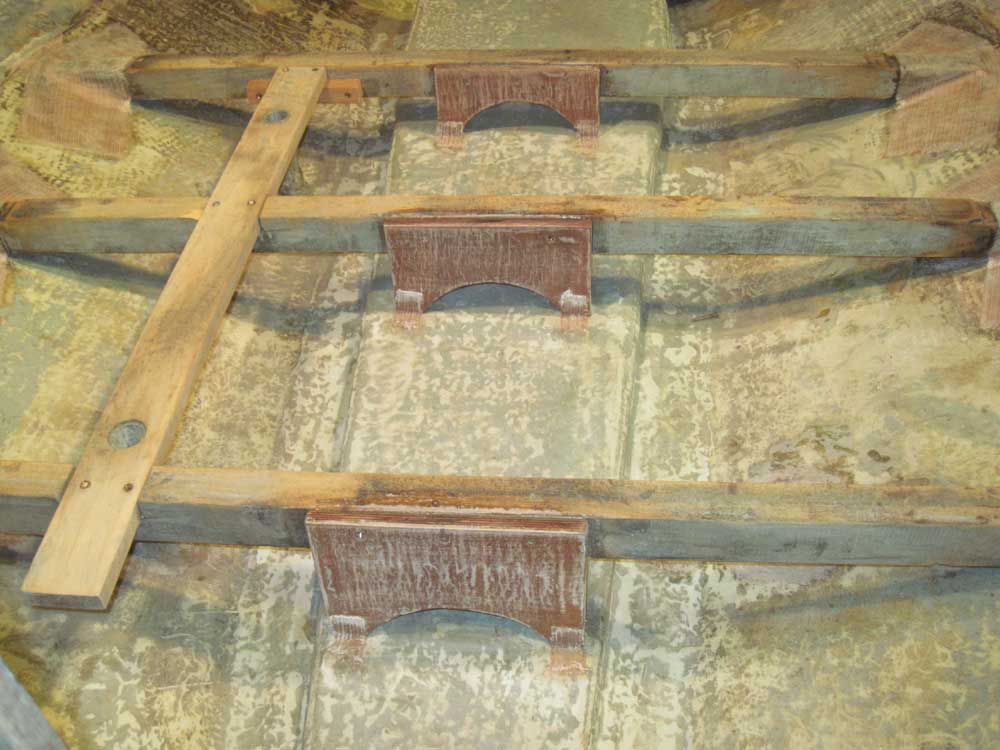
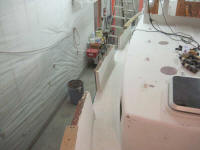
I water-washed and sanded the epoxy-coated centerline
supports as needed to clean up the tabbing edges and
rough up the epoxy surface so it would accept paint
later. |
 |
Afterwards, I reinstalled the old cabin sole pieces,
giving me a flat floor to work on again. I didn't
plan to re-use the old pieces, opting instead to install
a permanent substrate with access hatches as needed for
the bilge. Building and installing this new
substrate was one of the next things on my list, so I
spent the remainder of the morning working up a
materials list for the sheet goods needed, not only for
the cabin sole, but for bulkhead and cabin side
coverings, V-berth support structures and platform, new
engine room/fuel tank bulkheads, and other basic
interior structural needs. I'd order these
materials forthwith.
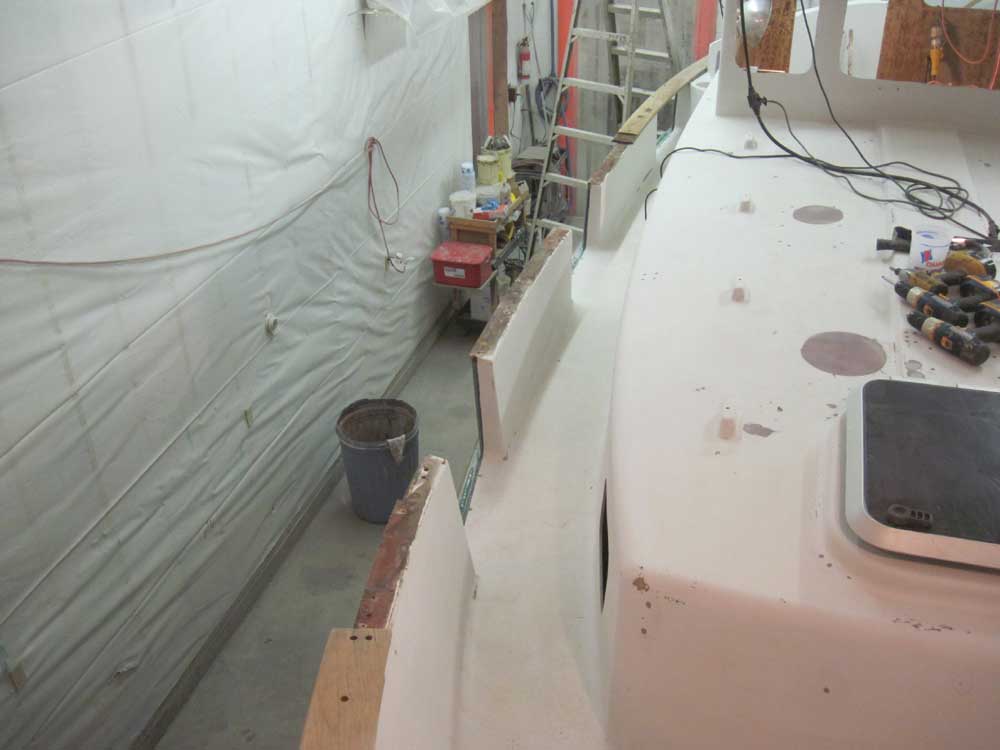
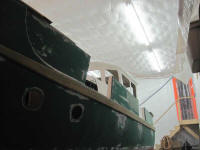
Later in the day, with some more time on hand, I decided
to try my luck at caprail removal. Even though I
was still awaiting the new inspection ports required for
accessing the remaining hardware fasteners at the bow
and stern (to ensure cutting the right-sized holes, I
wanted the actual plates on hand first, but they
wouldn't arrive till next week), the two middle sections
on each side were now free of encumbrances since I'd
removed the U-bolts. It seemed a good time to find
out what I was in for.
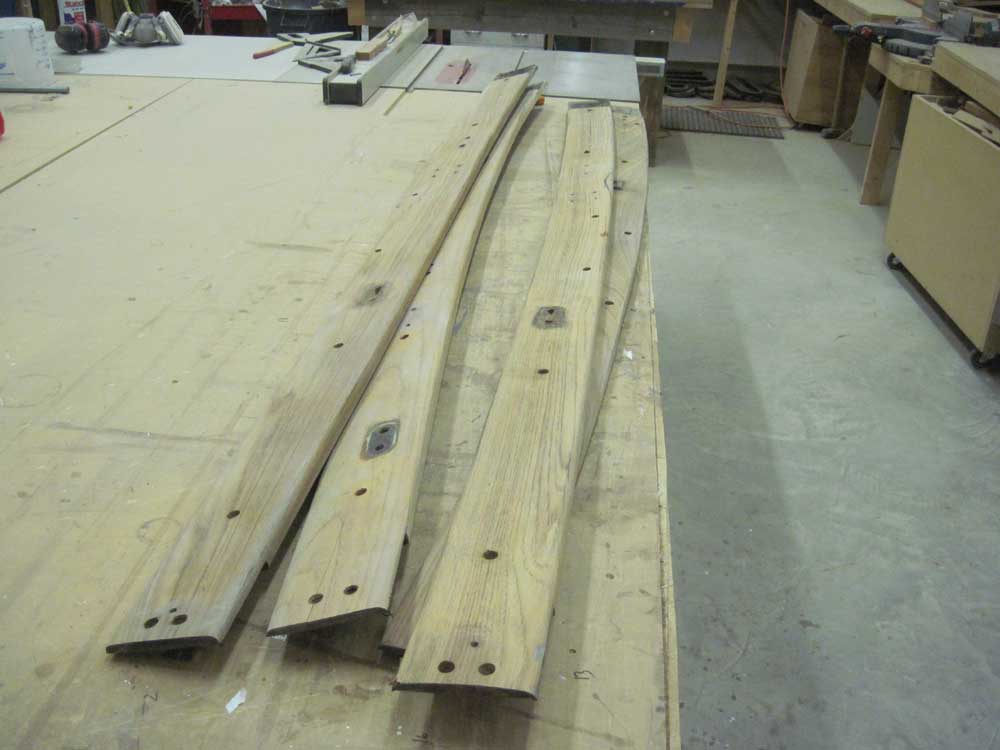
The various caprail sections (five per side) were
conjoined with half-lap joints, the forward section
overlapping the one behind in each case, so to remove
the center sections without first removing the
forwardmost section, I'd have to slip the underlying
part of the half-lap out from beneath the top section; I
figured I could do this easily enough as long as I was
careful.
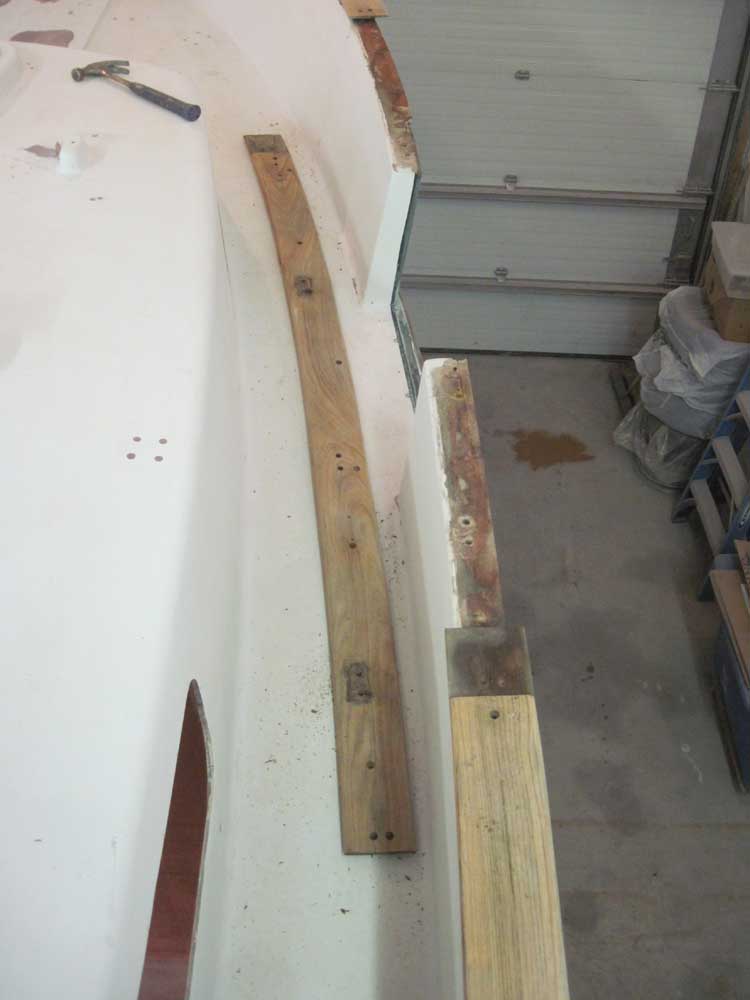
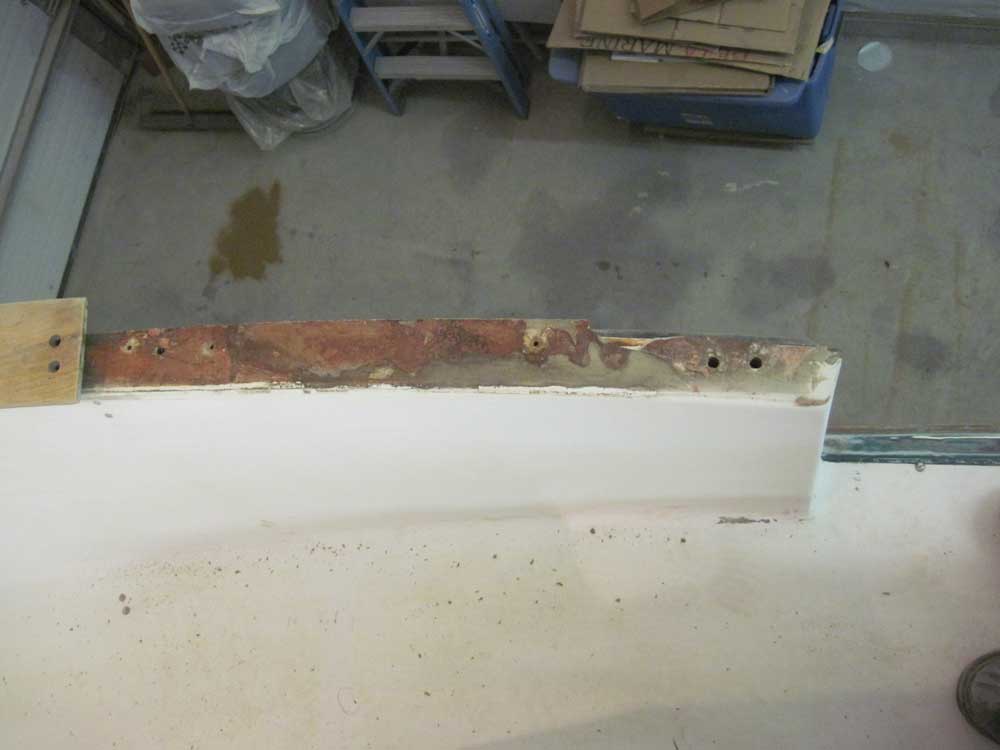
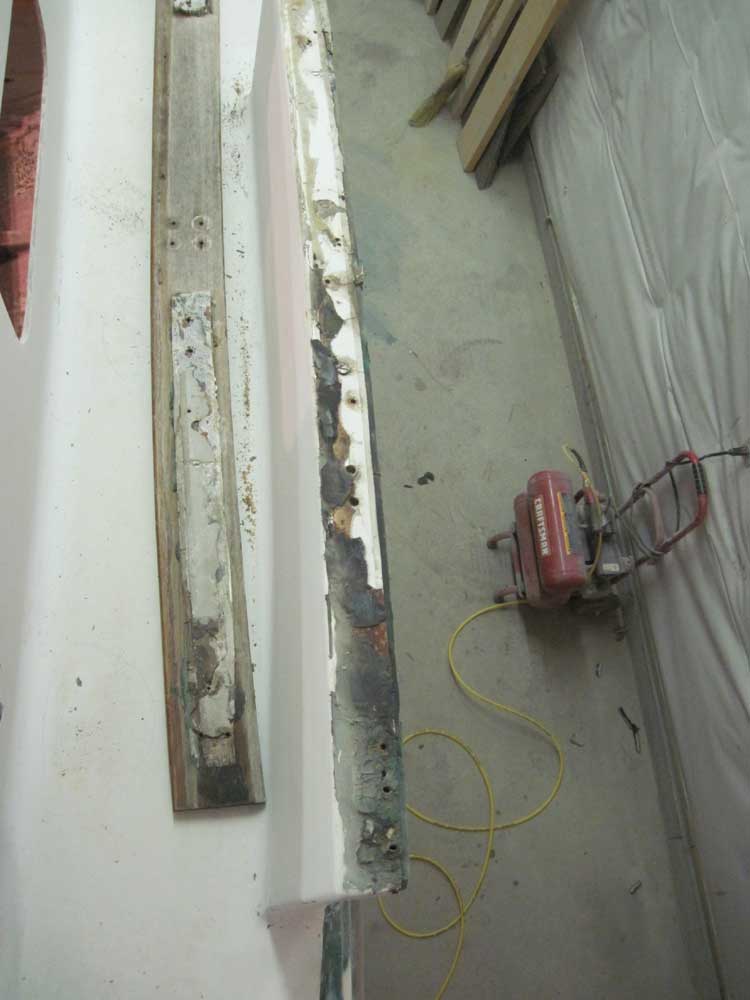
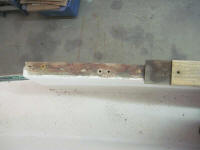
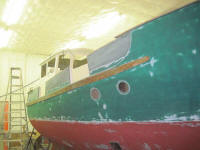
I removed the bungs covering the caprail screws using a
1/2" Forstner bit (in many places, the screws were
barely beneath the surface, making the "bungs" more like
veneer appliques), then pulled all the screws on the
starboard side, as far aft as the cockpit. On this
side, I found that the caprail boards became loose as
soon as the screws were removed, indicative of the poor
quality of bedding beneath. It took very little
(or no) effort to remove these two sections, both of
which came off with no damage to the wood (other than
various cracks and splits that already existed).
Beneath, there were signs of sealant, but it was clear
that it wasn't effective. |

 |
I had a feeling the port side would be more difficult.
For one thing, I'd determined earlier that at least the
forward part of the port caprail appeared to be
installed in more of the same black sealant that someone
had used on the port bulwarks, which I'd
fought with a few weeks ago. So I expected
part of the port side to be better-adhered to the
fiberglass beneath.
Secondly, during my removal of the U-bolts earlier, I'd
noticed, when looking out through a porthole at the
bulwark, some sharp, stiff strands of something poking
out into one of the freeing ports beneath the caprail.
With no understanding of what it might be at the time,
and given the strands' appearance and stiffness, it
almost looked like some kind of metal mesh.
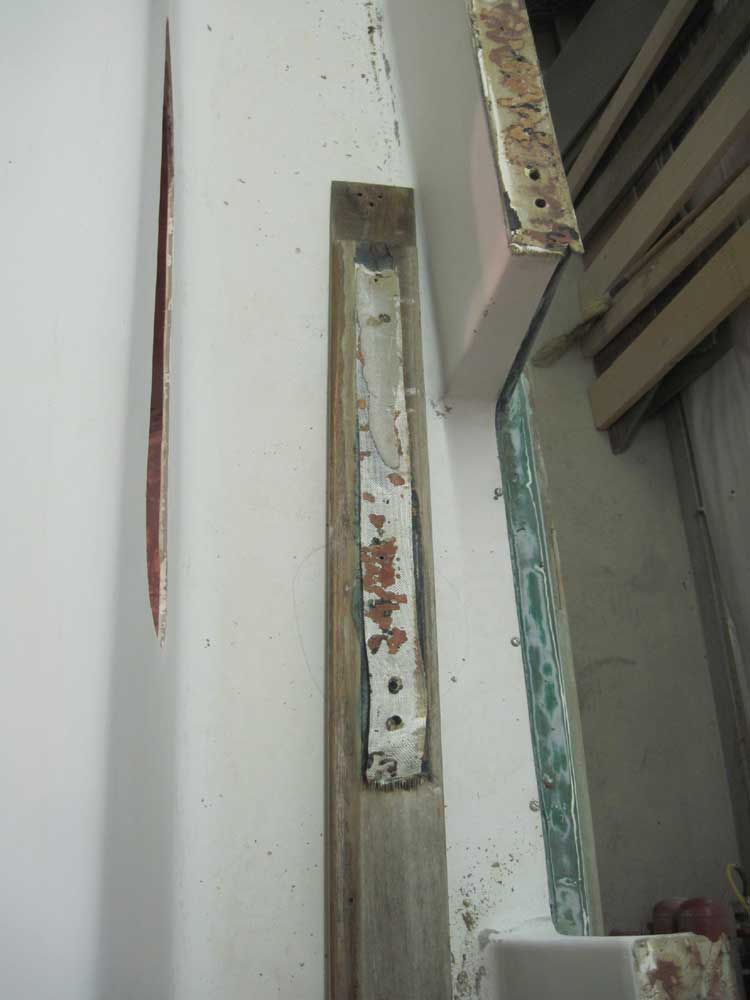
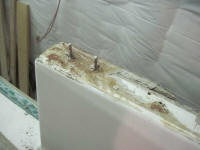
Finally, one of these sections included a place where
both fasteners that had once secured a lifeline
stanchion had broken off during removal; these remaining
studs were flush with the top of the wood. To
release their grip on the wood (or vise-versa), and
allow the rail to come off (hopefully) without damage, I
used a small drill bit to drill all the way around each
fastener, creating an air space that ought to allow the
caprail to lift off the fasteners. I'd repair
these holes--which would be completely hidden by the
stanchion base later--once the caprails were removed.
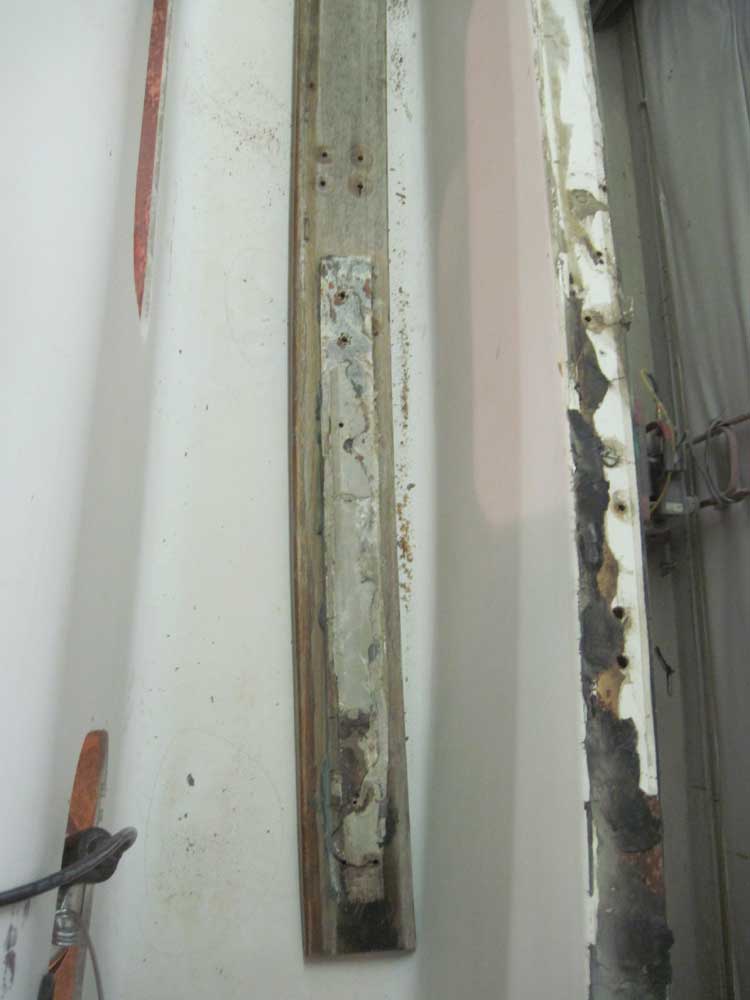
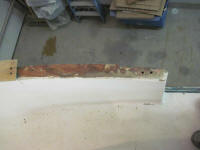
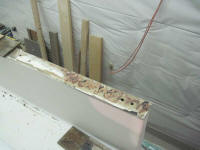
In any event, I was unsurprised to find that it was
harder to remove the two center sections of caprail on
the port side. These rails didn't budge when I
removed the screws. Careful work with a slim putty
knife separated the sections where t hey joined at the
half-laps, and a variety of prying tools eventually
released the bulk of the sealant beneath these rails. |
 |
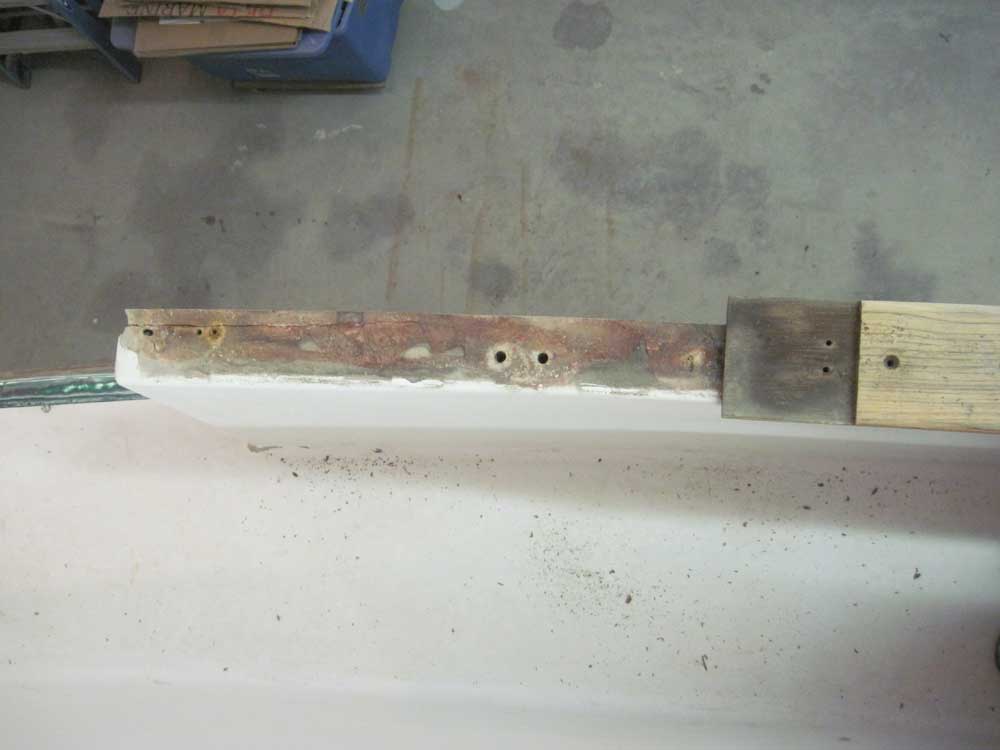
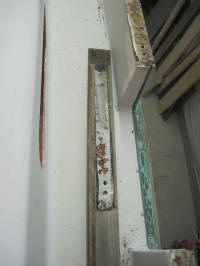
The "metal mesh" strands turned out to be narrow
fiberglass tabbing instead (with ragged, resin-hardened
strands which had stuck out into the freeing port); this
tabbing had apparently been applied over the top of the
fiberglass bonding surface on which the caprails rested,
just at the after end of the third section from the bow.
The sealant used to secure the caprails here (the black
sealant) was far stronger than the bond of this single
2" width of lightweight tabbing, so the tabbing came
away with the wood when I eventually broke the bond.
It was unclear what function the fiberglass was supposed
to have, but in any event it was gone now. |


 |
The caprail lifted cleanly away from the stuck fasteners
at the lifeline stanchion location; now, perhaps I could
have luck removing these fasteners (which were corroded
into their hidden aluminum backing plates) intact. |
 |
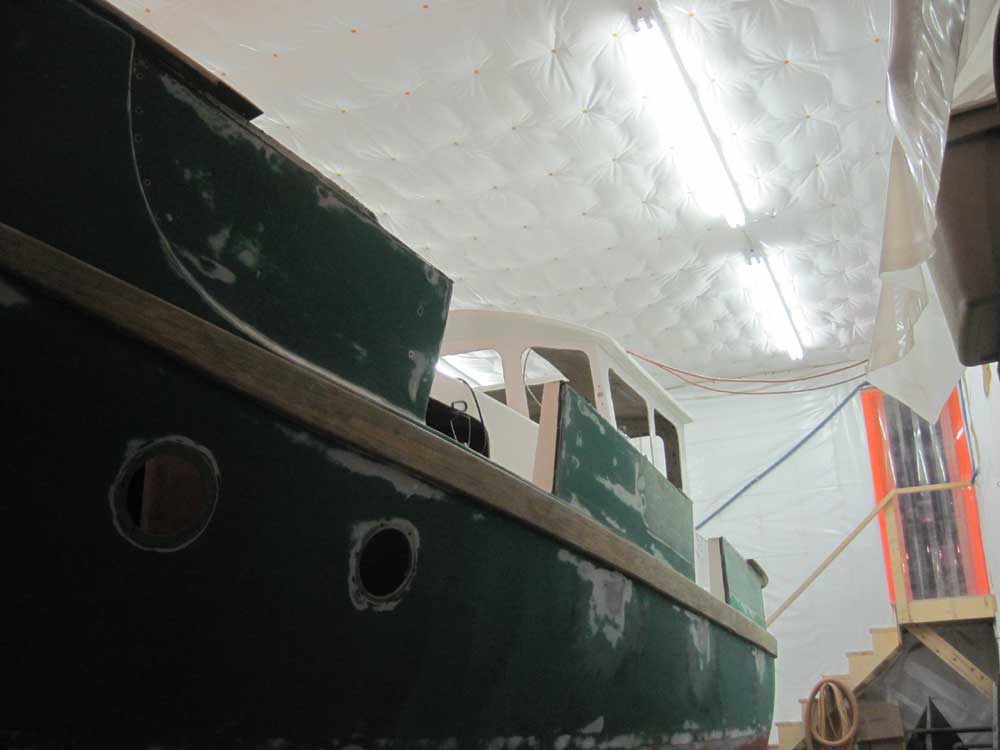
Four sections down, six to go. I'd remove the
rest as soon as I could drill my access holes and remove
the remaining hardware at the ends. |

 |
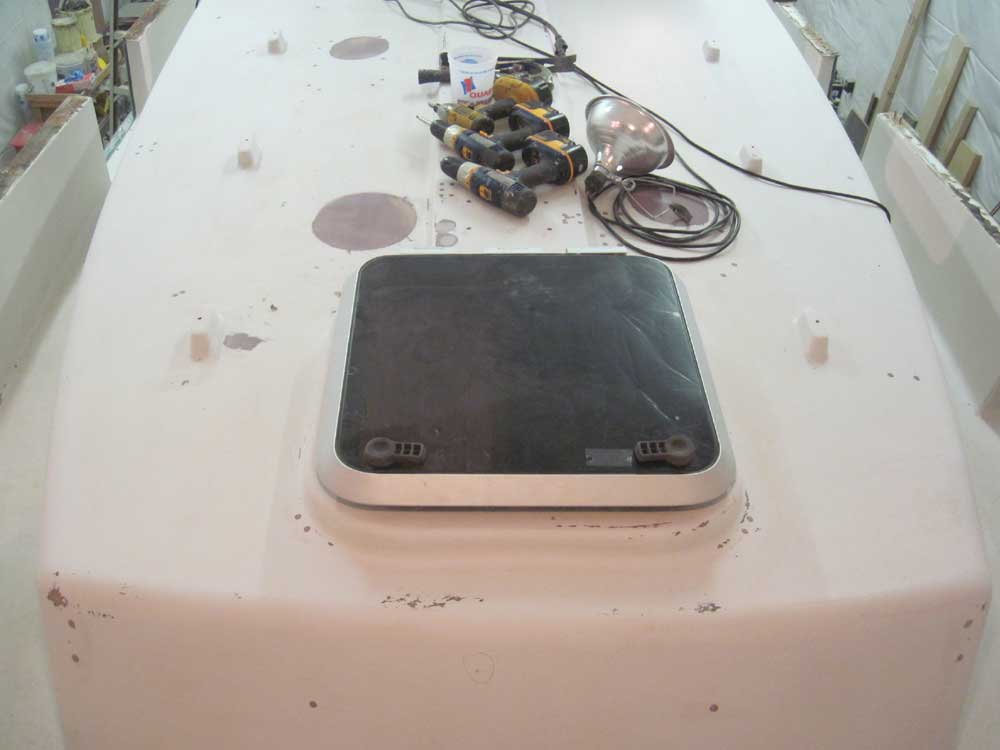
For a while, I'd been meaning to test-fit a hatch over
the forward cabin. I planned to install a new
hatch here, partly because I thought the original was
too heavy and subject to finger-smashing during
operation, and partly because I needed a slightly larger
opening so I could fit my proposed waste treatment
system into the forward cabin, since it was too large to
fit through the passageway in the cabin. An
earlier mockup of the system showed that if the existing
hatch opening were slightly enlarged (as would need to
be the case for a larger hatch), the waste tank would
fit.
What I wanted to find out was whether I could install a
new hatch in an acceptable manner on the existing molded
hatch platform, or whether I'd need to start from
scratch. I happened to have an old, damaged hatch
of identical size on hand (not the hatch I would use,
but with the same footprint), so I pulled that out of
storage and set it in place to see how the fit looked.
The radius at the hatch corners was a bit different than
that of the molded platform beneath, but I thought it
would work out OK, which suited me since it would save a
lot of non-fulfilling work. |

|
Total Time Today: 3 hours
|
<
Previous | Next > |
|
|