Project Log: Saturday, January 8, 2011
There wasn't much I could do aboard till I got some
materials, so I decided to begin work on the caprails
I'd already removed. I didn't plan for these rails
to be off for very long, as I wanted to get them
reinstalled and the hardware back in place quickly so
the need to keep open access to the fastener locations
didn't hold up other interior work.
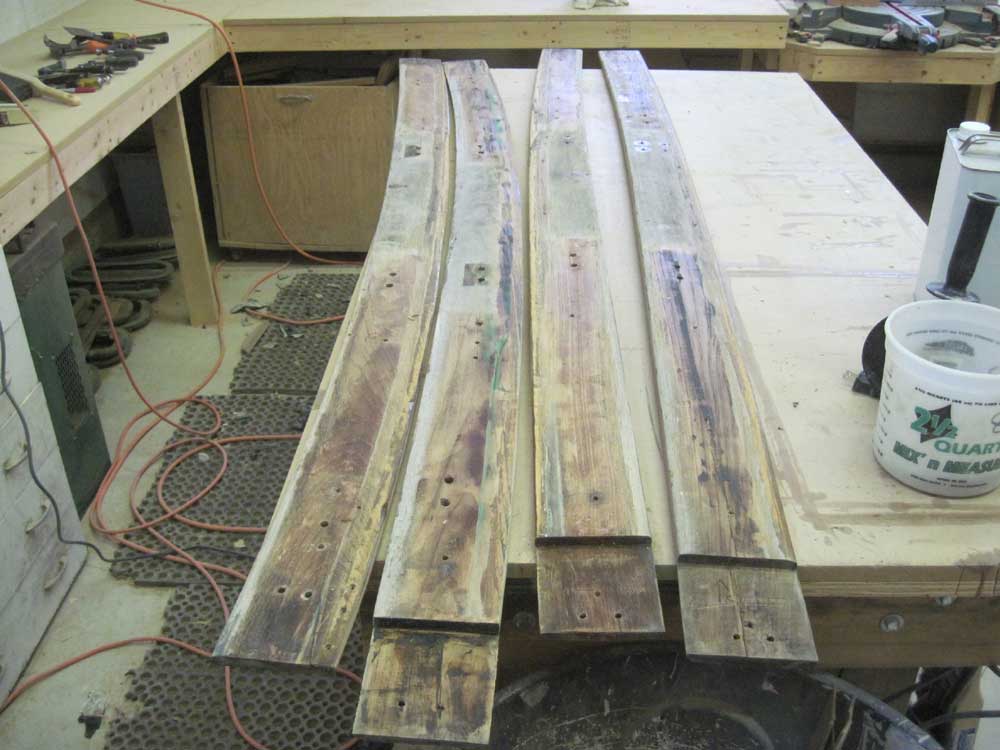
The four sections I'd removed so far were in generally
fair condition, but there were minor cracks at the ends,
and in one case a more serious split right at the
half-lap joint. This split had been
pre-existing and wasn't caused by the removal efforts.
The first thing to do was to remove all the old sealant
and other debris (fiberglass tape, hardened fill
material, etc.) from the bottom sides of the boards.
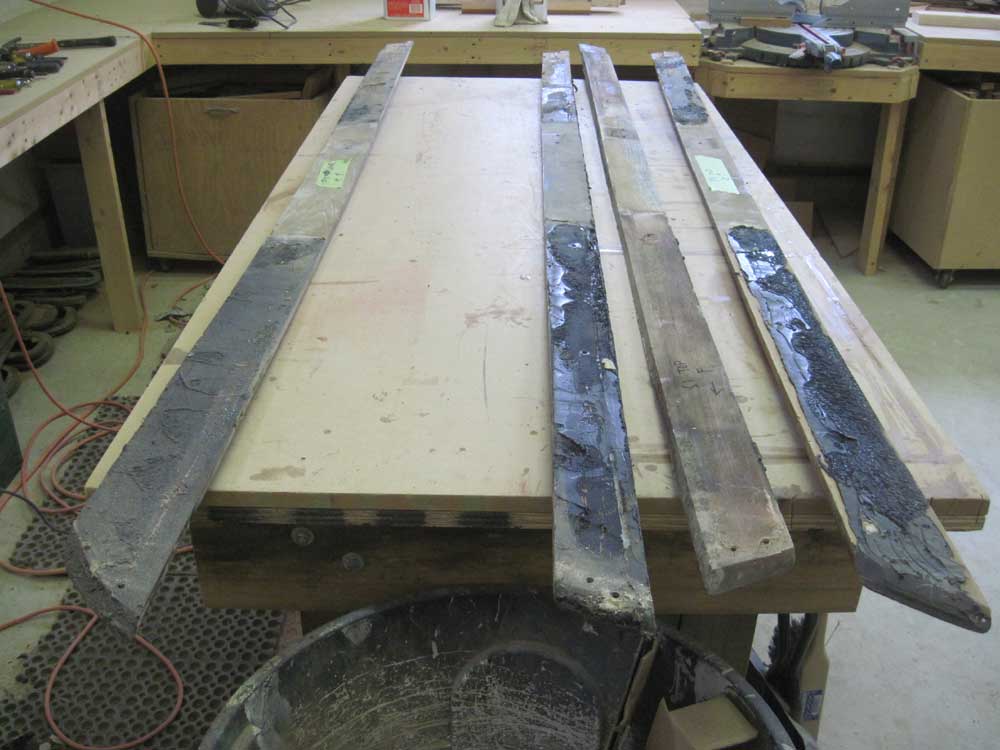
For some reason, I failed to photograph the underside of
the caprail boards in detail before I removed this
material, but the two boards from the port side not only
had lots of the black sealant, but also featured those
sections detailed during
January 7th's
removal where the fiberglass tabbing and concrete-like
fill material had stuck to the boards.
I used a carbide scraper to remove the sealant--which
came off cleanly and without undue residue--and a chisel
to remove the fiberglass and related materials, which,
in combination with the sealant beneath them, created a
formidable bond. |
 |
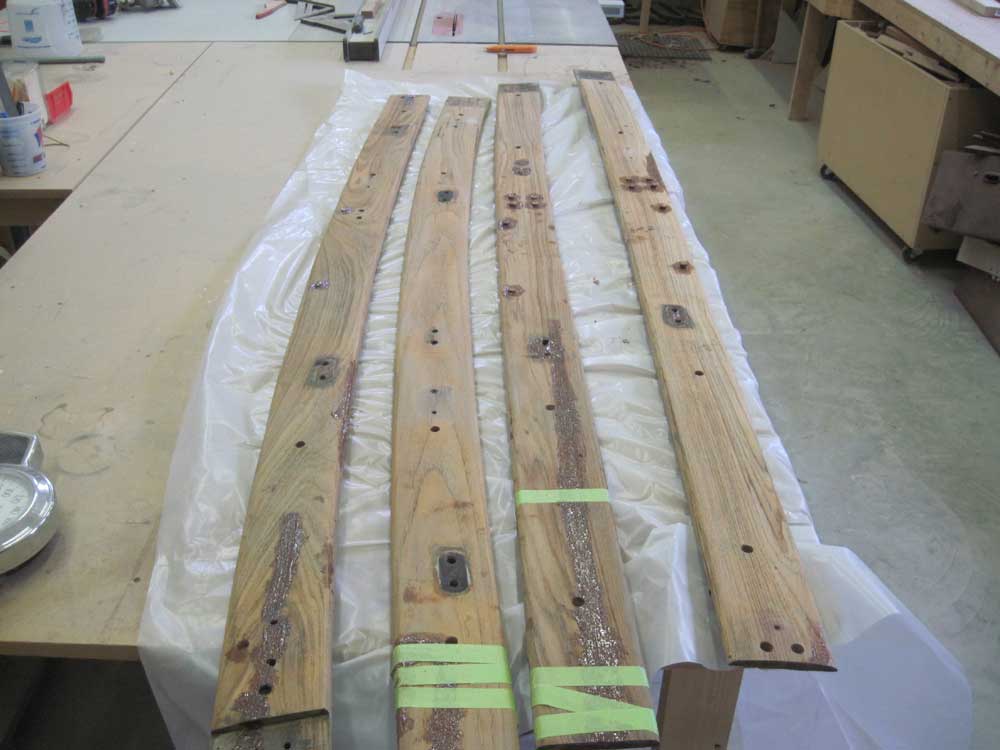
There were several old fastener holes from hardware that
I didn't plan to reinstall, and other areas requiring
repair, so I prepared the boards as needed to accept
bungs to seal and plug the unused fastener holes and to
allow me to glue and seal various cracks and splits.
As with the exterior bulwark trim, I wanted to reuse the
teak, with no desire to mill new material. The
existing boards weren't perfect, but I hoped to
stabilize them and thought that they'd end up looking
pretty good when all was said and done.
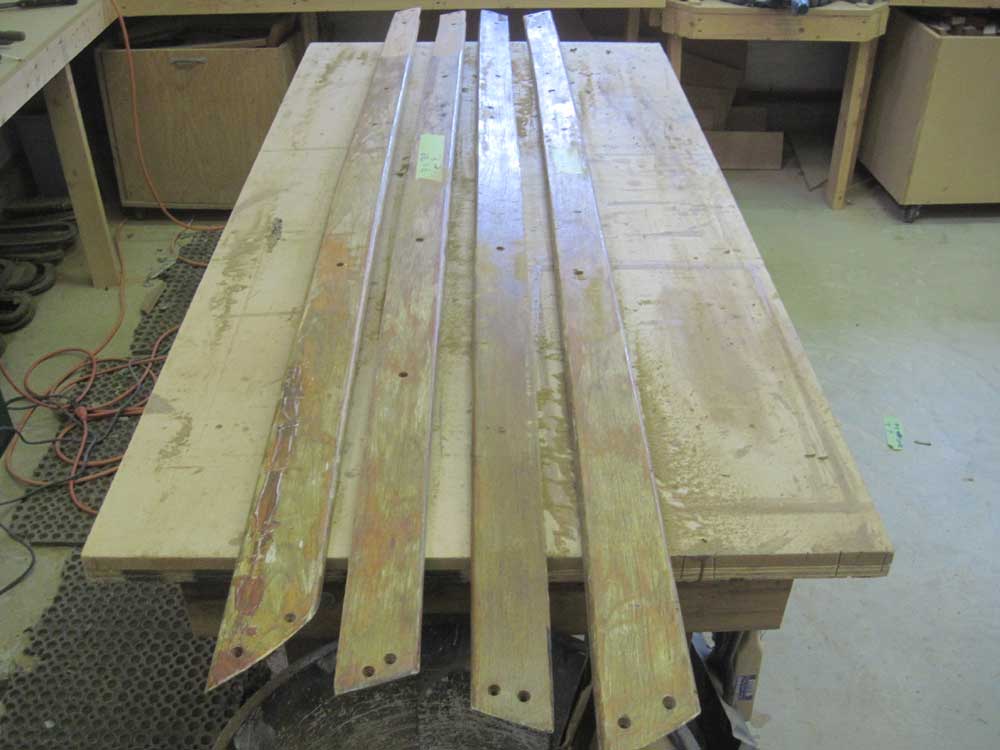
With the boards prepared, I mixed up some epoxy
containing teak dust for color, and cabosil for
thickening, and installed teak bungs as necessary and
made other repairs to the boards. I set the boards
aside for the epoxy to cure. |
 |
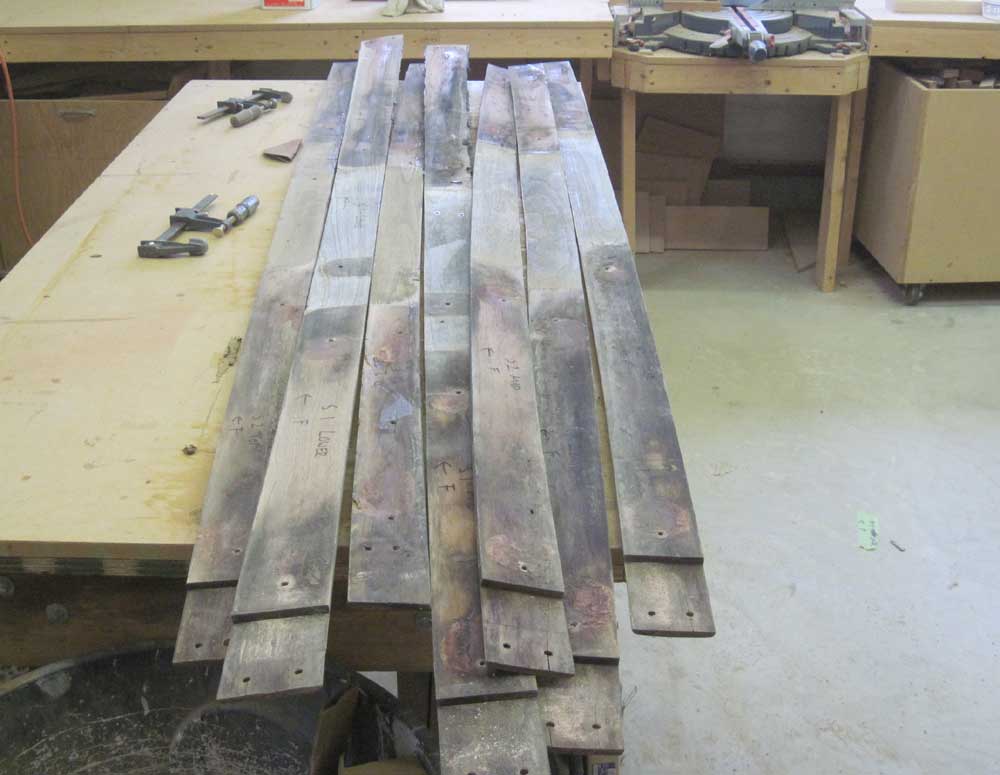
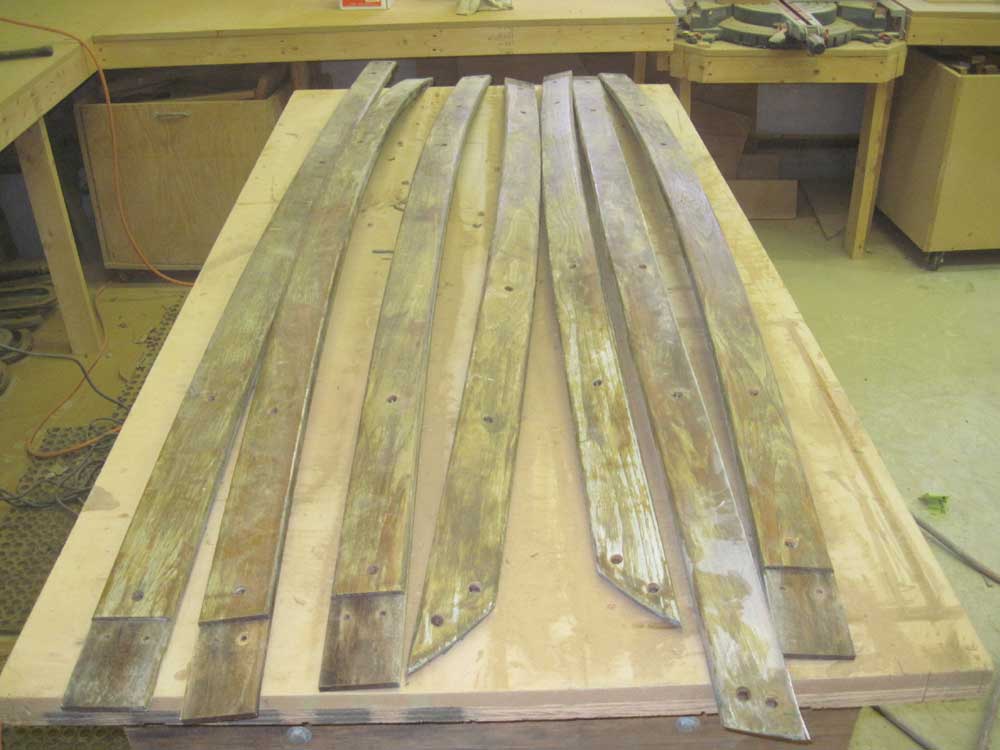
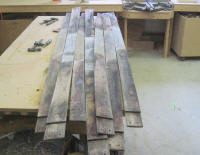
Next, I attacked the large pile of teak bulwark trim
boards. As with the caprails, these boards
featured various amounts of sealant on their back sides,
and weathered old finish on their exposed sides.
I'd already made a number of repairs to the worst
sections of trim, though I anticipated there'd be more
minor repairs to be effected to other boards.
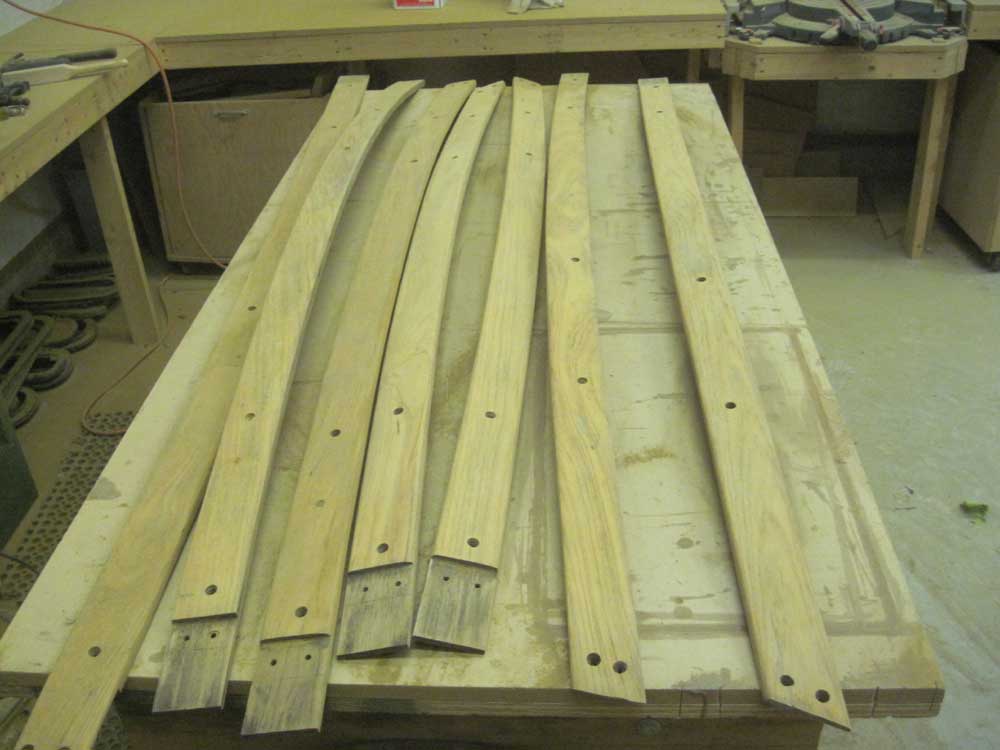
Working on several boards at a time, I scraped away
sealant from the backs as needed and sanded both sides
of the board clean with 80 grit sandpaper, removing old
varnish and other finish from the exposed side, and
cleaning up the back sides to remove vestiges of
sealant. Only small portions of the back sides of
the boards would be exposed when installed, at each
freeing port location. I began with the boards
from the forward port side, which had the worse
accumulations of sealant on their backs. Most of
the other boards had little to no sealant to remove.
Each board required about 10 minutes' work to scrape the
backs, sand the backs, sand the fronts, and sand the
edges with the single grit. Since this was the
most labor-intensive part of the overall restoration of
the teak, I decided early on that I'd just go through
the whole pile of 18 boards in this manner, cleaning up
all the boards to this level, at which time I could
assess the need for further repairs and hole-plugging
before continuing with finer sanding efforts to prepare
the boards for varnish.
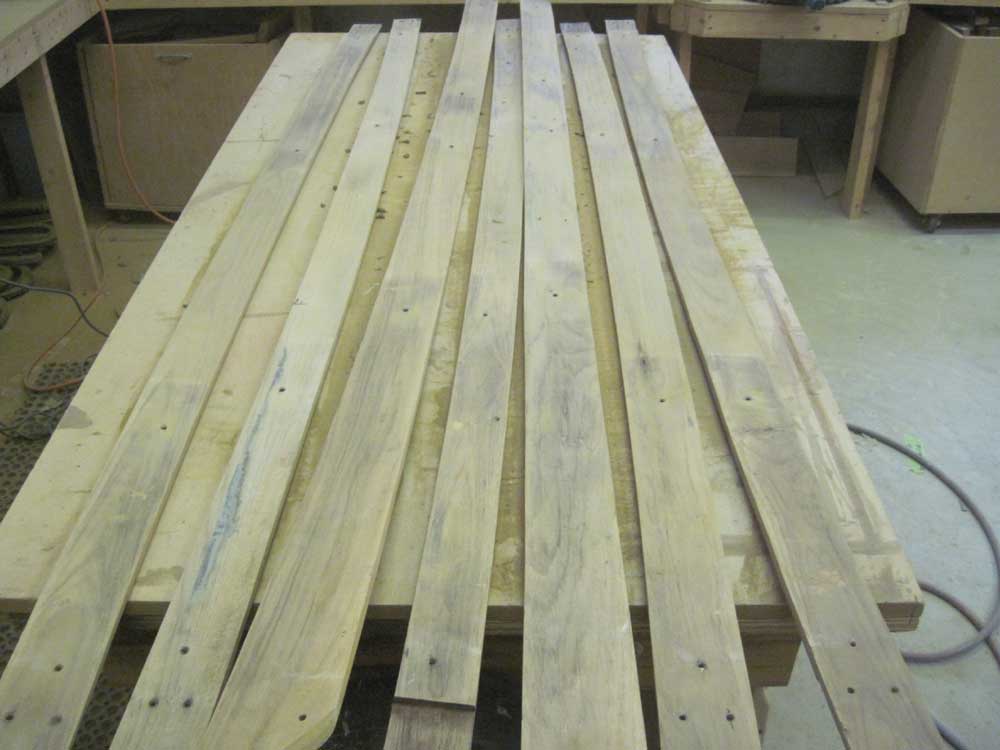
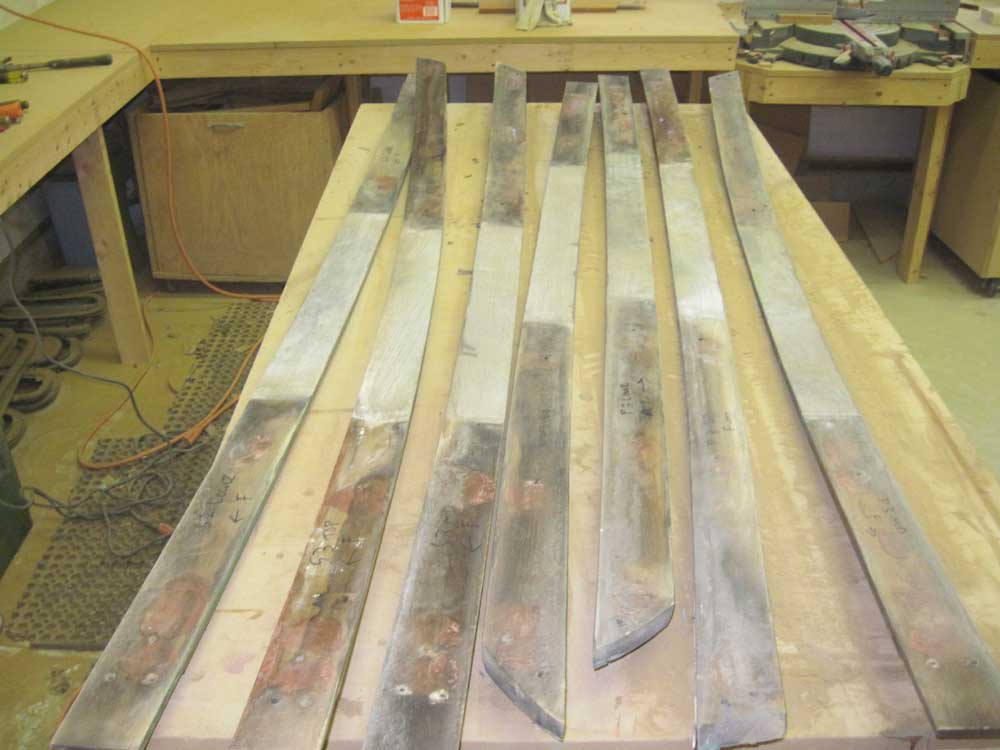
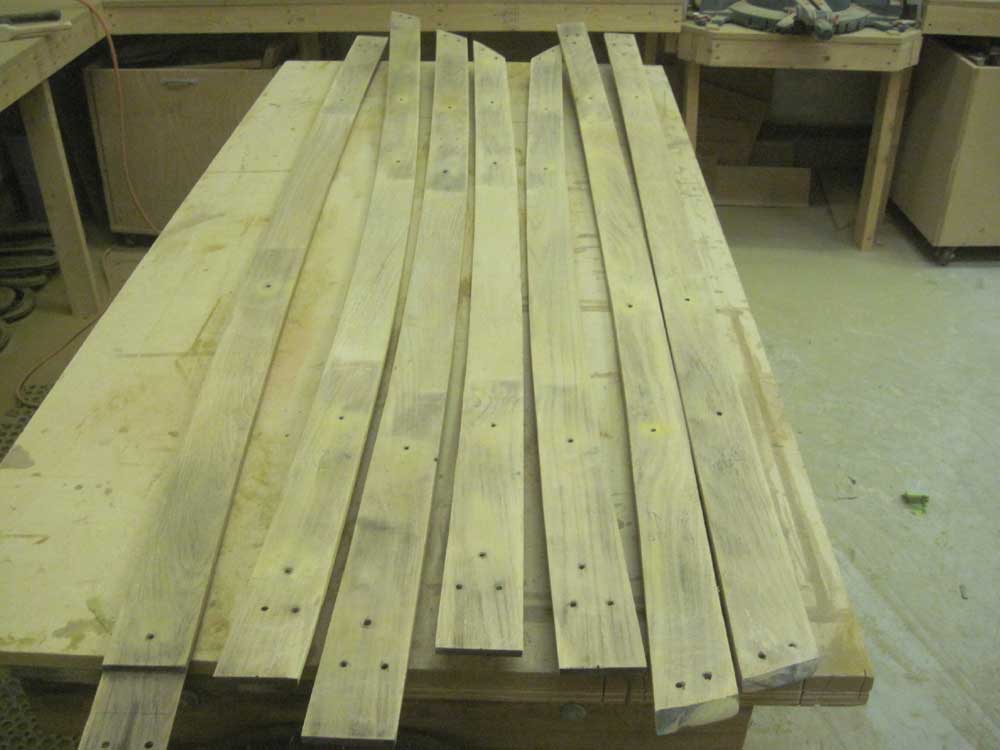
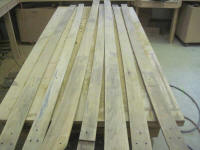
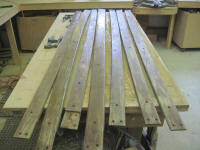
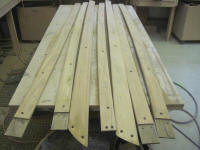
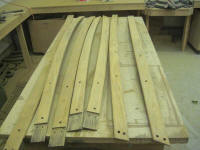
Each set of photos below shows the same set of boards,
in the same order (though in some cases the boards might
be end-for-end in the after photos), showing both backs
and fronts. |


|
Total Time Today: 5.75 hours
|
<
Previous | Next > |
|
|