Project Log: Wednesday, June 15, 2011
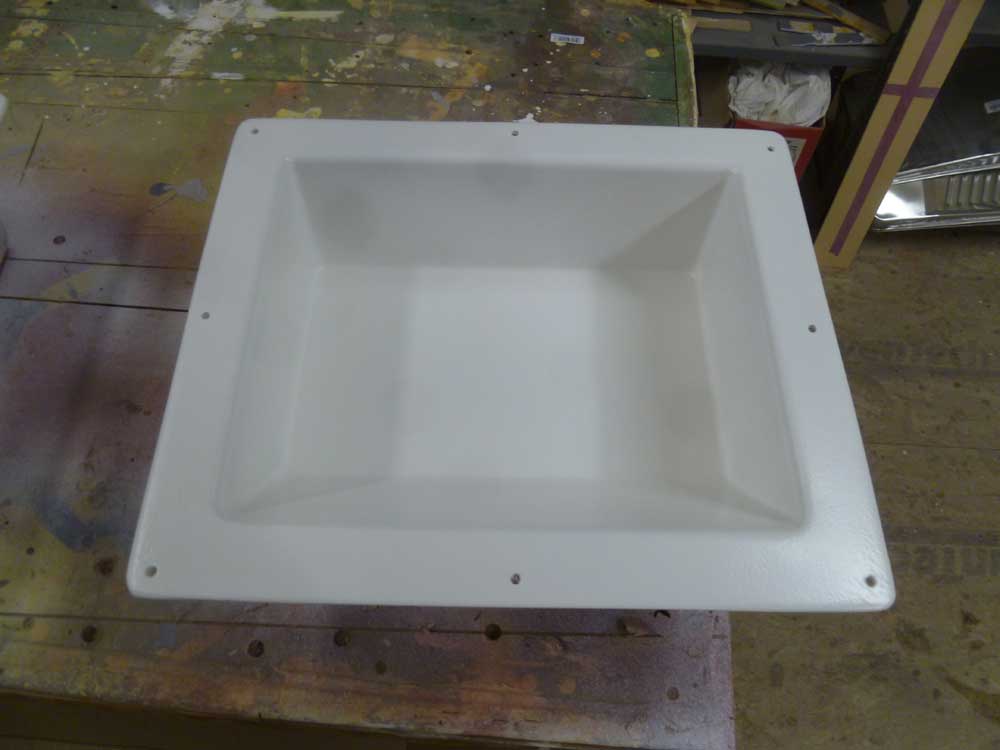
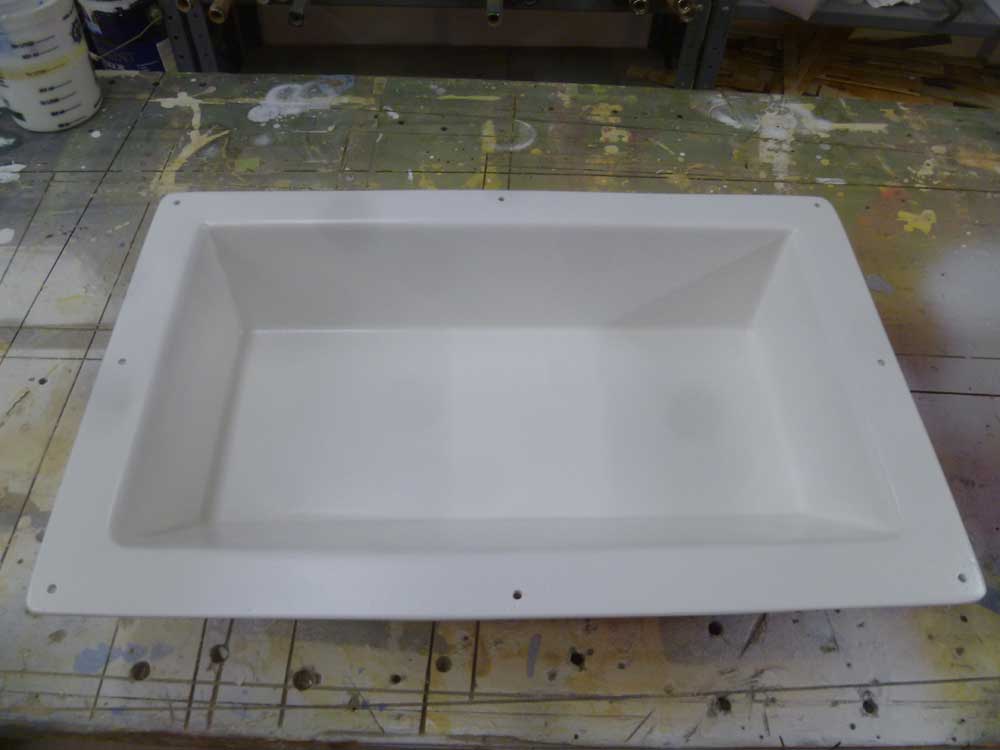
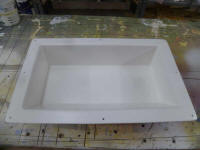
Along with another small (and unrelated) project I'd
been working on, I applied several coats of epoxy
high-build primer to the new tank fill recesses, the
first of several finishing steps. I used a small
disposable spray canister to apply the paint. |

 |
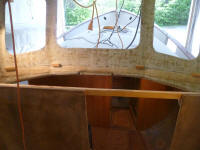
Next on my list was the V-berth area: it was time
to build the basic platform for the new berth.
Earlier, I'd determined that the basic height of the
original platform would be fine going forward, and the
replacement water tank's installation had been
predicated on using the same platform height.
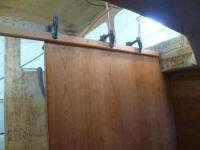
To begin, I installed, with glue and screws, a hardwood
cleat on the chainlocker bulkhead at the
previously-determined (and as-original) height. |
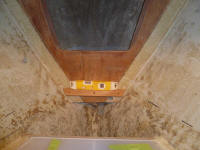 |
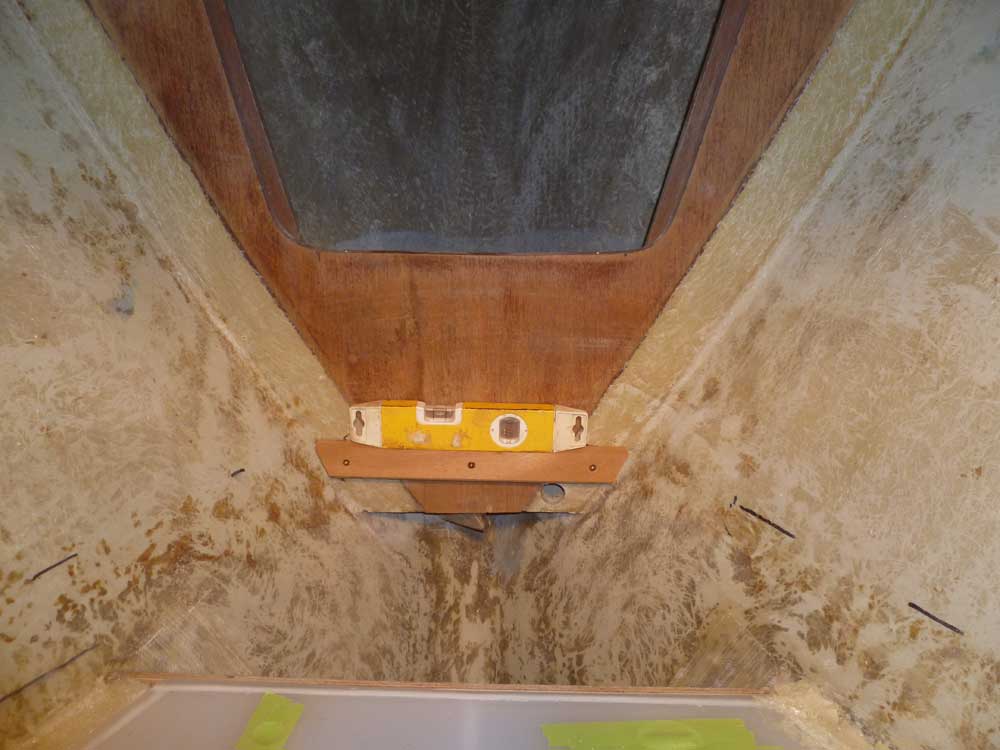
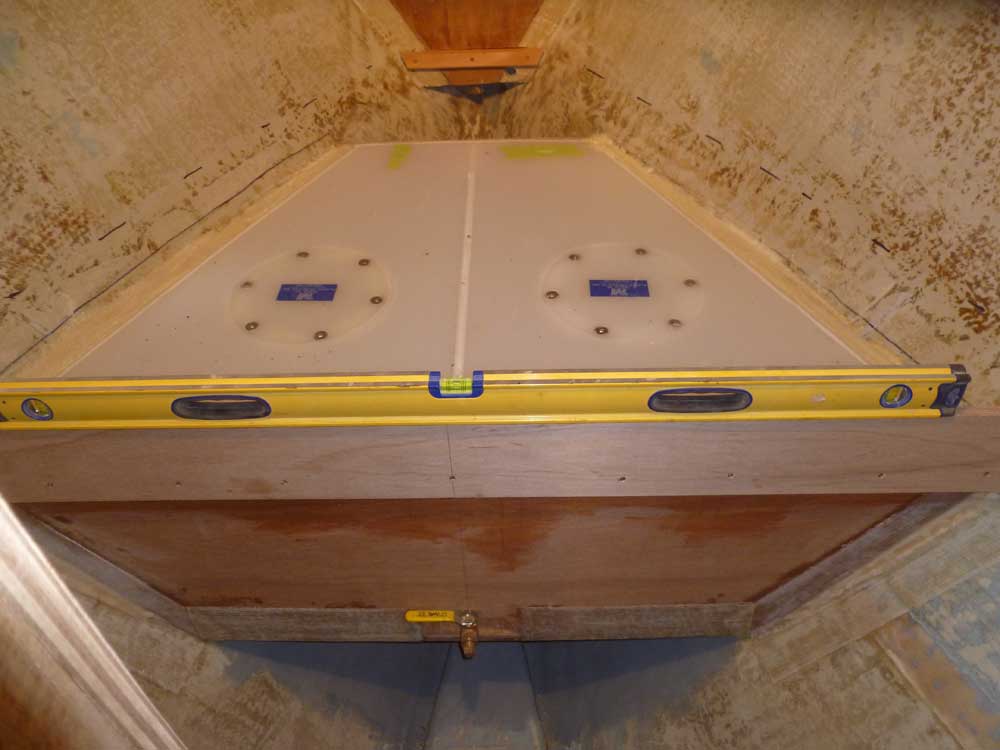
With a long plywood straightedge and four-foot level, I
transferred the height of the forward cleat aft to the
bulkhead at the aft end of the compartment and made a
mark. Then, to ensure that there'd be no chance of
any semblance of heads-down attitude when sleeping, I
made a new mark one inch above and struck a line across
the transverse bulkhead. Because the new berth
would be full-width with no cutout in the center, I cut
a cleat to extend directly across the passageway
opening, and installed it level with glue and screws. |
 |
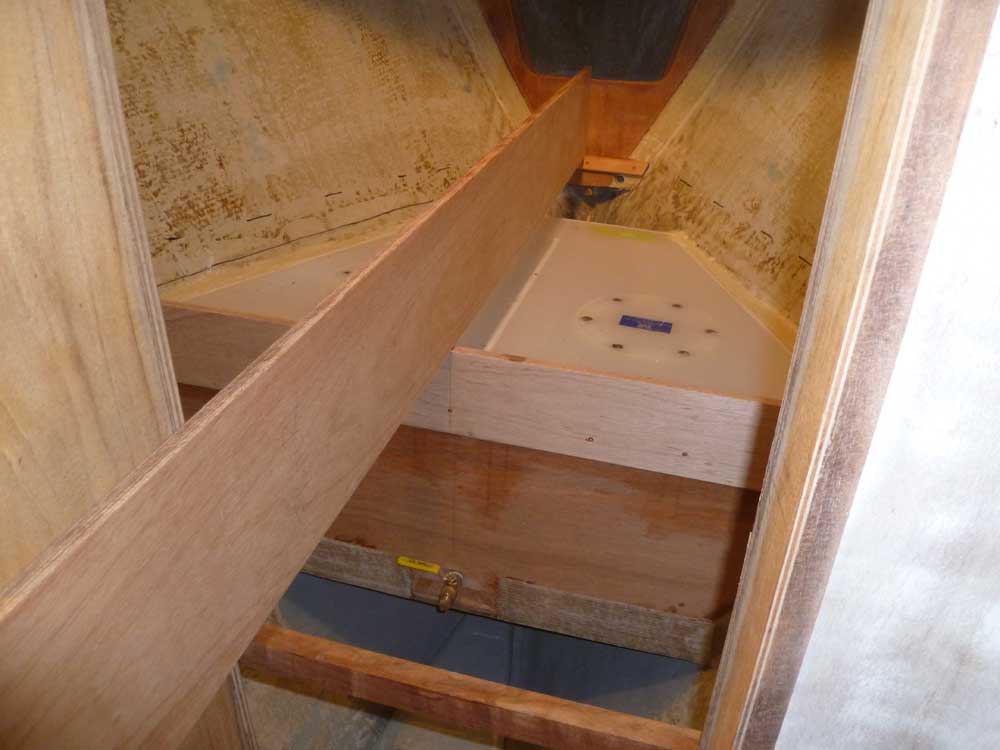
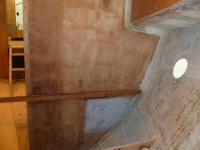
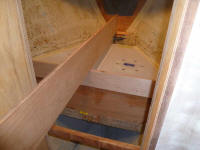
When I installed the bulkhead at the aft end of the
water tank, I purposely left it slightly low, not
knowing exactly where the berth platform would be.
Now, to create an interim support for the platform, I
cut a plywood extension from 18mm plywood, and glued and
screwed it to the existing bulkhead so that the platform
would directly rest upon it. Again, I used the
long plywood straight edge to determine this height. |
 |
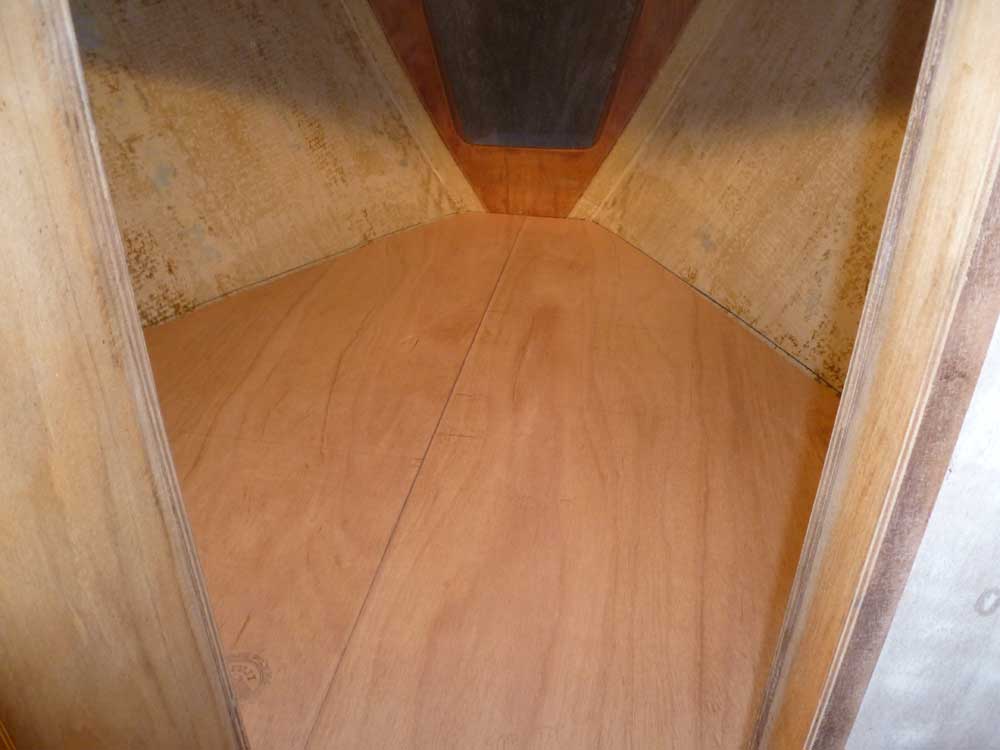
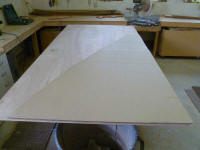
After taking some basic measurements (the berth area was
74-1/2" long, 84" wide at the aft end, and 14-1/2" wide
at the forward end), I cut a cardboard template roughly
to shape and used it to create a more accurate pattern
for the plywood platform, after which I cut out the
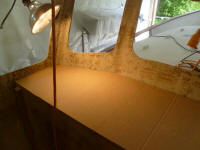
first half (port side) of the plywood platform. |
 |
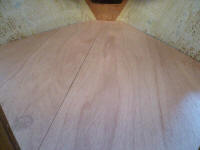
After test-fitting the first side and making a minor
modification to the piece, I determined that the two
sides were symmetrical enough that I could use the port
side to template the starboard side. On each
piece, I made reference marks to show where I needed
access hatches for the water tank fittings and
inspection ports, and also marked the locations of
support cleats and bulkheads on the bottoms of the
platform for future reference while making access hatch
cutouts. I made reference marks on the hull where
the plywood landed so I could add supports there as
needed.
Then, I removed the plywood to the shop floor, where
sometime later I'd make the access hatch cuts and
prepare the platform for final installation. In
the meantime, I had a bit more work to complete in the
forward cabin before I was ready for the permanent
installation. |

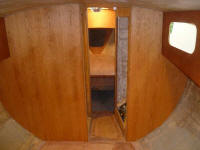 |
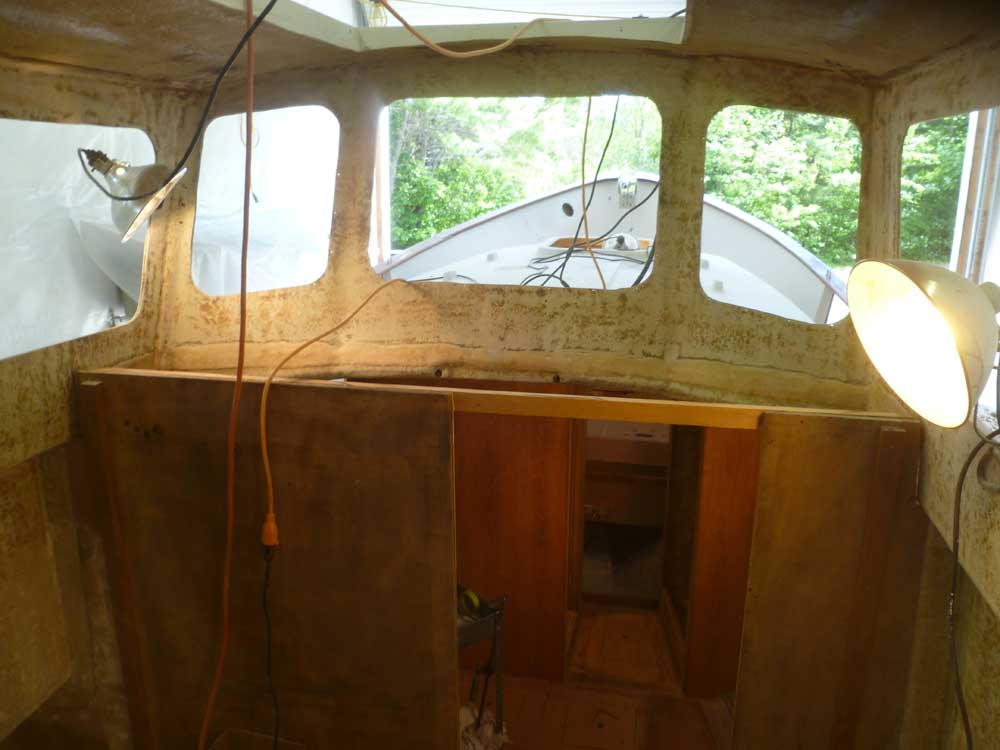
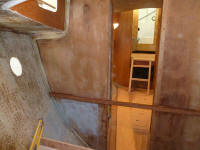
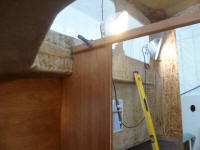
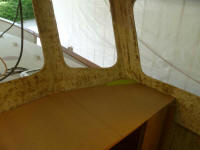
I moved into the pilothouse. I was ready to build
the new dashboard platform, which would shore up the
wiggly bulkheads, give me a flat surface on which to
store tools and supplies, and allow me to continue with
other work in the pilothouse.
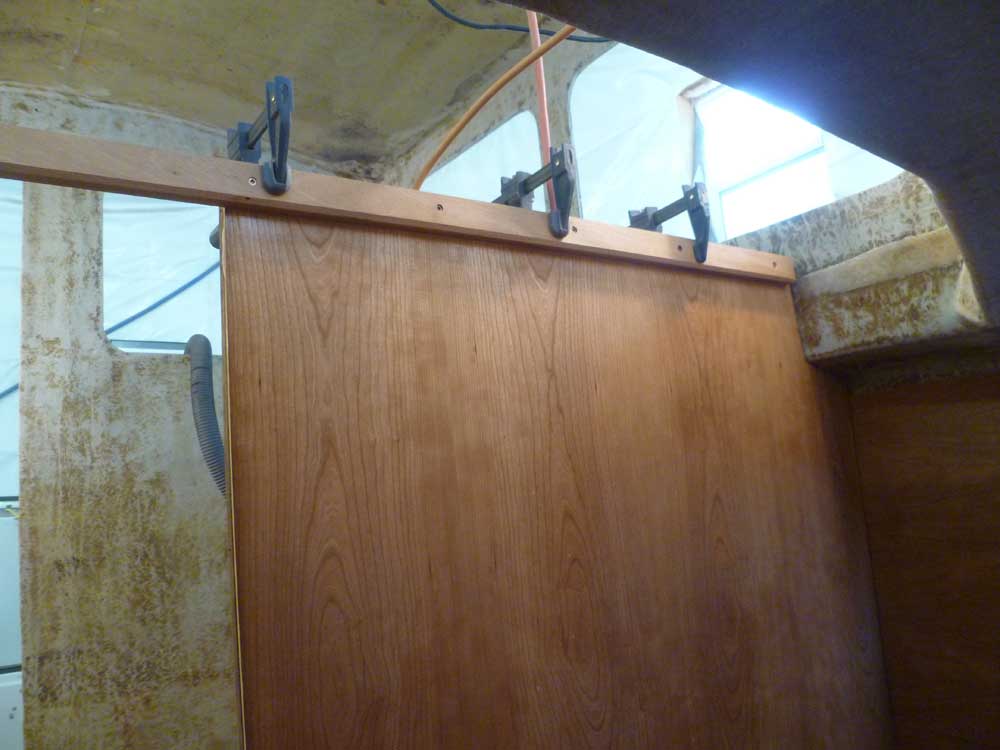
To begin, I installed a full-width hardwood cleat across
the forward (hidden) side of the bulkhead, extending
directly across the companionway opening for the moment
so that I could pull the two bulkhead sections into
alignment with one another; the larger port section was
floppy enough at its unsupported top that it tended to
bend backwards left on its own. I installed the
cleat with glue and screws, keeping its top edge flush
with the top of the bulkhead (which I'd already
determined was level). |

 |
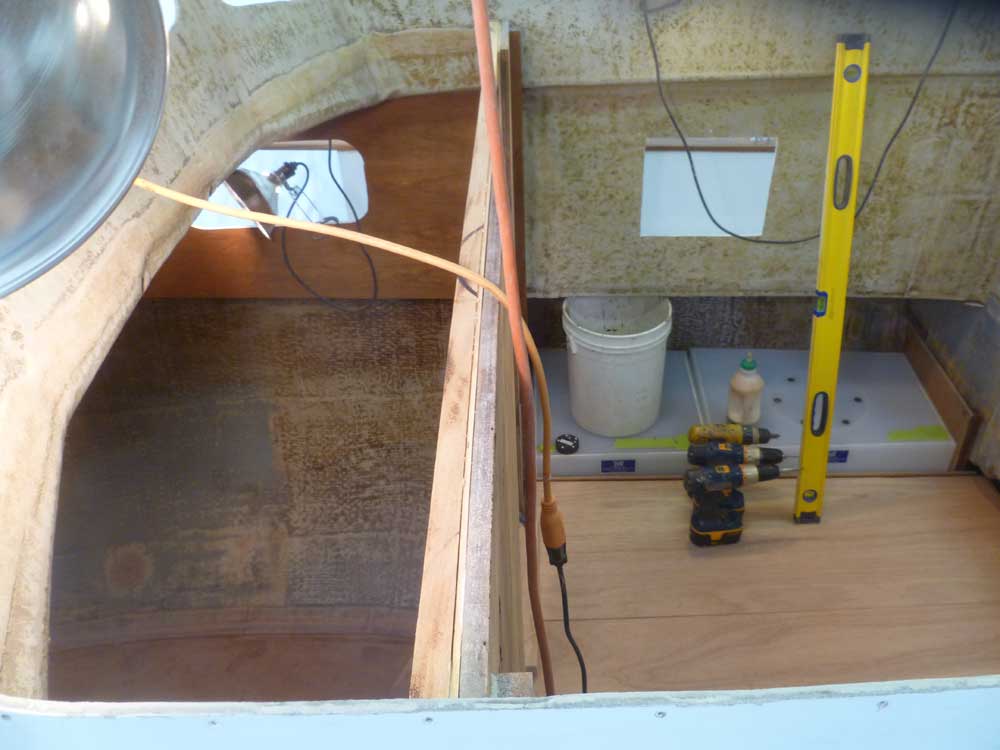
To temporarily support the pattern and then the dash
itself, I hot-glued some support blocks on the forward
wall of the pilothouse, after first marking a level line
off the main bulkhead. |
 |
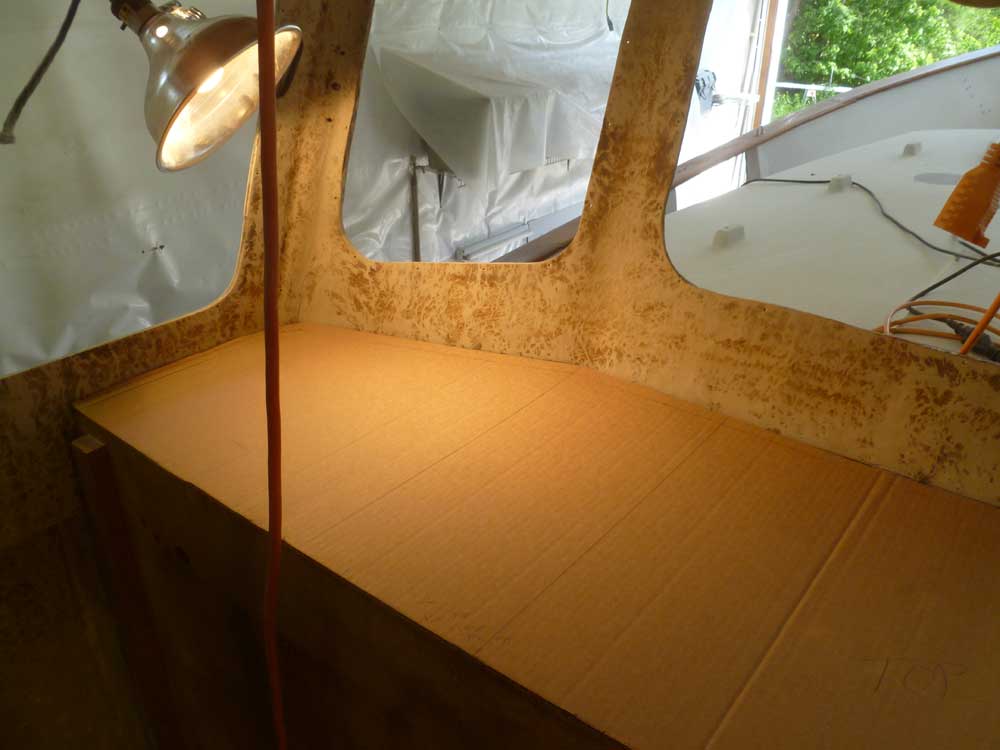
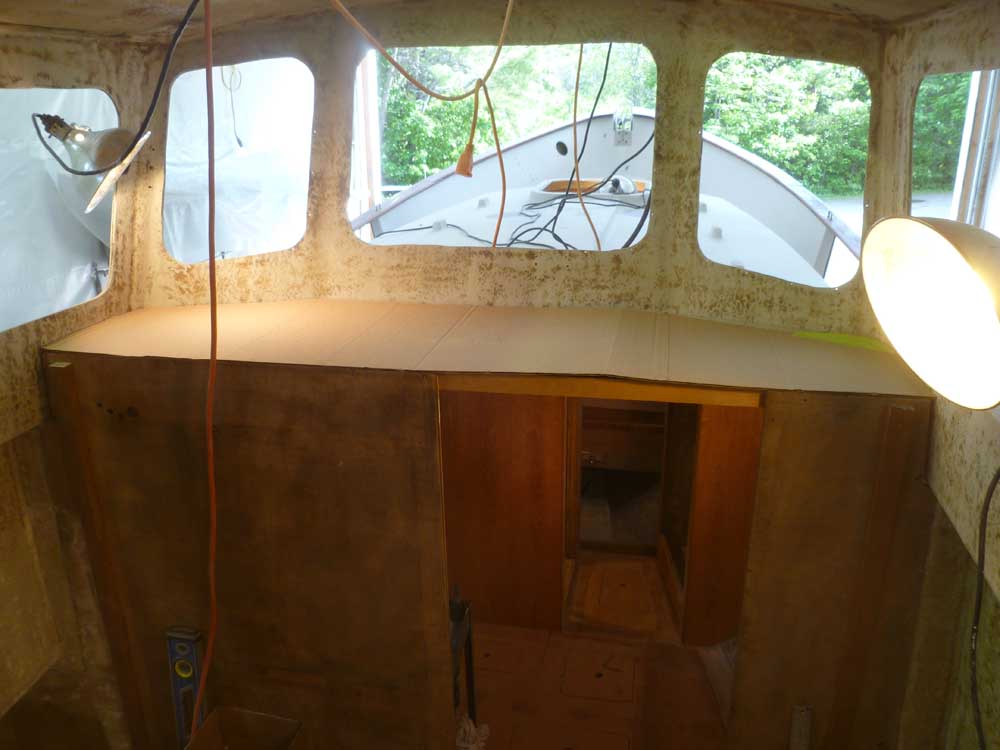
With some basic measurements, I created a cardboard
template of the dash, ignoring for the moment the
required companionway cutout. The template fit
fairly well, though I'd apparently erred with some
measurements on the starboard side, causing the template
to run short; that's why I make templates.
In any event, I scribed the actual contours on the
cardboard, which I'd use to create the actual dashboard
from plywood later. For now, I was out of time for
the day. |

 |
| |
Total Time Today: 5.5 hours
|
<
Previous | Next > |
|
|