Project Log: Friday, June 17, 2011
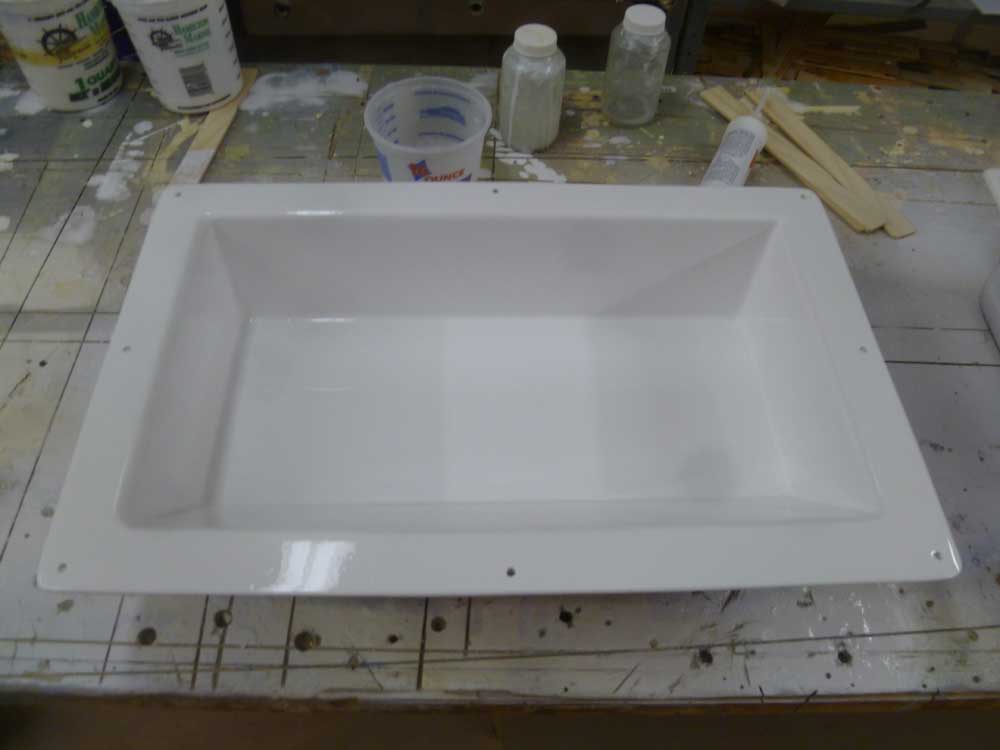
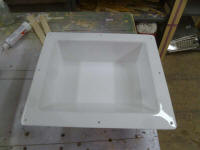
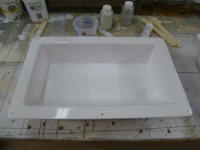
The primer on the newly molded fuel fill recesses had
had a full day to cure, so I sanded it smooth. I'd
planned on applying regular finish primer next, but when
I went to mix up the paint I discovered I had none of
the required reducer on hand. I decided that the
high-build alone would be enough in this case, since
after sanding the coating was consistent with no
burn-through. These were just insignificant little
parts that would never miss the finish primer.
Instead, I mixed a batch of Alexseal snow white, and,
over the course of several hours through the day, I
applied a number of coats using a small disposable
sprayer. I was curious, so I added up the time
spent on these silly little things so far:
17 hours to get to this point. |
 |
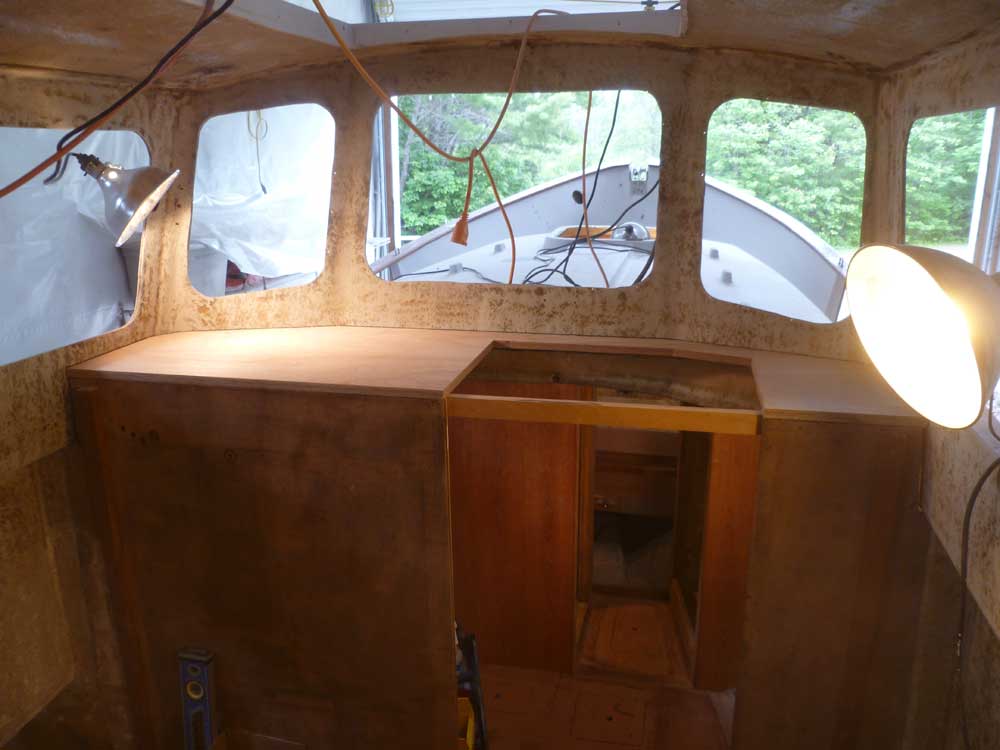
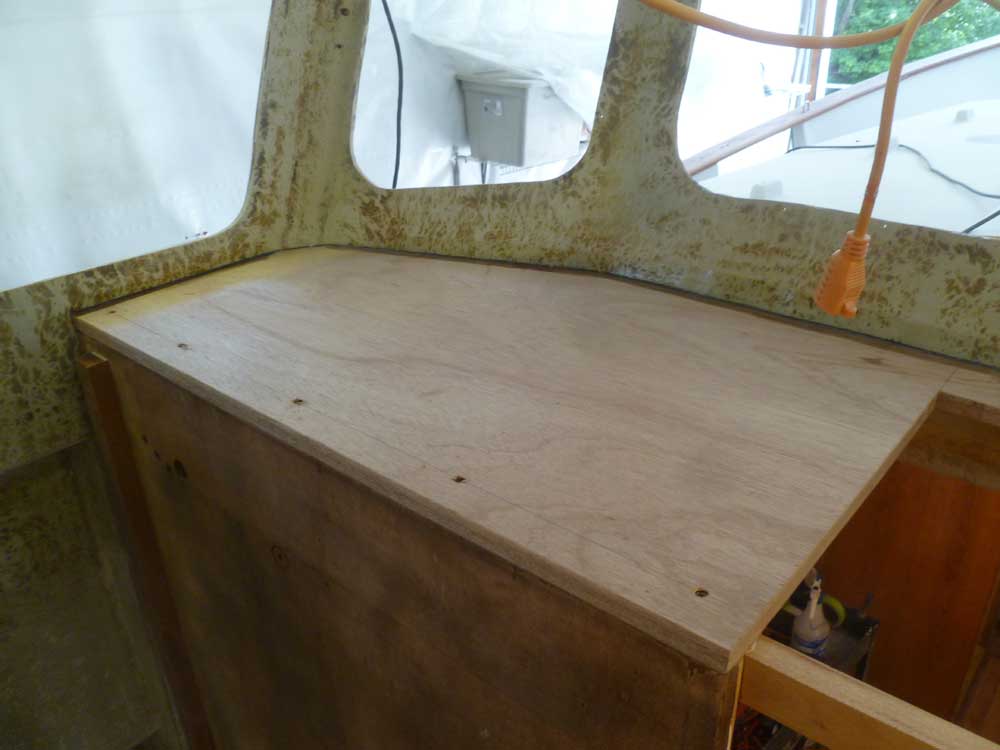
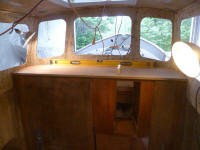
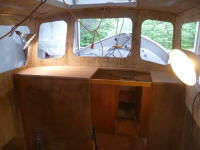
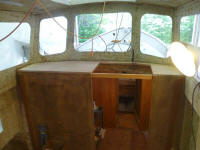
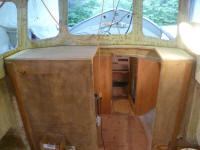
I returned to the pilothouse, and transferred the shape
of my cardboard template to a sheet of 18mm marine
Meranti plywood and cut it out. I had to trim the
two short ends in order to get the piece to fit
properly, but otherwise it was a good fit. To
begin, I left the width (fore-and-aft) a bit long,
allowing the piece to hang over the end of the bulkhead
in case I needed to recut the forward end; this proved
unnecessary, so after marking the overhang I trimmed the
plywood to a flush fit with the bulkhead.
With the piece set in its proper position, I made some
reference marks for cutting out the companionway
opening, striking lines perpendicular to the aft edge
and in line with the vertical opening beneath.
During the short time the boat had been in her original
form when she arrived here after purchase, I'd
determined that the
original companionway opening had
been too shallow--a real head-knocker--and that there
was room to extend the opening towards the forward
pilothouse wall. So with this in mind, I
determined a forward cut line that paralleled the shape
of the forward end of the pilothouse, including the
angle between the center and starboard windows, with
about three inches of space ahead of the opening. |
 |
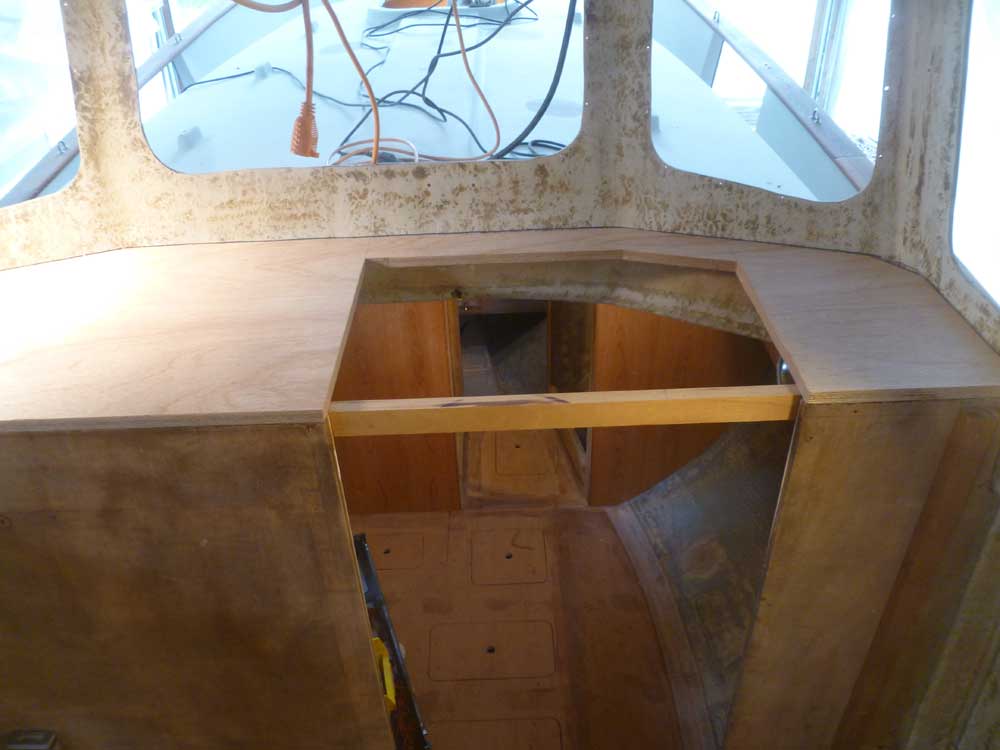
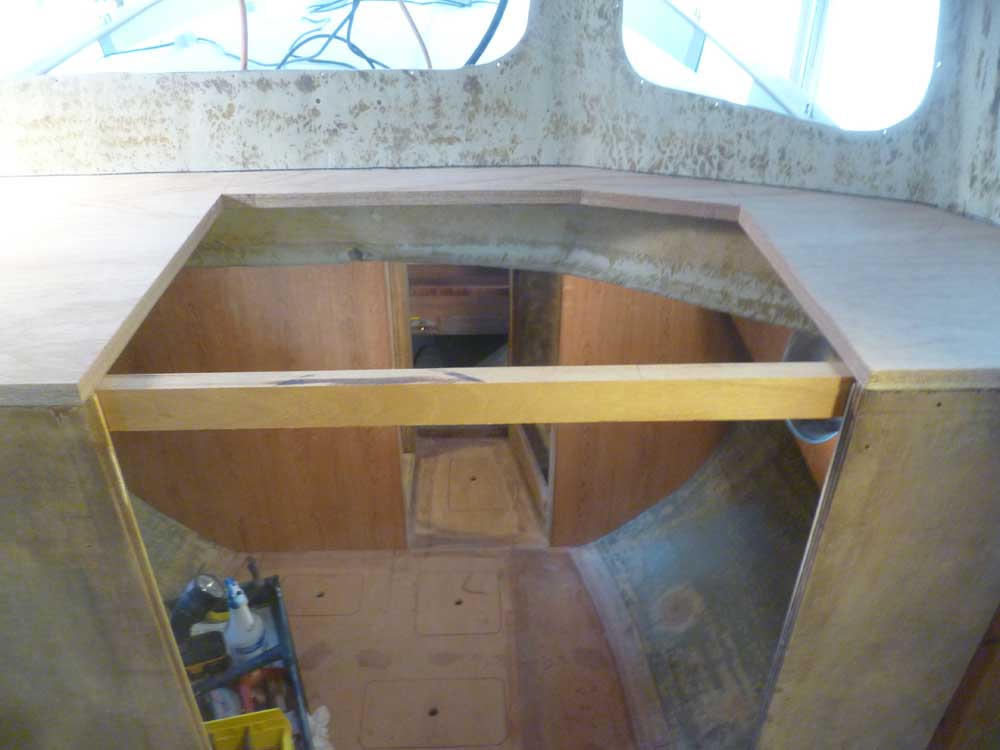
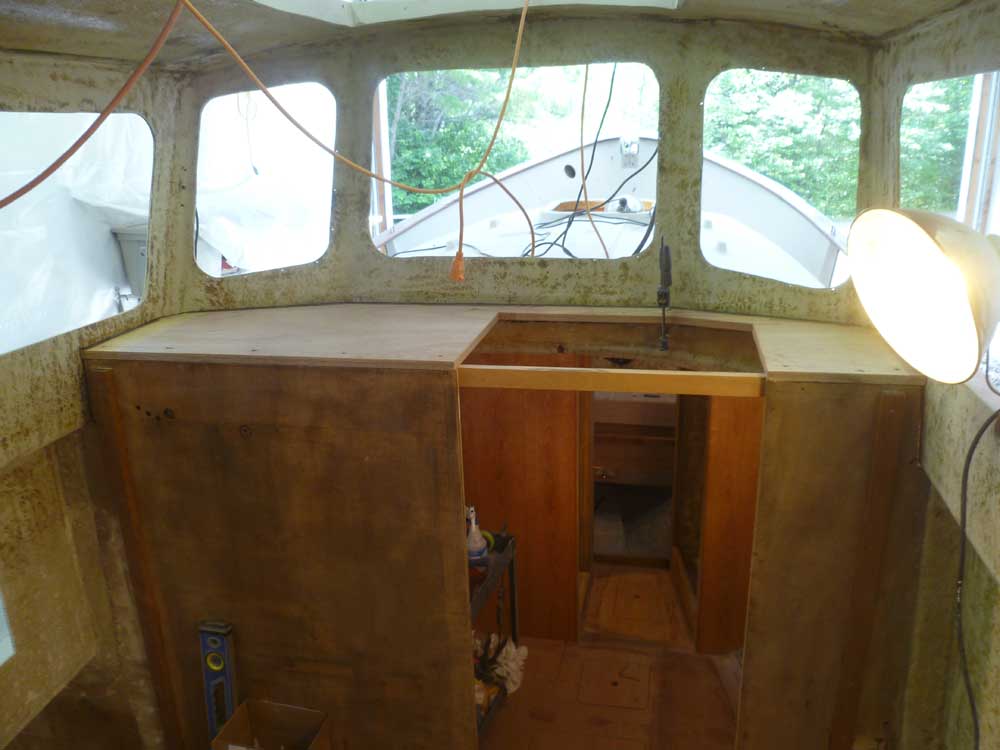
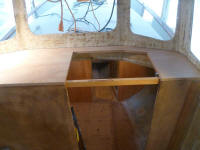
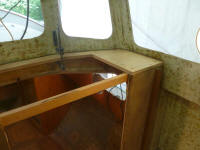
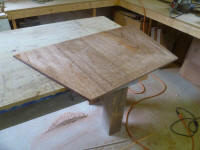
With the basic cuts complete, I installed the dashboard
permanently. Leaving my temporary support blocks
in place at the forward end, I installed the board with
some epoxy adhesive at the forward end, where it rested
against the fiberglass, and screws and waterproof wood
glue to secure the aft end to the top of the bulkhead
and the adjacent cleat. One clamp at the forward
end was enough to ensure the board stayed tight to the
temporary cleats beneath while the adhesive cured.
Later, I'd reinforce this joint with an epoxy fillet and
tabbing from beneath. |

 |
Until the adhesive cured, I decided to leave the cleat
extending across the opening, just to be sure.
Late in the day, however, with the adhesive cured
sufficiently, I cut the cleat off flush with the
opening. Even though the cleat had only been in
the way for a short while, it had been a constant
back-breaker as I limbo-ed beneath it to reach the main
cabin. |
 |
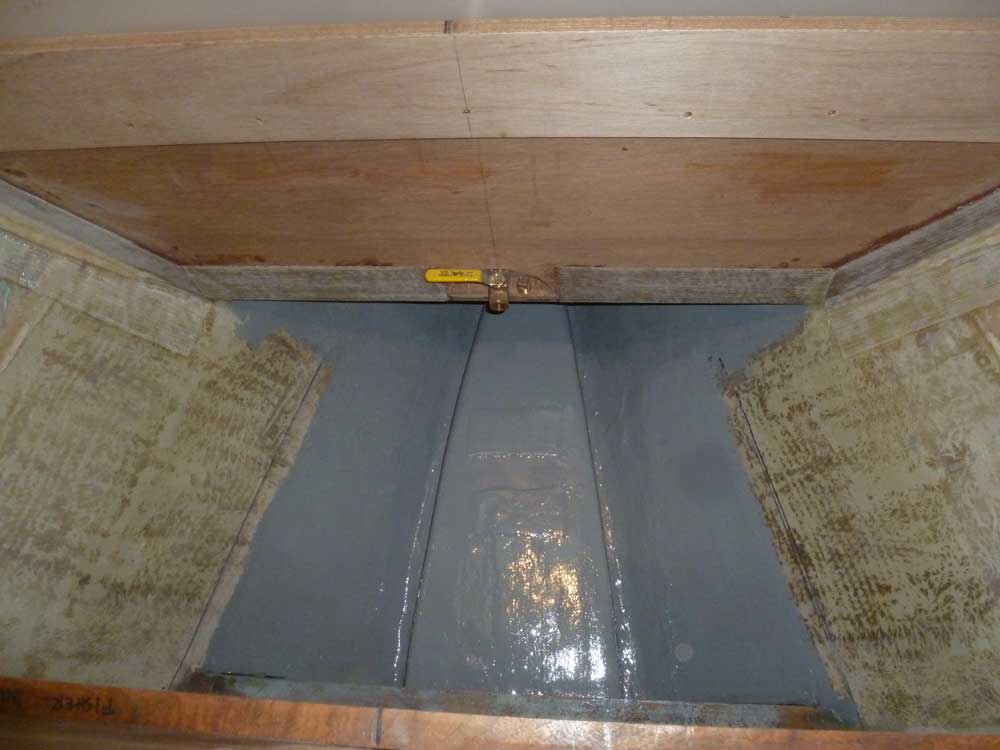
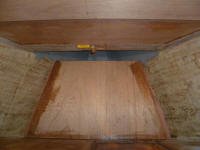
I had a few more tasks to attend to in the forward cabin
before I could permanently install the new berth
platform. In the large space aft of the water
tank, I planned to install a waste treatment system and
small holding tank, my final solution to the head
conundrum. To support this installation, I
prepared and installed a plywood platform across the
bottom of the space, with its aft end resting on an
existing cleat at the aft bulkhead (left over from the
original forward cabin sole) and extending forward to
just aft of the water tank. After painting the
bilge directly beneath (even though it'd never be seen
again) and epoxy-coating the underside and edges of the
plywood, I installed the plywood with epoxy fillets and
two layers of 6" biaxial tabbing. Yes, it got a
little hot there at the starboard aft corner, where the
fillet was thicker. |

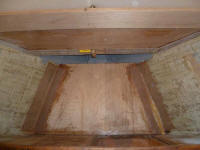 |
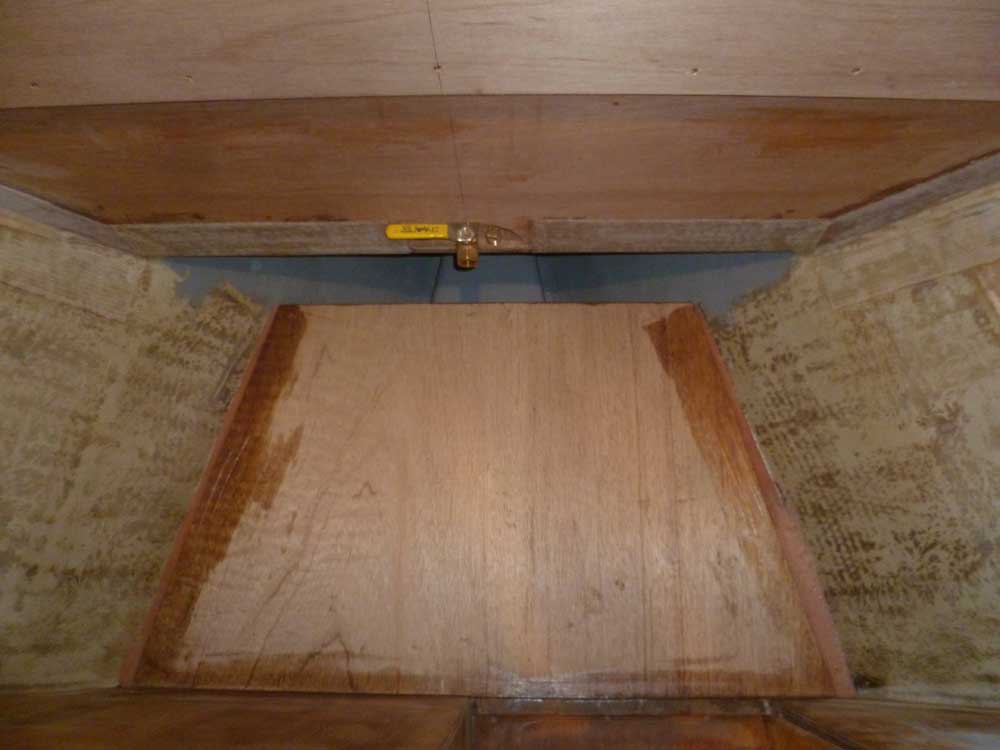
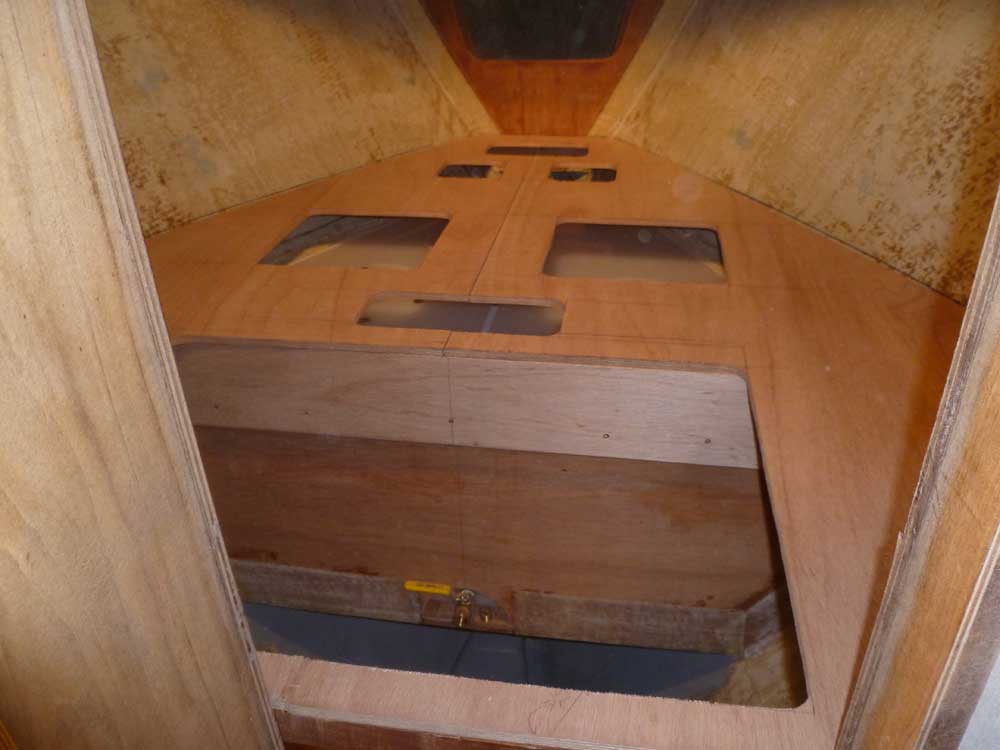
For the berth platform itself, I needed a number of
access ports so I could get to the water tank fittings
and inspection ports, as well as a large opening at the
aft end through which I'd install and service (hopefully
minimally) the treatment system.
After laying out the openings as need be, I cut the
hatches with a jigsaw and test-fit the plywood
sections back in the boat to ensure that I'd made the
cutouts in an effective way. Later, I'd add
support cleats for the hatch covers, plus some interim
support for the berth platform itself. |

|
Total Time Today: 6 hours
|
<
Previous | Next > |
|
|