Project Log: Thursday, December 29, 2011
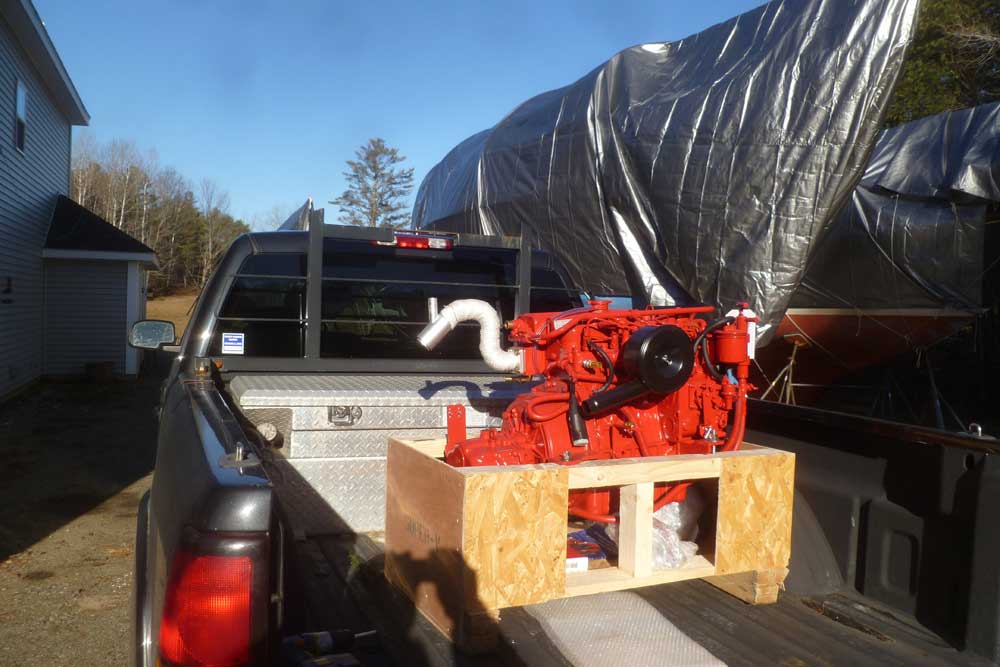
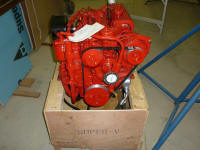
At last, I received word that the new Beta 38 had been
shipped to Maine; it had been in the US for a few weeks,
but had to pass first through my dealer for final prep
and installation of options, which, along with the
Christmas holiday, led to inevitable delays. I
always have the engine shipped to a terminal in
Portland, as with no forklift on site it's easier for me
to go pick up the engine than to try and have it
delivered directly to the shop. So as soon as I
confirmed the engine was on the dock in Portland, I
headed down to pick it up, about a 2.5-hour round trip.
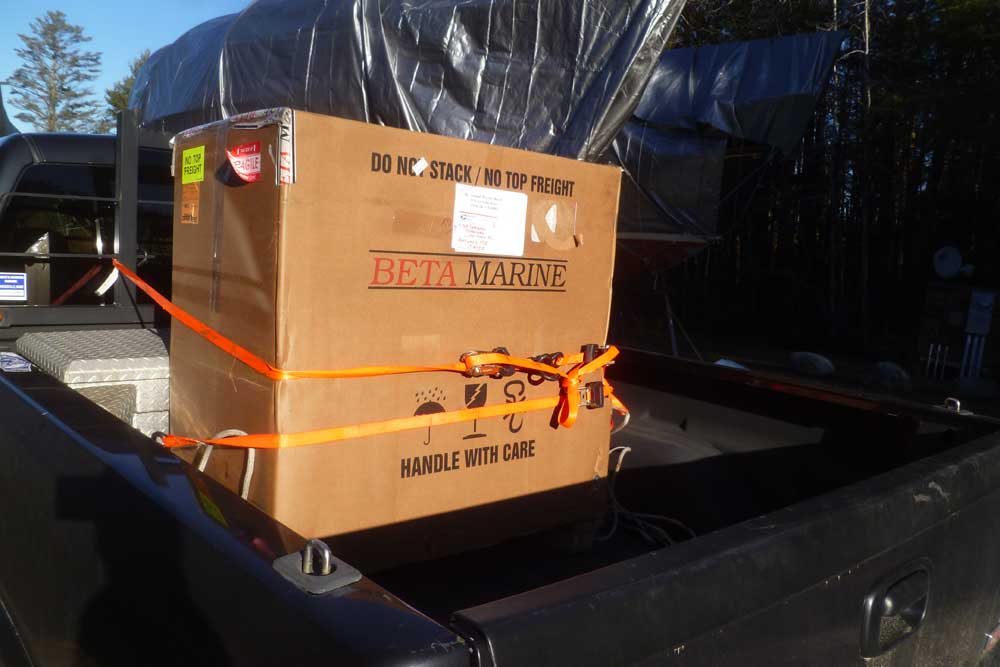
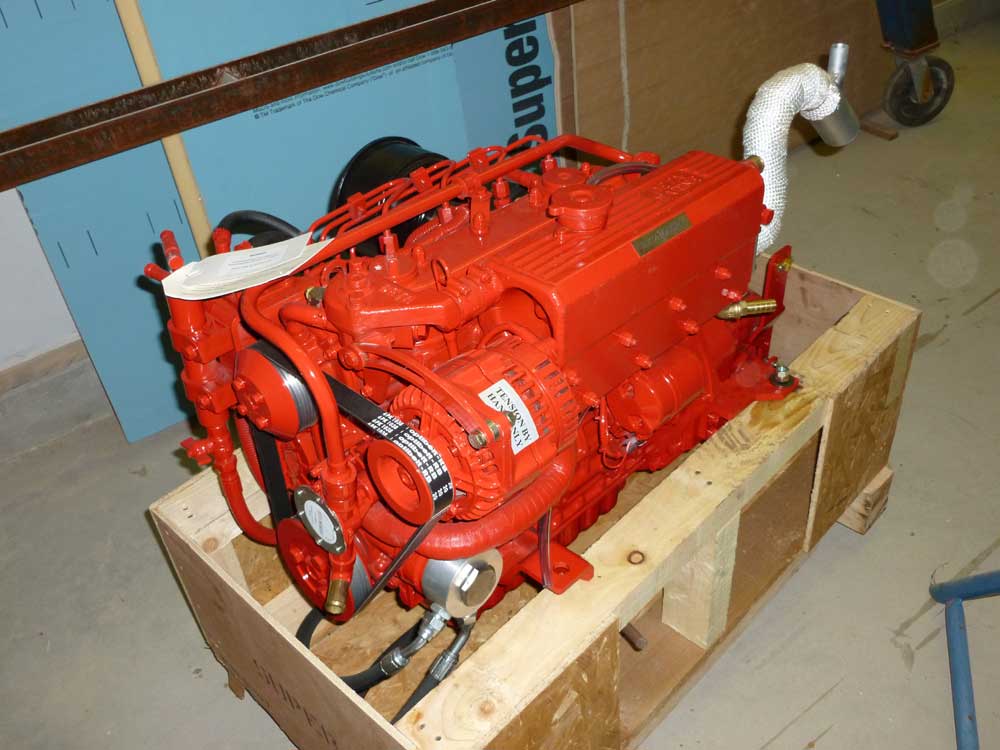
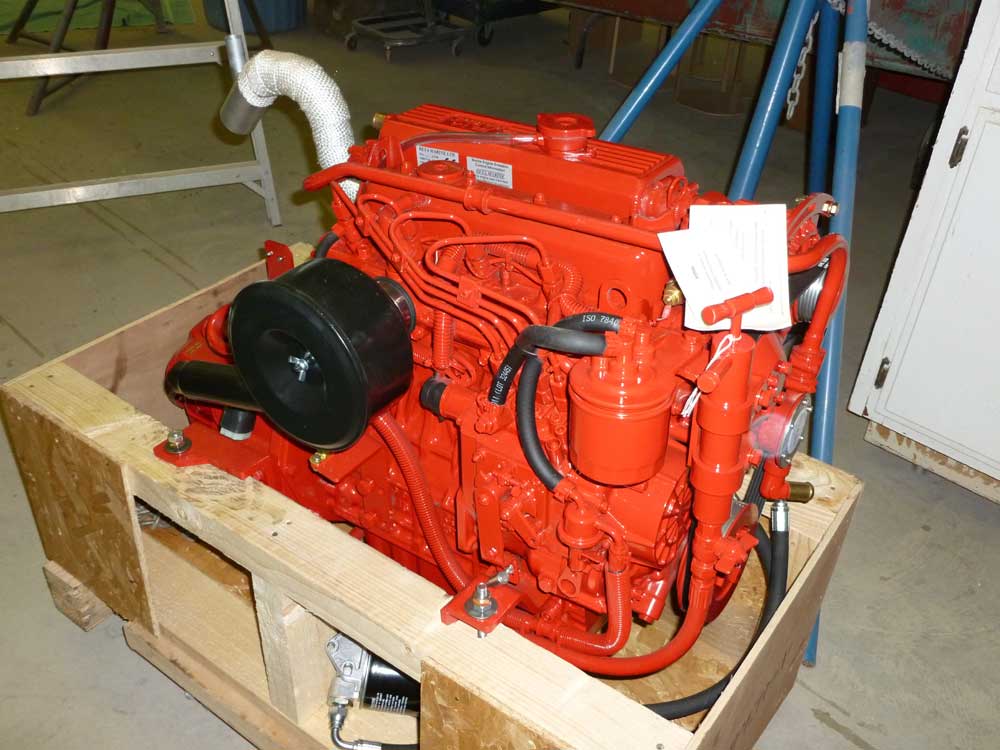
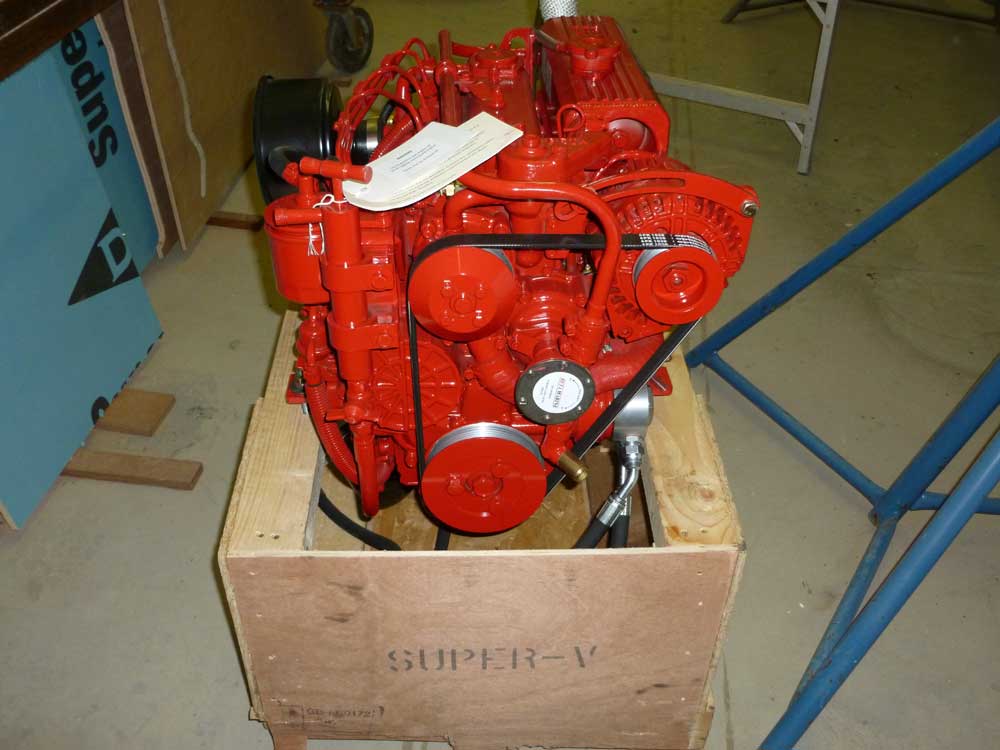
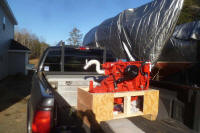
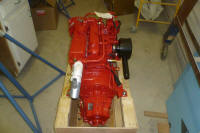
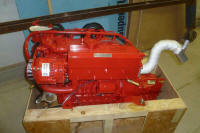
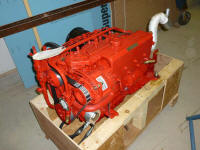
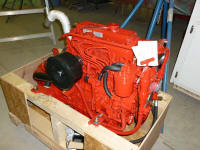
Back at the shop, the first order of business was to
remove the accessories packed inside the large shipping
crate, and then remove the cardboard box covering the
engine so I could attach my chain hoist and lower the
engine to a waiting dolly. |


 |
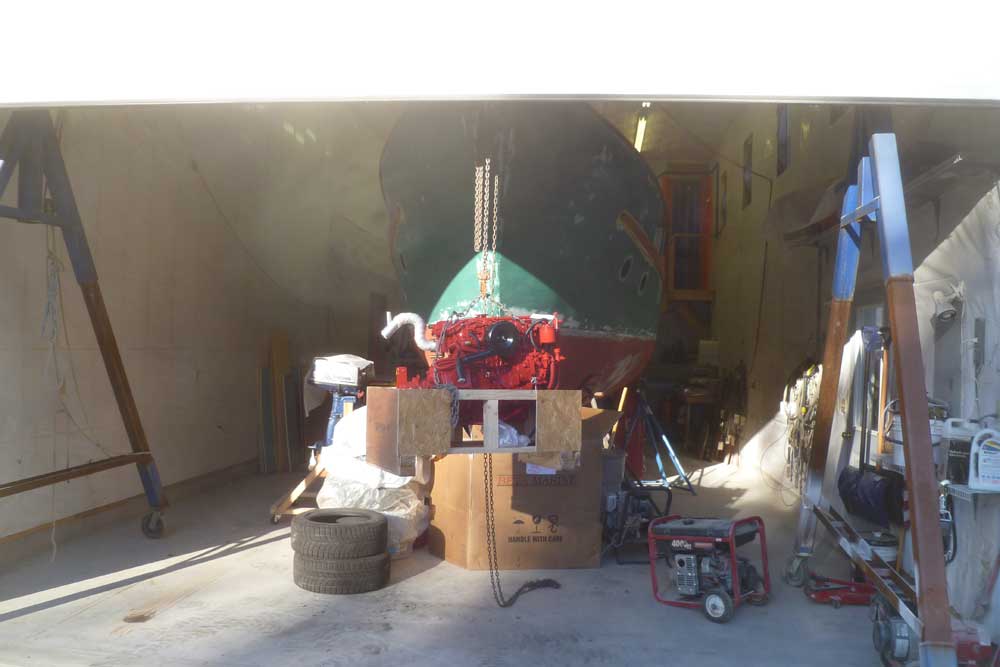
I'd moved the gantry crane over a few weeks ago, but
still had to move most of the junk stored on this side
of the shop so I could roll the crane close to the
doorway and remove the engine from the truck. |
 |
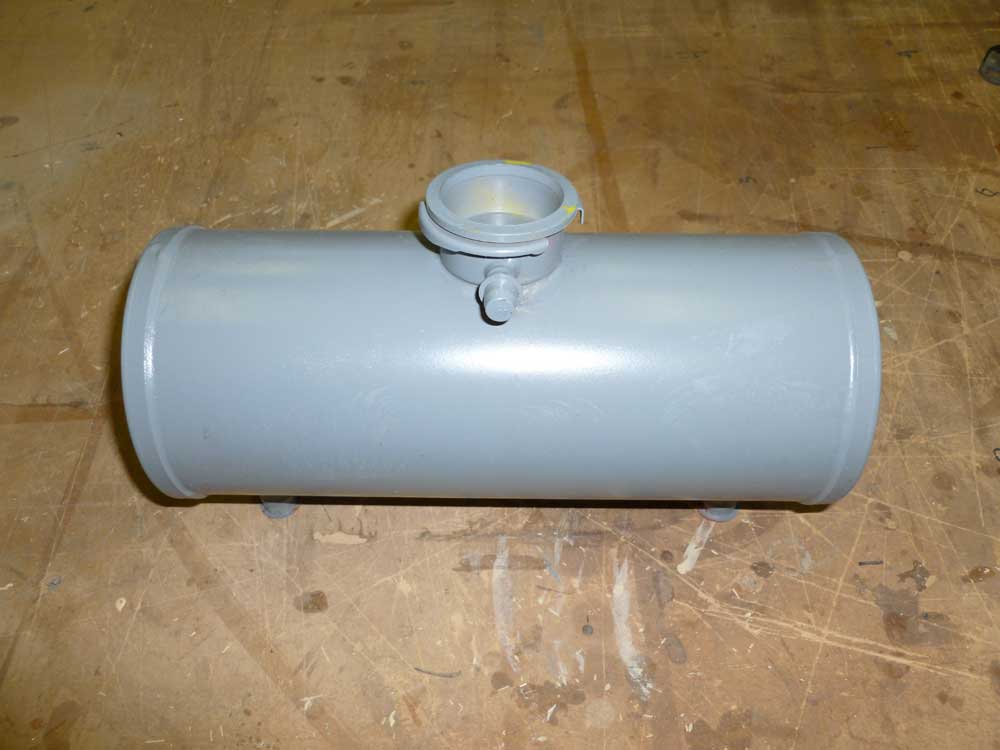
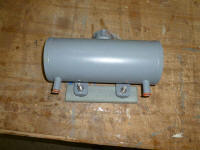
While I was excited to get the engine itself, what I'd
really been awaiting--and the most anxious for--was the
remote coolant tank, which was required in my
installation since the domestic water heater had to be
mounted higher than the engine. The top of the
coolant reservoir needs to be the highest point of the
closed cooling system.
All along, I expected to mount the remote tank somewhere
behind the side bulkheads in the pilothouse, but without
knowing its exact size and dimensions I couldn't
complete the bulkheads, as I'd need to not only ensure
the tank fit, but also provide an access hatch for
servicing. I'd been waiting weeks for this tank,
and its absence had forced me to put aside the final
pilothouse construction.
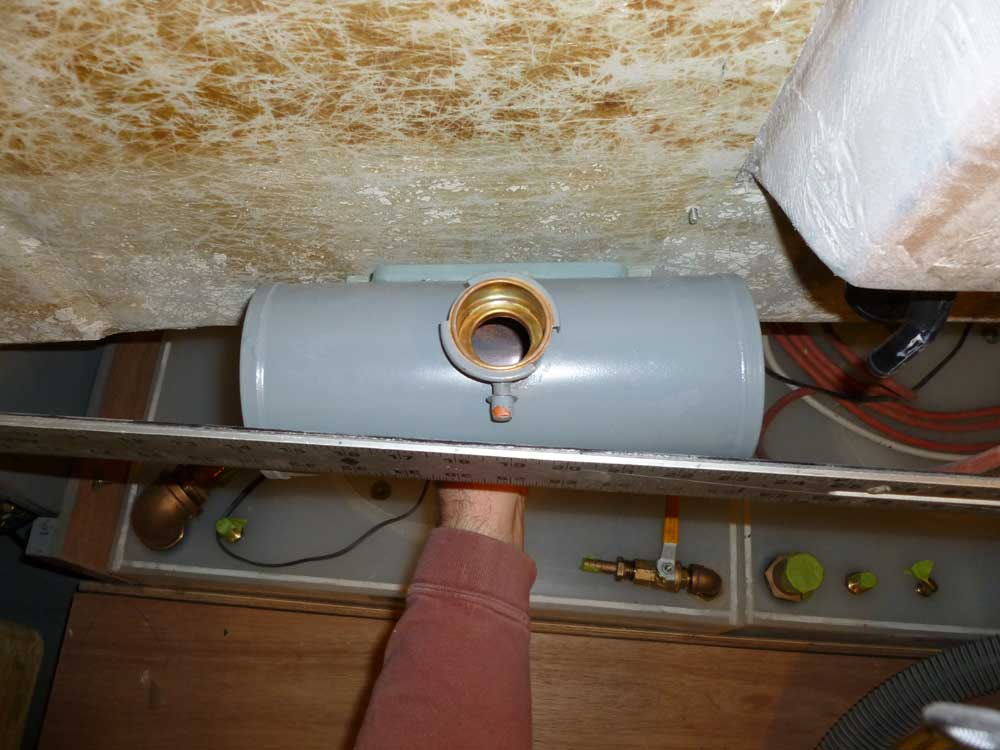
With the tank on hand, I could move forward with its
positioning. |
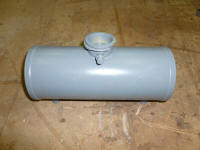 |
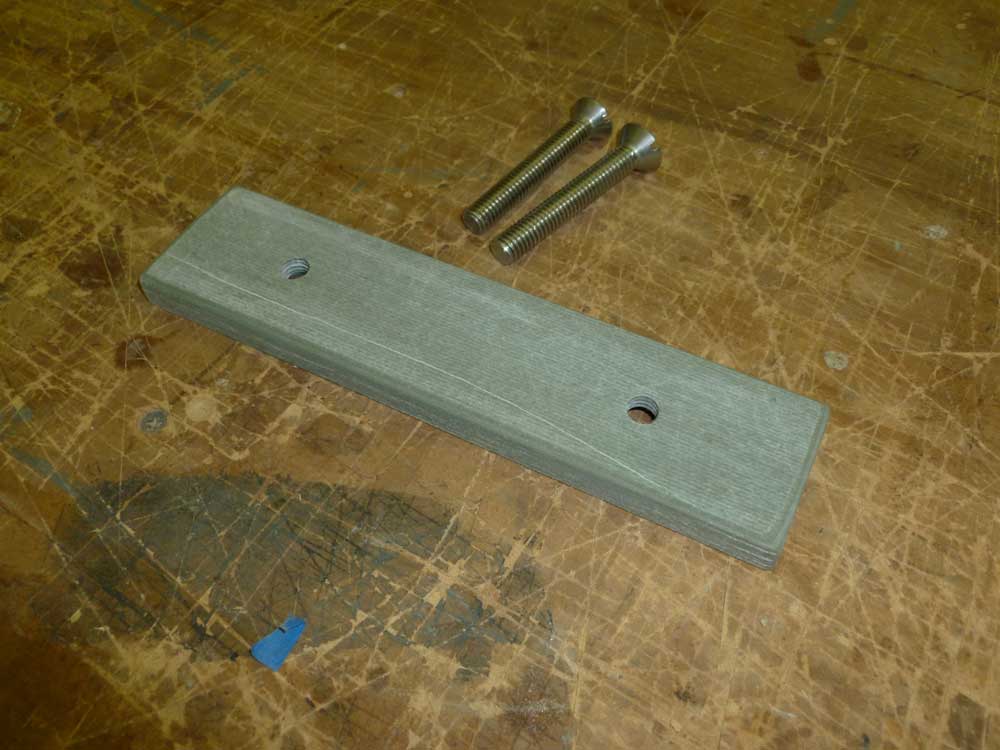
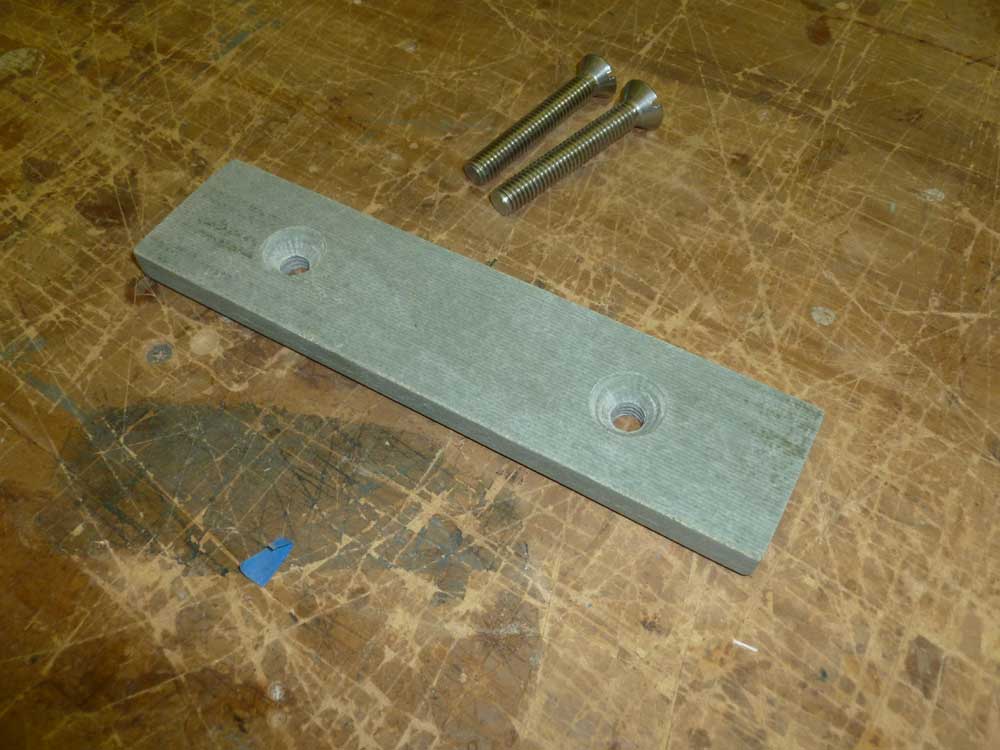
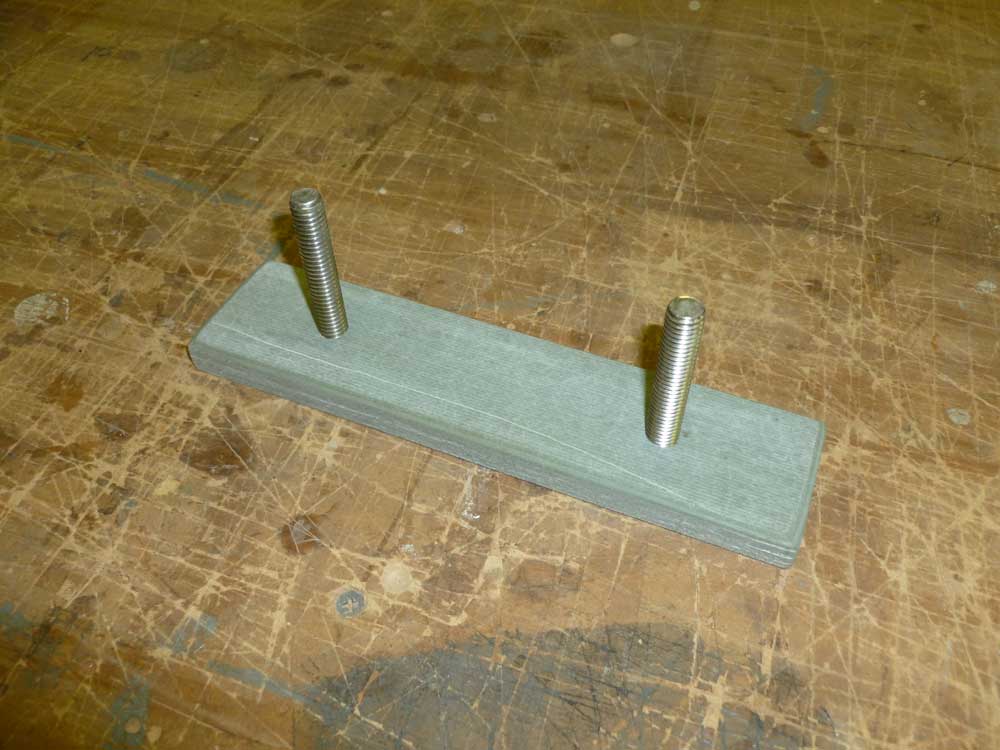
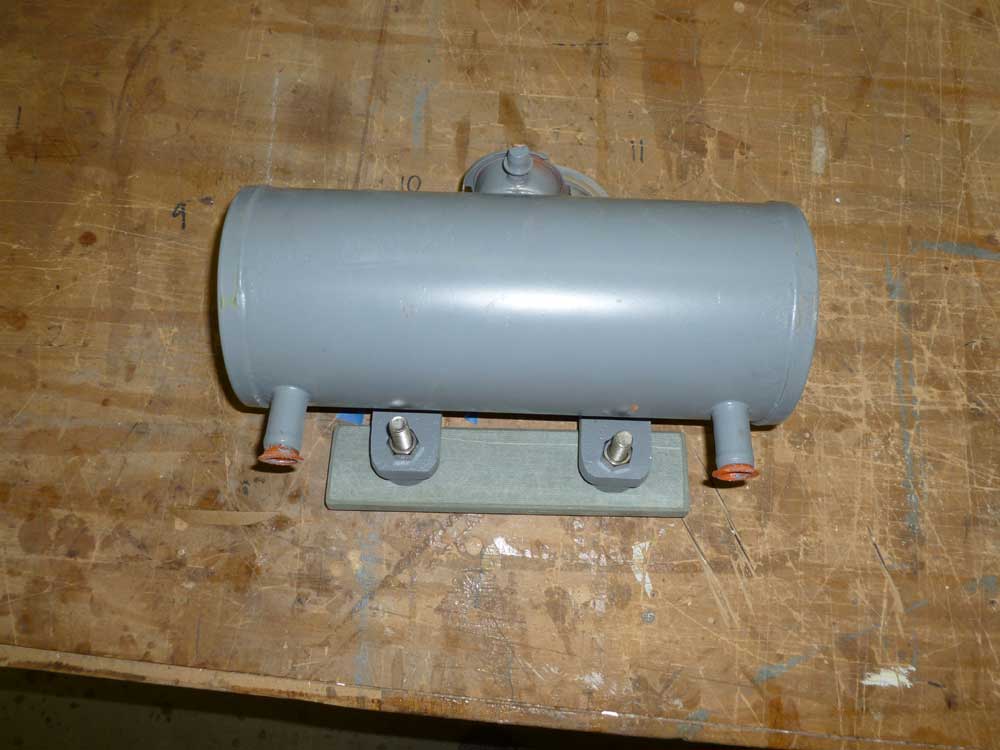
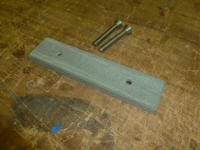
The tank featured an attached mounting bracket with two
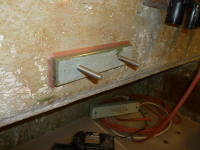
bolt holes. Because of where I needed to install
the tank, I'd have to epoxy a mounting block to the side
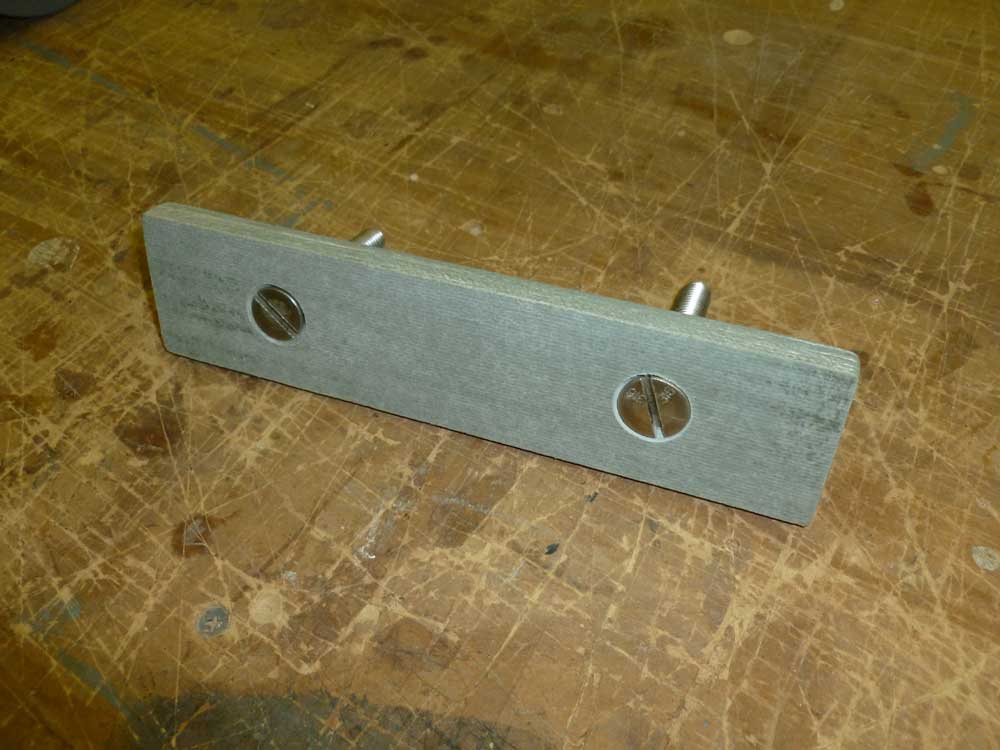
of the pilothouse, so I prepared a small block from 1/2"
prefab fiberglass and milled countersunk tapped holes
for 3/8" flathead machine screws, which I installed
flush from behind. The screws I had on hand were
too long, but I'd cut off the excess later. |


 |
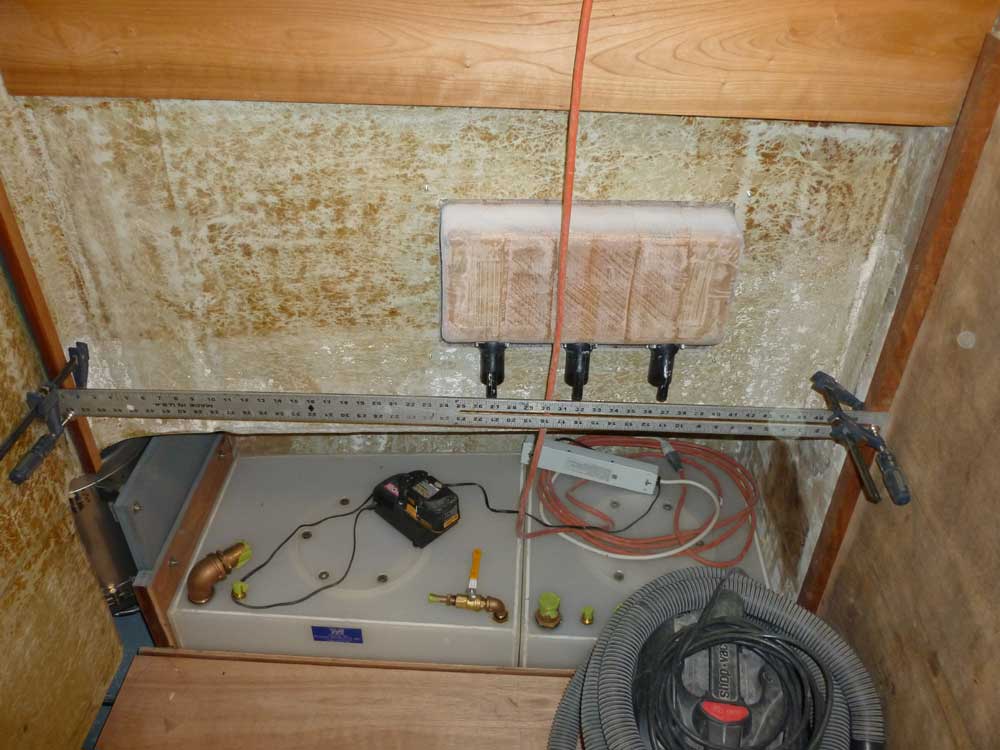
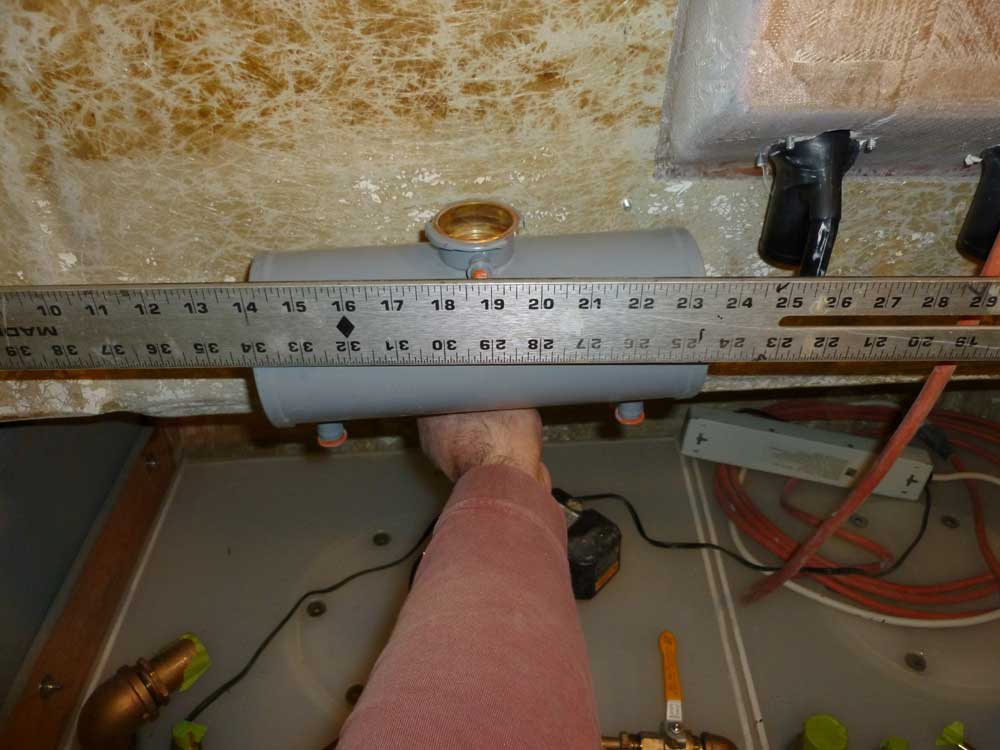
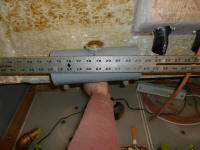
To simulate the position of the bulkhead, I clamped a
steel rule in place across the supporting cleats that
I'd installed some time ago. |

 |
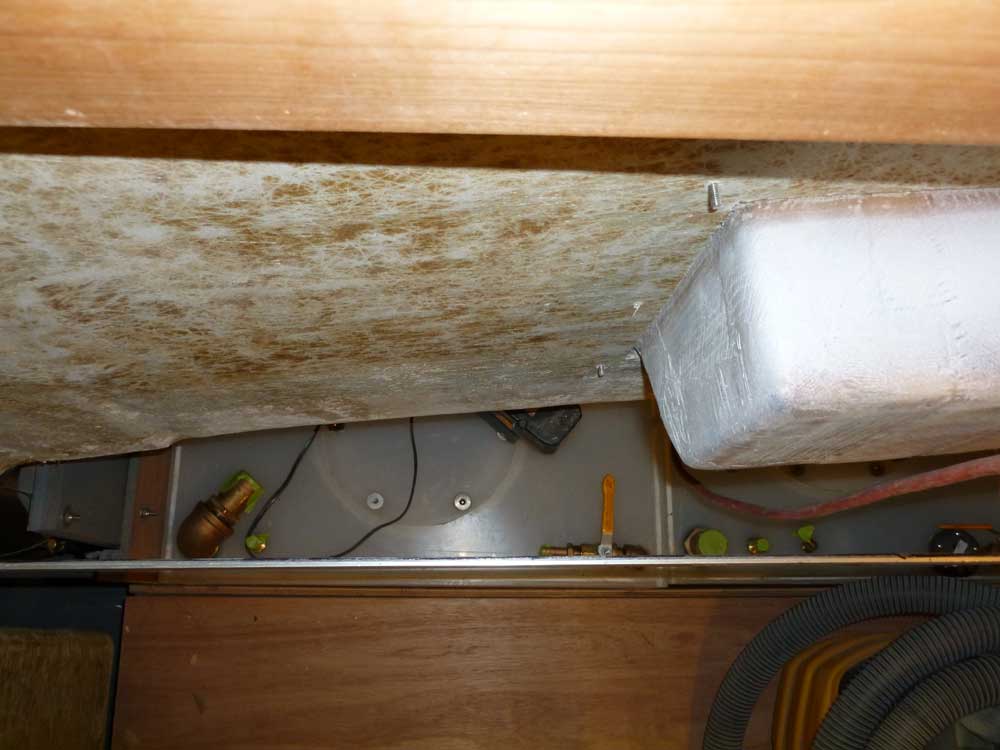
The dimensions of the space and coolant tank, plus the
adjacent tankage fill unit, limited its viable
positioning, but there was space just aft of the fuel
and water tank fills, near the bottom of the pilothouse
bulkhead itself. This location left the top of the
coolant tank several inches above the highest point of
the water heater, accomplishing its goal. |

 |
After marking the position of the mounting block, I
removed the tank and epoxied the block to the fiberglass
shell of the pilothouse, using a dab of hot glue in the
center to hold it while the epoxy cured. I formed
a good-sized fillet around the edges of the block for
additional strength. Completing this installation
now would give me a head start on completing the
pilothouse bulkhead installation in the immediate
future. |
|
Total Time Today: 5.25 hours
(includes engine pick-up time) |
<
Previous |
Next > |
|
|