Project Log: Friday, January 14, 2011
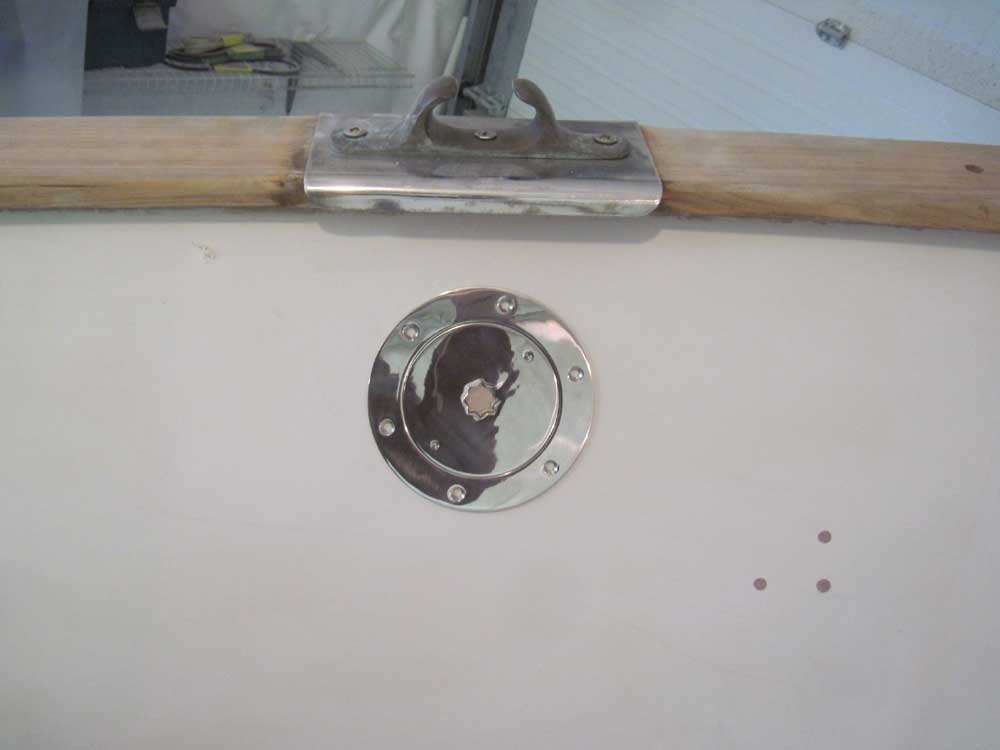
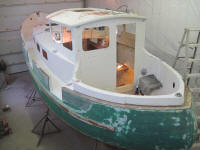
The new inspection ports arrived, so I was finally ready
to remove the last bits of hardware from the caprails,
and then the caprails themselves.
I was pleased with the inspection ports, which were
handsome and seemed of good quality. |
 |
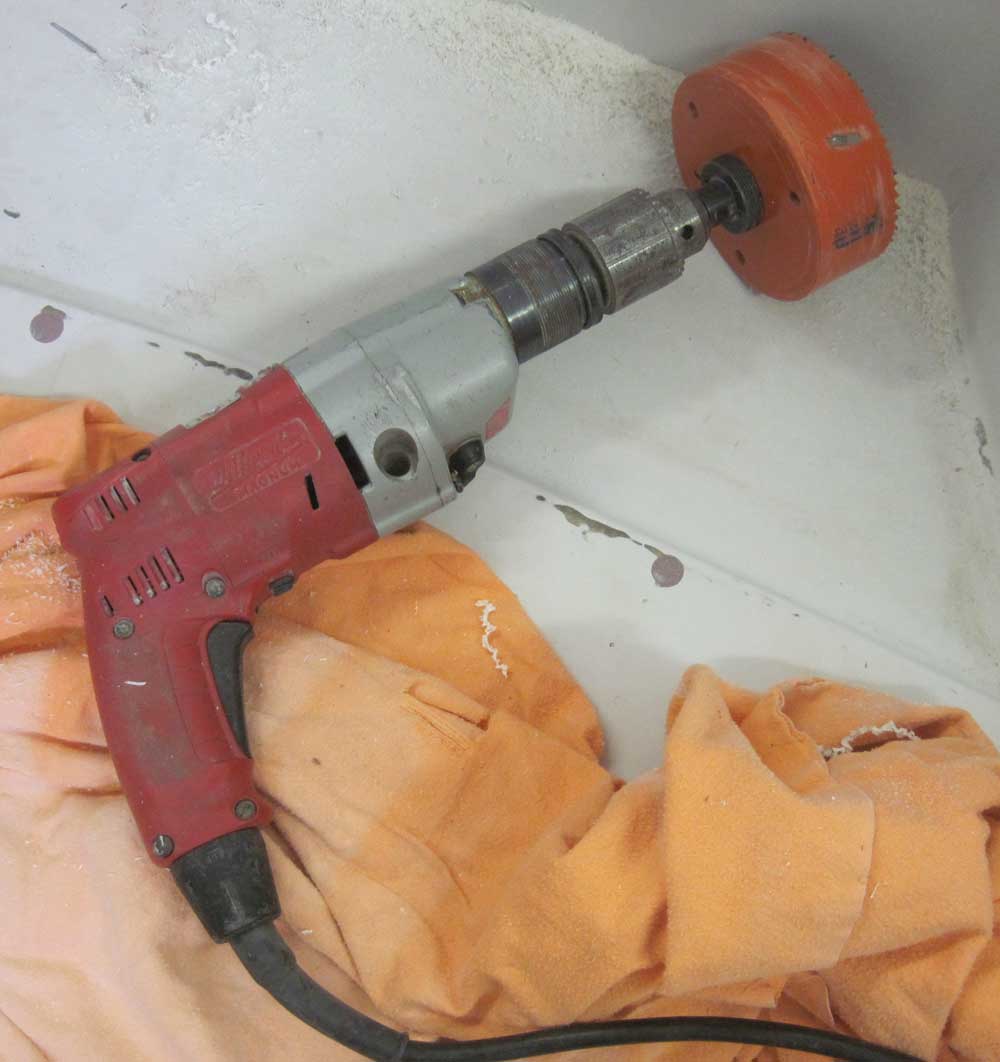
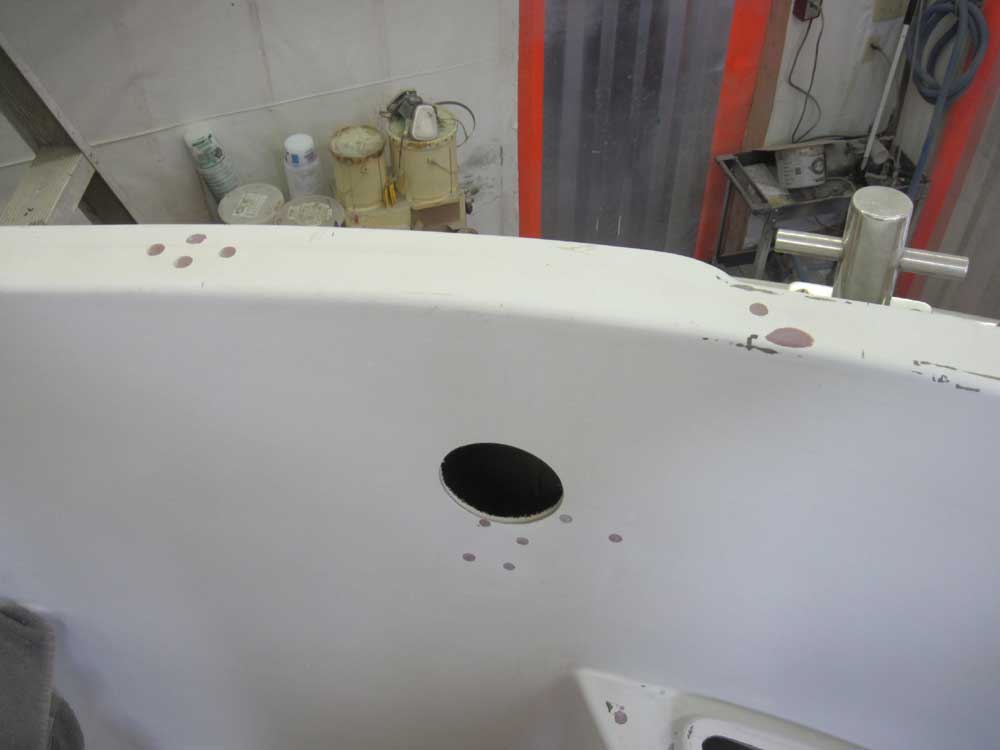
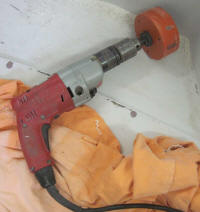
As expected, the inspection ports required a 4-1/2" hole
for installation, but I'd wanted to confirm this before
committing to the large holes in the bulwarks and
cockpit. Fortunately, I already had the
appropriately-sized hole saw on hand. |
 |
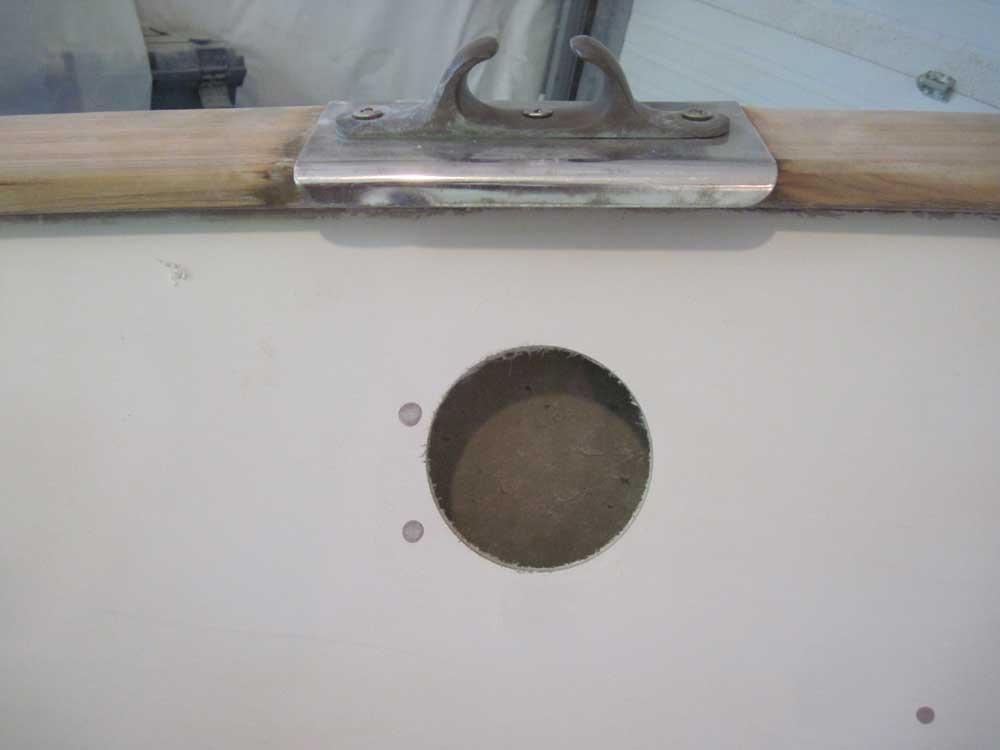
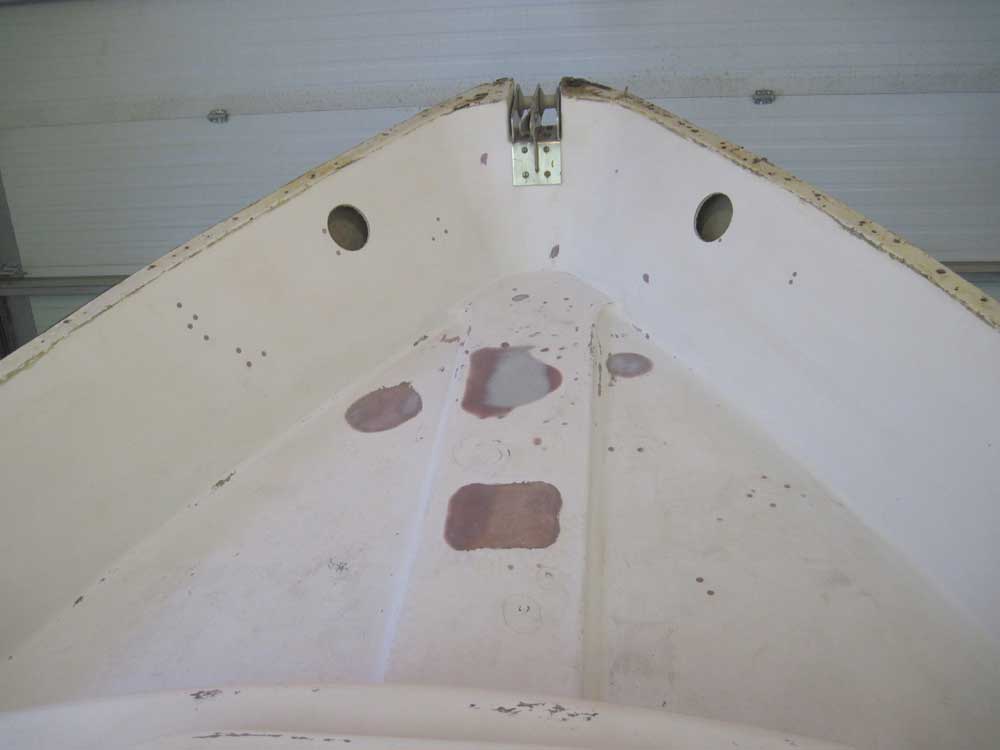
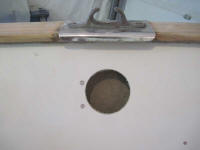
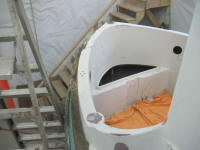
I began at the bow, directly beneath the chocks located
on the caprails. After various measurements and
mockups, I determined the appropriate position for the
inspection ports, and drilled the holes. |
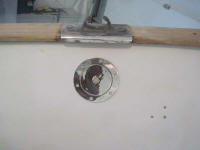 |
Imagine my surprise (and amazingly cheerful acceptance)
when I reached into these holes and discovered that the
chocks were not throughbolted as I'd expected, but
simply secured with machine screws driven into permanent
backing plates. I was sure I'd observed
nuts on these fasteners when I'd peered up into the
bulwark cavity from beneath. So it turned out I'd
not needed the large holes and access ports at the bow
after all.
I know I checked, and I sure thought I saw nuts.
Clearly I was wrong, but worse mistakes have been made.
Perhaps I'd install nuts on the chock fasteners when I
reinstalled them, just because I now could.
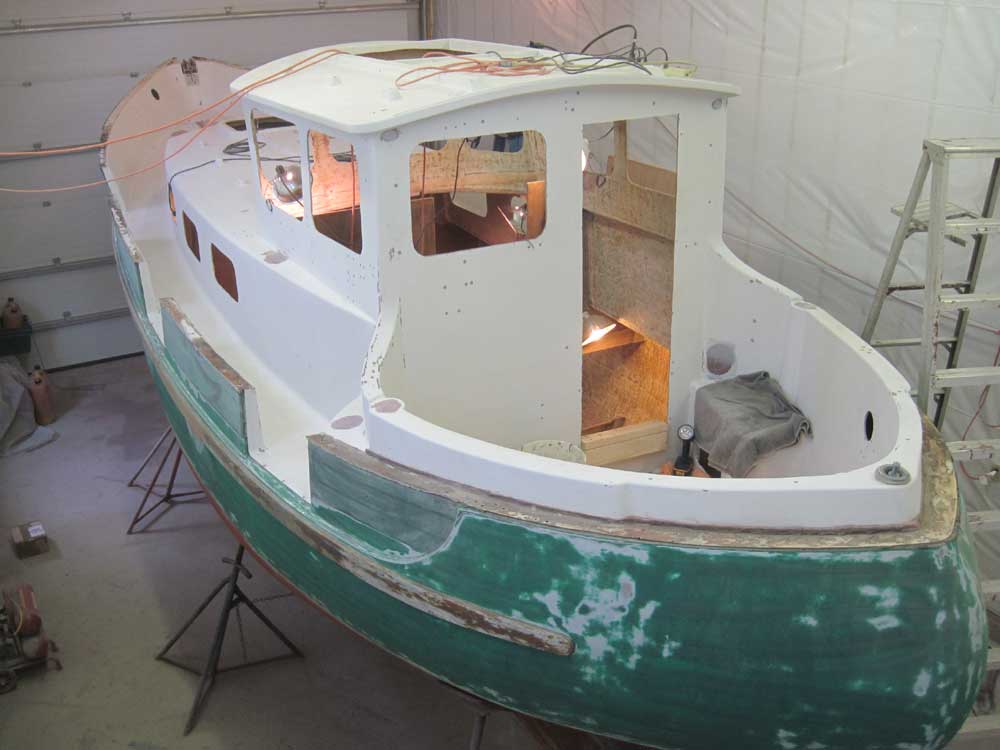
In any event, the holes were there, and I moved on to
remove the chocks and caprails. Using an impact
driver, I easily removed the three machine screws
securing the starboard chock, and then removed the
starboard caprail in short order. I'd already
removed the caprail screws during the last removal
session. |
 |
Two of the three fasteners on the port chock resisted
initial removal efforts with the impact gun.
However, I was able to turn the screws with the extra
leverage afforded by a 1/2" ratchet handle with #3
Phillips bit installed; once I'd started the screws, it
was easy to remove them the rest of the way with the
impact gun.
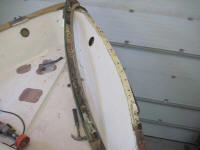
Weirdly, both forward sections of caprail also featured
those strips of fiberglass tape imbedded in the heavy
beads of black sealant. I'd no idea what that was
supposed to accomplish, other than to make removing the
sealant that much more annoying, but there it was. |

 |
I'd not known what to expect in terms of fastener
sizing, difficulty in removal of the hardware and rails,
etc., so I had a million tools on hand, which I now
moved aft to the cockpit so I could repeat this process
there.
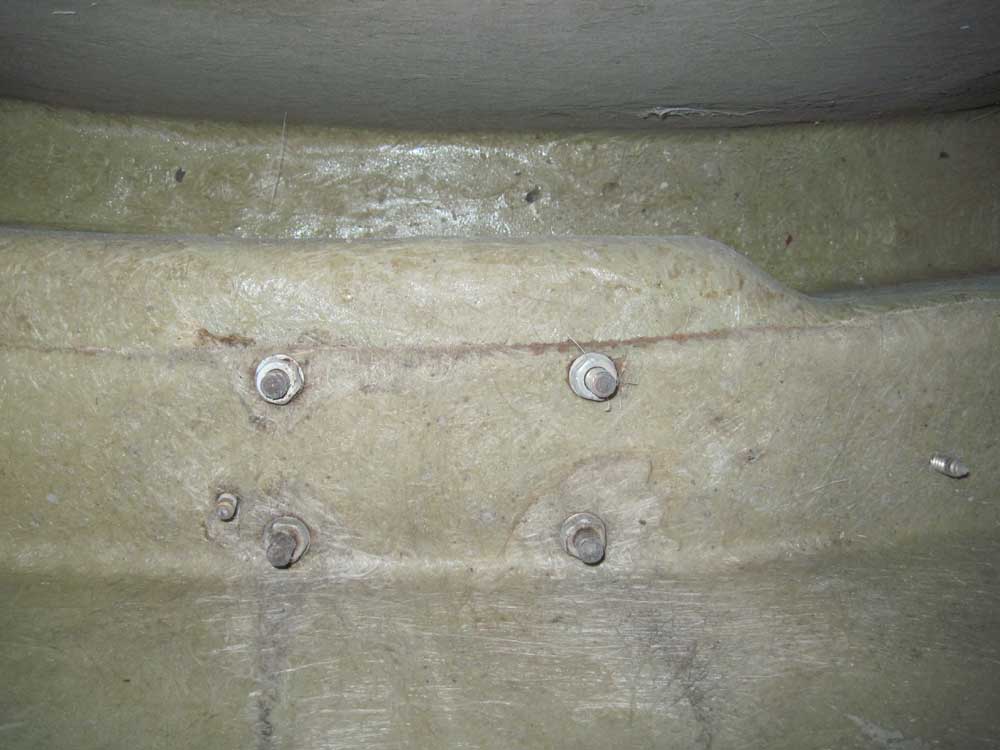
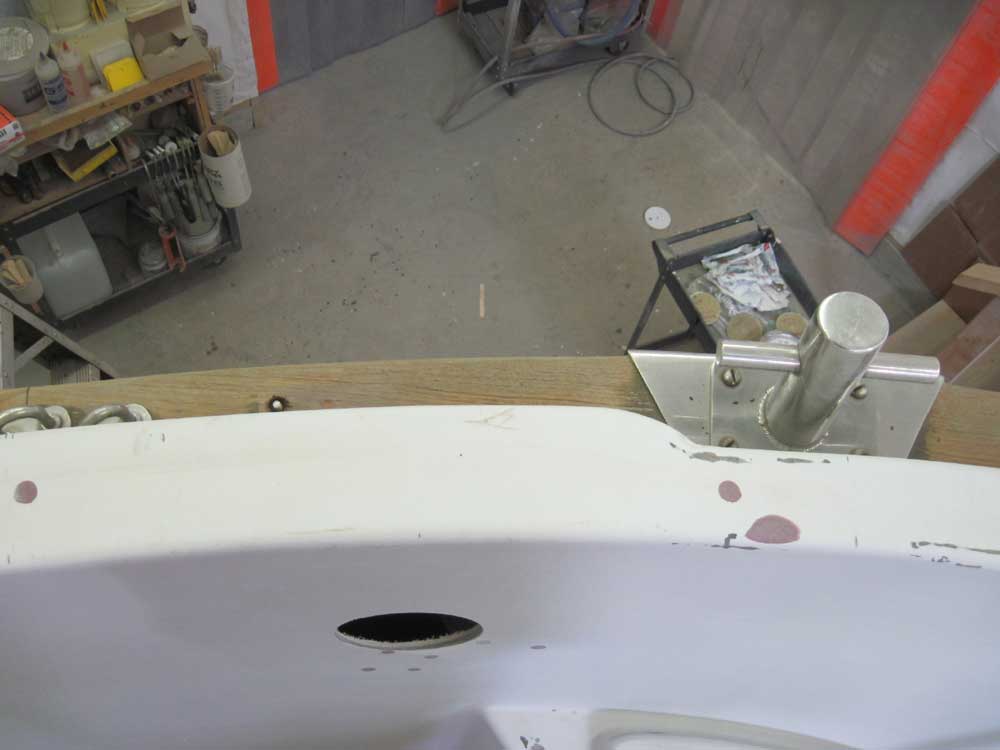
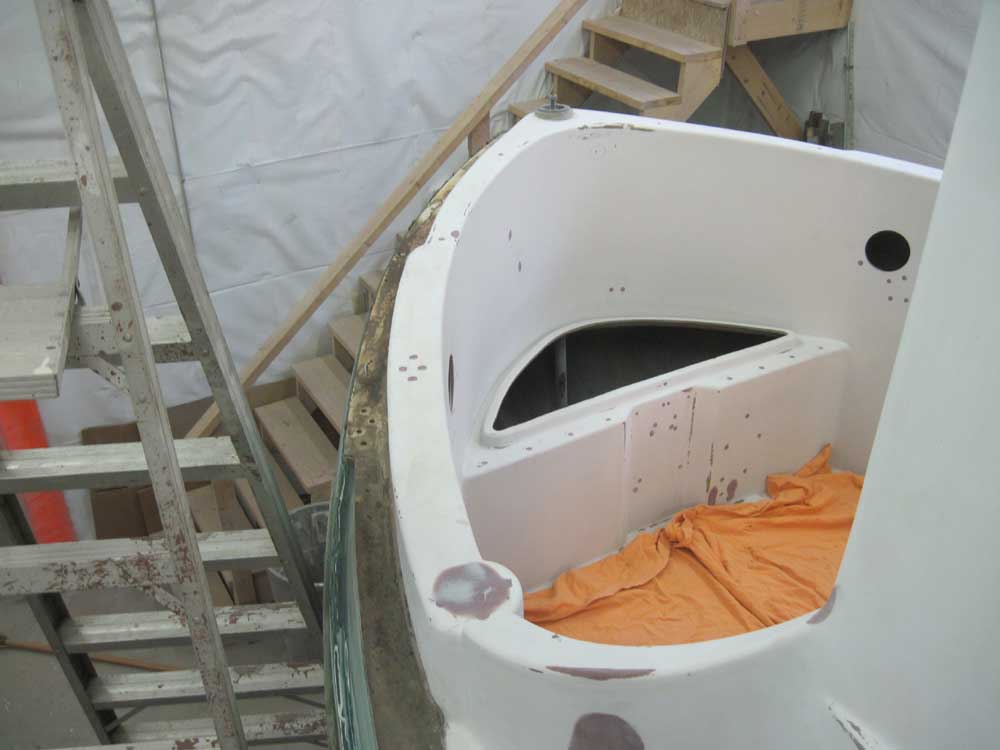
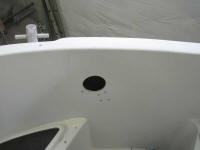
Outboard of the cockpit, there were two things to
remove: the large aft mooring bitts, and a
tightly-clustered pair of rigging attachment U-bolts on
each side of the boat. I wanted to position my
inspection ports so that I could reach both the cleats
and U-bolts from the single hole; the mooring bitt and
U-bolts were separated by nearly 24". I
double-checked with a camera, taking a picture up into
the void, to ensure that there were actually nuts on the
hardware I was removing. (There were.) |
 |
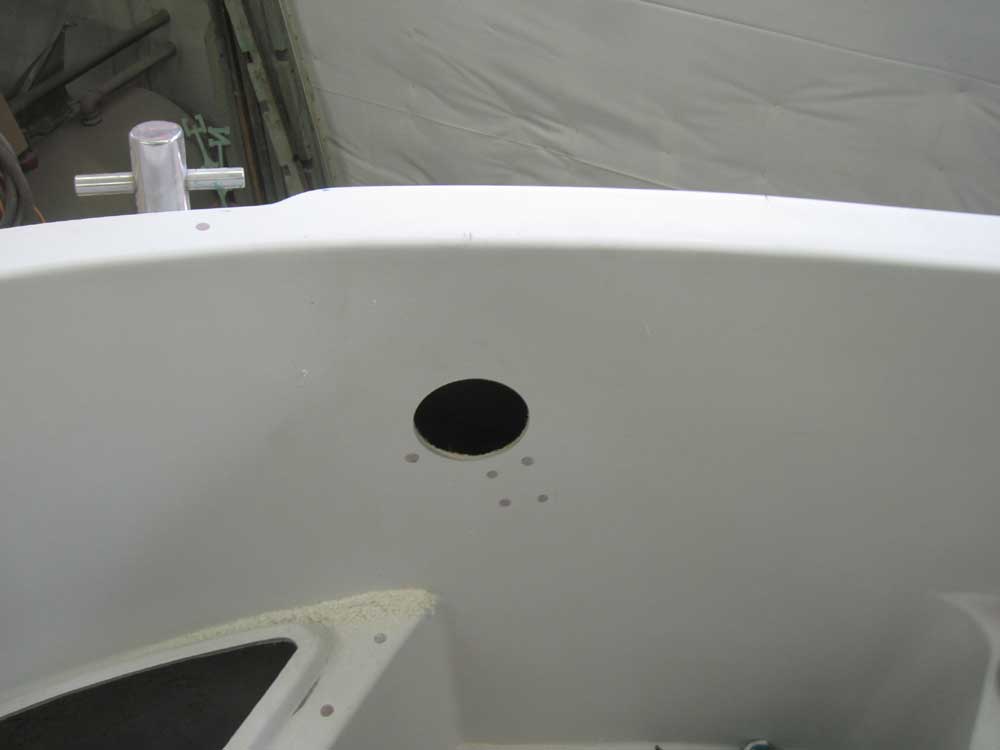
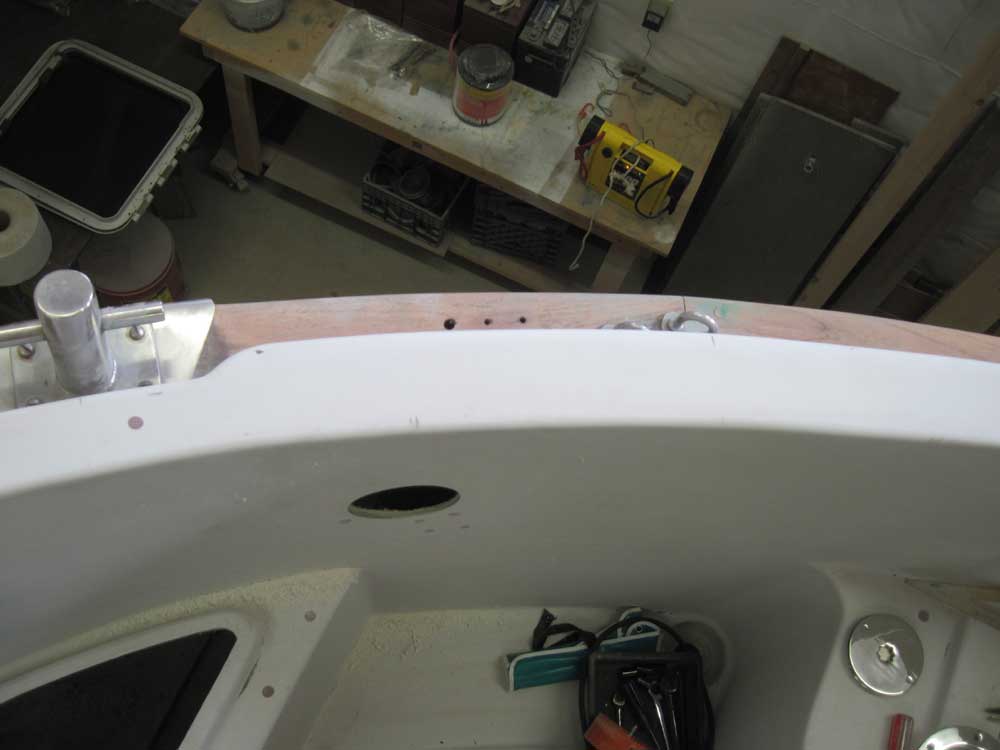
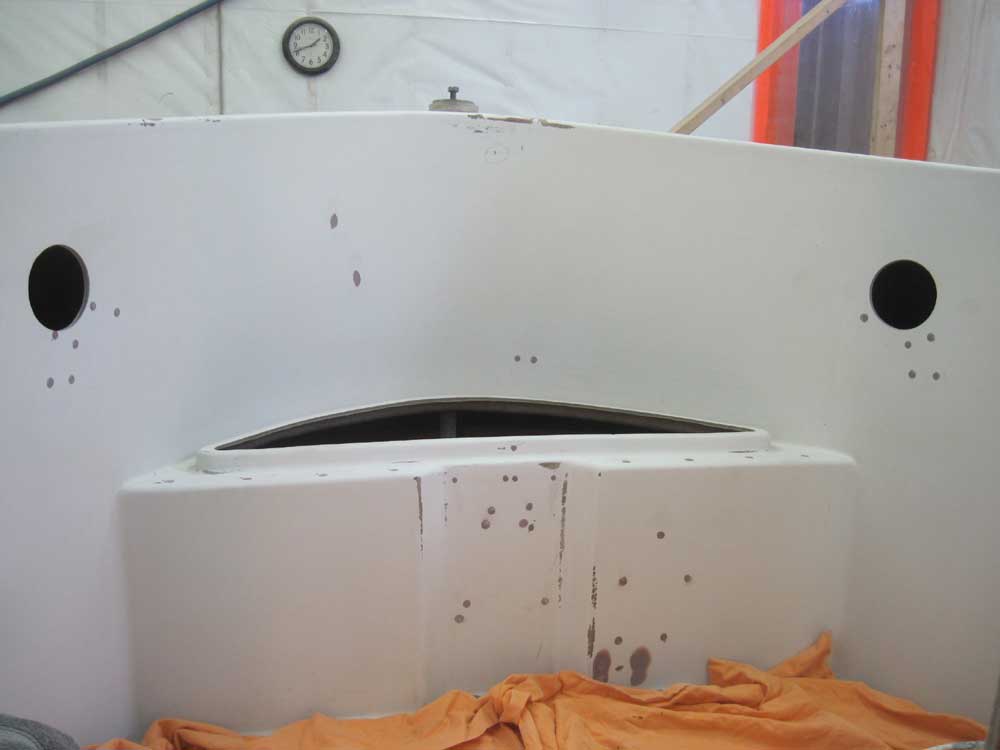
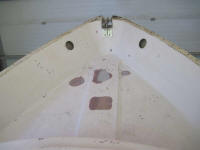
After measuring, marking, and confirmation, I determined
where the hole needed to go. I'd locate it halfway
between the bitt and U-bolts, and down far enough from
the top of the cockpit coaming to ensure that I was just
a bit below the level of the inside of the
caprail/hull-deck joint. I marked and drilled the
holes on each side as needed. |


 |
Fortunately, I could remove most of the nuts without
difficulty, and I easily removed the starboard mooring
bitt. The port mooring bitt caused some
difficulty; one of the fasteners spun off its head,
which was fine, but a second (of four) jammed with the
nut partway off, and I couldn't get the leverage I
needed; plus, the bitts were secured with round-head
slotted screws, which in my experience are the most
difficult to work with.
Eventually, I had to use a grinder to remove the head
from this final fastener, allowing me to remove the
bitt. Access was tight, and the nut hadn't
loosened much, so I couldn't pull the fastener up at all
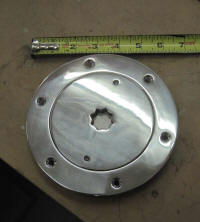
to cut cleanly through. I ended up slightly
scuffing the cover plate beneath the bitt, but I thought
I could polish that out.
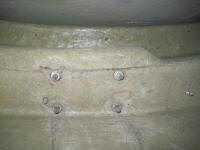
As before, I found the U-bolts to be recalcitrant.
Again, these were installed through permanent aluminum
backing plates, and dissimilar metal corrosion--always a
significant issue with aluminum and stainless steel
together--had locked the studs in place. Various
prying efforts eventually resulted in my being able to
successfully remove one of the two U-bolts on each side,
but I had to cut the second ones off with my grinder.
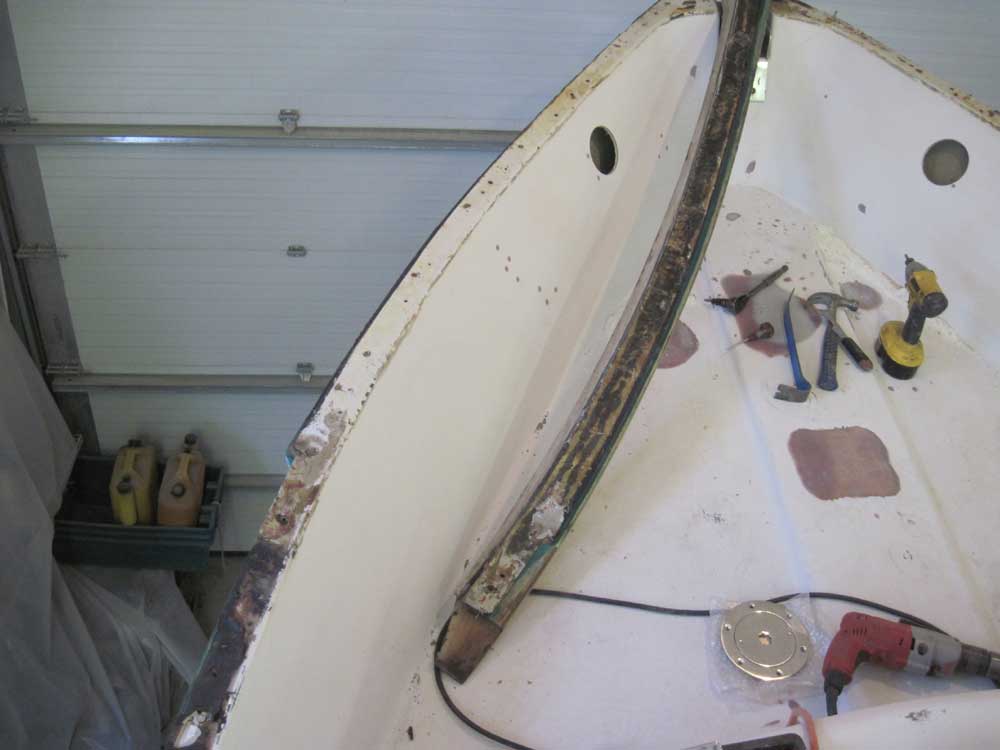
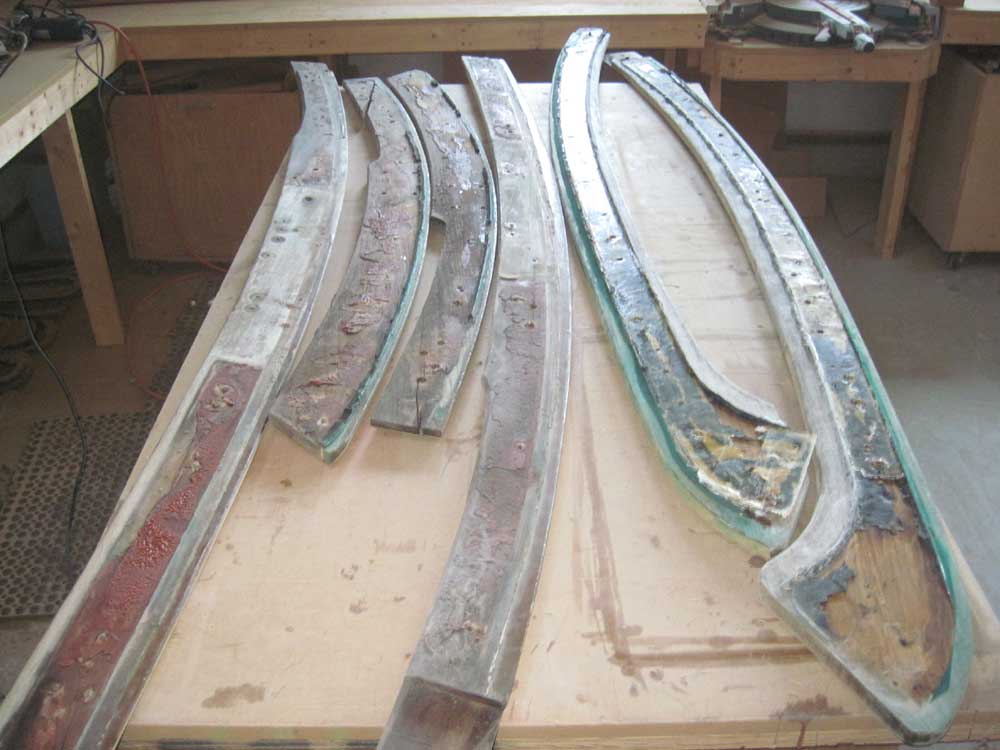
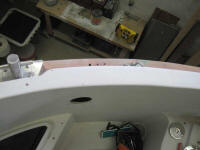
Finally, with all the hardware out of the way, I
de-bunged and removed all the remaining caprail screws,
and carefully removed the last two sections on each side
of the cockpit, completing this onerous task. |


 |
I was tired of the caprails and associated work, so I
set the wood aside on the bench to deal with another
time. For now, I wanted to do something different,
and the next task on my list was to build and
permanently install the new cabin sole substrate.
Not only did I need this in place so that I could begin
other new construction in the main cabin, but I also
desperately wanted a large, flat surface in place so I
could set up a small cart or work table and start
organizing the tools that I'd been keeping on board, and
which I was sick of tripping over, not finding,
misplacing, knocking around, and being piled in unkempt
heaps inside the engine foundations (the only remotely
reasonable place I'd found).
Earlier in the week, I'd picked up several sheets of
marine plywood for the cabin sole and other immediate
structural tasks. For the cabin sole, I specified
18mm Meranti for the substrate; I hadn't decided what
the final surface would be, but that didn't matter now.
My new cabin sole would be permanent, and would span the
boat from hull to hull, rather than the loose, removable
sections that had comprised the original cabin sole
between the original cabinetry. I'd cut hatches as
needed to provide access to the bilge for inspection and
whatever; I saw no need for the entire sole to be
removable, and thought that loose pieces would be
annoyingly creaky underfoot. The new sole
substrate would also make cabinetry construction easy.
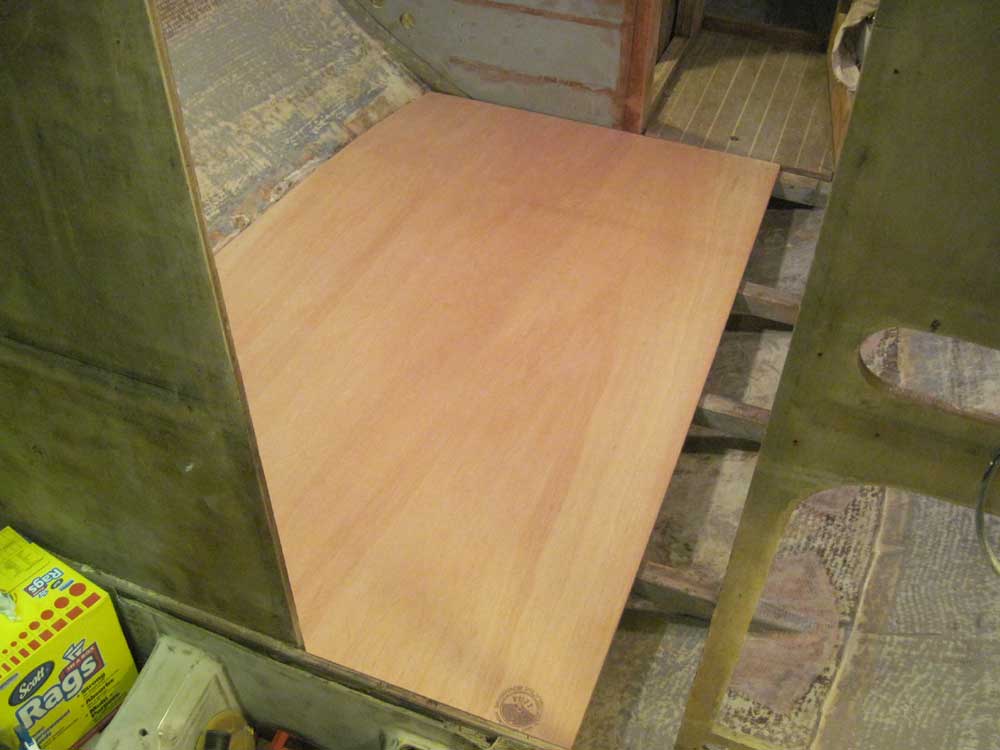
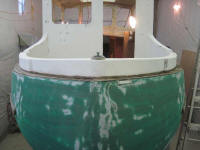
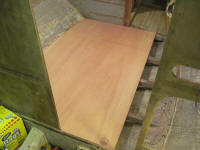
To begin, I cut one piece of the plywood to the length
required for the main cabin, 74-5/8". Then, I
lugged the sheet up into the cabin and laid it in place
with the outboard corners touching the hull, and scribed
the edge to match the curvature of the hull. I
chose to do it this way rather than use any form of
template because I saw no need for the additional steps
since the cabin was more than wide enough for the full
sheet to fit, making such scribing easy. It would
take more than one sheet's width to cover the entire
space.
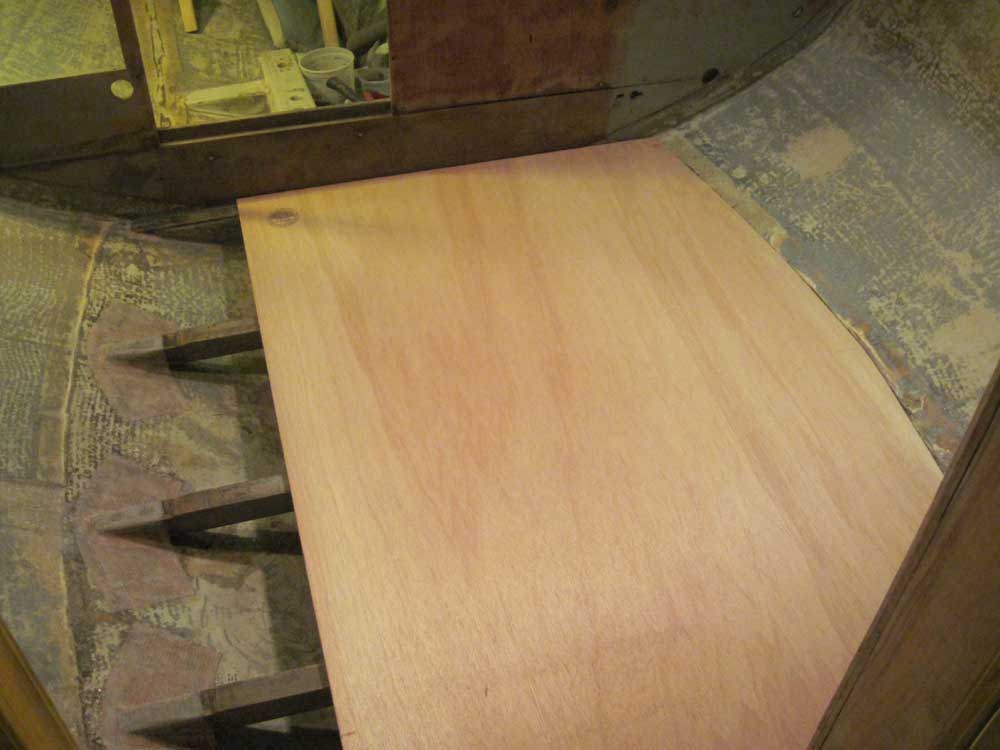
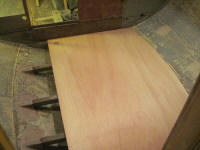
Back on the bench, I cut the sheet to the scribe marks,
with the blade set at an angle to approximate the
deadrise of the hull against which it would fit; I
fine-tuned the bevel with a belt sander afterwards,
since the saw would only cut to 45°.
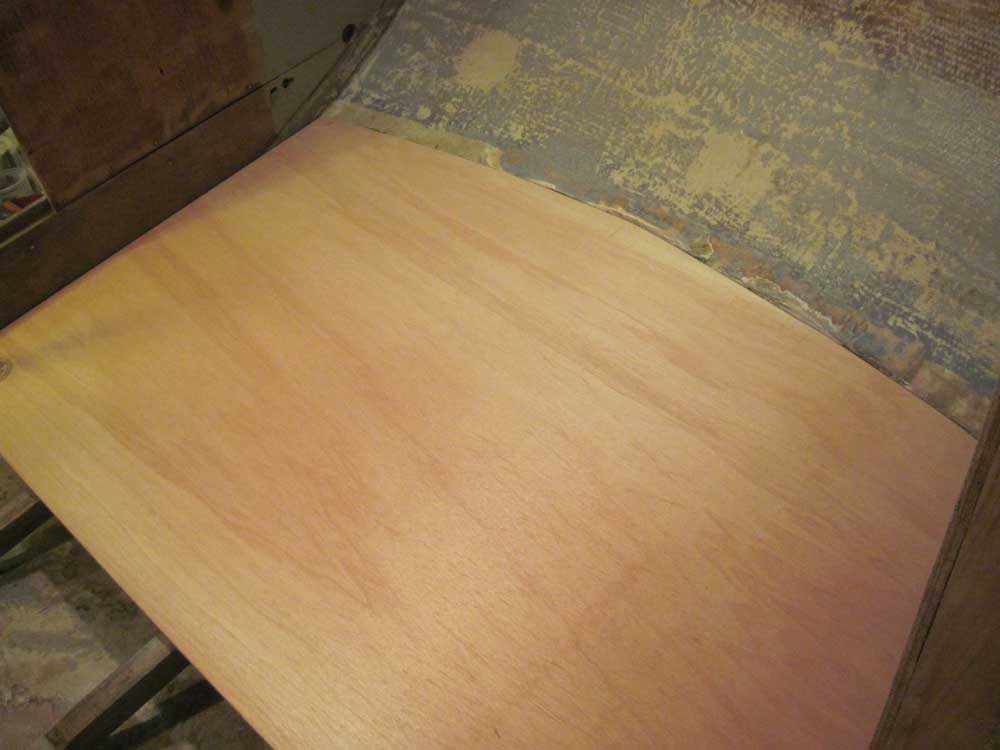
The now-scribed sheet fit well in the boat. I left
things there for the day while I worked out in my head
how the bilge access hatches would work, and whether I
should cut the width of the first sheet down before
fitting the second piece; my initial thought was to use
the full width of the first sheet and conserve material
with the second, as I'd end up with a large, usable
piece leftover, but I needed to consider how the hatches
would work, where they'd be located, and how the
longitudinal seam between the sheets would affect things
going forward. |
 |
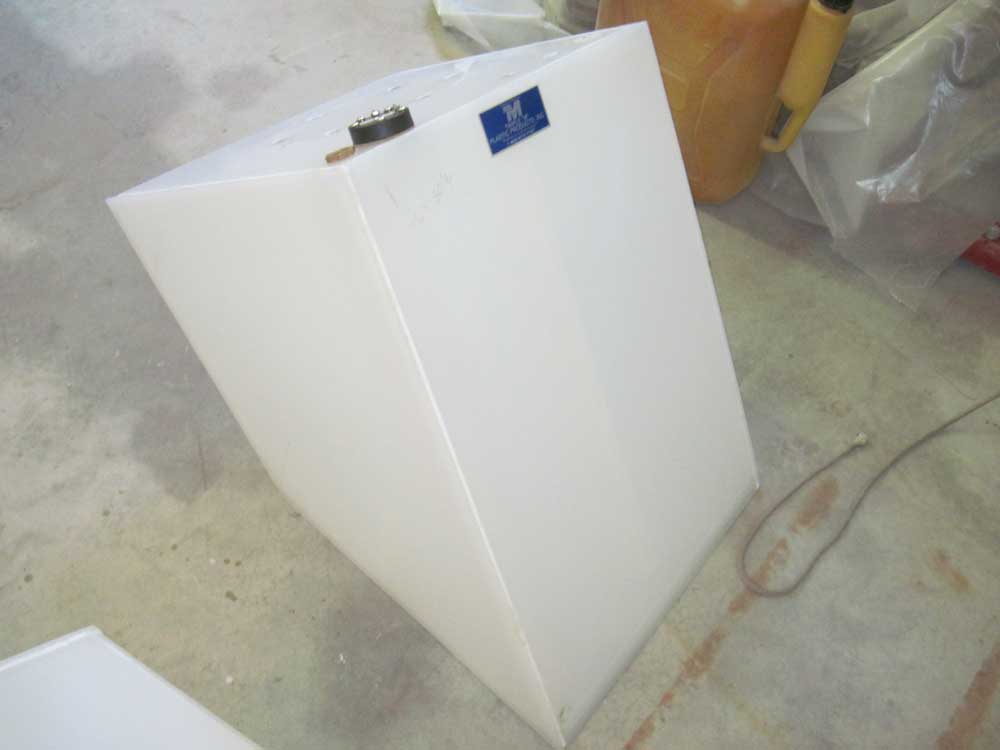
Late in the day, I drove to a nearby (well, everything's
relative) town to meet someone from the tank fabrication
company, who was going through the area and had offered
to meet me at a mutually convenient location to drop off
the three new fuel tanks (thanks Katrin!). I'd requested the tank
construction be delayed and spread out in this way when
I ordered them back in December. The water tanks
would be constructed soon.
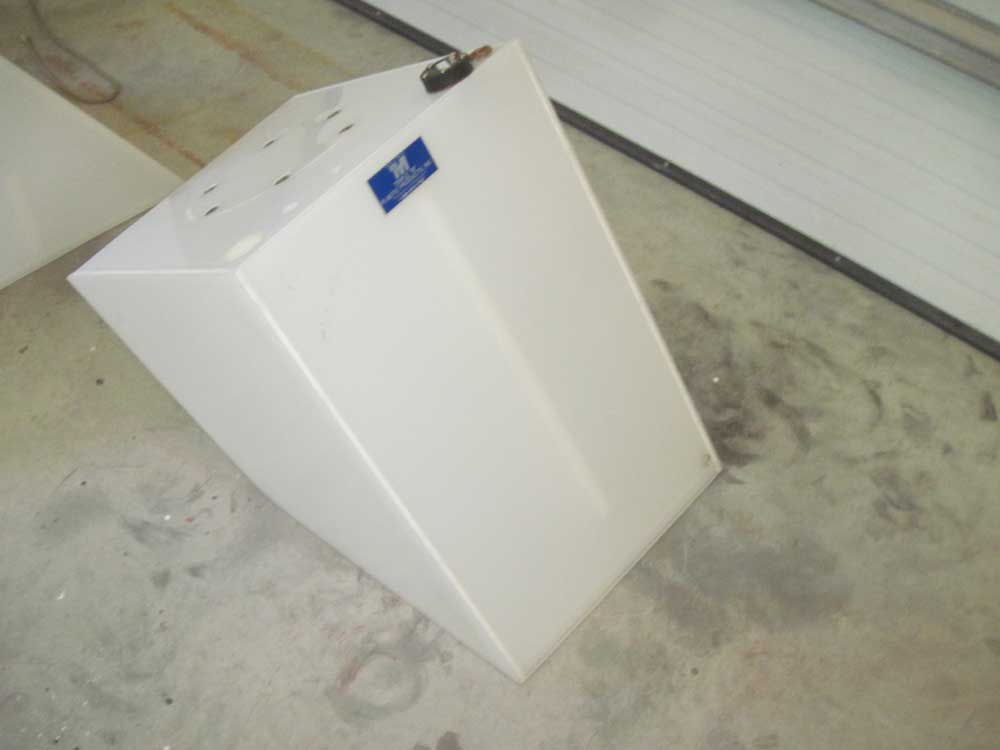
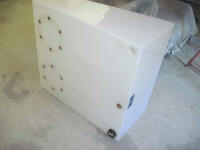
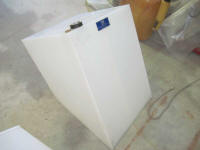
The three new tanks looked good. The port and
starboard wing tanks appeared to be built according to
my drawings and specifications, but unfortunately I
noticed that the inspection ports had been improperly
located on the large aft fuel tank; I'd specified them
towards the forward end of the tank top, where they'd be
accessible once the tank was installed and also where
they'd be over the deepest part of the tank and near the
fuel pickup and sending unit, but they'd been installed
at the aft end. I'd look into this in more detail
in the near future to determine how the error should be
dealt with. |


|
Total Time Today: 6.75 hours
|
<
Previous | Next > |
|
|