Project Log: Saturday, January 15, 2011
Before I could cut and fit the second section of cabin
sole substrate, I had to make some decisions about the
first section, and determine how I planned to lay out
the bilge access hatches. In order to do this, I
first needed to work on some preliminary--and
basic--layout questions.
I didn't plan any major changes to the layout of the
main cabin from the original configuration. I'd
finesse the layout a bit to better suit our way of
thinking, but in general there would still be a
longitudinal galley to starboard, and a dinette to port.
(What there wouldn't be was the unnecessary and
space-wasting quarterberth on the starboard side in that
space aft of the galley; this space would be better
utilized in the engine room and galley, respectively.)
This fuzzy drawing from somewhere online shows the
basics of the original layout: |
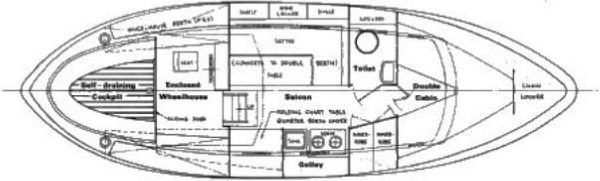 |
The details of the new configuration weren't that
important yet, but what was important was for me to know
roughly where the dinette cabinets would land on the
sole, so I could plan hatches and plywood seams around
that information. I already knew essentially where
the galley cabinets would land, and because of their
position well to starboard these didn't factor into the
preliminary planning. My rough planning at this
stage allowed plenty of leeway for various manipulations
to the final dinette shape and layout, details of which
would make themselves clear soon enough.
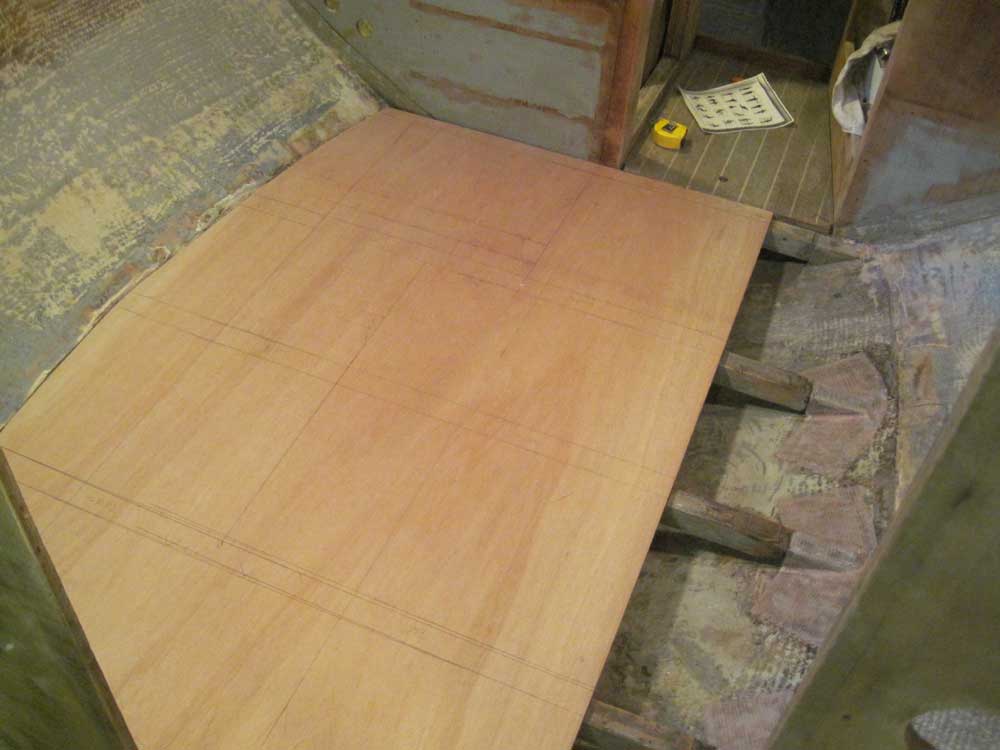
When I initially demolished the original dinette
structure, I'd made some reference marks on the adjacent
bulkheads. These marks now allowed me to sketch
out the rough footprint (at least as originally
designed) of the cabinets on the new plywood sole; I
also measured for and marked the position of the
longitudinal support containing the two table leg bases,
which, whether I planned to re-use this support system
or not, factored into the various planning. I also
market the position of the support beams on top of the
plywood. |
 |
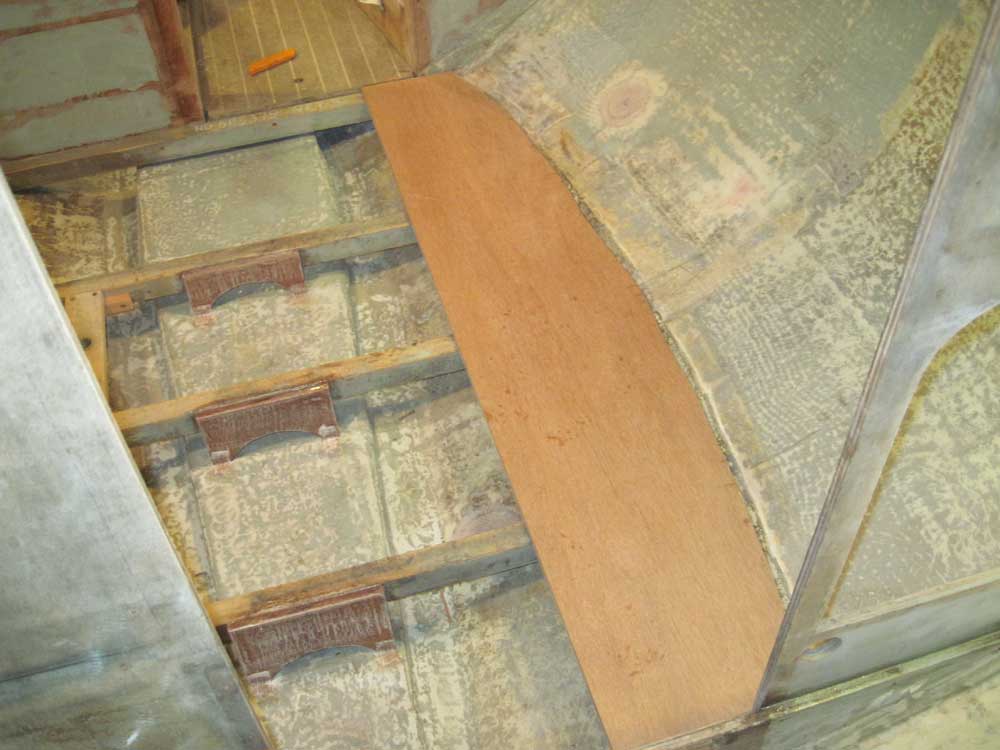
What I accomplished with this hour's work was a
guideline for how and where to lay out the bilge
hatches, and also helped me make the decision to leave
the plywood seam right where it was, which would make
the second section quite small and easy to work with.
To this end, after ensuring the large section of plywood
was properly positioned, I made reference marks on the
tops of the support beams, and also at the forward and
after ends of the sheet where the marks would be easy to
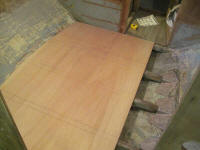
see during later steps. Then, I removed the
large sheet back down to the bench, and prepared a
smaller blank from which I sized, scribed, and cut to
fit the second section required to make up the cabin
sole substrate. |
 |
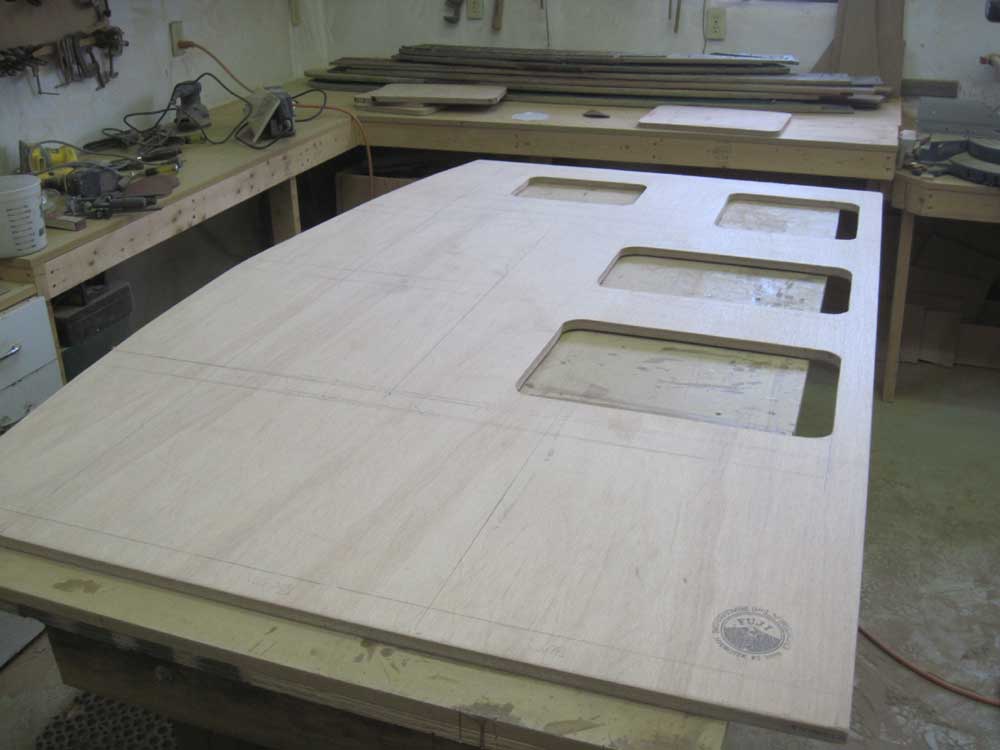
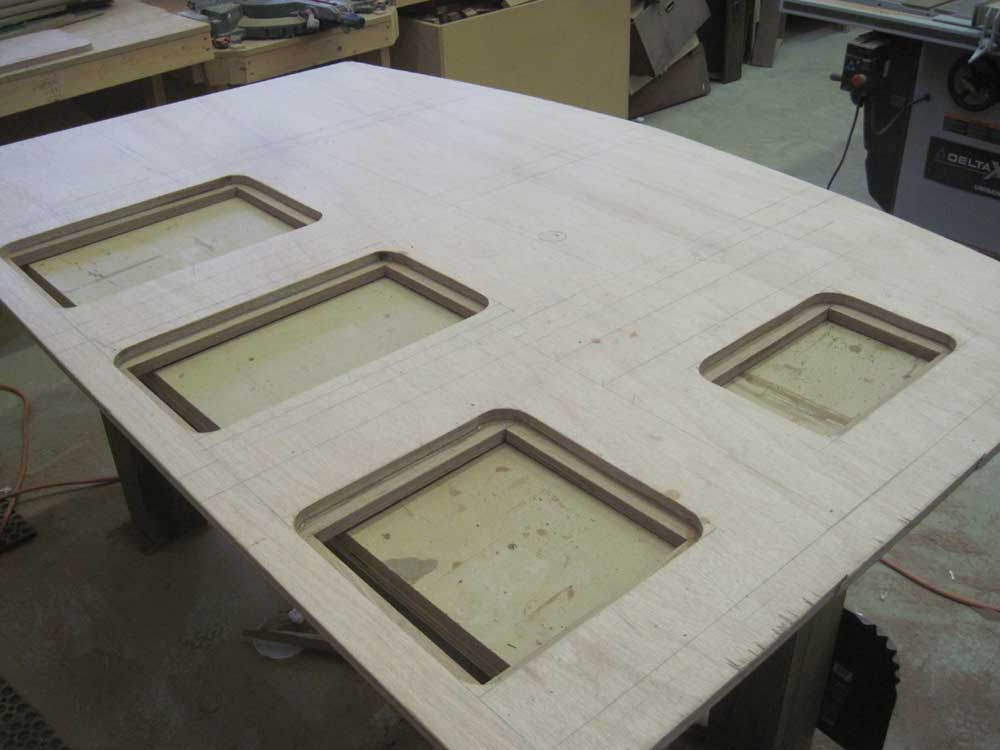
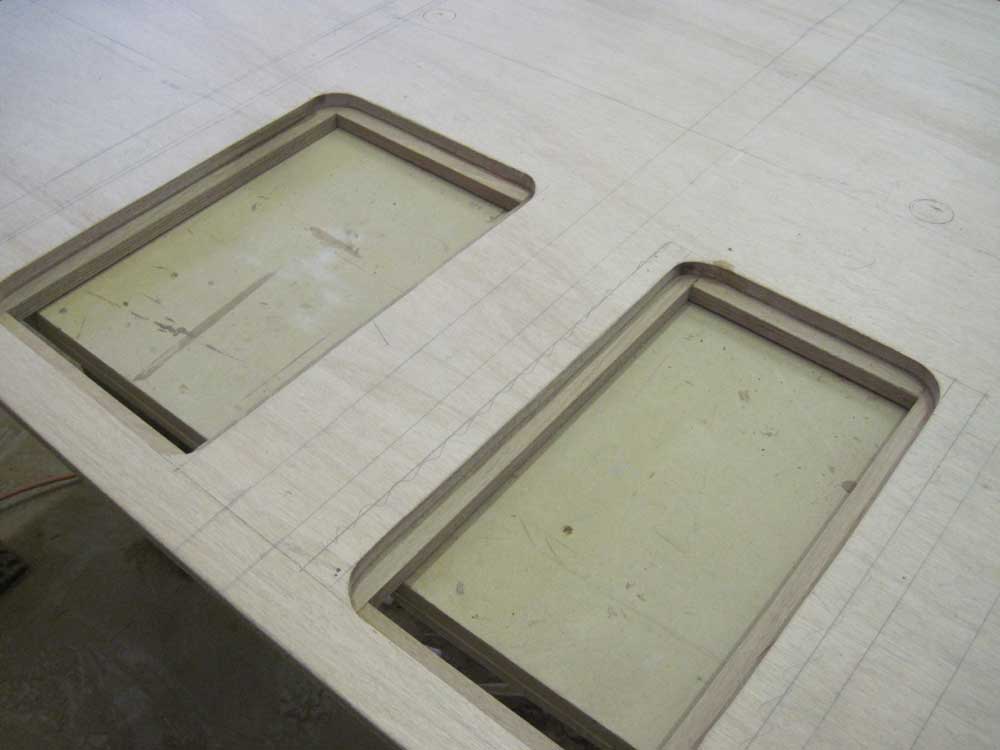
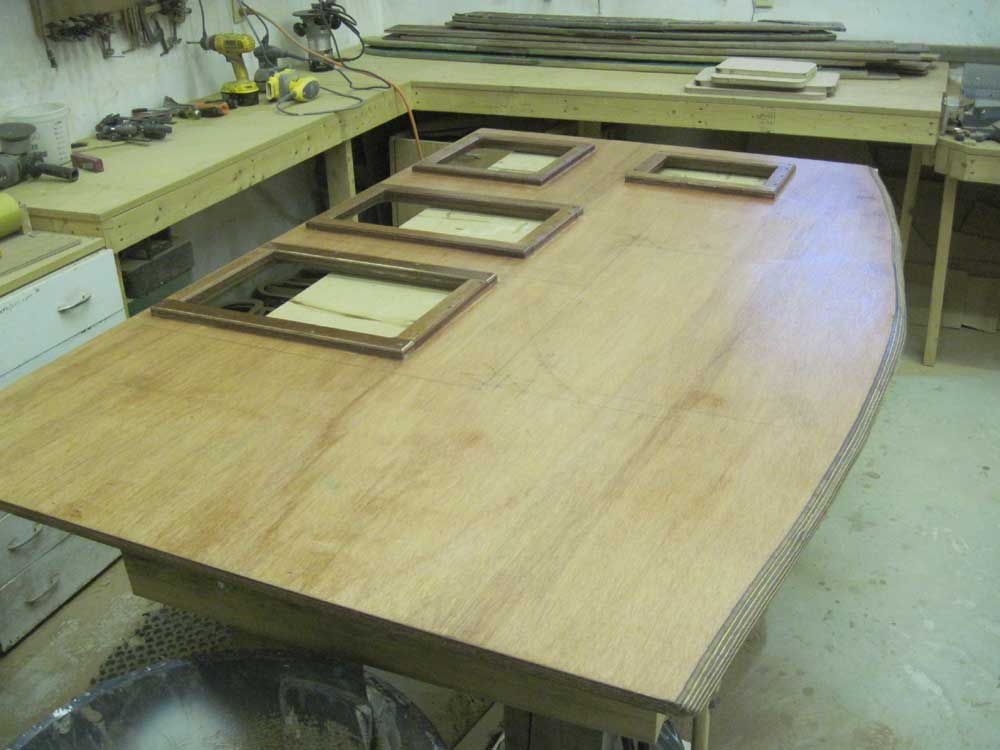
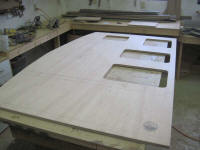
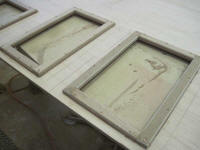
With the large piece of sole on my bench, I laid out
four access hatches for the bilge: three along the
sole's length a bit to starboard of the centerline, and
a fourth in the port corner in an area that would
eventually be located within the dinette seat cabinetry.
I sized the openings so they fell appropriately between
the support beams and so they were large enough to
provide the level of access I wanted to the space.
I didn't install a hatch at the aftermost end, as this
was where a ladder from the pilothouse would eventually
land, and from the aft hatch I could see and reach the
final portion of bilge anyway.
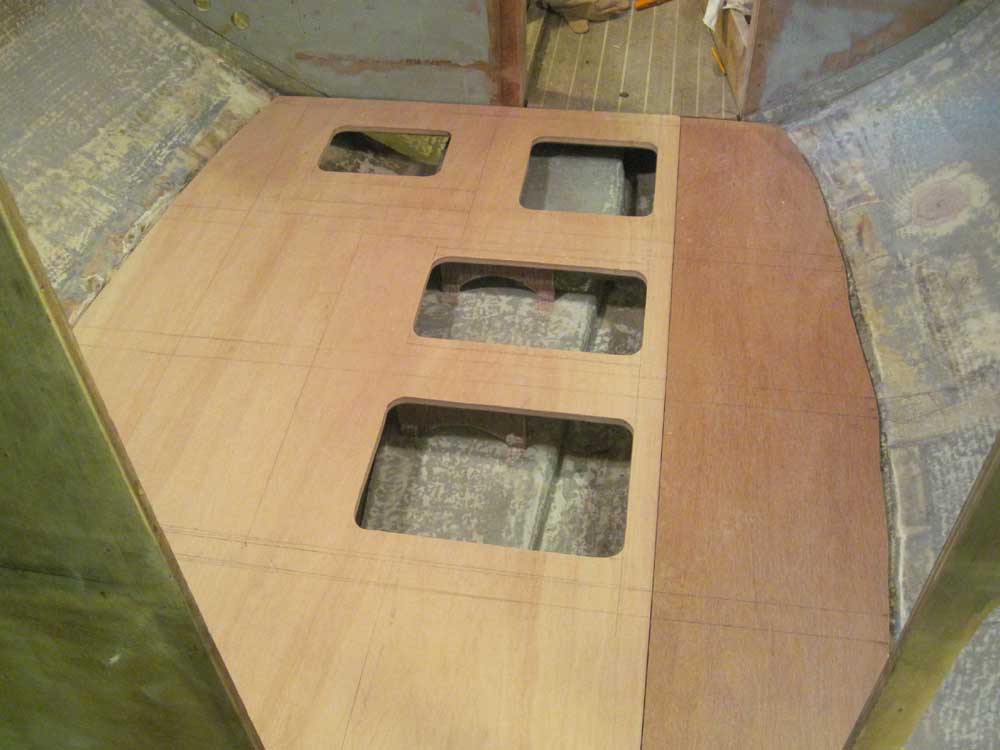
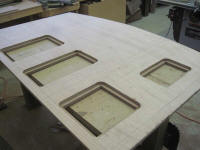
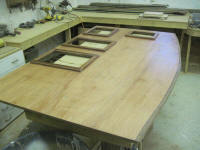
Once I had the hatches cut, I hefted the now
somewhat-lighter sheet back into the boat for a final
test fit. |
 |
While the sole was back in place, I made additional
measurements and reference marks to fine-tune the
location of the table support receptacles, now buried
beneath the sole. I was unsure whether I'd use
these for my new table, or whether I'd install some
other sort of support, but I needed to be sure I
could accurately drill holes in the cabin sole to expose
the supports if I decided to use them.
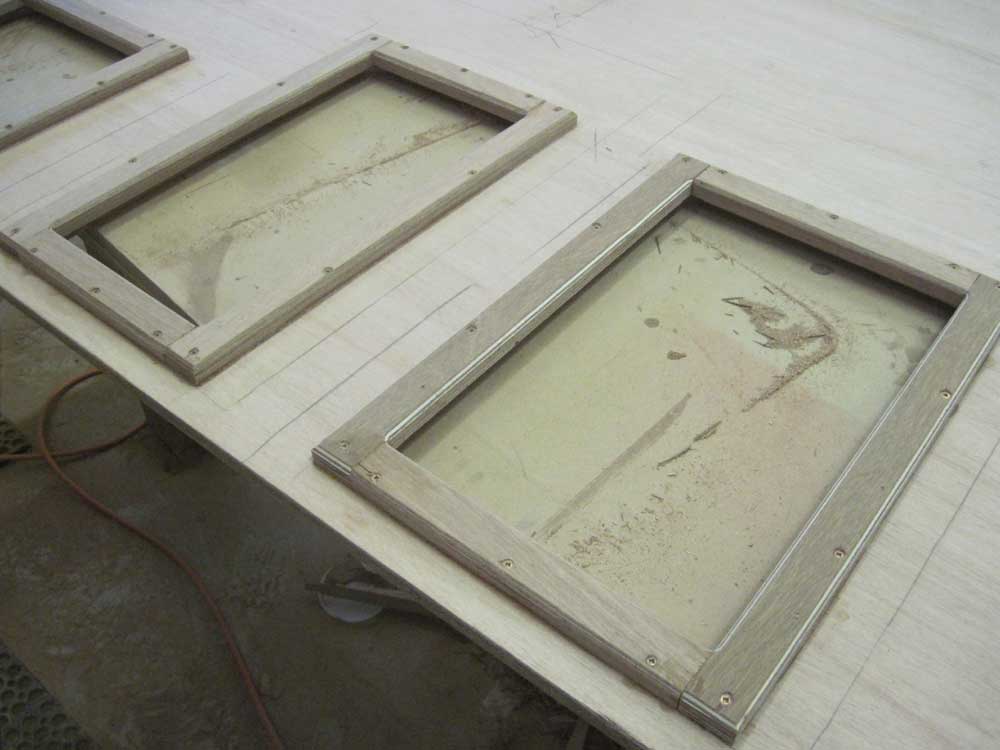
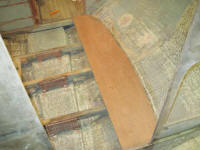
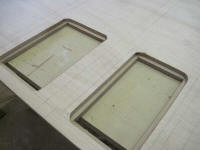
I brought both pieces back down to the bench, and got to
work cutting and installing support cleats for the bilge
hatches, gluing and screwing them into position beneath
the openings. I chamfered the edges of the cleats
so there'd be no sharp corners or splinters. |
 |
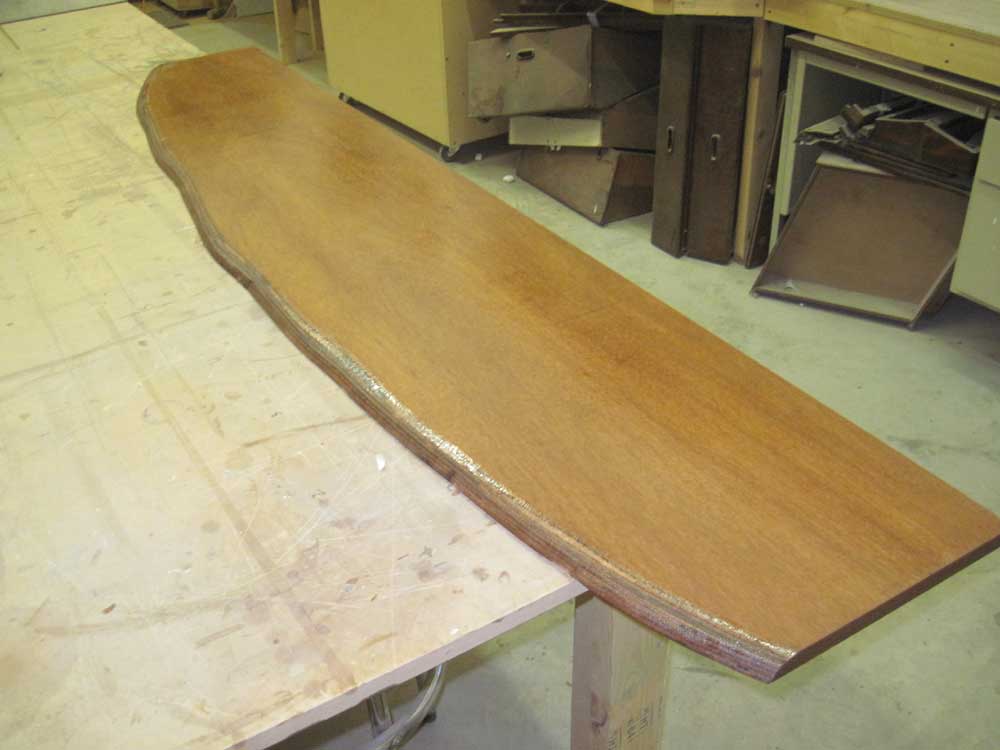
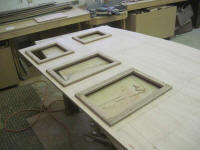
With the basic substrate construction complete, I coated
the bottom side and edges of the plywood with epoxy
resin to seal the wood. |

 |
| |
Total Time Today: 6 hours
|
<
Previous | Next > |
|
|