Project Log: Saturday, September 24, 2011
With significant cuts in the galley cabinet my next step
ahead, it was time to sort out the cuts' final
dimensions; despite the previous time spent on the
layout, the only real way to confirm the cuts would be
correct was for me to inspect and measure the stove and
refer units that would be placed in the cutout areas.
I'd specifically ordered both units earlier, so they'd
be on hand at this point.
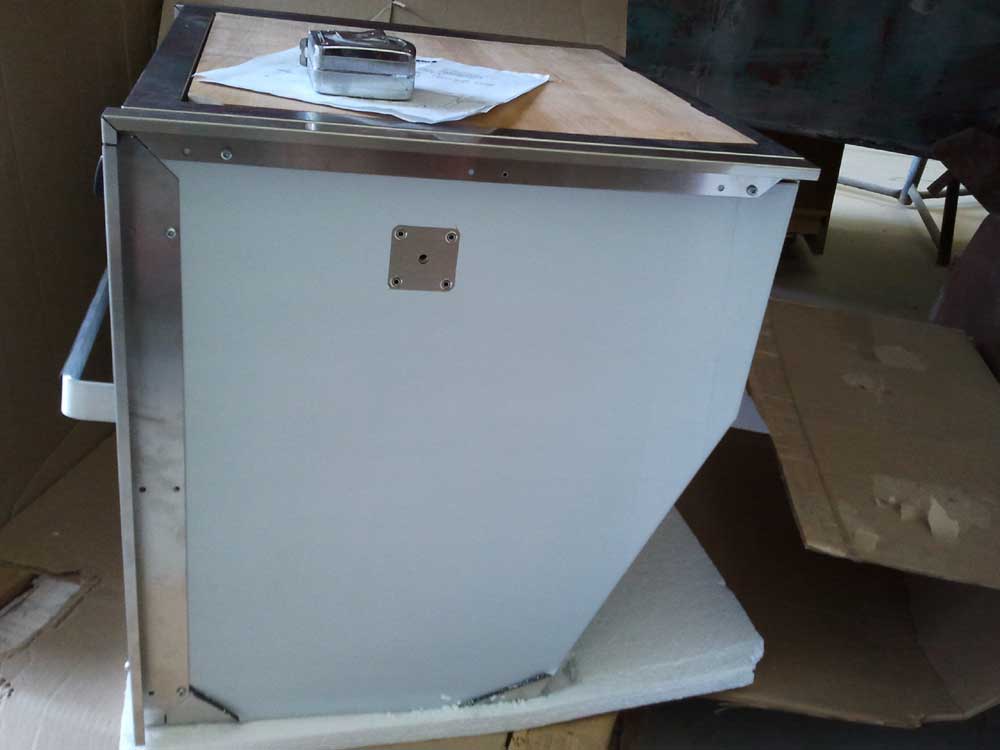
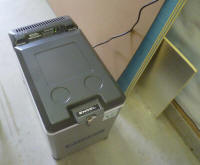
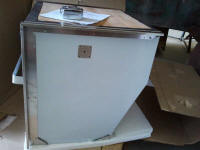
I began with the Engel refrigerator. I unpacked
the unit so I could confirm its overall dimensions, and
while it was out I decided I ought to plug it in and
make sure it worked, in case it'd been damaged in
shipment. It did work, and I left it plugged in
for an hour or so to let it cool the interior. I
was really looking forward to this luxury, I admit. |
 |
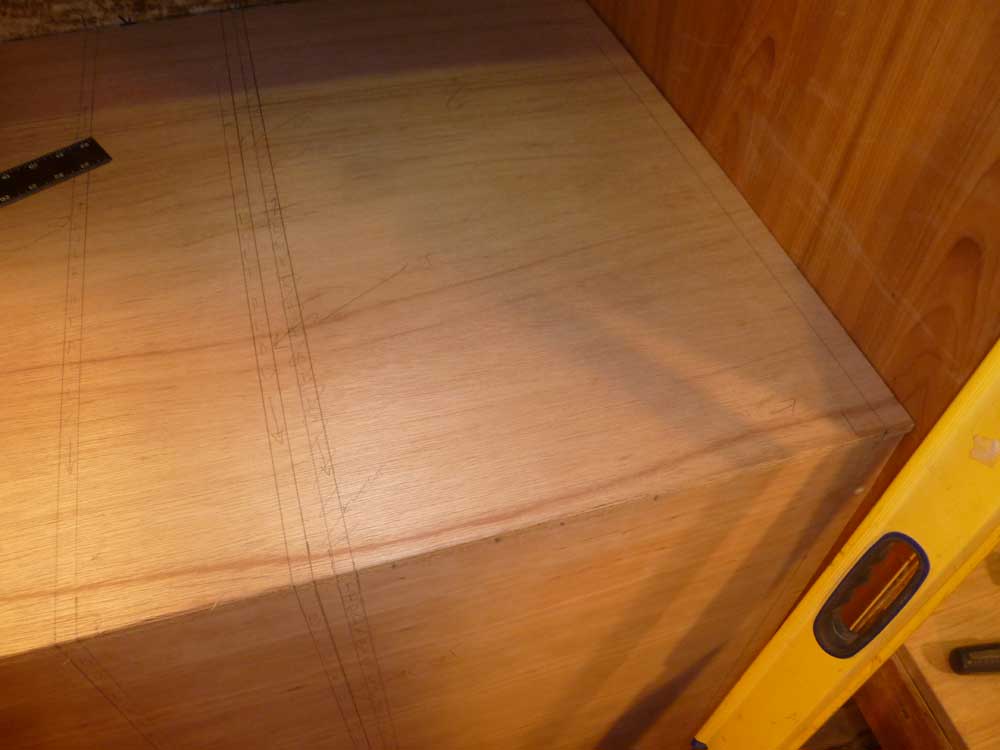
After confirming the measurements, and looking over the
included instructions, I decided to slightly enlarge the
width of my planned opening--partly to give the refer
additional air movement space, and partly because I
realized that if I installed cleats to support the
countertop lid that would cover the space, they'd
impinge on the operation of the refrigerator lid.
So I expanded the opening by an inch or so forward (to
the left in the photo), making the opening 16" wide,
which allowed plenty of room for the 14.5" wide
refrigerator. |
 |
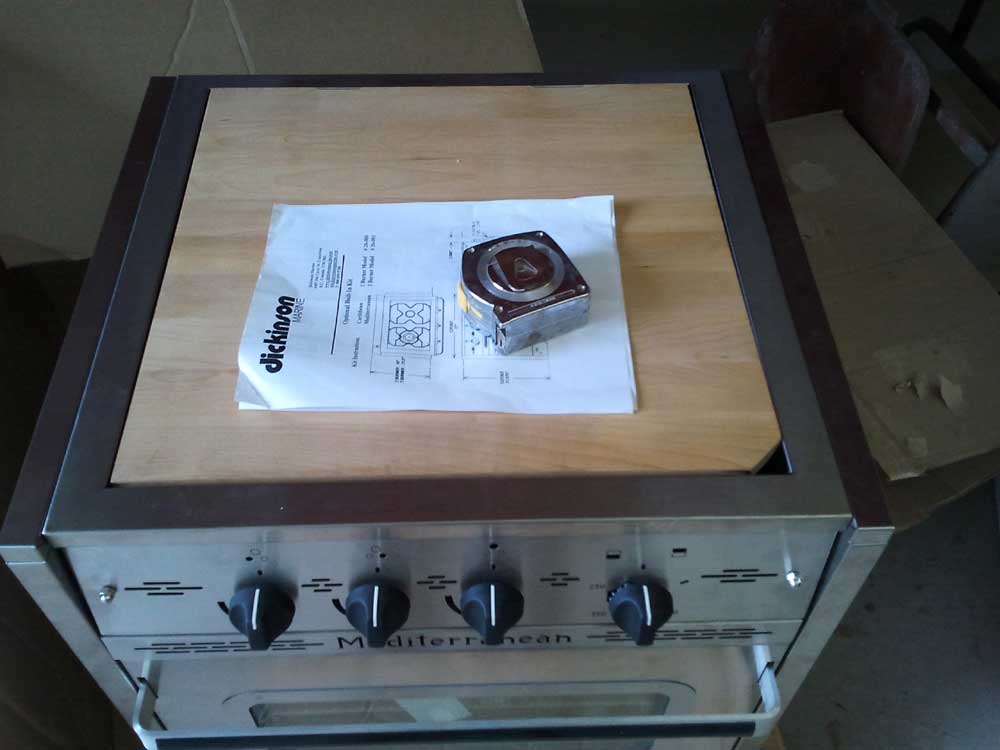
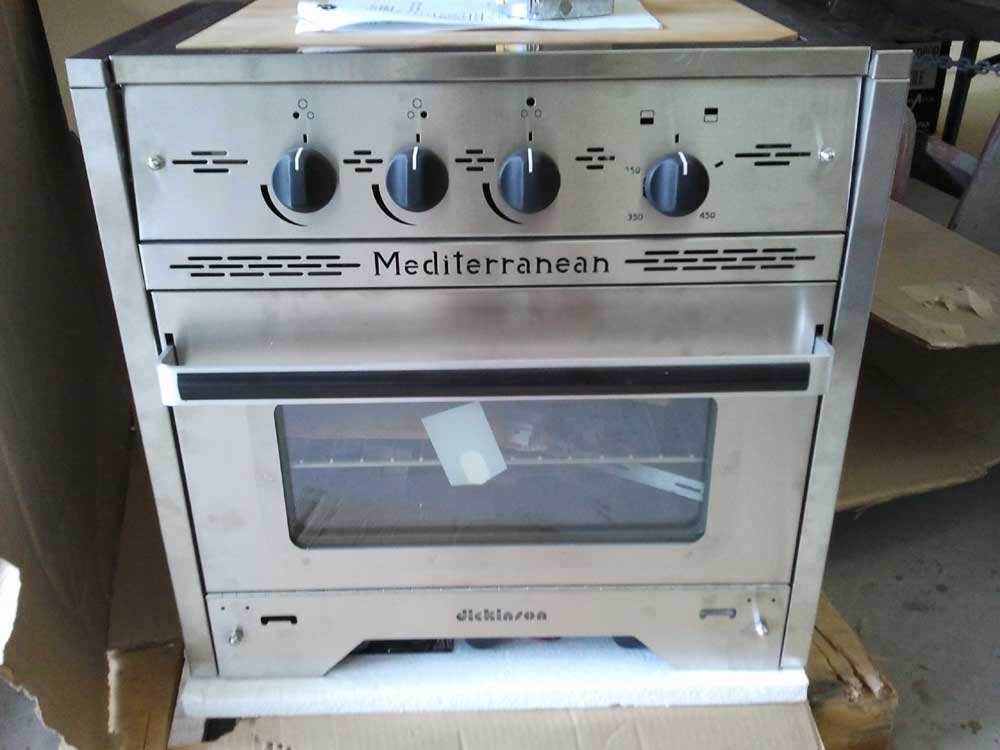
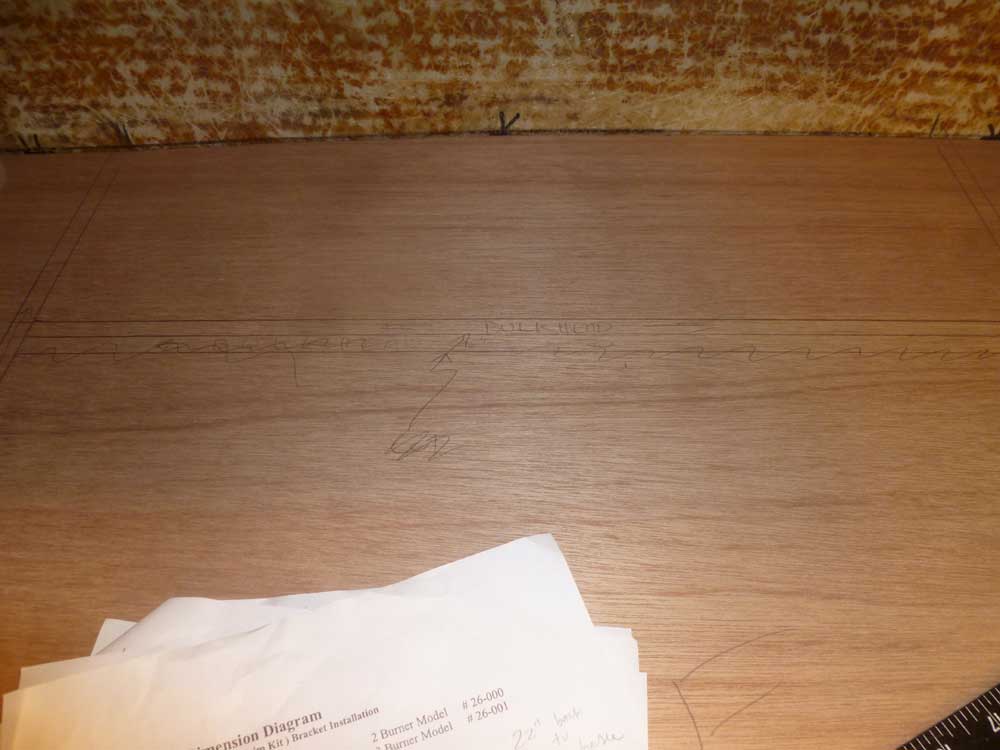
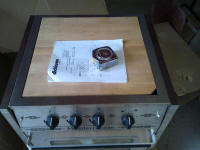
The built-in trim kit for the stove had been confusing
me since the day it arrived. The instructions left
something to be desired. They offered four
different ways to install the trim kit, and the one I
thought I wanted to use just wasn't making a lot of
sense to me. So I decided to unwrap all the trim
pieces and see how things were supposed to go together.
The installation method I'd originally hoped to used
called for installing the trim on the surrounding
cabinet, which could allow the range to be mounted flush
with the countertop. The more I looked at this,
though, the more concerned I became. First and
foremost, installing the trim in this way would require
extremely accurate and precise measuring and, even more
so, cutting, since the trim would butt against the
opening and not overlap the cutout at all. This
seemed impractical to me.
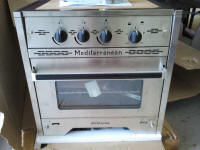
Reviewing the various choices once more, I eventually
decided to install the trim on the stove itself, as
called for in one of the other options in the
instructions. This would allow the trim to overlap
the opening a bit in all areas for that clean appearance
I was striving for. The only difference would be
that the trim would stand proud of the countertop (and
cabinet face) by the thickness of the trim, or about
5/16 - 3/8". This wasn't a problem, and in fact I
thought it would ultimately look and function better
than my original plan.
To test this out, I temporarily installed the trim kit
on the range in the desired position. I then
measured the actual clearances required, which, with the
position I chose, required a slight modification to the
depth of the cutout in the counter, by 1/2" to allow for
the required 2.5" open space behind the stove (for
ventilation and to provide adequate room for the LPG
hose and connections). The other dimensions as
originally laid out in the range instructions were
correct for this installation, but different trim
placement options would require different cutout
dimensions. |
 |
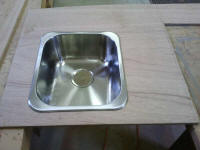
With these key dimensions confirmed, I took the
countertop down to the shop and cut out the top parts of
the two large openings. While I had it down there,
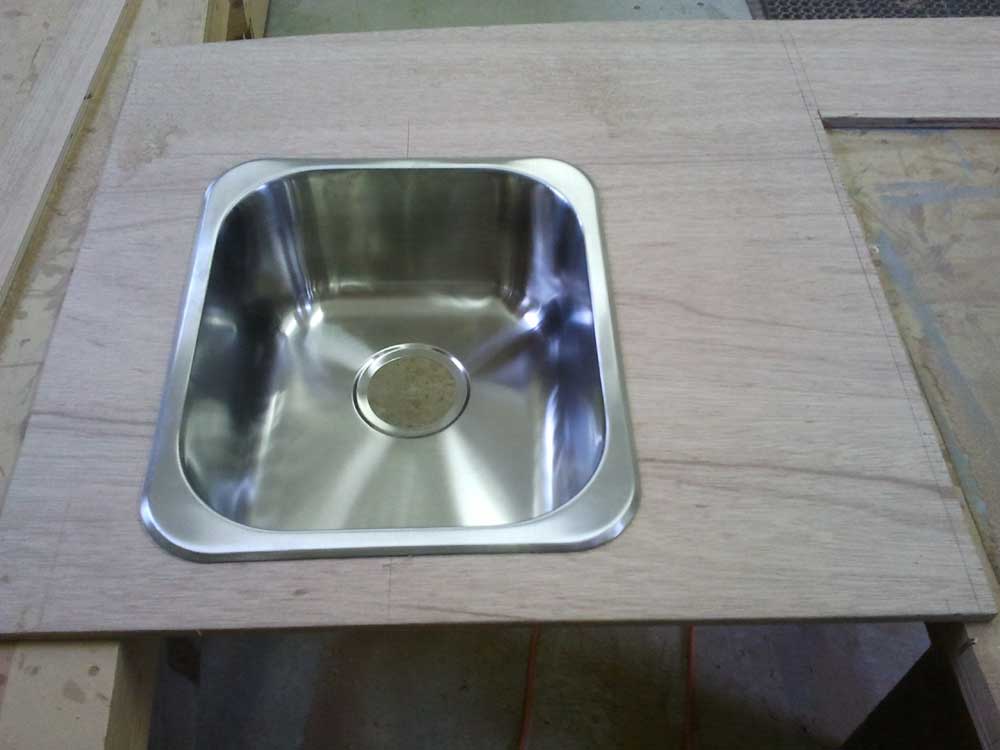
I cut out the opening for the sink in my chosen
location, which left enough room between it and the
stove for some sort of hidden trash bin. |
 |
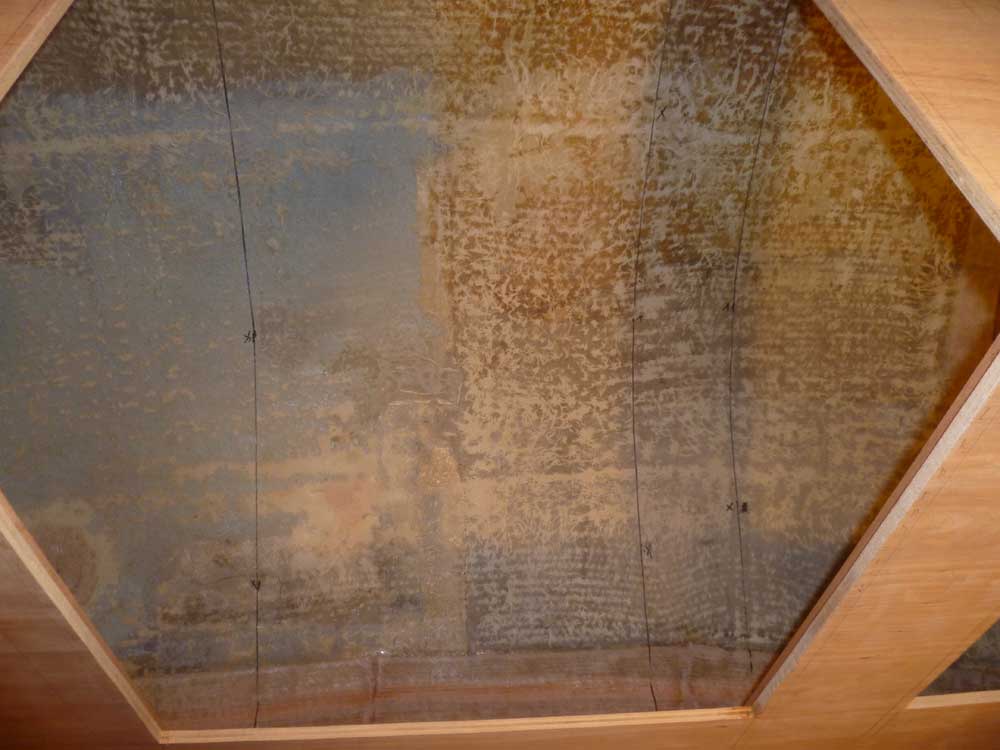
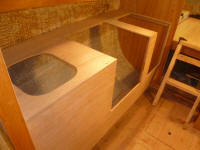
Back in the boat, I reinstalled the counter, and
transferred the cutout locations to the cabinet face;
they lined up with my layout lines, except one side of
the stove cutout where I'd run the saw blade on the
outside, rather than inside, of my layout mark, so the
opening was 3/32" wider than the planned 22"; not a
problem for the trim kit, but it slightly changed the
corresponding mark on the cabinet face.
Then, I cut out the front section of the two openings
and tested the fit. There wasn't much of the
galley left. |

 |
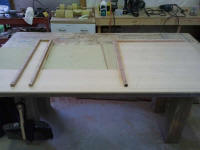
With the cabinet front back down on the bench, I started
to lay out some additional cabinet doors and openings in
the forward section, but quickly realized that I'd need
to order certain parts to have on hand before I could
make any cutouts. Specifically, I needed to
locate, and purchase, whatever trash can pullout device
I wanted, so I found something suitable online and
ordered it.
Similarly, I planned to build a recessed area to contain
foot pedals for the galley sink pumps, but found that my
planned space for this was interfering (possibly) with
the size and location of the trash bin. So I was
forced to put these cuts on hold for the time being,
till I had all the parts in hand and could accurately
determine various locker sizes and shapes.
In the meantime, I prepared some support cleats from
scrap lengths of hardwood, and installed cleats around
the new stove and refer openings to support the
transverse bulkheads that I'd install to complete the
openings, divide the storage lockers, and also support
the remaining galley cabinetry. I also installed
cleats at the top edge to give a bearing and fastening
surface for the countertop. |
 |
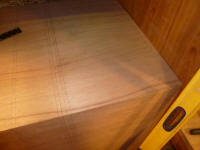
Back in the boat, I used a level to strike plumb marks
down from the openings on to the hull, to give me at
least rough locations for the bulkheads at each of the
three locations. By now, it was late in the day,
and I reluctantly held off beginning the bulkhead
templates. |
 |
| |
Total Time Today: 4.5 hours
|
<
Previous |
Next > |
|
|