Project Log: Friday, September 30, 2011
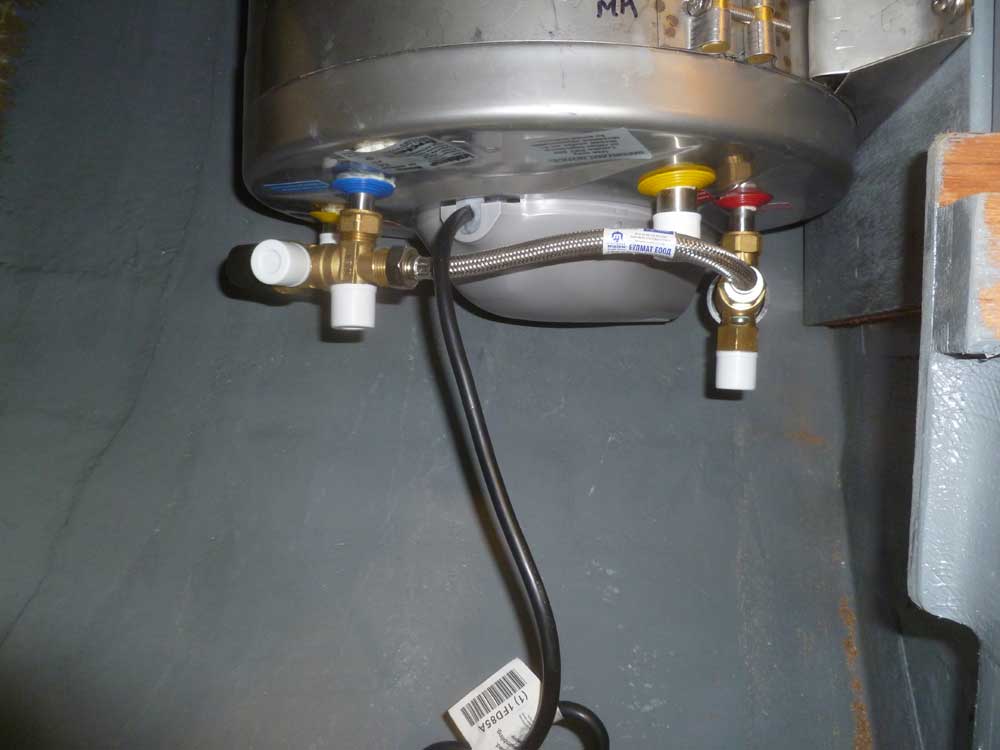
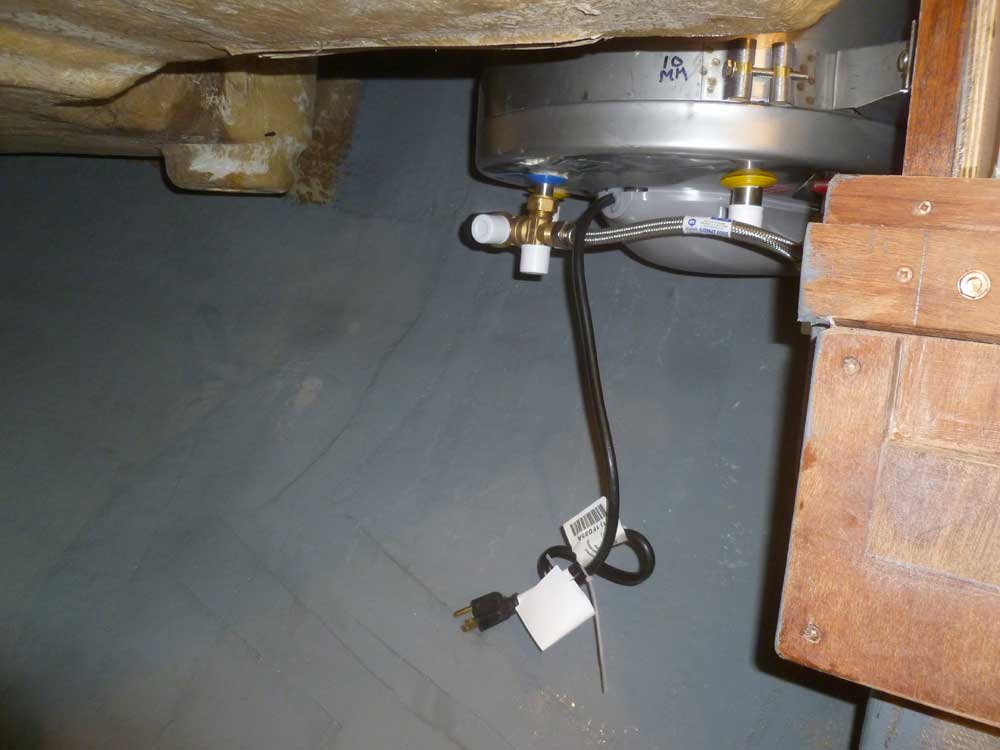
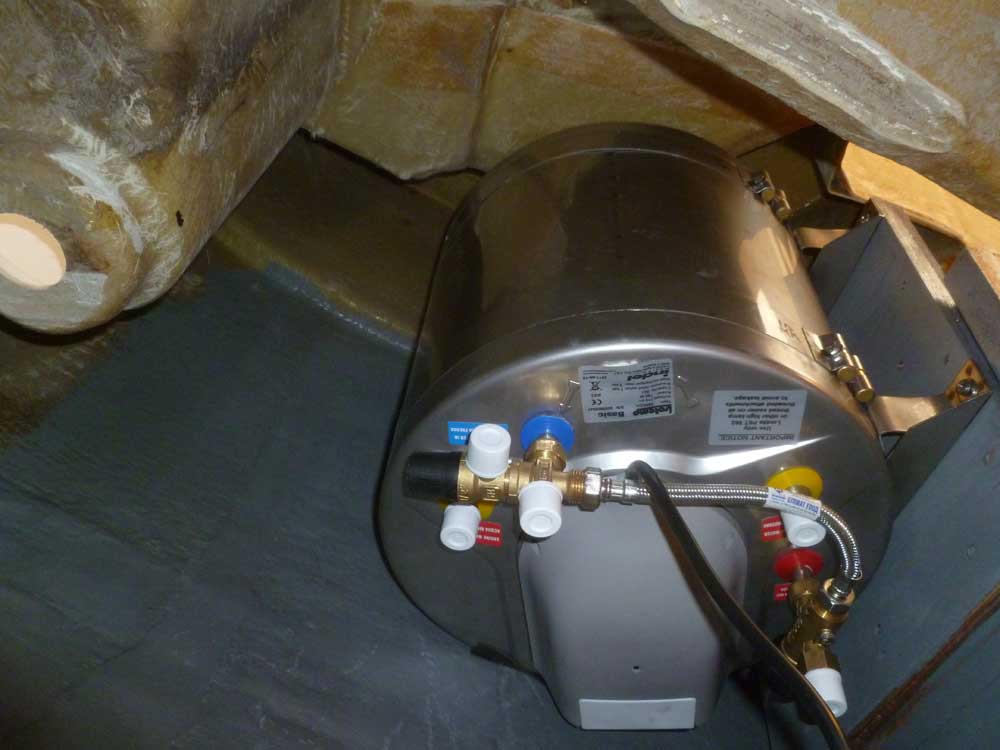
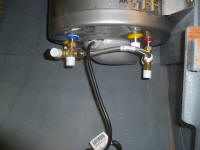
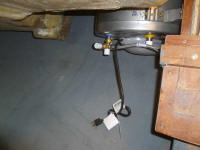
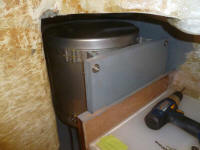
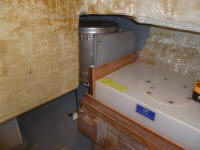
I got started with the water heater, and installed it in
its new home. To begin, using the layout marks I'd
created earlier I drilled two boles for through bolts
(at the top) and two holes that I tapped for 1/4-20
threads (bottom). Then, I pre-installed the screws
on the outboard side of the tank support, as this side
of the tank's brackets featured slots in the feet.
With the tank slotted into position, I added the other
screws/bolts, and tightened everything down. It
was a bit awkward, but I got it done.
The space for the tank was fairly tight, but it fit
nicely and left me almost luxurious room at the bottom
end to make up the various hose connections later. By
choosing a high-quality tank with a good reputation, I
hoped I'd not ever need to pull it out, at least not for
many years, but should the day come tank removal
shouldn't require undue effort. |

 |
With that out of the way, I continued work in the
galley. There was much work ahead, and I was
anxious to keep the "hidden" construction moving.
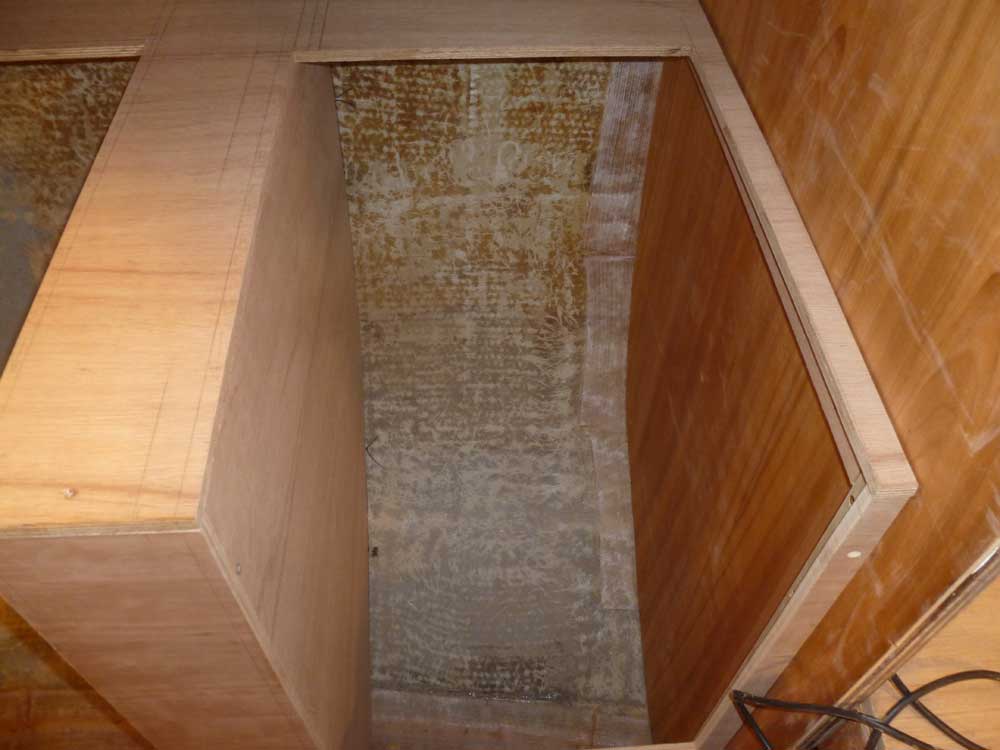
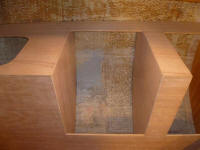
On the agenda were the three bulkheads required to close
off the cutout spaces for the refrigerator and range.
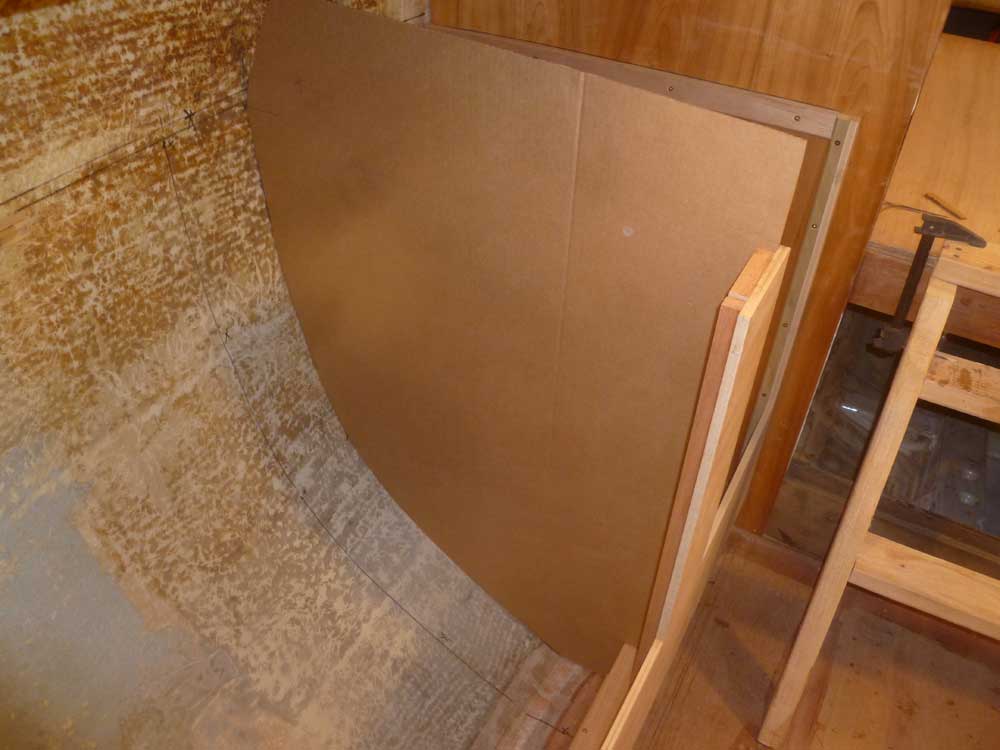
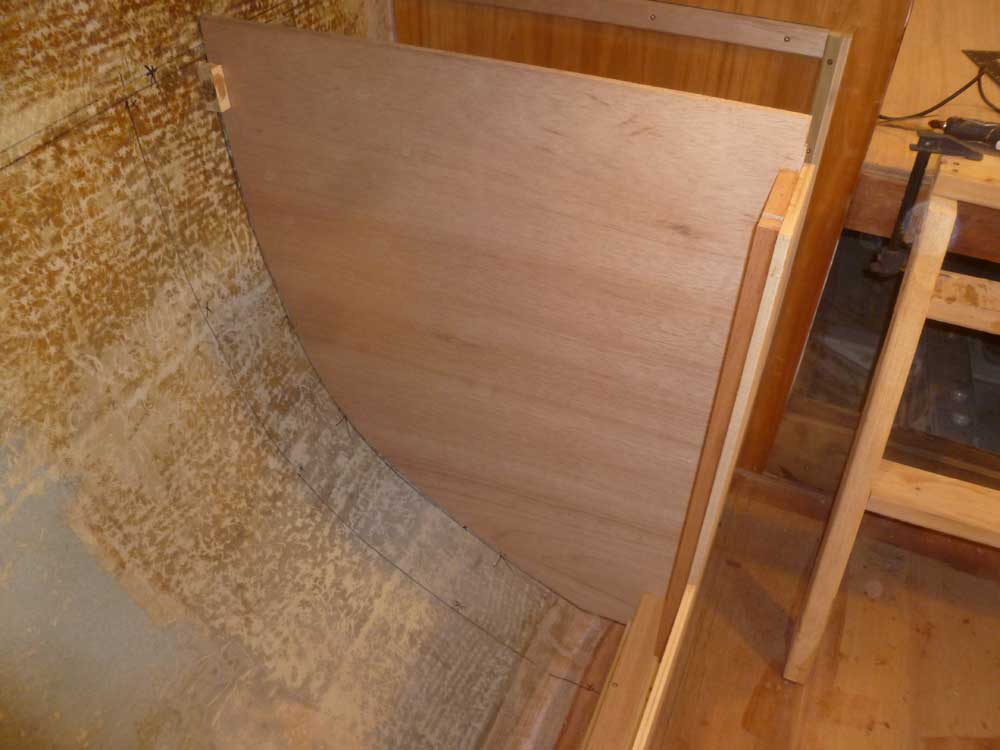
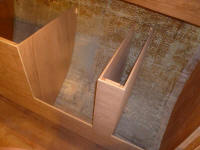
I began with the aftermost bulkhead, the one demarking
the refer space. Since this was the largest of the
three, I could recycle my pattern for each of the other
two bulkheads. With some rough measurements in
hand, I created a rough cardboard template, which I then
used to scribe a more accurate shape that I transferred
to a new piece of cardboard. |
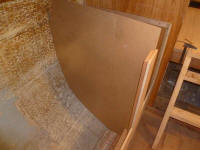 |
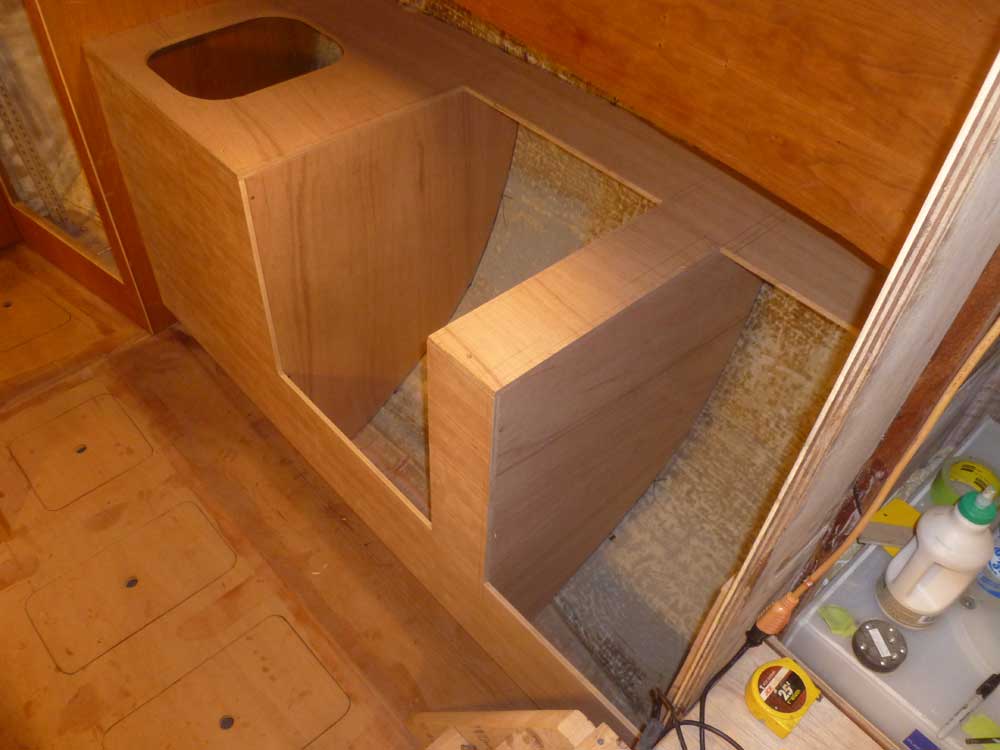
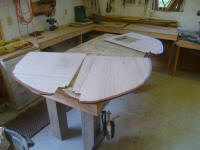
Satisfied with the shape, I transferred the pattern to
12mm marine plywood and cut it out. I left the top
edge high for now so I could strike a level line with
the top of the cabinets later. |

 |
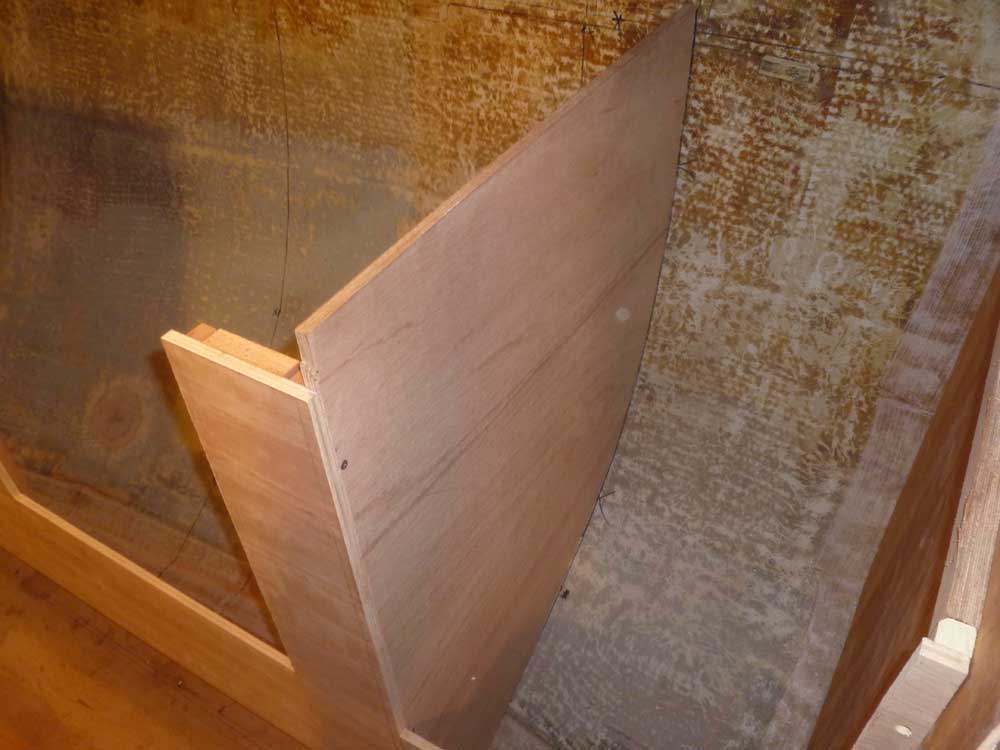
I repeated the process twice more, with the two
bulkheads defining the sides of the range enclosure.
Then, I marked and cut level the tops of all three
bulkheads. |

 |
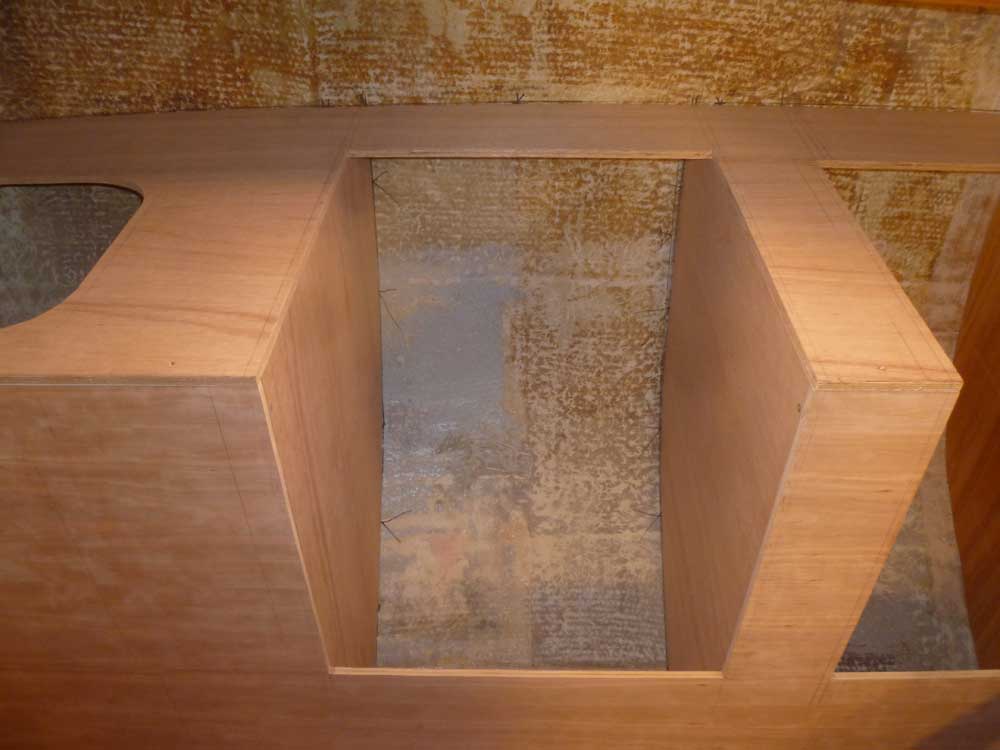
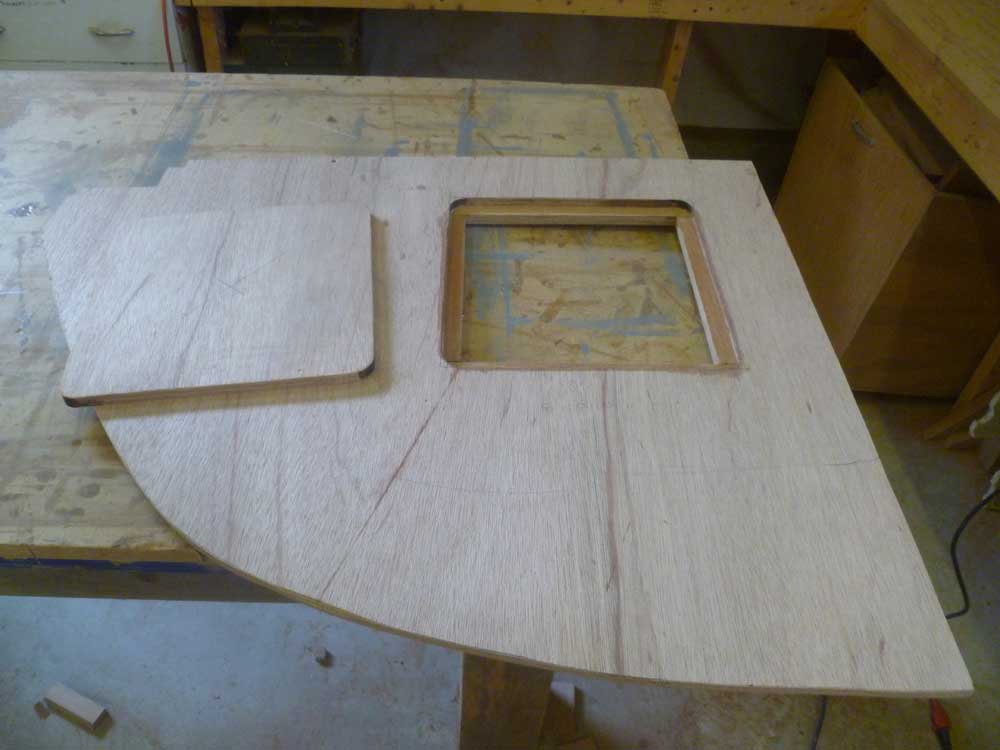
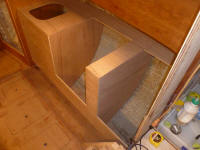
I test-fit the countertop, and made minor adjustments to
the bulkheads' positions as needed so they aligned with
the cutouts in the countertop. As needed, I used
small blocks that I hot-glued to the hull to hold the
bulkheads in position, and marked their footprints on
the hull for future reference during final installation
later. |

 |
Two of the bulkheads at the aft end left a narrow space
between them, which probably wouldn't be useful for much
beyond ventilation for the refrigerator.
Nonetheless, I didn't want any inaccessible spaces in
the boat, so on the side of the refrigerator bulkhead, I
constructed an access hatch so I could get into the
space as need be. |
 |
I'd really hoped to be able to get the bulkhead tacked
in place before the end of the day, but it just wasn't
going to happen, unfortunately. To prepare for
their imminent installation, however, I removed all
three bulkheads and brought them down to the bench,
where I applied a coat of epoxy to the plywood edge that
would end up against the hull. |
|
Total Time Today: 5.25 hours
|
<
Previous |
Next > |
|
|